In this tutorial, you will learn how to install Cortex on Ubuntu 22.04/Ubuntu 20.04. Cortex is a powerful observable analysis and active response engine that can be used by SOC analysts or any IT security personnel to analyze collected event/incident observables at scale by by querying a single tool instead of multiple tools, actively respond to threats and interact with the constituency and other teams.
Installing Cortex on Ubuntu 22.04/Ubuntu 20.04
Cortex has an installation script that you can just download and excute to automatically deploy cortex on any supported system.
We will do the installation manually in this guide. Of course based on the steps highlighted on the script.
Note the recommended system resource requirements;
- 8 vCPU
- 16 GB of RAM
It is also good to note that, we are installing Cortex on the same node we are running MISP and TheHive. You can as well install it on a separate node if you like;
Install Required Packages
Run system package cache update and install required packages;
sudo apt updatesudo apt install wget gnupg2 apt-transport-https git ca-certificates curl jq software-properties-common lsb-release python3-pip iproute2Install Java Runtime Environment
Install Java and define the JAVA_HOME environment variable.
sudo apt install openjdk-11-jre-headlessSet the JAVA_HOME;
echo JAVA_HOME="/usr/lib/jvm/java-11-openjdk-amd64" | sudo tee -a /etc/environmentsource /etc/environmentInstall Elasticsearch 7.x
Cortex supports Elasticsearch 7.x as of this writing.
If not already installed, then you install it as follows;
wget -qO - https://artifacts.elastic.co/GPG-KEY-elasticsearch | \
sudo gpg --dearmor > /etc/apt/trusted.gpg.d/elasticsearch-keyring.gpg
echo "deb https://artifacts.elastic.co/packages/7.x/apt stable main" | \
sudo tee /etc/apt/sources.list.d/elastic-7.x.listsudo apt updatesudo apt install elasticsearchConfigure Elasticsearch. There is only a few changes we are going to make on the default Elasticsearch config. That is the cluster name.
sudo sed -i '/cluster.name/s/^#//;s/my-application/thehive/' /etc/elasticsearch/elasticsearch.ymlUpdate JVM heap size based on the system memory (not more than 50% of total RAM).
Also, disable message formatting;
sudo tee -a /etc/elasticsearch/jvm.options.d/jvm.options << 'EOL'
-Xms1g
-Xmx1g
-Dlog4j2.formatMsgNoLookups=true
EOL
Remove any previous Elasticsearch data, restart and enable it to run on system boot;
sudo rm -rf /var/lib/elasticsearch/*sudo systemctl restart elasticsearchsudo systemctl enable elasticsearchConfirm it is running;
systemctl status elasticsearchInstalling Cortex on Ubuntu 22.04/Ubuntu 20.04
Install Cortex and TheHive repository on Ubuntu;
wget -qO- "https://raw.githubusercontent.com/TheHive-Project/Cortex/master/PGP-PUBLIC-KEY" \
| sudo gpg --dearmor -o /etc/apt/trusted.gpg.d/cortex.gpg
wget -qO- https://raw.githubusercontent.com/TheHive-Project/Cortex/master/PGP-PUBLIC-KEY \
| sudo gpg --dearmor -o /etc/apt/trusted.gpg.d/thehive.gpgecho 'deb https://deb.thehive-project.org release main' | sudo tee -a /etc/apt/sources.list.d/thehive-project.listsudo apt updatesudo apt install cortex -yCreate Cortex Secret Key required for secure cryptographic Cortex functions;
sudo sed -i "/play.http.secret.key/s/^#//;s/\*\*\*CHANGEME\*\*\*/`cat \/dev\/urandom \
| tr -dc 'a-zA-Z0-9' | fold -w 64 | head -n 1`/" /etc/cortex/application.conf
Configure Elasticsearch connection settings. By default, this is the Elasticsearch connection settings;
## ElasticSearch
search {
  # Name of the index
  index = cortex
  # ElasticSearch instance address.
  # For cluster, join address:port with ',': "http://ip1:9200,ip2:9200,ip3:9200"
  uri = "http://127.0.0.1:9200"

  ## Advanced configuration
  # Scroll keepalive.
  #keepalive = 1m
  # Scroll page size.
  #pagesize = 50
  # Number of shards
  #nbshards = 5
  # Number of replicas
  #nbreplicas = 1
  # Arbitrary settings
  #settings {
  #  # Maximum number of nested fields
  #  mapping.nested_fields.limit = 100
  #}

  ## Authentication configuration
  #username = ""
  #password = ""

  ## SSL configuration
  #keyStore {
  #  path = "/path/to/keystore"
  #  type = "JKS" # or PKCS12
  #  password = "keystore-password"
  #}
  #trustStore {
  #  path = "/path/to/trustStore"
  #  type = "JKS" # or PKCS12
  #  password = "trustStore-password"
  #}
}
Since we are running Elasticsearch in the same node as Cortex, we will leave the default settings.
Ensure you configure your appropriate Elasticsearch settings.
You can as well configure various appropriate Cortex authentication methods for you.
Running Cortex
You can now start Cortex service;
sudo systemctl enable --now cortexCheck the status;
systemctl status cortex● cortex.service - cortex
Loaded: loaded (/etc/systemd/system/cortex.service; enabled; vendor preset: enabled)
Active: active (running) since Wed 2022-11-09 16:59:55 UTC; 33s ago
Docs: https://thehive-project.org
Main PID: 46218 (java)
Tasks: 46 (limit: 4610)
Memory: 416.7M
CGroup: /system.slice/cortex.service
└─46218 java -Duser.dir=/opt/cortex -Dconfig.file=/etc/cortex/application.conf -Dlogger.file=/etc/cortex/logback.xml -Dpidfile.path=/dev/null -cp /opt/cortex/>
Nov 09 16:59:55 thehive.kifarunix-demo.com systemd[1]: Started cortex.
Accessing Cortex Web Interface
Open Cortex ports (9001/tcp) on Firewall;
ufw allow 9001/tcpYou can then access your Cortex via http://ip-or-domain:9001.
You might be prompted to update the database;
Once the database update is done, create your Cortex admin account;
Click Create and login to Cortex with your credentials;
Cortex default dashboard;
Next, Create Cortex Organization and Organization administrator;
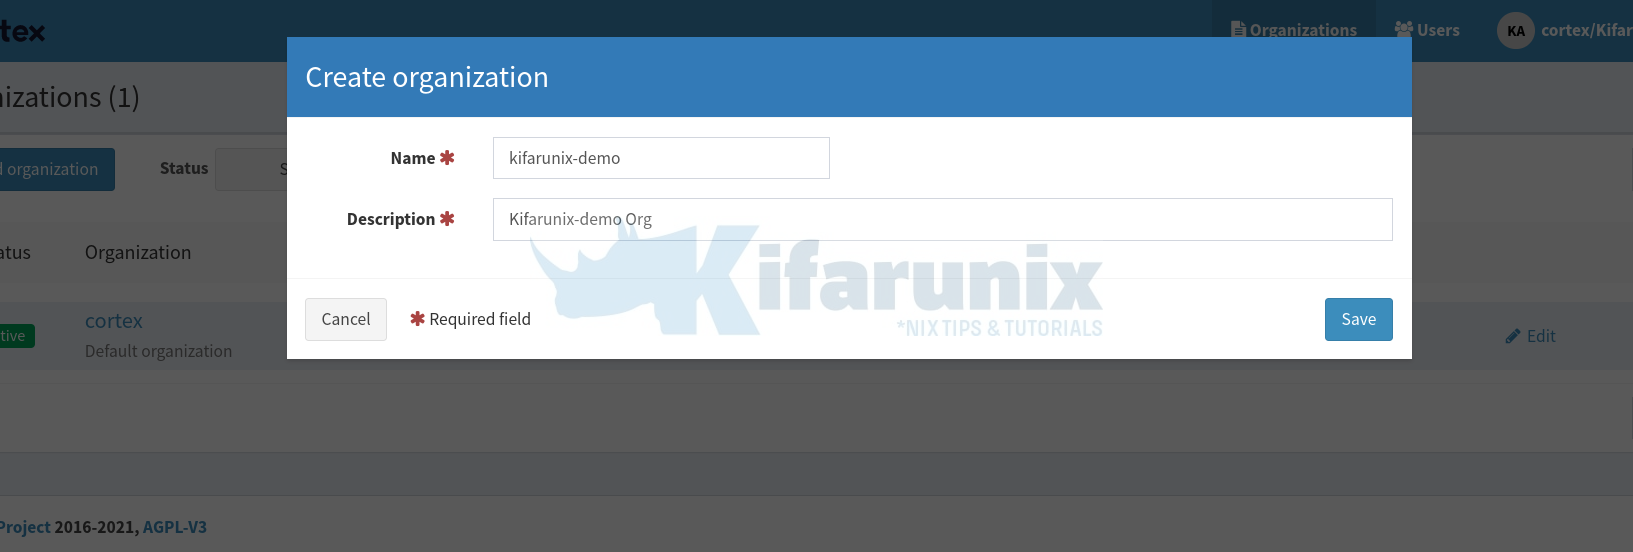
- Click + Add Organization
- Enter the Name and Description of the Organization
- Click Save to create the organization.
Next, create Organization admin account;
- Click on the newly created organization.
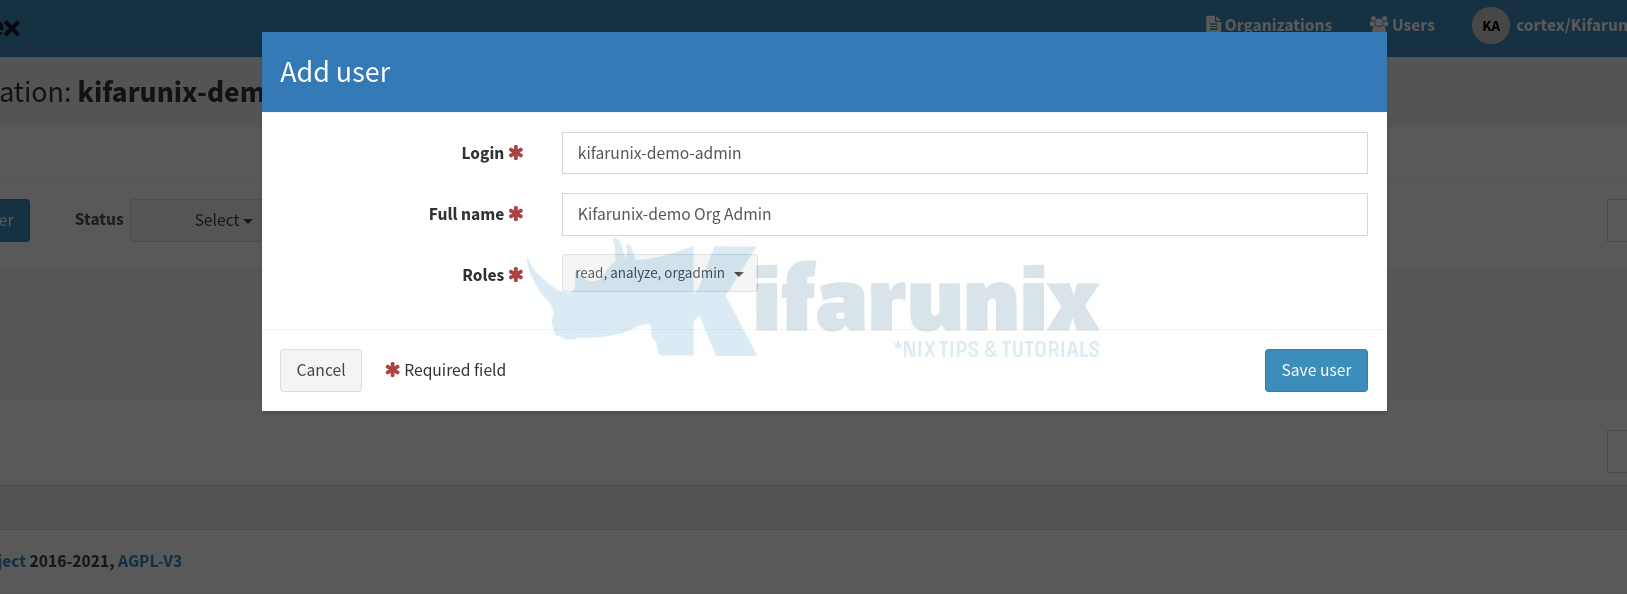
- Click +Add user
- Enter the username, full name and roles of the user;
- Click Save user to create the user.
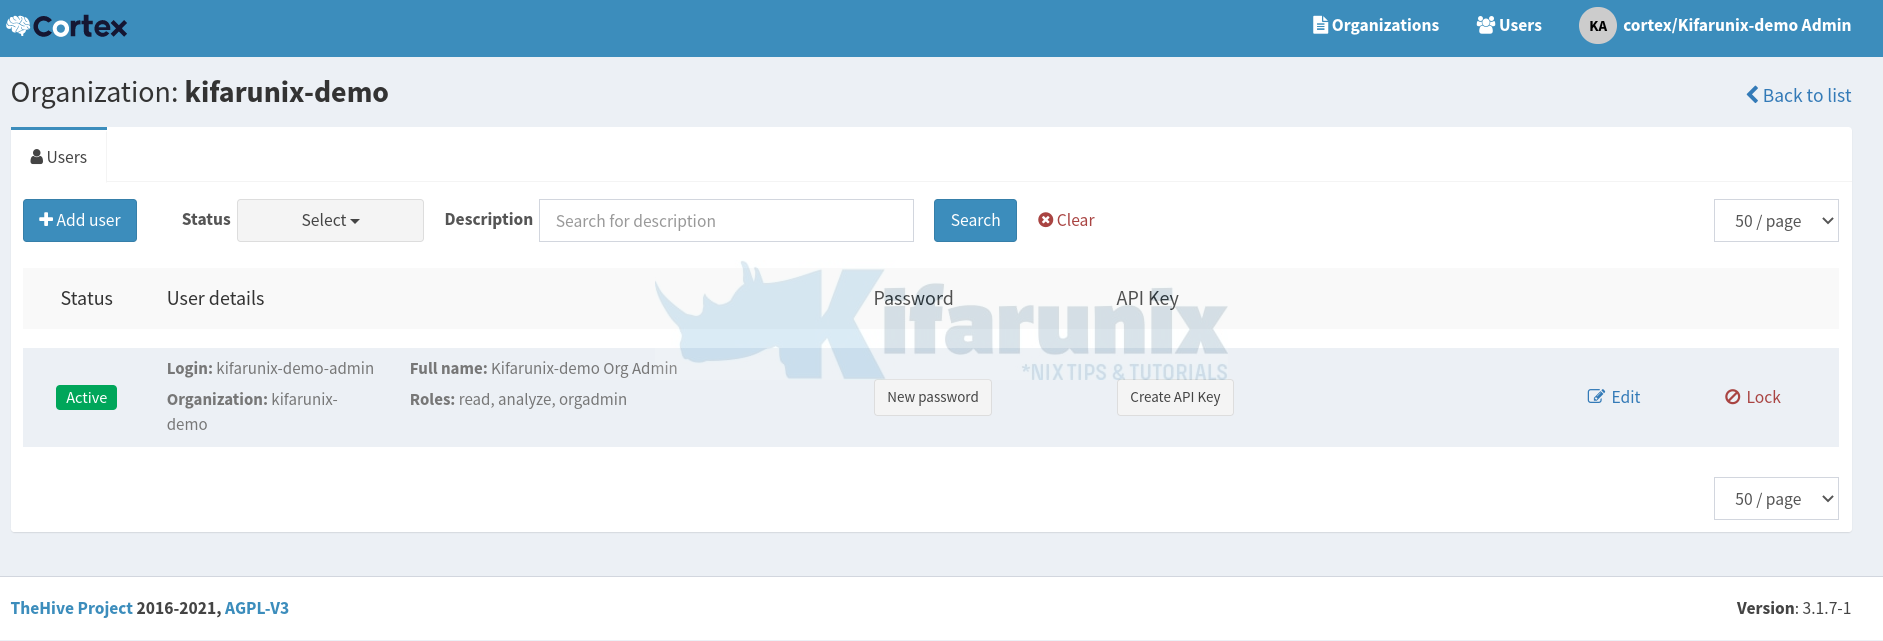
Click New Password to set user’s password.
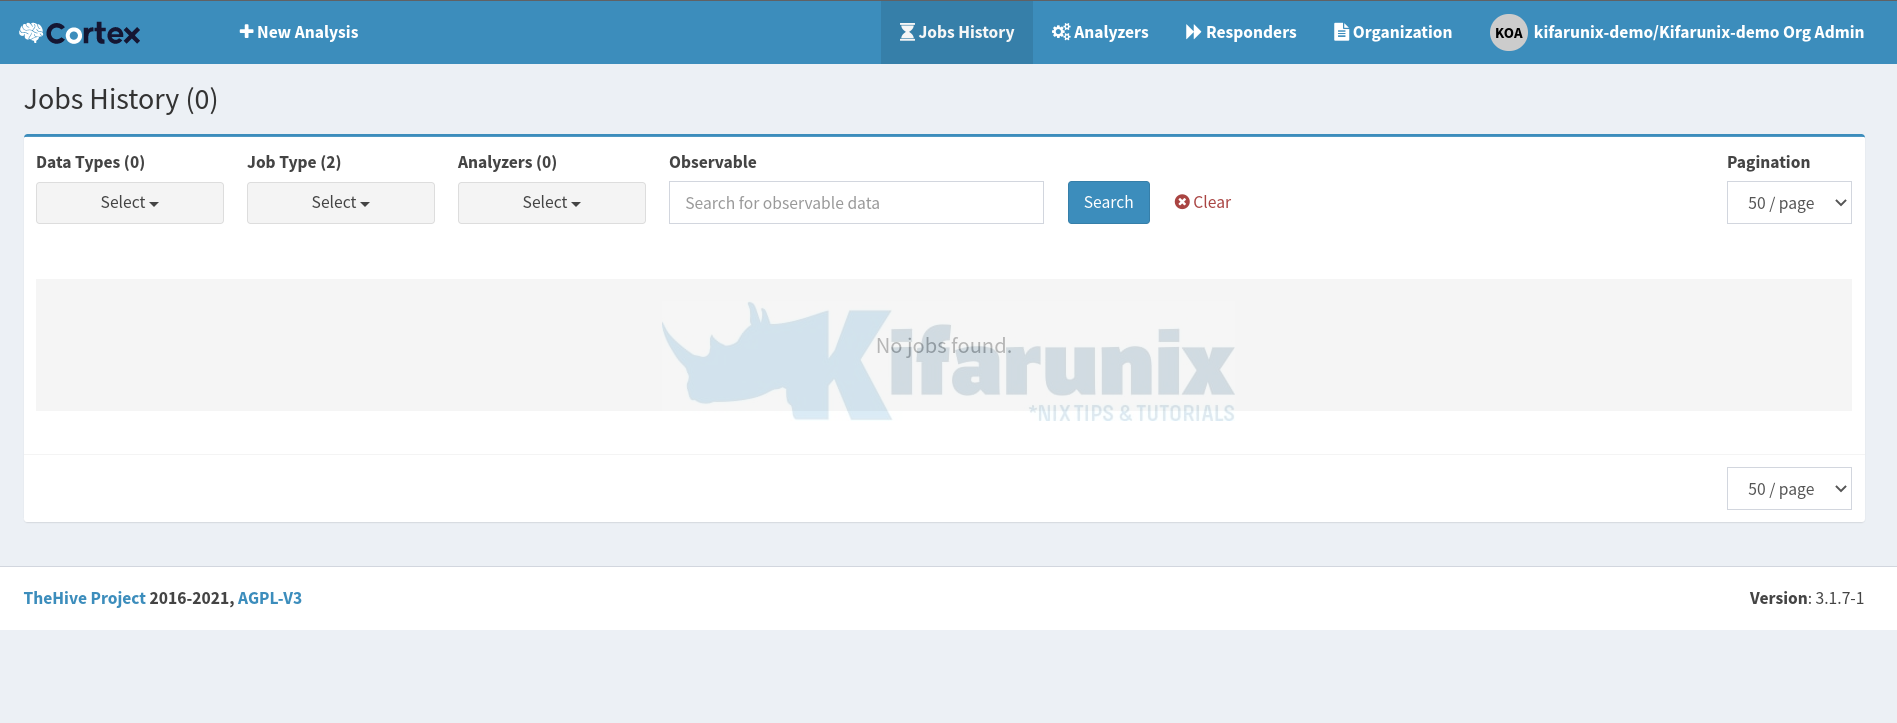
Log out as superadmin and login as your specific organization admin to continue with other Cortex settings;
And now you have access to more organization settings;
And there you go!
That marks the end of our tutorial on installing Cortex on Ubuntu 22.04/Ubuntu 20.04.
Further Reading
Other Tutorials
How to Integrate TheHive with MISP







My cortex and elasticsearch is running, but when I accessed the cortex on browser (IP:9001), it says it reach the page.
Do you know what could be the issue? Where can I find the logs?
Hi Carlo,
what is the output of;
ss -atlnp | grep :9001Also, did you open the port on firewall for external access?
LISTEN 0 100 *:9001 *:*
btw, I’m accessing it from another machine connected in the same VPN