Today, we are going to learn how to install Ajenti on Debian 9.8. Ajenti is a web based control panel that provides a GUI framework for managing Linux systems remotely. In our previous guides, we covered similar installations about webmin, guacamole, NoMachine which you can read by following the links below;
- Installing Webmin Web-based Linux System Administration Tool Fedora 29/28/CentOS 7
- How to Install and Configure Guacamole on Fedora 29
- How to Install and Setup Guacamole on Debian 9.8
- How to Setup Guacamole Web-based Remote Desktop Access Tool on Ubuntu 18.04
- How to Install and Use NoMachine Remote Desktop Tool on Ubuntu 18.04
Install Ajenti on Debian 9.8
There are different versions of Ajenti with different feature support. These versions include Ajenti v1.x, v2 and Ajenti Core. You can learn more about them here.
Run System Update
Before you can start the installation, update and upgrade system packages.
apt update
apt upgrade
Add Ajenti Repository
Ajenti is not available by default on the default debian 9 repositories. Hence, you need to add the repository to enable you install it. Before you can add the repository, install the repository signing key.
wget http://repo.ajenti.org/debian/key -O- | sudo apt-key add -
Next, add the repository.
echo "deb http://repo.ajenti.org/debian main main debian" | sudo tee -a /etc/apt/sources.list
Run system update and install Ajenti
apt update
apt install ajenti
If everything goes well, you should be able to output below;
...
:: Generating certificate

Signature ok
subject=C = US, ST = NA, L = Nowhere, O = Acme Inc, OU = IT, CN = debian
Getting Private key
:: SSL configured!
------------------------------------------------
Now start Ajenti with 'service ajenti restart'
Ajenti will listen on HTTPS port 8000 by default

Default username : root
Default password : admin
------------------------------------------------
Processing triggers for libc-bin (2.24-11+deb9u4) ...
Processing triggers for python-support (1.0.15) ...
Processing triggers for systemd (232-25+deb9u9) ...
Access Ajenti Web UI
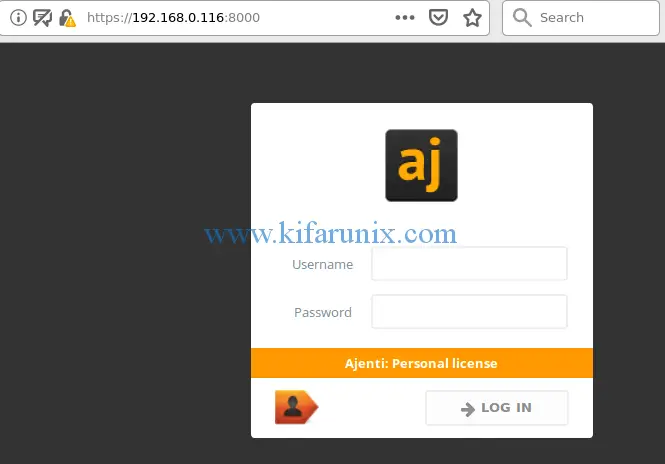
Ajenti listens on TCP port 8000 by default and you can now access via the URL, https://<server-IP>:8000. Add the SSL warnings as an exception and proceed to Ajenti login page.
The default login credentials are root and admin for username and password respectively.
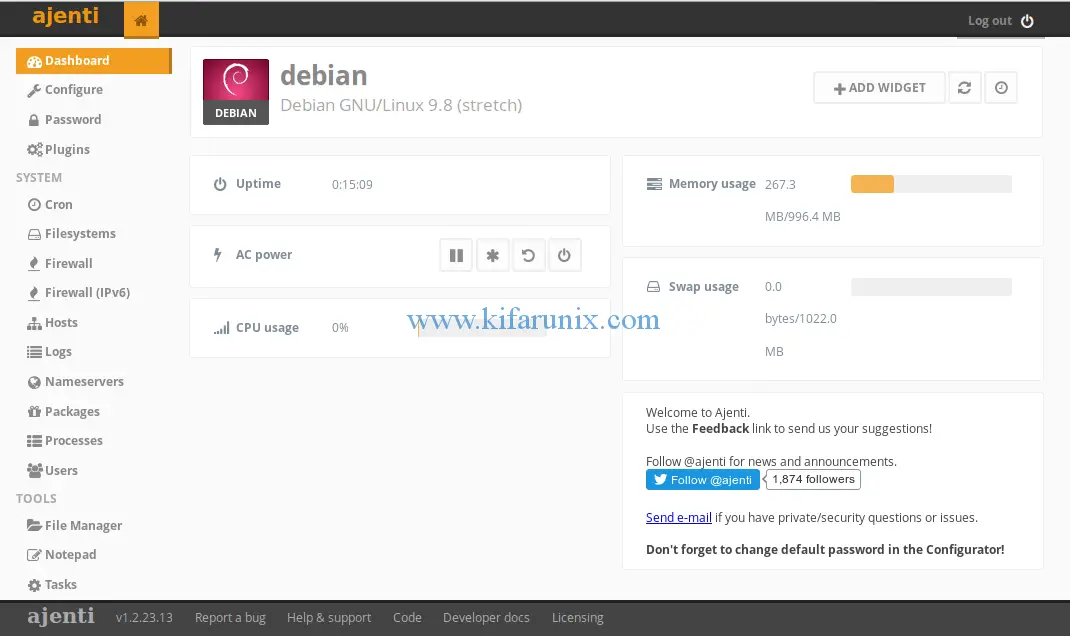
 You can now explore various tabs to check what they offer and interact with your system from the browser as comfortably as you would if you had direct access.
If you need to manage other stuff like websites, emails, databases such as MySQL, you can optionally install Ajenti V plugin. Ajenti V plugin adds fast, efficient and easy-to-setup web hosting capabilities.
Install Ajenti V plugin
To install Ajenti with support for PHP 7.3, you need to add the PHP7.3 repositories yo your Debian server.
Add php 7.3 repository
Run the command below to add PHP 7.3 repository and update system packages.
wget https://packages.sury.org/php/apt.gpg -O /etc/apt/trusted.gpg.d/php.gpg
echo "deb https://packages.sury.org/php/ $(lsb_release -sc) main" | sudo tee /etc/apt/sources.list.d/php7.3.list
apt -y install apt-transport-https
apt update
Install Ajenti V plugin
apt install ajenti-v ajenti-v-nginx ajenti-v-mysql ajenti-v-mail ajenti-v-nodejs ajenti-v-php7.3-fpm php7.3-mysql
Once the installation is done, start and enable ajenti to run on system boot.
systemctl restart ajenti
systemctl enable ajenti
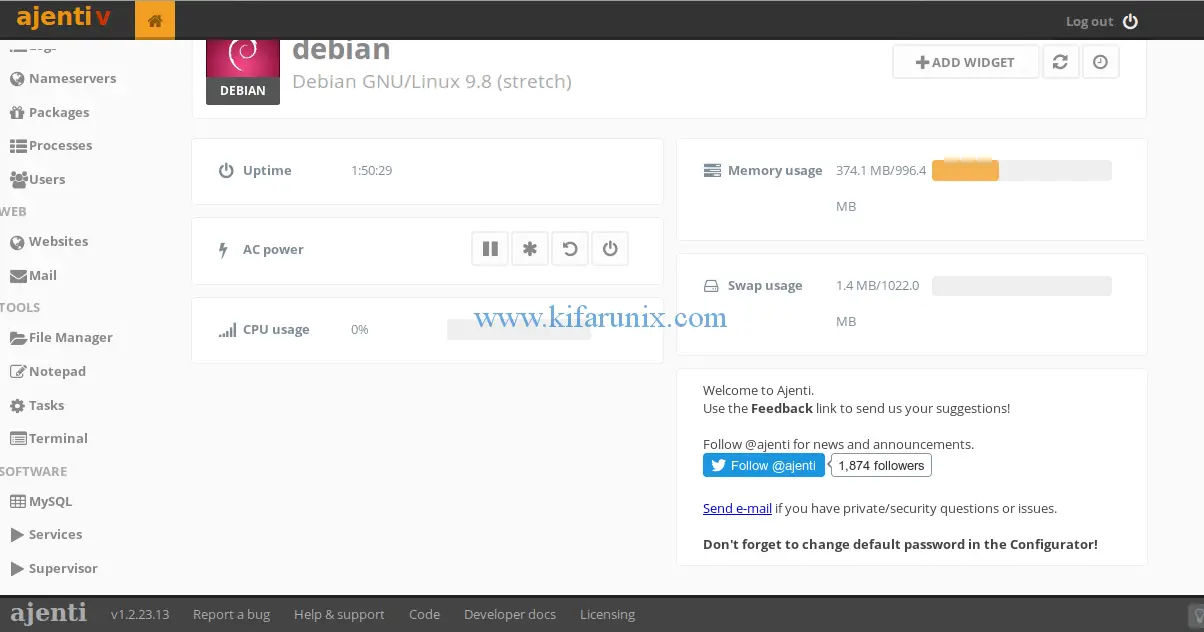
Next, login again to Ajenti web UI. This time round, you should be able to see Websites and Mail tabs under WEB tab.
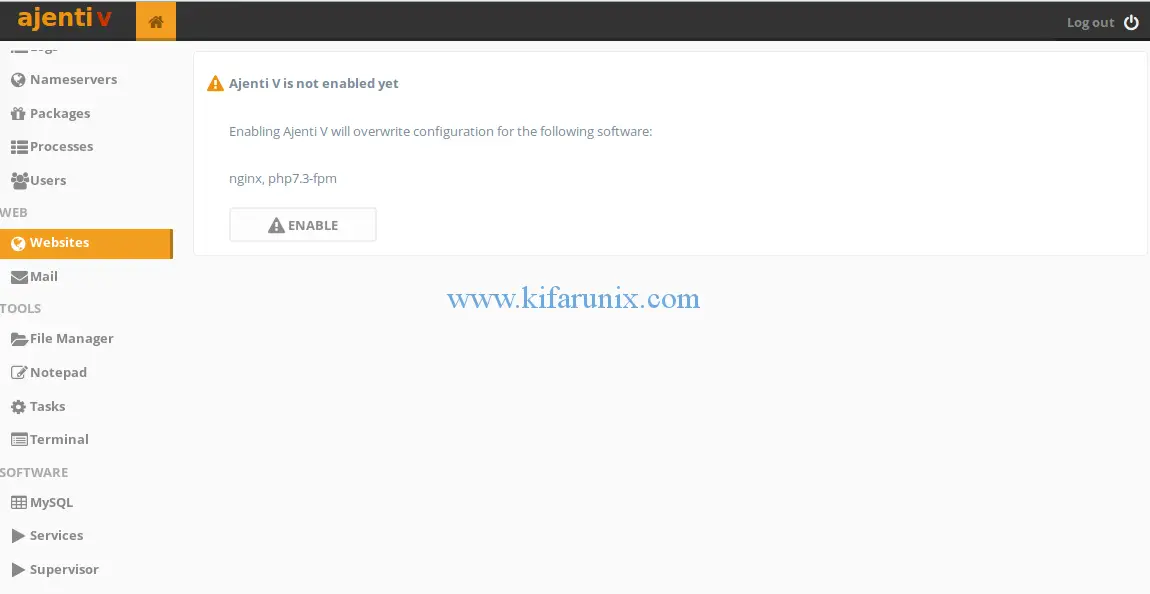
To be able to manage websites, enable Nginx and PHP. Similarly, you need to enable Ajenti V mail in order to manage mails.
At the same time, you should be able to see MYSQL management tab under SOFTWARE tab.
Well, up to that point, you have learnt how to install Ajenti on Debian 9.8 and you should be able to manage your systems remotely via web control panel. Enjoy.


