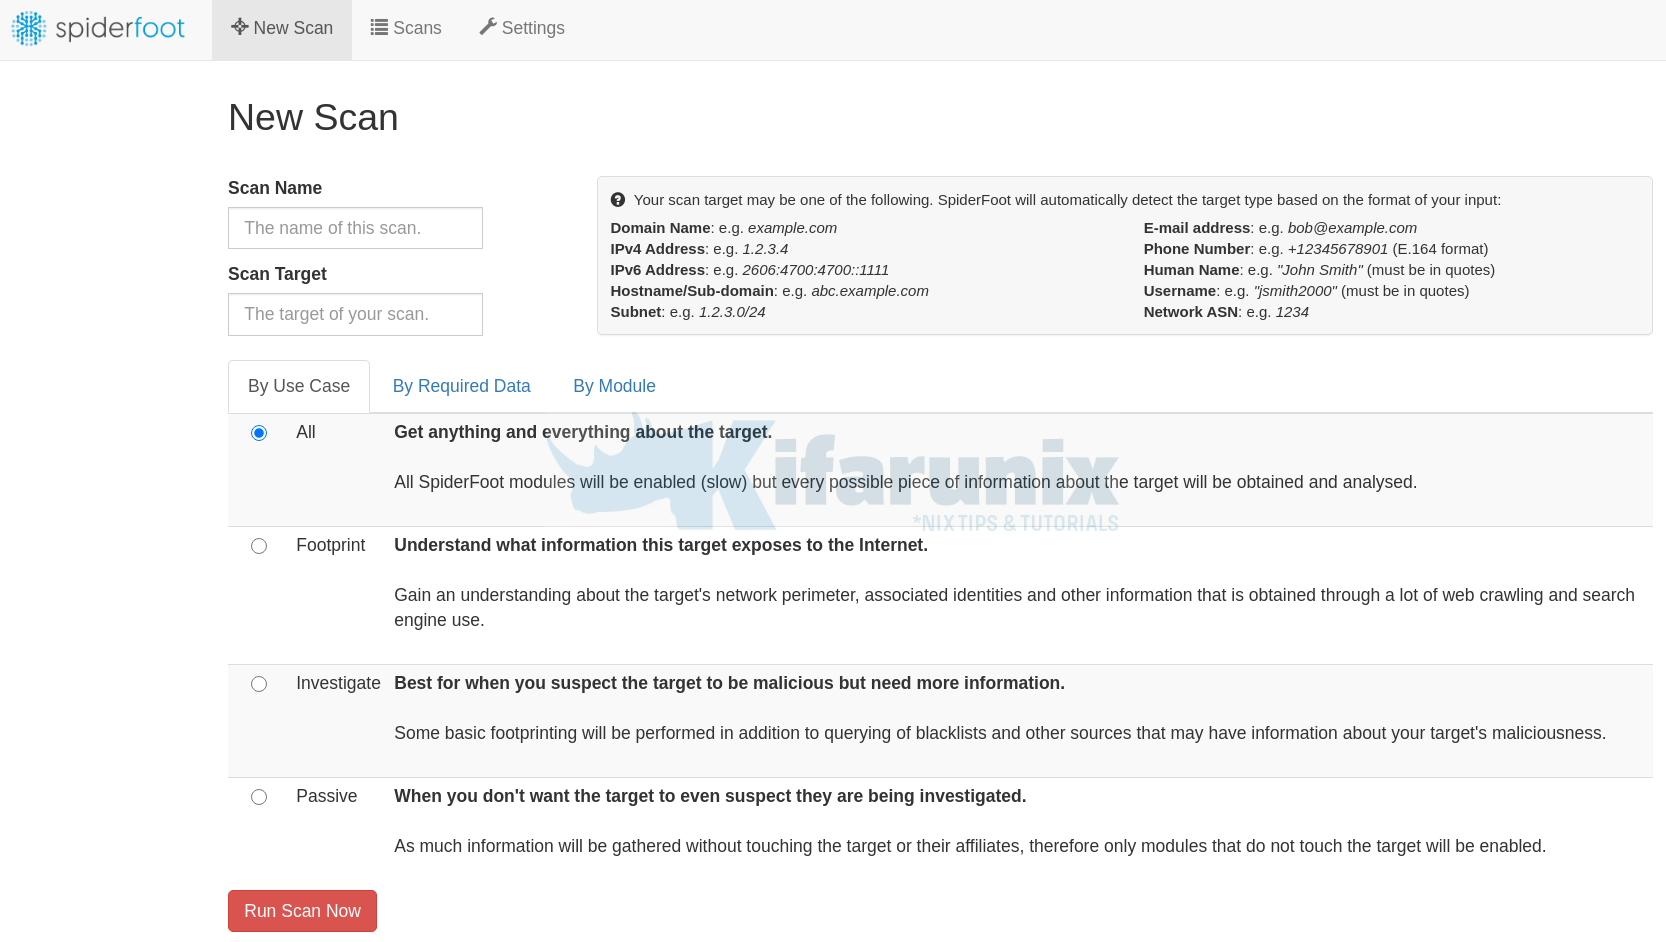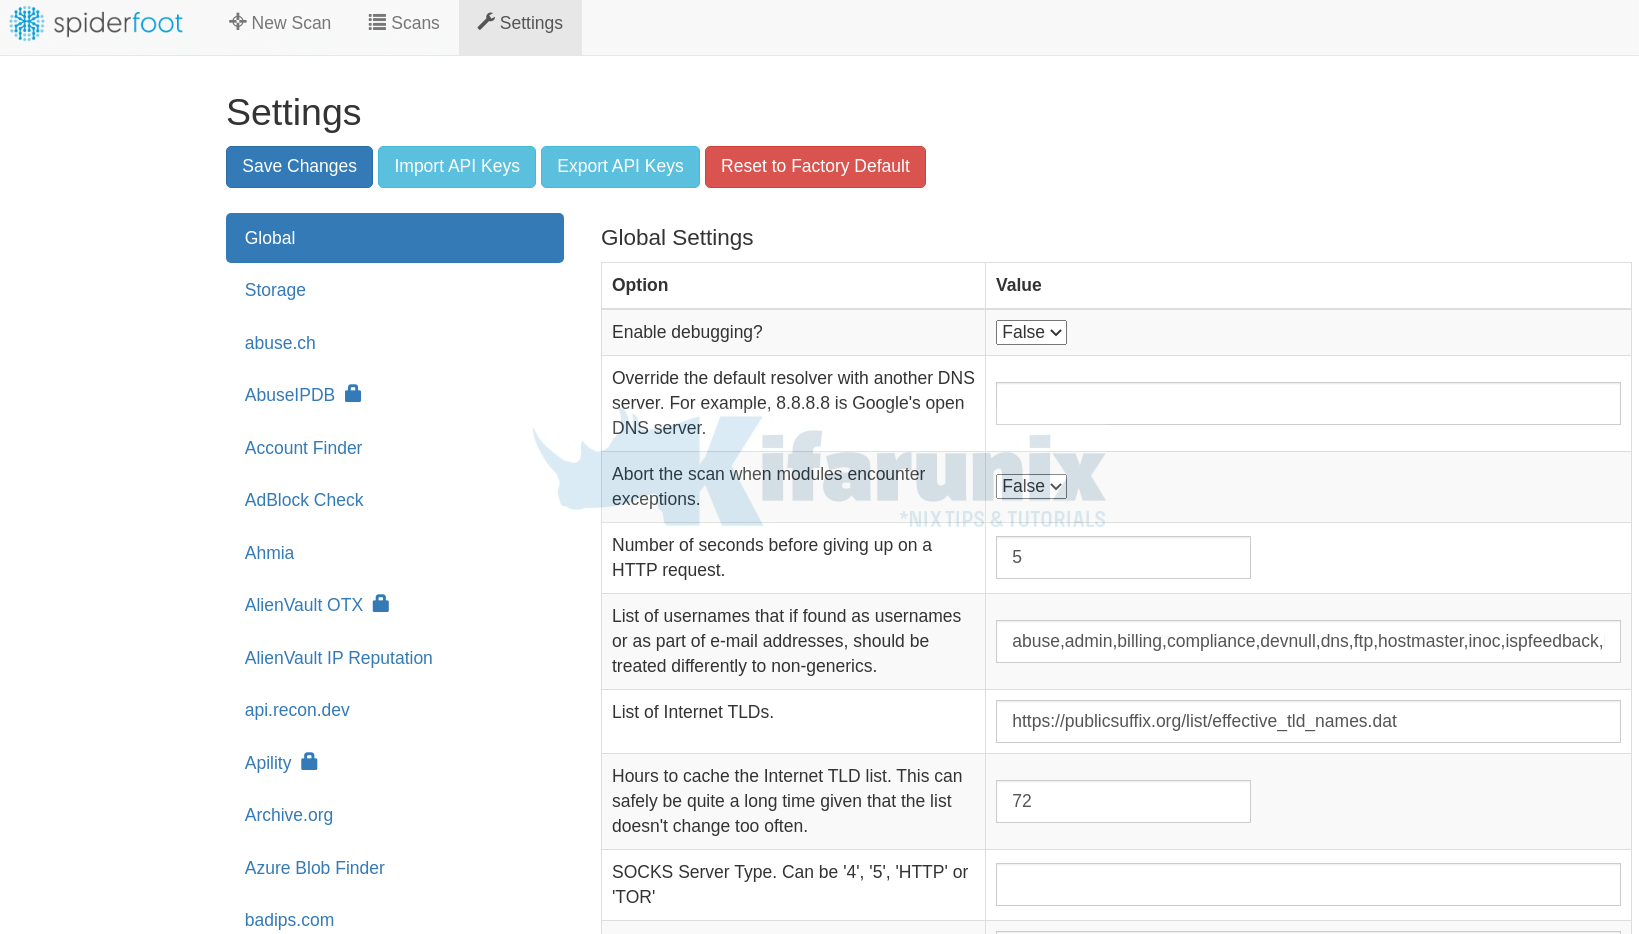
In this tutorial, you will learn how to install SpiderFoot on Ubuntu 20.04. SpiderFoot is a reconnaissance tool that automatically queries over 100 public data sources (OSINT) to gather intelligence on IP addresses, domain names, e-mail addresses, names and more. You simply specify the target you want to investigate, pick which modules to enable and then SpiderFoot will collect data to build up an understanding of all the entities and how they relate to each other.
Some of the common use cases of SpiderFoot include;
Installing SpiderFoot on Ubuntu 20.04
Prerequisites
In order to install SpiderFoot, you need to install a few package dependencies.
Run System Update
Update and upgrade your system packages;
apt updateapt upgradeInstall Python 3 on Ubuntu 20.04
SpiderFoot is a Python based application and hence, it requires Python 3.6+ in order to run. Ubuntu 20.04 ships with Python 3 pre-installed. You can check installed version of Python3 by running the command below;
apt list -a python3python3/focal,now 3.8.2-0ubuntu2 amd64 [installed]As you can see, we have Python 3.8.2 which is fine.
Install Python 3 PIP
Run the command below to install Python 3 PIP;
apt install python3-pipInstall SpiderFoot
Download the stable latest release version of SipderFoot source code from Github repository, which is v3.2.1 as of this writing;
You can simply pull it and extract at the same using the command below;
curl -Ls https://github.com/smicallef/spiderfoot/archive/v3.2.1.tar.gz | tar xzIf you check the current directory, you should see such a folder;
lsspiderfoot-3.2.1To install SpiderFoot including other package requirements, navigate to the directory above and run the installation as shown below;
cd spiderfoot-3.2.1pip3 install -r requirements.txtRunning SpiderFoot
Once the installation is done, SpiderFoot can be run in two modes;
- Scan mode: Running SpiderFoot scans on command line with no web ui being started.
- Web UI mode: Starts SpiderFoot with its built in web server to enable the management of scans and configs from the browser.
Running SpiderFoot on Scan mode
To run SpiderFoot in scan mode, use the command;
cd spiderfoot-3.2.1python3 sf.py OPTIONTo can list the available options by running the command;
python3 sf.py --helpusage: sf.py [-h] [-d] [-l IP:port] [-m mod1,mod2,...] [-M] [-s TARGET] [-t type1,type2,...] [-T] [-o tab|csv|json] [-H] [-n] [-r] [-S LENGTH] [-D DELIMITER] [-f]
[-F type1,type2,...] [-x] [-q]
SpiderFoot 3.2.1: Open Source Intelligence Automation.
optional arguments:
-h, --help show this help message and exit
-d, --debug Enable debug output.
-l IP:port IP and port to listen on.
-m mod1,mod2,... Modules to enable.
-M, --modules List available modules.
-s TARGET Target for the scan.
-t type1,type2,... Event types to collect (modules selected automatically).
-T, --types List available event types.
-o tab|csv|json Output format. Tab is default. If using json, -q is enforced.
-H Don't print field headers, just data.
-n Strip newlines from data.
-r Include the source data field in tab/csv output.
-S LENGTH Maximum data length to display. By default, all data is shown.
-D DELIMITER Delimiter to use for CSV output. Default is ,.
-f Filter out other event types that weren't requested with -t.
-F type1,type2,... Show only a set of event types, comma-separated.
-x STRICT MODE. Will only enable modules that can directly consume your target, and if -t was specified only those events will be consumed by modules.
This overrides -t and -m options.
-q Disable logging. This will also hide errors!The options are self explanatory.
Running SpiderFoot on Web UI mode
To be able to access and run SpiderFoot scans from the web interface, you can start SpiderFoot in web ui mode. For this, you need to specify the interface IP and port to access SpiderFoot with. Note, you can use any port as long no other application is using the same port.
cd spiderfoot-3.2.1python3 sf.py -l 192.168.57.3:8080The above command enables SpiderFoot to be accessible from browser using the address, http://192.168.57.3:8080.
Starting web server at 192.168.57.3:8080 ...

********************************************************************
Warning: passwd file contains no passwords. Authentication disabled.
********************************************************************


*************************************************************
 Use SpiderFoot by starting your web browser of choice and
 browse to http://192.168.57.3:8080
*************************************************************


[19/Jan/2021:18:43:55] ENGINE Listening for SIGTERM.
[19/Jan/2021:18:43:55] ENGINE Listening for SIGHUP.
[19/Jan/2021:18:43:55] ENGINE Listening for SIGUSR1.
[19/Jan/2021:18:43:55] ENGINE Bus STARTING
[19/Jan/2021:18:43:55] ENGINE Serving on http://192.168.57.3:8080
[19/Jan/2021:18:43:55] ENGINE Bus STARTED
If firewall is running, open the port to allow external access.
ufw allow 8080/tcp
Enable SpiderFoot Basic Authentication
By default, SpiderFoot doesn’t implement any authentication to the Web UI and any can access the dashboard. To enable basic auth, enter a username and passwd to a file in the SpiderFoot directory in the format (still in plain text though);
username:passwordYou can simply echo the username and password to file;
echo "admin:password" > passwdRestart SpiderFoot and verify the basic authentication;
python3 sf.py -l 192.168.57.3:8080python3 sf.py -l 192.168.57.3:8080
Starting web server at 192.168.57.3:8080 ...
Enabling authentication based on supplied passwd file.
*************************************************************
Use SpiderFoot by starting your web browser of choice and
browse to http://192.168.57.3:8080
*************************************************************
[19/Jan/2021:18:54:38] ENGINE Listening for SIGTERM.
[19/Jan/2021:18:54:38] ENGINE Listening for SIGHUP.
[19/Jan/2021:18:54:38] ENGINE Listening for SIGUSR1.
[19/Jan/2021:18:54:38] ENGINE Bus STARTING
[19/Jan/2021:18:54:38] ENGINE Serving on http://192.168.57.3:8080
[19/Jan/2021:18:54:38] ENGINE Bus STARTEDNavigate through the SpiderFoot web UI to perform your desired scans.


That is it on how to install SpiderFoot. Feel free to explore this tool and utilize it as you wish
Reference and Further Reading
In order to further configure and setup SpiderFoot, please refer to its documentation page.
Other tutorials
How to Install and Use ClamAV Antivirus on Ubuntu 18.04

