This guide describes how to install and configure Guacamole on Fedora 29. We have covered similar setups in our previous guides on Debian 9.8 and Ubuntu 18.04. You can check them by following the links below.
- How to Install and Setup Guacamole on Debian 9.8
- How to Setup Guacamole Web-based Remote Desktop Access Tool on Ubuntu 18.04
If you also need to learn how to transfer files over Guacamole, check our tutorial here;
Install and Configure Guacamole on Fedora 29
The installation covers installation and setup of Guacamole-server as well Guacamole client. Guacamole server (guacd) provides contains all the required server-side components required by Guacamole to connect to remote desktops. Guacamole-client on the other hand provides all the all Java and JavaScript components of Guacamole that make up the web application which serves the HTML5 Guacamole client to users that connect to Guacamole server.
Installing Guacamole Server on Fedora 29
Luckily, the latest release of the Guacamole server (v 0.9.14) is available on the default Fedora 29 repositories. Just power up your terminal and execute the following commands to install Guacamole server (guacd) and all the other required packages for the remote connection protocols that Guacamole server supports.
Disable SELinux or set it up on permissive mode but be cautious of the repercussions of this. Otherwise, leave it on enforcing mode if at all you understand how it functions.
sed -i 's/=enforcing/=permissive/' /etc/selinux/config
systemctl reboot -i
After that, proceed to install Guacamole server.
dnf update
dnf install guacd libguac-client-rdp libguac-client-ssh libguac-client-vnc libguac-client-telnet
Once the installation is done, start and enable Guacamole server (guacd) to run on system reboot.
systemctl start guacd
systemctl enable guacd
By default, Guacamole server listens on TCP port 4822. You need to open this port on firewall.
Installing Apache Tomcat
Once the server is installed, run the command below to install Tomcat Java servelet container that serves Guacamole client and all the required dependencies.
dnf install tomcat tomcat-webapps
Start and enable Tomcat.
systemctl start tomcat
systemctl enable tomcat
Apache Tomcat listens on TCP port 8080. Hence open access to this port on firewall by running the command below;
firewall-cmd --permanent --add-port=8080/tcp
firewall-cmd --reload
Verify that Tomcat is ready to server the client requests by navigating to the browser and entering the URL, http://IP_Address:8080 and you should land on the Tomcat test page.
Installing Guacamole Client on Fedora 29
The Guacamole client is available as a binary. To install it, just pull it from the Guacamole binaries downloads page as shown below.
wget https://sourceforge.net/projects/guacamole/files/current/binary/guacamole-0.9.14.war
To install the Guacamole client binary, just move it to the main configuration directory renaming it as follows.
mv guacamole-0.9.14.war /etc/guacamole/guacamole.war
After that, link the Guacamole client to Apache Tomcat webapps configuration directory.
ln -s /etc/guacamole/guacamole.war /var/lib/tomcat/webapps/
Configuring Guacamole Server
After the installation of the Guacamole server daemon, you need define how to Guacamole client will connect to the Guacamole server (guacd) under the /etc/guacamole/guacamole.properties configuration file. Within this configuration, you need to simply define Guacamole server hostname, port, user mapping configuration file, authentication provider.
vim /etc/guacamole/guacamole.properties
guacd-hostname: localhost
guacd-port:    4822
user-mapping:    /etc/guacamole/user-mapping.xml
auth-provider:    net.sourceforge.guacamole.net.basic.BasicFileAuthenticationProvider
you need to configure authentication method and create users who can access Guacamole server. To begin with, create the Guacamole general configuration directory. This file is reference by the Guacamole home environment variable, GUACAMOLE_HOME.
mkdir /etc/guacamole
In regards to authentication methods, Guacamole supports LDAP, backend databases, local file etc. Reading users and connection details from local file, usually user-mapping.xml, is the default method used by Guacamole. We are going to use the default authentication method in this guide.
Configure default authentication
The default authentication method for Guacamole involves reading usernames and passwords from an XML file, /etc/guacamole/user-mapping.xml.
vim /etc/guacamole/user-mapping.xml
<user-mapping>

    <!-- Per-user authentication and config information -->

    <!-- A user using md5 to hash the password
         amos user and its md5 hashed password below is used to
             login to Guacamole Web UI-->
    <authorize
            username="amos"
            password="602361b61d6818197680784e1112e3ee"
            encoding="md5">
    </authorize>

</user-mapping>
For every defined user, you need generate MD5 hashed password. The MD5 password hashes can be generated as shown below;
echo -n Your_Password | openssl md5
(stdin)= 602361b61d6818197680784e1112e3ee
You can as well specify authorized connections for each user.
<user-mapping>

    <!-- Per-user authentication and config information -->

    <!-- A user using md5 to hash the password
         amos user and its md5 hashed password below is used to
             login to Guacamole Web UI-->
    <authorize
            username="amos"
            password="602361b61d6818197680784e1112e3ee"
            encoding="md5">
        <connection name="SSH Connection">
            <protocol>ssh</protocol>
            <param name="hostname">192.168.43.203</param>
            <param name="port">22</param>
            <param name="username">amos</param>
        </connection>
        <connection name="RDP connection">
            <protocol>rdp</protocol>
            <param name="hostname">192.168.43.73</param>
            <param name="port">3389</param>
            <param name="username">mibeyki</param>
        </connection>

    </authorize>

</user-mapping>
Next, the Apache Tomcat servelet container should be able to read all the configurations defined under /etc/guacamole directory. Hence, add the GUACAMOLE_HOME environment variable to the serverlet configuration file as shown below;
echo "GUACAMOLE_HOME=/etc/guacamole" >> /etc/default/tomcat
Restart both Tomcat and Guacamole server.
systemctl restart tomcat
systemctl restart guacd
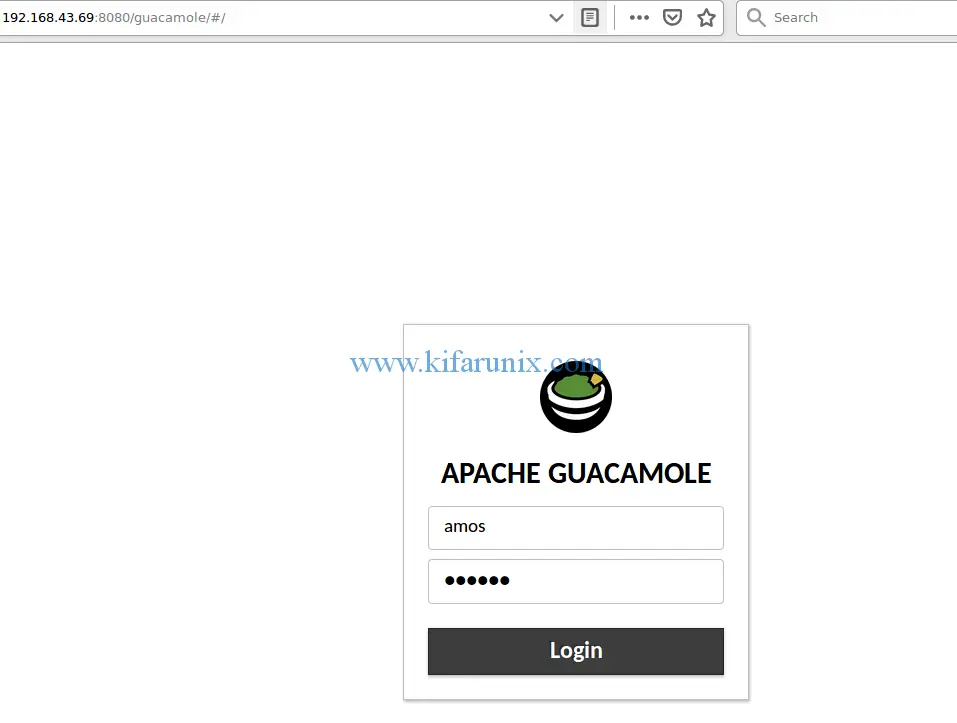
Guacamole UI can be accessed with the URL, http://Server_IP:8080/guacamole.
When you login, you should be able to see the two connections defined above.
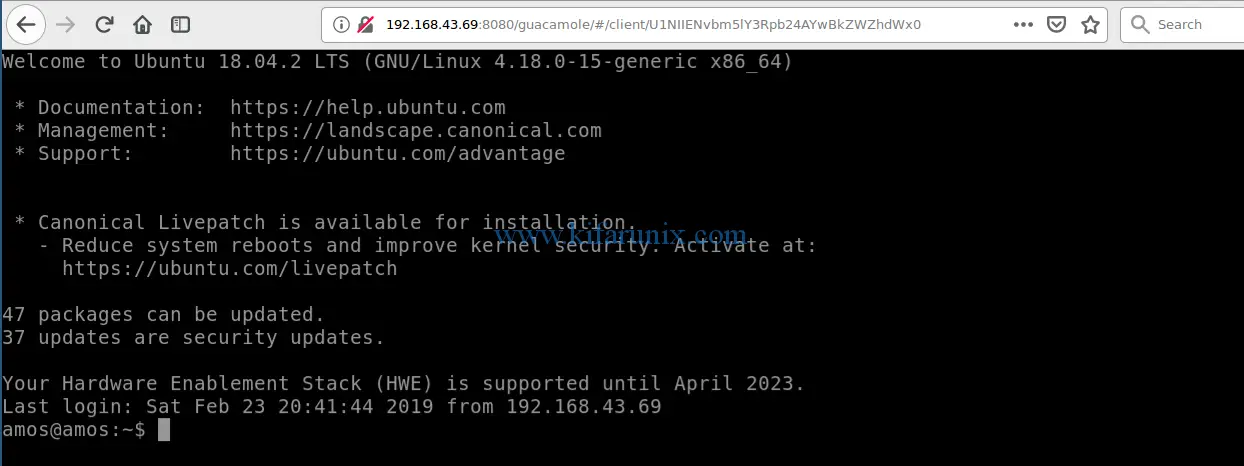
To initiate a connection, click on the connection type. For example, if I click on the SSH connection, this will take me to Password prompt. After successful authentication, you should get into the remote server’s terminal.
To ensure that you got good fonts, install the following fonts.
dnf install terminus-fonts terminus-fonts-console dejavu-sans-mono-fonts
Well, that is a basic introduction into how to install and configure Guacamole on Fedora 29. You can learn more about Guacamole and its configuration by following the reference link below.
Reference


It’s an extremely bad idea to disable SELinux.
Very useful guide
I followed this guide and now i can’t admin my guacamole at all as in the default username guacadmin etc doesn’t work… Any ideas?