In this guide, we are going to learn how to install Zabbix Server from source on Debian 11. Zabbix is an enterprise class monitoring solution for any kind of IT infrastructure, services, applications, cloud resources.
Installing Zabbix Server from Source on Debian 11
Zabbix can be built from the source code or can be installed from Zabbix repository.
As of this writing, Zabbix has not released the APT repos for the Debian 11. Hence, we will install Zabbix from the source.
Install LAMP/LEMP Stack
In this tutorial, we will use LAMP Stack. Follow the guide below to install LAMP Stack on Debian 11.
Install LAMP Stack on Debian 11
Install Additional Packages
Once the installation of LAMP Stack is done, proceed to install additional PHP extensions and other required dependencies for the successful build of Zabbix
apt install build-essential libmariadb-dev sudo libxml2-dev snmp libsnmp-dev libcurl4-openssl-dev php-gd php-xml php-bcmath php-mbstring vim libevent-dev libpcre3-dev libxml2-dev libmariadb-dev libapache2-mod-php libopenipmi-dev pkg-config php-ldap php-mysql -yCreate Zabbix Database
Login to MariaDB server and create a database and a database user for Zabbix. The database user should have all the privileges on the zabbix database.
mysql -u root -pcreate database zabbixdb character set utf8 collate utf8_bin;grant all on zabbixdb.* to zabbixadmin@localhost identified by 'P@SSw0RD';flush privileges;
quitCreate Zabbix User System Account
A Zabbix system account is required for running Zabbix daemons. Hence you can create it by running the command below;
sudo useradd -r -d /var/lib/zabbix -s /sbin/nologin -M zabbixmkdir -m u=rwx,g=rwx,o= -p /var/lib/zabbixchown zabbix:zabbix /var/lib/zabbix
Download Zabbix Source Code
Navigate to Zabbix download page and download the latest and stable Zabbix source archive. You can simply get the download link and use wget command download it.
wget https://cdn.zabbix.com/zabbix/sources/stable/5.4/zabbix-5.4.4.tar.gzExtract Zabbix Source Code
Navigate to the directory in which you downloaded Zabbix source code and extract it.
tar xzf zabbix-5.4.4.tar.gzConfigure Zabbix Sources
Navigate to extracted Zabbix source directory and run the configure script to adapt Zabbix to the system. This step may fail if one of the required dependencies is not installed. In this guide, we are going to configure Zabbix server and agent and enable support for MariaDB database backend.
cd zabbix-5.4.4
./configure --enable-server --enable-agent --with-mysql --enable-ipv6 --with-net-snmp --with-libcurl --with-libxml2If the configure script completes successfully, you should see a summary of configuration.
Configuration:

  Detected OS:           linux-gnu
  Install path:          /usr/local
  Compilation arch:      linux

  Compiler:              cc
  Compiler flags:         -g -O2

  Library-specific flags:
    database:              -I/usr/include/mariadb -I/usr/include/mariadb/mysql
    libXML2:               -I/usr/include/libxml2
    Net-SNMP:               -I/usr/local/include -I/usr/lib/x86_64-linux-gnu/perl/5.32/CORE -I. -I/usr/include
    OpenIPMI:              -I/usr/include

  Enable server:         yes
  Server details:
    With database:         MySQL
    WEB Monitoring:        cURL
      SSL certificates:      /usr/local/share/zabbix/ssl/certs
      SSL keys:              /usr/local/share/zabbix/ssl/keys
    SNMP:                  yes
    IPMI:                  yes
    SSH:                   no
    TLS:                   no
    ODBC:                  no
    Linker flags:           -L/usr/lib/x86_64-linux-gnu   -L/usr/lib/x86_64-linux-gnu/       -L/usr/lib       -rdynamic
    Libraries:              -lmariadb       -lnetsnmp   -lOpenIPMI -lOpenIPMIposix -lz -lpthread -levent    -lcurl -lm -ldl  -lresolv -lxml2   -lpcre
    Configuration file:    /usr/local/etc/zabbix_server.conf
    External scripts:      /usr/local/share/zabbix/externalscripts
    Alert scripts:         /usr/local/share/zabbix/alertscripts
    Modules:               /usr/local/lib/modules

  Enable proxy:          no

  Enable agent:          yes
  Agent details:
    TLS:                   no
    Modbus:                no
    Linker flags:                -rdynamic
    Libraries:              -lz -lpthread    -lcurl -lm -ldl  -lresolv -lxml2   -lpcre
    Configuration file:    /usr/local/etc/zabbix_agentd.conf
    Modules:               /usr/local/lib/modules

  Enable agent 2:        no

  Enable web service:    no

  Enable Java gateway:   no

  LDAP support:          no
  IPv6 support:          yes

***********************************************************
*            Now run 'make install'                       *
*                                                         *
*            Thank you for using Zabbix!                  *
*                                  *
***********************************************************
Compile and Install Zabbix 4.x from Sources on Debian 10 Buster
Next, run the command below to compile and install Zabbix
sudo make installZabbix configuration files will be installed on /usr/local/etc directory.
Configuring Zabbix
To begin with, configure Zabbix database connection details.
Open the configuration file, /usr/local/etc/zabbix_server.conf, and replace the values for DBName, DBUser, DBPassword with what you set while creating database. Uncomment the line # DBHost=localhost.
vim /usr/local/etc/zabbix_server.conf...
DBHost=localhost
...
DBName=zabbixdb
...
DBUser=zabbixadmin
...
DBPassword=P@SSw0RD
...Change Zabbix Server Log Directory
By default, Zabbix writes its log file to /tmp directory. Change it on the configuration file such that it writes it to /var/log.
LogFile=/var/log/zabbix_server.logSave and exit the configuration file (:wq! or ZZ).
Now, create this log file and set the ownership to Zabbix user.
touch /var/log/zabbix_server.log
chown zabbix:zabbix /var/log/zabbix_server.log
Import Zabbix Default Database and Initial Data
The Zabbix default MySQL database and initial data for each kind of database backend is located under the database subdirectory on the Zabbix source directory,
cd ~/zabbix-5.4.4/database/mysql/ls -1 *.sqldata.sql
double.sql
images.sql
schema.sqlBegin by importing the database schema, Images.sql and then data.sql.
mysql -u zabbixadmin -p zabbixdb < schema.sqlmysql -u zabbixadmin -p zabbixdb < images.sqlmysql -u zabbixadmin -p zabbixdb < data.sqlRunning Zabbix Server and Agent
Create a systemd service for Zabbix server.
cat > /etc/systemd/system/zabbix-server.service << EOL
[Unit]
Description=Zabbix Server
After=syslog.target network.target mariadb.service

[Service]
Type=oneshot
User=zabbix
ExecStart=/usr/local/sbin/zabbix_server
ExecReload=/usr/local/sbin/zabbix_server -R config_cache_reload
RemainAfterExit=yes
PIDFile=/var/run/zabbix/zabbix_server.pid

[Install]
WantedBy=multi-user.target
EOL
Create a systemd service for Zabbix agent
cat >  /etc/systemd/system/zabbix-agent.service << EOL
[Unit]
Description=Zabbix Agent
After=syslog.target network.target

[Service]
Type=oneshot
User=zabbix
ExecStart=/usr/local/sbin/zabbix_agentd
RemainAfterExit=yes
PIDFile=/var/run/zabbix/zabbix_agent.pid

[Install]
WantedBy=multi-user.target
EOL
Reload systemd configuration
systemctl daemon-reloadStart and enable Zabbix server,agent deamon to run on system start.
systemctl enable --now zabbix-server zabbix-agentIf firewall is running, open TCP port 10051 for remote connection.
ufw allow 10051/tcpInstalling Zabbix Frontend
To install Zabbix Frontend, copy Zabbix PHP configuration files under ui/php/ subdirectory on the source code directory to Zabbix web server root directory.
Create Zabbix Web root directory.
mkdir /var/www/html/zabbixNext, copy Zabbix PHP files.
cp -a ~/zabbix-5.4.4/ui/* /var/www/html/zabbix/Set the user and group ownership of the Zabbix directory to www-data.
chown -R www-data:www-data /var/www/html/zabbix/Configure Zabbix Frontend
There are some known compatibility issues between Zabbix 4.x and PHP 7.3 Opcache. Hence, disable Opcache by running the command below.
echo "opcache.enable=0" >> /etc/php/7.4/mods-available/opcache.iniNext, open the PHP configuration file and make the following changes;
vim /etc/php/7.4/apache2/php.ini- Set the minimum size of PHP post data to 16M
sed -i '/post_max_size/s/= 8M/= 16M/' /etc/php/7.4/apache2/php.ini- Set PHP max_execution_time to 300s
sed -i 's/max_execution_time = 30/max_execution_time = 300/' /etc/php/7.4/apache2/php.ini- Set PHP max_input_time to 300s
sed -i '/max_input_time/s/= 60/= 300/' /etc/php/7.4/apache2/php.ini- Configure PHP timezone
sed -i 's/;date.timezone =/date.timezone = Asia\/Nicosia/' /etc/php/7.4/apache2/php.iniRestart Apache and Proceed to finalize Zabbix Frontend configuration.
systemctl restart apache2Access Zabbix on your browser to finalize the frontend configuration using the address, http://<server-IP/zabbixy
Configure Zabbix Web User Interface
To complete Zabbix installation, navigate to the browser and access your Zabbix server via the address http://<server-IP>/zabbix.
When access the address above, the first page you land on is Zabbix welcome page.
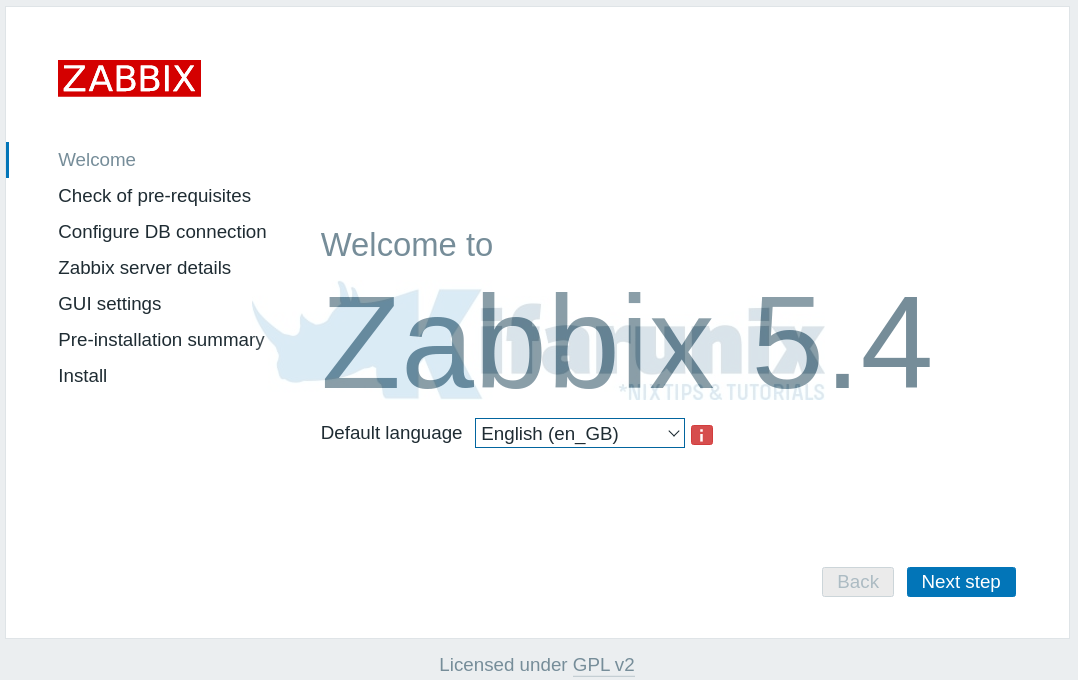
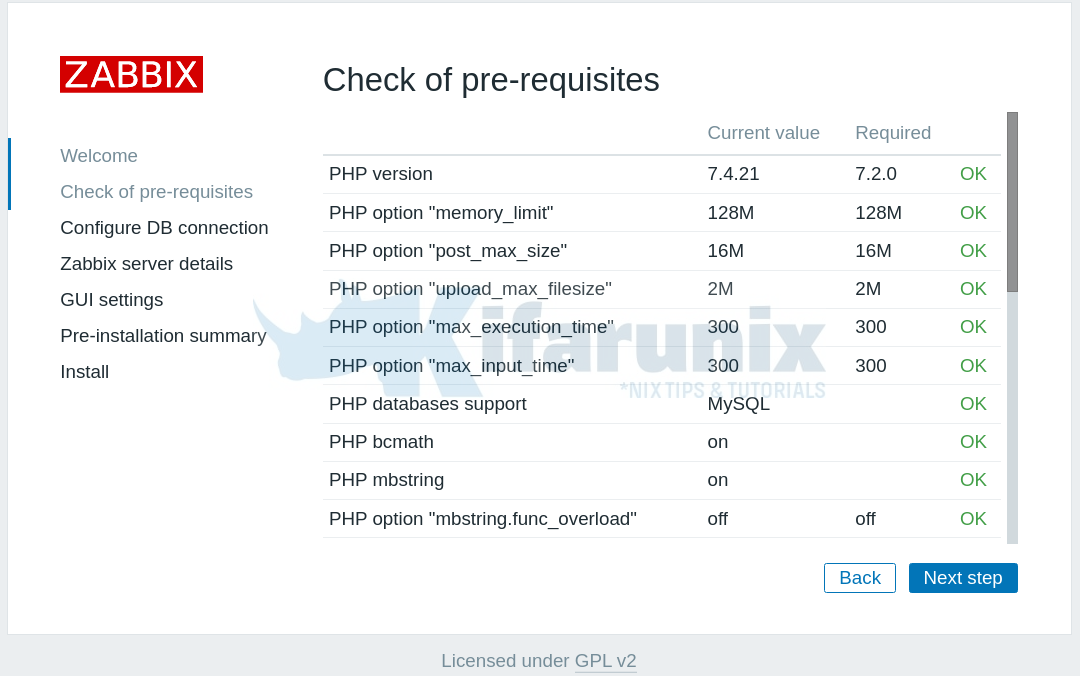
Click Next Step to verify if all the Zabbix requirements have been met.
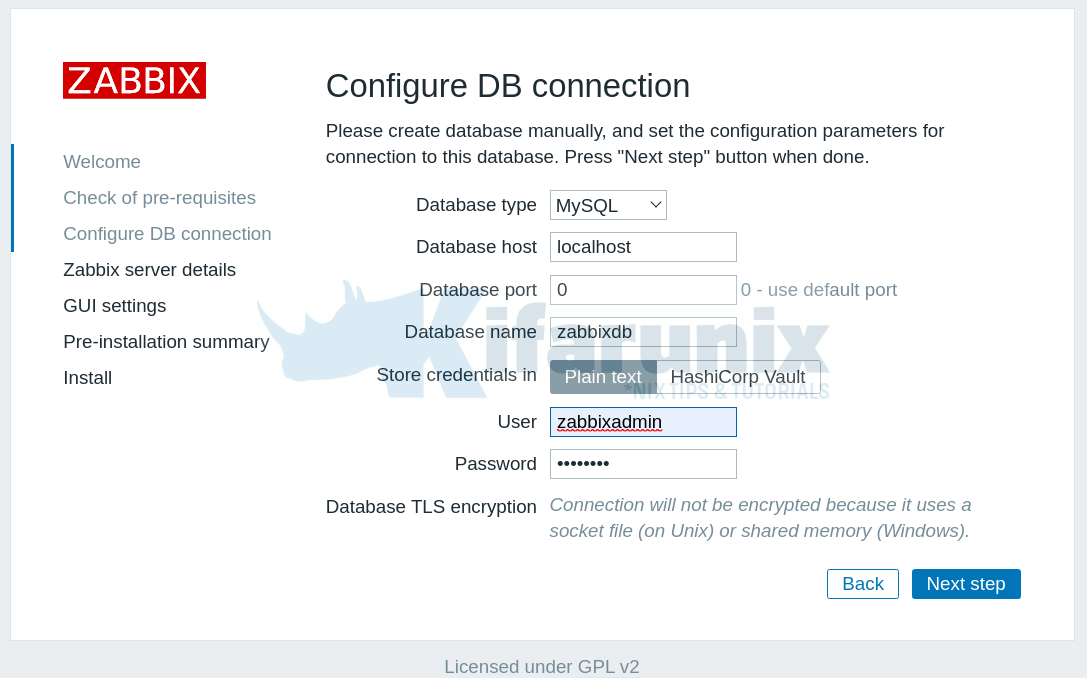
Configure Zabbix database connection using the connection details set before.
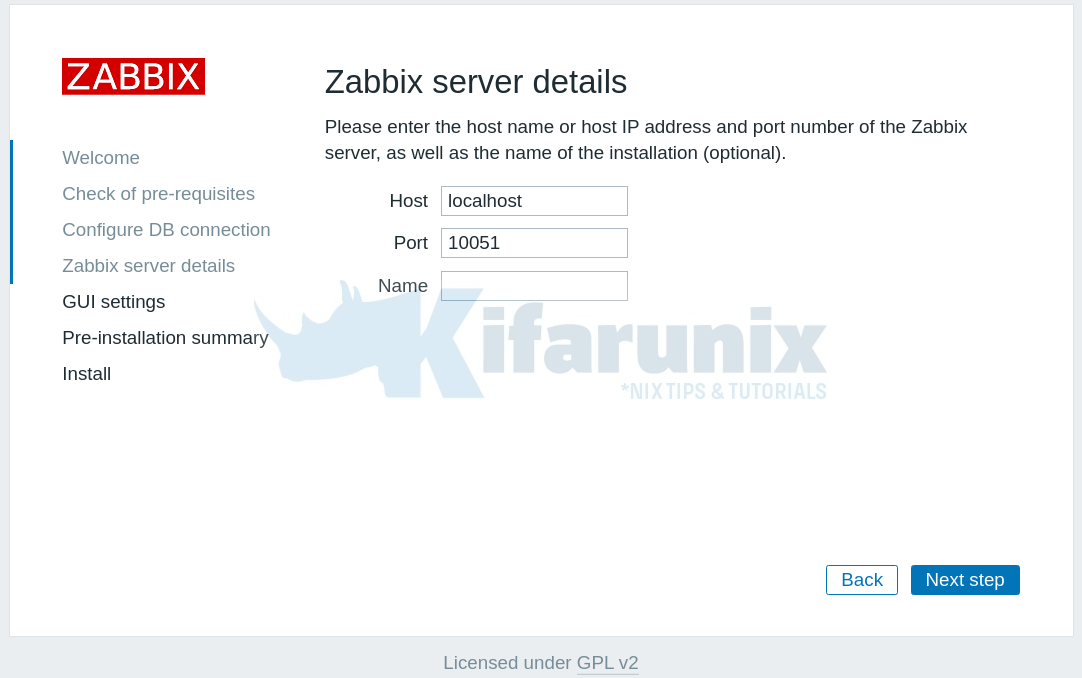
Setup the Zabbix server details. You can leave the default settings.
On the Pre-installation summary, verify if all the configurations are fine.
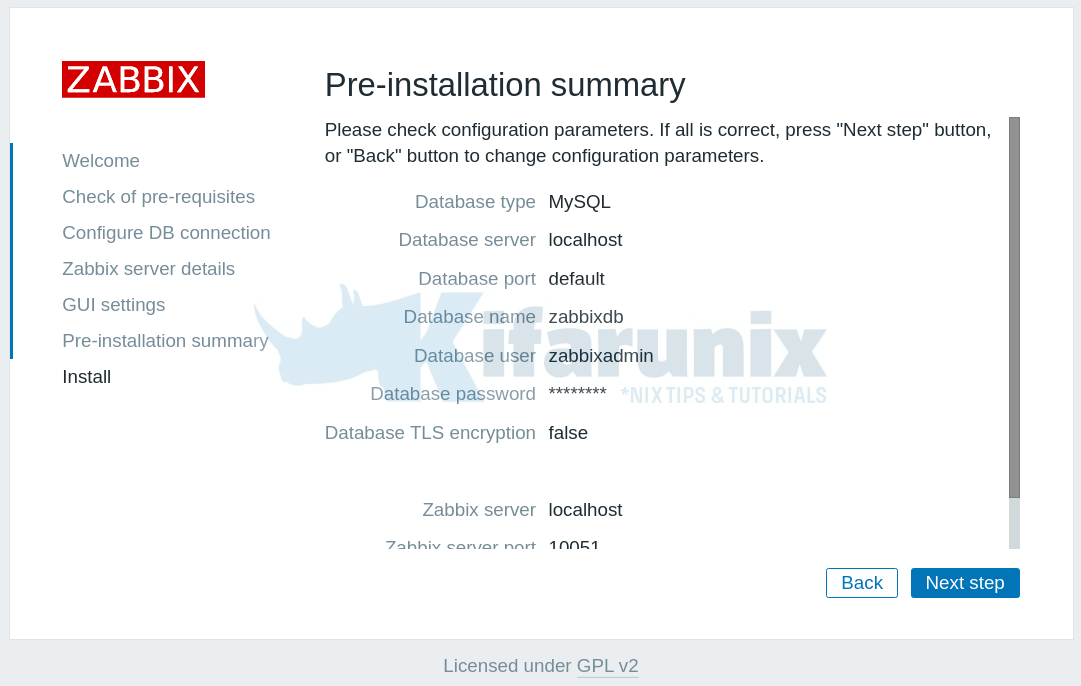
If all is well, click Next step to finish the installation. If all is well, you should see Zabbix installation congratulatory message.
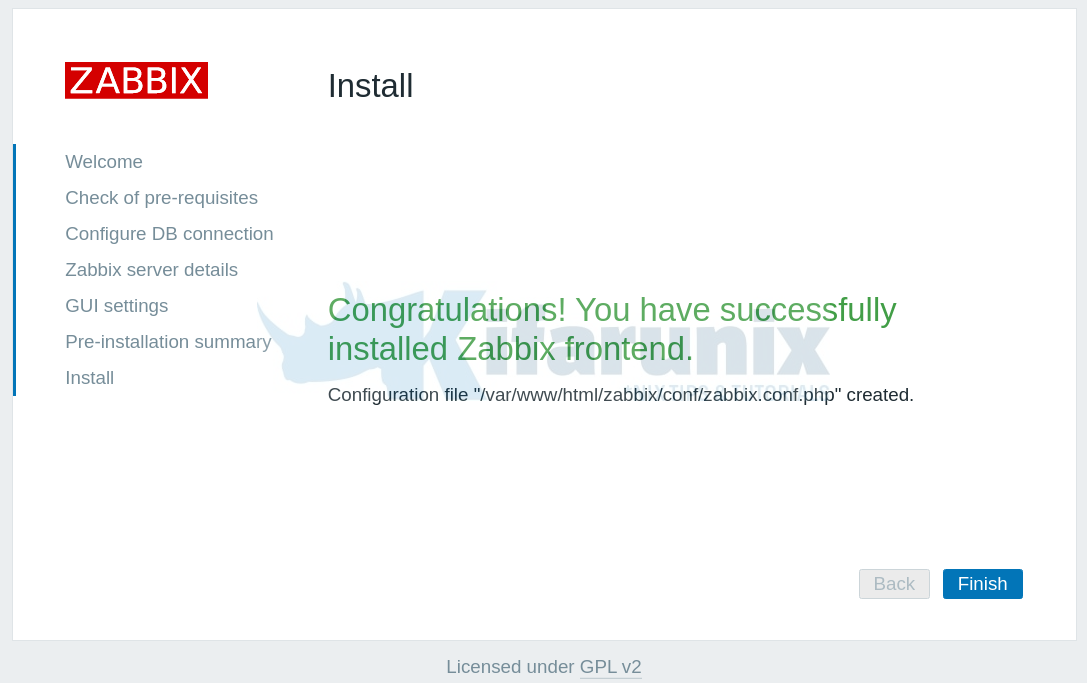
You have successfully setup Zabbix Frontend. Click Finish to get to Zabbix login interface.
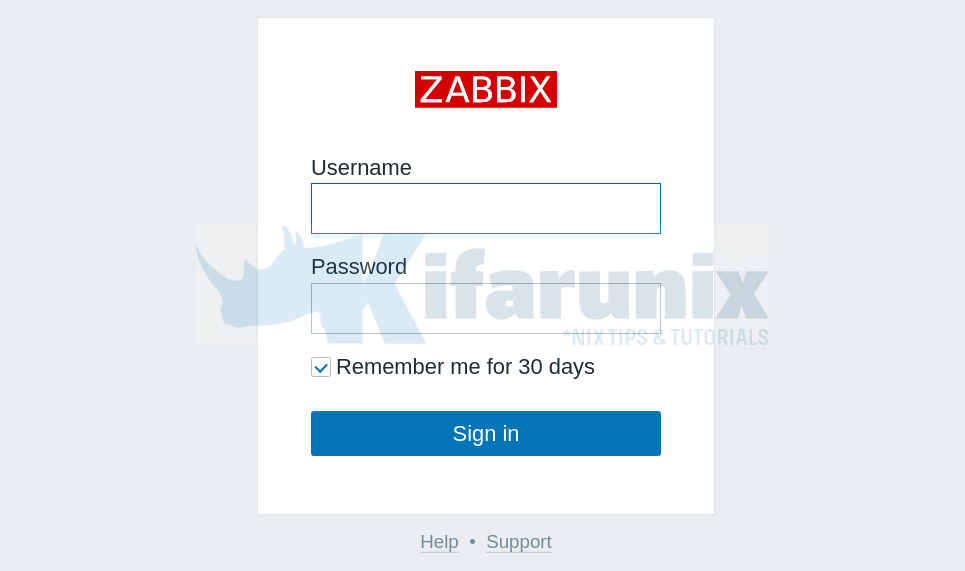
The default login credentials are:
- Username: Admin
- Password: zabbix
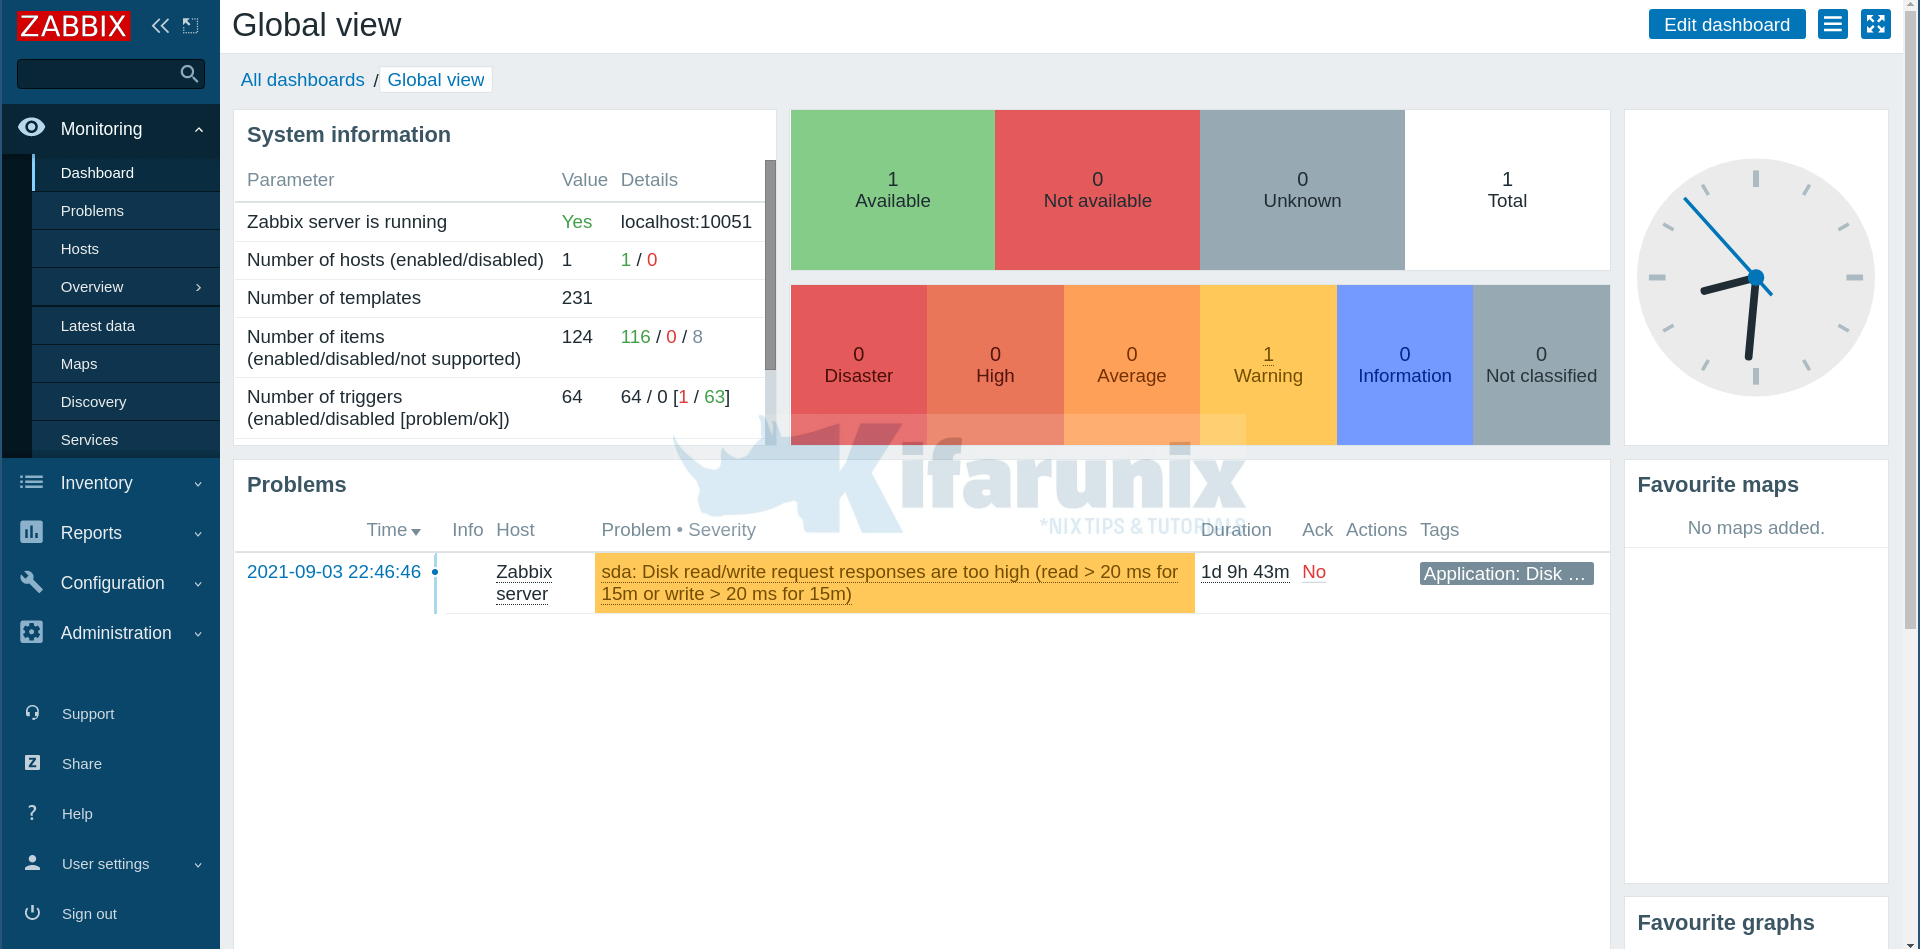
When you successfully login to Zabbix, you should land on the default dashboard.
Well, there you go.
Read More on Documentation page.
Other Tutorials


Incorrect default charset for Zabbix database: “utf8mb3” instead “UTF8”.
Est ce que quelqu’un a la solution ?