In this guide, you will learn how to install Nagios Server on Rocky Linux 8. Nagios provides enterprise-class Open Source IT monitoring, network monitoring, server and applications monitoring.
Installing Nagios Server on Rocky Linux 8
Run System Update
Resynchronize your system packages to their latest versions.
dnf updateInstall Required Build Tools
In this guide, we are going to build Nagios Core from the source code. As such there are packages and build tools that you need to install. Run the command below to install them.
dnf install gcc glibc glibc-common perl httpd php php-cli wget net-snmp gd gd-develDownload Nagios Core Source Code
Navigate to the Nagios Core downloads page and grab the latest Nagios core source code. Nagios v4.4.6 is the current stable release as of this guide.
Get the latest stable release version number and substitute the value of the $VER variable below and use wget to download the file.
VER=4.4.6wget https://assets.nagios.com/downloads/nagioscore/releases/nagios-$VER.tar.gzExtract the Nagios Source Code
Once the Nagios source is downloaded, extract it by running the command;
tar xzf nagios-$VER.tar.gzInstalling Nagios Core
Next, navigate to the Nagios source code directory.
cd nagios-$VER/Configure Nagios Core on Rocky Linux 8
Run the configuration script to adapt Nagios to your system and check if all required dependencies and build tools are in place.
./configureIf the configuration is successful, you will be provided with the summary;
...
Creating sample config files in sample-config/ ...


*** Configuration summary for nagios 4.4.6 2020-04-28 ***:

 General Options:
 -------------------------
        Nagios executable:  nagios
        Nagios user/group:  nagios,nagios
       Command user/group:  nagios,nagios
             Event Broker:  yes
        Install ${prefix}:  /usr/local/nagios
    Install ${includedir}:  /usr/local/nagios/include/nagios
                Lock file:  /run/nagios.lock
   Check result directory:  /usr/local/nagios/var/spool/checkresults
           Init directory:  /lib/systemd/system
  Apache conf.d directory:  /etc/httpd/conf.d
             Mail program:  /bin/mail
                  Host OS:  linux-gnu
          IOBroker Method:  epoll

 Web Interface Options:
 ------------------------
                 HTML URL:  http://localhost/nagios/
                  CGI URL:  http://localhost/nagios/cgi-bin/
 Traceroute (used by WAP):


Review the options above for accuracy.  If they look okay,
type 'make all' to compile the main program and CGIs.
Compile Nagios Core on Rocky Linux 8
Next, proceed to compile Nagios Main program and CGIs.
make allIf the main program and CGIs compiled without any errors, proceed to install Nagios and its configurations.
Create Nagios User and Group
Nagios runs as non-privileged nagios user. As such, you need to create a Nagios system user and group.
make install-groups-usersAdd Apache user to the Nagios group.
usermod -aG nagios apacheInstall Nagios Core on Rocky Linux 8
Install Nagios main program, CGIs, and HTML files.
make installInstall Nagios Service
Install Nagios Systemd initialization scripts.
make install-daemoninitInstall Nagios Commands
Install and configure the external command file as well as the permissions on the directory holding the external commands file.
make install-commandmodeInstall Nagios Configuration Files
Install Nagios Sample configuration file.
make install-configThis command installs Nagios sample configuration files in /usr/local/nagios/etc.
Install Nagios Apache Configuration files
Next, install the Apache HTTP server configuration files for Nagios.
make install-webconfSetup Nagios Apache Authentication
To setup Nagios Web authentication, you need to create an Apache user for authentication. This can be done using the htpasswd command.
htpasswd -c /usr/local/nagios/etc/htpasswd.users nagiosadminThe user, nagiosadmin, is used by default.
If you need to use a different user, you need to replace all the occurences of nagiosadmin on the /usr/local/nagios/etc/cgi.cfg file with the user you created.
For example, if you use a user like monadmin, replace nagiosadmin as shown below.
sed -i 's/nagiosadmin/monadmin/g' /usr/local/nagios/etc/cgi.cfgIf you also want to use a different authentication user file instead of, /usr/local/nagios/etc/htpasswd.users, ensure you edit the Nagios Apache configuration file, /etc/httpd/conf.d/nagios.conf and change the value of AuthUserFile.
Set the ownership of the Nagios Apache authentication configuration file to web-server user, apache.
chown apache:apache /usr/local/nagios/etc/htpasswd.usersAdjust the file permissions appropriately such that the owner (apache) have read write access, the group has read access.
chmod 640 /usr/local/nagios/etc/htpasswd.usersStart Apache Web server
Once you are done with configuration, start and enable Apache to run on system boot.
systemctl enable httpd --nowIf firewallD is running on your system, be sure to enable external access to Apache.
firewall-cmd --add-port=80/tcp --permanent
firewall-cmd --reload
Start Nagios Core service
Start and enable Nagios service to run on system boot.
systemctl enable nagios --nowTo check the status
systemctl status nagios
● nagios.service - Nagios Core 4.4.6
   Loaded: loaded (/usr/lib/systemd/system/nagios.service; enabled; vendor preset: disabled)
   Active: active (running) since Tue 2021-06-22 22:16:24 EAT; 18s ago
     Docs: https://www.nagios.org/documentation
  Process: 60128 ExecStart=/usr/local/nagios/bin/nagios -d /usr/local/nagios/etc/nagios.cfg (code=exited, status=0/SUCCESS)
  Process: 60126 ExecStartPre=/usr/local/nagios/bin/nagios -v /usr/local/nagios/etc/nagios.cfg (code=exited, status=0/SUCCESS)
 Main PID: 60129 (nagios)
    Tasks: 6 (limit: 11389)
   Memory: 2.4M
   CGroup: /system.slice/nagios.service
           ├─60129 /usr/local/nagios/bin/nagios -d /usr/local/nagios/etc/nagios.cfg
           ├─60130 /usr/local/nagios/bin/nagios --worker /usr/local/nagios/var/rw/nagios.qh
           ├─60131 /usr/local/nagios/bin/nagios --worker /usr/local/nagios/var/rw/nagios.qh
           ├─60132 /usr/local/nagios/bin/nagios --worker /usr/local/nagios/var/rw/nagios.qh
           ├─60133 /usr/local/nagios/bin/nagios --worker /usr/local/nagios/var/rw/nagios.qh
           └─60134 /usr/local/nagios/bin/nagios -d /usr/local/nagios/etc/nagios.cfg

Jun 22 22:16:24 localhost.localdomain nagios[60129]: qh: core query handler registered
Jun 22 22:16:24 localhost.localdomain nagios[60129]: qh: echo service query handler registered
Jun 22 22:16:24 localhost.localdomain nagios[60129]: qh: help for the query handler registered
Jun 22 22:16:24 localhost.localdomain nagios[60129]: wproc: Successfully registered manager as @wproc with query handler
Jun 22 22:16:24 localhost.localdomain nagios[60129]: wproc: Registry request: name=Core Worker 60130;pid=60130
Jun 22 22:16:24 localhost.localdomain nagios[60129]: wproc: Registry request: name=Core Worker 60131;pid=60131
Jun 22 22:16:24 localhost.localdomain nagios[60129]: wproc: Registry request: name=Core Worker 60132;pid=60132
Jun 22 22:16:24 localhost.localdomain nagios[60129]: wproc: Registry request: name=Core Worker 60133;pid=60133
Jun 22 22:16:26 localhost.localdomain nagios[60129]: Successfully launched command file worker with pid 60134
Jun 22 22:16:26 localhost.localdomain nagios[60129]: HOST ALERT: localhost;DOWN;SOFT;1;(No output on stdout) stderr: execvp(/usr/local/nagios/libexec/check_ping
You can check Nagios logs at /usr/local/nagios/var/nagios.log.
Accessing Nagios on Rocky Linux 8
You can now access your Nagios server from the browser using the address http://<server-IP or HOSTNAME>/nagios.
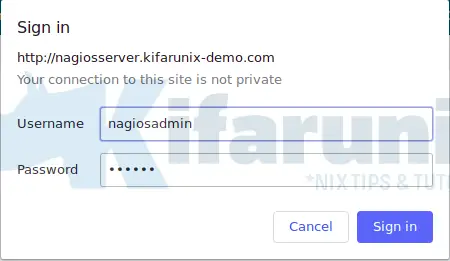
You will be prompted to enter username and password created above to login.

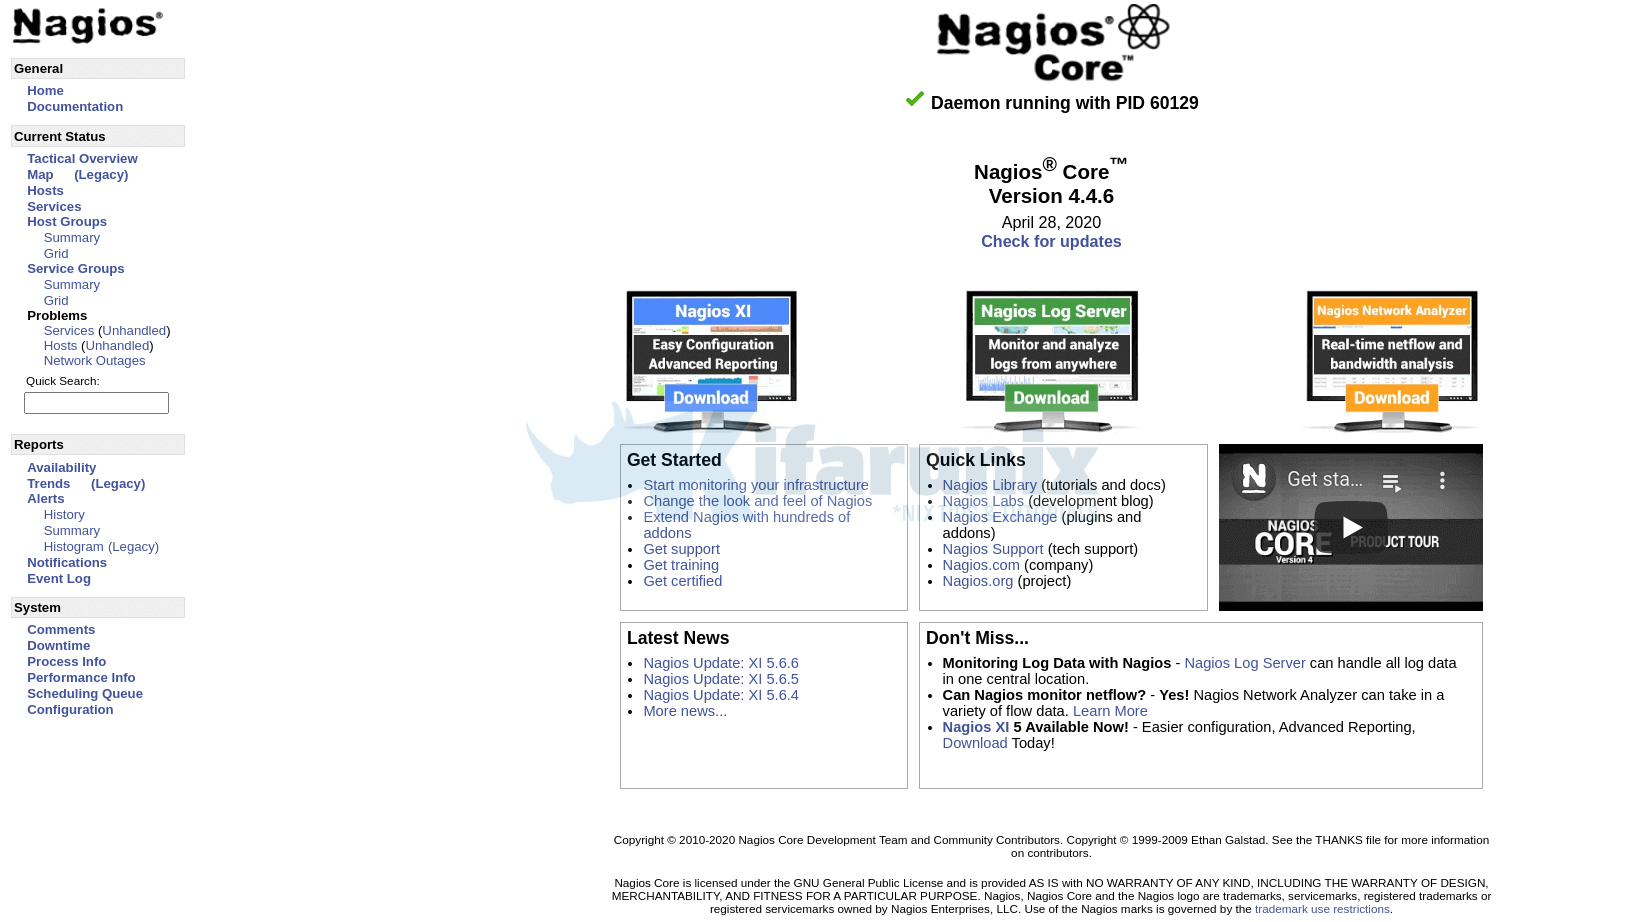
Enter the authentication credentials and proceed to Nagios web interface.

Huraay!! Nagios is installed on Rocky Linux 8. So what is next?
The next step would now be to start monitoring your end points with nagios. This involves installing Nagios plugins and the NRPE plugins.
If you can check, even the status of the localhost and services are down since no Nagios plugins are installed by default.


Next, install Nagios plugins so as to monitor state of the host and services.
Install Nagios Plugins on Rocky Linux 8
You can also check other Nagios Tutorials by following the links below;
Monitor SSL/TLS Certificates Expiry with Nagios

