This guide will take you through how to install Zabbix agent on Windows systems.
Install Zabbix Agent on Windows Systems
Zabbix agent can be used to poll various system metrics as outlined below and push them to Zabbix server for visualization.
| Network | Packets/bytes transferred Errors/dropped packets Collisions |
|---|---|
| CPU | Load average CPU idle/usage CPU utilization data per individual process |
| Memory | Free/used memory Swap/pagefile utilization |
| Disk | Space free/used Read and write I/O |
| Service | Process status Process memory usage Service status (ssh, ntp, ldap, smtp, ftp, http, pop, nntp, imap) Windows service status DNS resolution TCP connectivity TCP response time |
| File | File size/time File exists Checksum MD5 hash RegExp search |
| Log | Text log Windows eventlog |
| Other | System uptime System time Users connected Performance counter (Windows) |
Download Zabbix Windows agent install from the downloads page.
You can simply get the Zabbix agent installer download link and pull using Powershell.
Note, we are using Windows 10 in this guide.
- Launch PowerShell as administrator.
- Run the command below to download the Zabbix agent Windows installer. Replace the link accordingly.
cd C:\Users\<username>\DownloadsInvoke-WebRequest -Uri `
"https://cdn.zabbix.com/zabbix/binaries/stable/6.0/6.0.4/zabbix_agent2-6.0.4-windows-amd64-openssl.msi" `
-Outfile zabbix_agent2-6.0.4-windows-amd64-openssl.msi- Install Zabbix agent;
You can install by double clicking the agent installer or by using Powershell.
To launch the Zabbix agent Windows installer wizard on PowerShell;
.\zabbix_agent2-6.0.4-windows-amd64-openssl.msiThe installation Wizard will launch in a few sec.
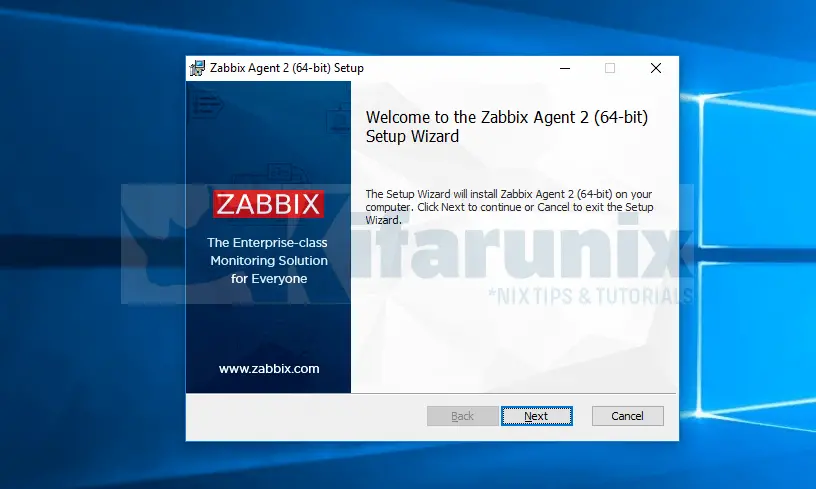
Click Next and accept the End User License Agreement.
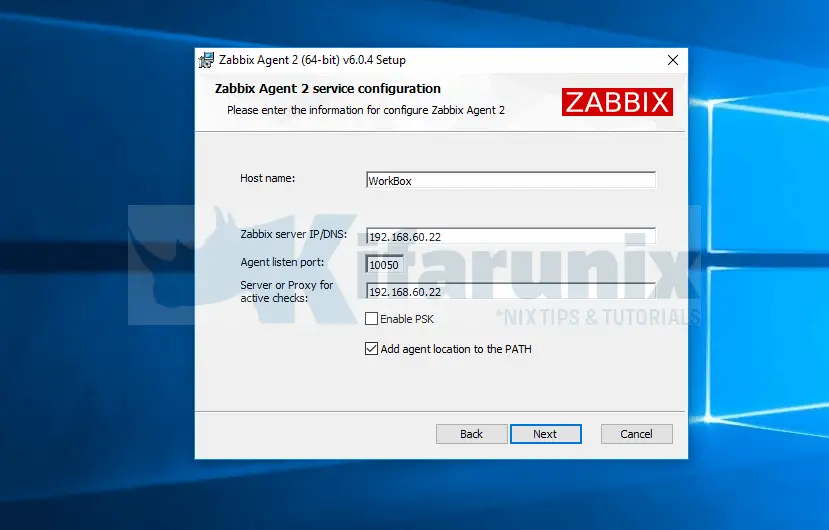
Next, Set the Zabbix agent hostname, the Zabbix server IP for active and passive checks. Ensure you define the correct hostname as this must match the hostname while adding the host to Zabbix server for monitoring.
On Custom setup, just click Next.
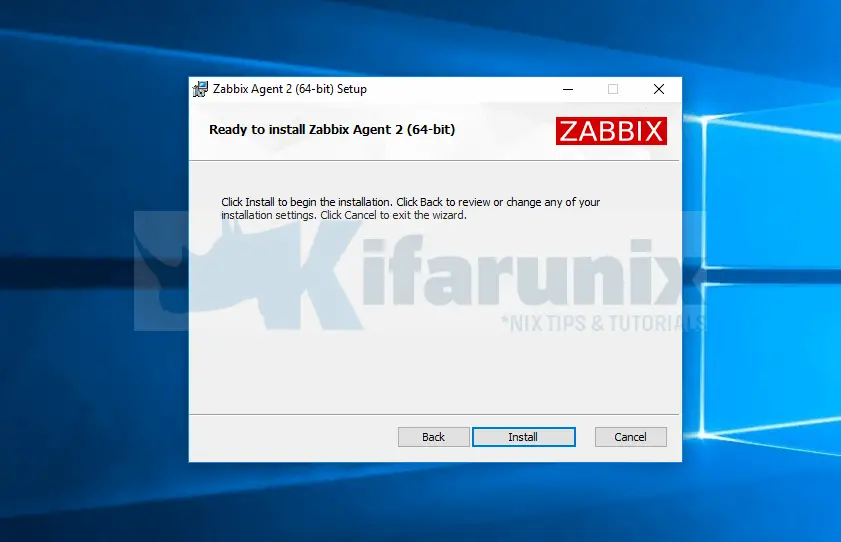
Click Install to install Zabbix agent on Windows.
When the installation is done, click Finish to exit the Zabbix agent installation wizard.
- Check Zabbix Agent Status
The agent is started upon installation;
Get-Service -Name "*zabbix*"Status Name DisplayName
------ ---- -----------
Running Zabbix Agent 2 Zabbix Agent 2- Open Zabbix Agents ports on Firewall
Zabbix agent listens on port 10050/tcp by default;
Get-NetTCPConnection | where Localport -eq 10050 | select LocalAddress,LocalPort,StateLocalAddress LocalPort State
------------ --------- -----
:: 10050 ListenRun the command below to open Zabbix agent on Windows firewall. Replace <Zabbix Server IP address> with your Zabbix server address.
New-NetFirewallRule -DisplayName "Allow Zabbix Checks on port 10050" `
-RemoteAddress <Zabbix Server IP address> -Direction Inbound `
-Protocol TCP -Action Allow -LocalPort 10050 -Profile Domain
You can also allow ping, to monitor availability using ping;
netsh advfirewall firewall add rule name="ICMP Allow incoming V4 echo request" `
protocol="icmpv4:8,any" dir=in action=allow
Also ensure that you can connect to the Zabbix server on port 10051/tcp.
Add and Monitor Windows Host from the Zabbix Server
You can now add the host to the server for monitoring. Check the link below on how to add hosts to Zabbix server for monitoring.
Other tutorials
Ship System Logs to ELK Stack using Elastic Agents
Monitor Windows System Metrics using Sensu
Monitor Process Creation Events on Windows Systems using Wazuh and ELK stack


