In this guide, we are going to learn how to install IBM QRadar CE v7.3.1 on VirtualBox. The QRadar Community Edition v7.3.1 is the latest release that comes with new and improved features such as;
This guide is a bit date. Please check the link below for installation of Qradar CE v7.3.3
How to Install IBM QRadar Community Edition SIEM on VirtualBox
- Support for IBM Security X-Force Threat Intelligence which provides IP reputation data for users
- Password policy updates
- Updated user interface
- New Event Collection service that reduces downtime
- Pre-installed Microsoft Windows Security Event Log (DSM)
- IPv6 improvements
- Support for New API endpoints
- Based upon CentOS/RHEL 7.5 operating system
As with the new features, the system requirements for installation have also been updated;
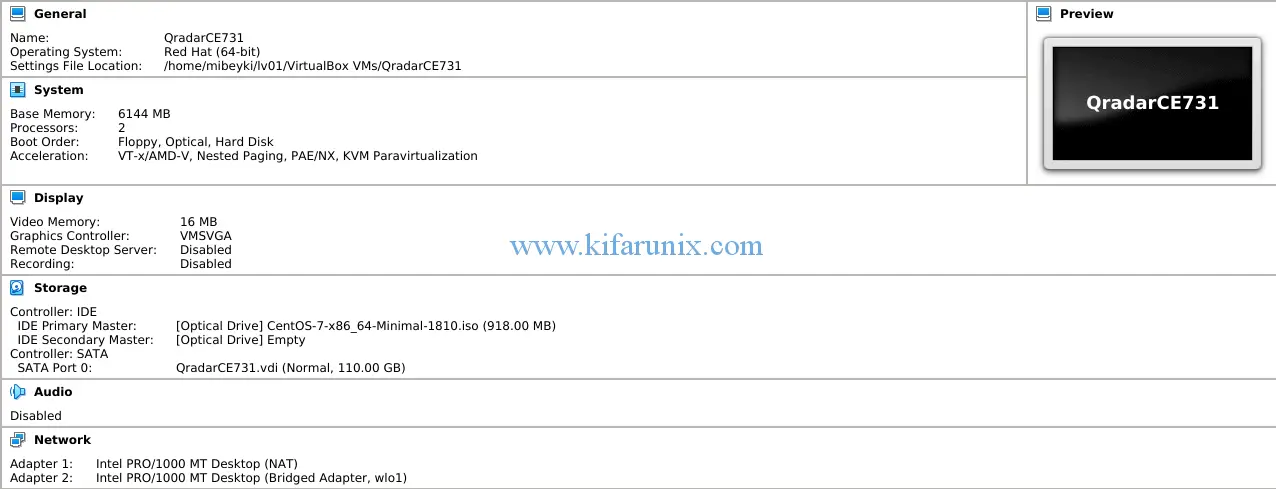
- Minimum of 6GB RAM
- At least 110GB free disk space
- At least one Network Interface card with internet access
- Minimum of 2 CPU cores
We covered the installation of the QRadar CE v7.3.0 in our previous guide.
Installing IBM QRadar CE v7.3.1 on VirtualBox
Prerequisites
Before you can proceed to install QRadar CE v7.3.1 on VirtualBox, ensure that you have setup a CentOS/RHEL 7.5 using a minimal ISO that meets the above minimum system requirements.

cat /etc/*release...
CentOS Linux release 7.5.1804 (Core)
NAME="CentOS Linux"
VERSION="7 (Core)"
...Assuming you that your CentOS/RHEL 7.5 server already complies to the above system requirements, download QRadar CE v7.3.1 installation medium. Note that you need to register with IBM for you to be able to download the QRadar installation ISO. Hence, you can get the download link. You can simply use wget command to pull the iso once you get the download link.
wget https://URL/TO/QRadarCE7_3_1.GA.iso -P /tmpIf you are not downloading directly to the server where installation will happen, then you need to copy the downloaded ISO to /tmp directory of your CentOS/RHEL 7.5 server.
scp /download/path/to/QRadarCE7_3_1.GA.iso user@yourcentosserver:/tmpThe QRadar CE v7.3.1 ISO should now available on the /tmp directory.
ls /tmp/*.iso
/tmp/QRadarCE7_3_1.GA.iso
System Update
Well it is a good idea to update and upgrade your CentOS/RHEL 7.5 server system packages. Therefore login to your server and run the commands below;
yum update
yum upgrade
Disable SELinux
Before you can launch the installation of QRadar CE, disable SELinux by running the command below;
sed -i 's/=enforcing/=disabled/' /etc/selinux/configReboot your server to effect the SELinux changes.
systemctl reboot -iMount QRadar CE ISO
In order to run the installation script, you need to mount the ISO. Hence, ensure that you have the mount point before running the mount command.
mkdir /mnt/qradarceRun the mount command below to mount the QRadar CE v7.3.1 ISO on /mnt/qradarce.
mount -o loop /tmp/QRadarCE7_3_1.GA.iso /mnt/qradarce/Install QRadar CE v7.3.1
To install QRadar CE, run the setup command as shown below;
/mnt/qradarce/setupNote that the setup command is available on the ISO mount point which might be different from the one used in this guide.
Once the setup begins, scroll through the EULA and accept it and confirm the installation of QRadar CE v7.3.1 in order to proceed with installation.
...
Do you accept this license agreement (yes or no)? yes
About to install QRadar Community Edition version 7.3.1.20180723171558
Do you wish to continue (Y/[N])? Y
If your system passes the necessary checks, the installation will proceed without a hitch. However, if you are prompted to reboot your system so as to apply a kernel update, please do so.
After the system has come up, remount ISO and re-run setup as shown above.
The installation will take a bit of some time. If everything goes well, you should see an output stating the initial configuration is complete.
Initial configuration of 'QRadar Community Edition' console is now complete.

You are now ready to connect to the interface.

Press ENTER to complete Installation.
qradar_netsetup.py: End: 0
OK: Installed QRadar Community Edition version 7.3.1.20180723171558.
Recording currently installed RPM list: done.
If you have not set an admin password, set one now with "sudo /opt/qradar/support/changePasswd.sh -a"
As stated, press Enter to complete the installation.
Set the Admin Password
After the installation, you are provided with a script to set the admin password. Run the script to set the password.
sudo /opt/qradar/support/changePasswd.sh -aPlease enter the new admin password.
Password: P@SSWORD
Confirm password: P@SSWORD
The admin password has been changed. Please restart tomcat, login to the UI, and perform a deploy.After that, restart Tomcat and proceed to login to your QRadar web interface.
systemctl restart tomcatTo access the QRadar UI, navigate to the browser and enter the address https://<qradar-server>/console. Add the SSL warning to exceptions and proceed to QRadar new login interface.

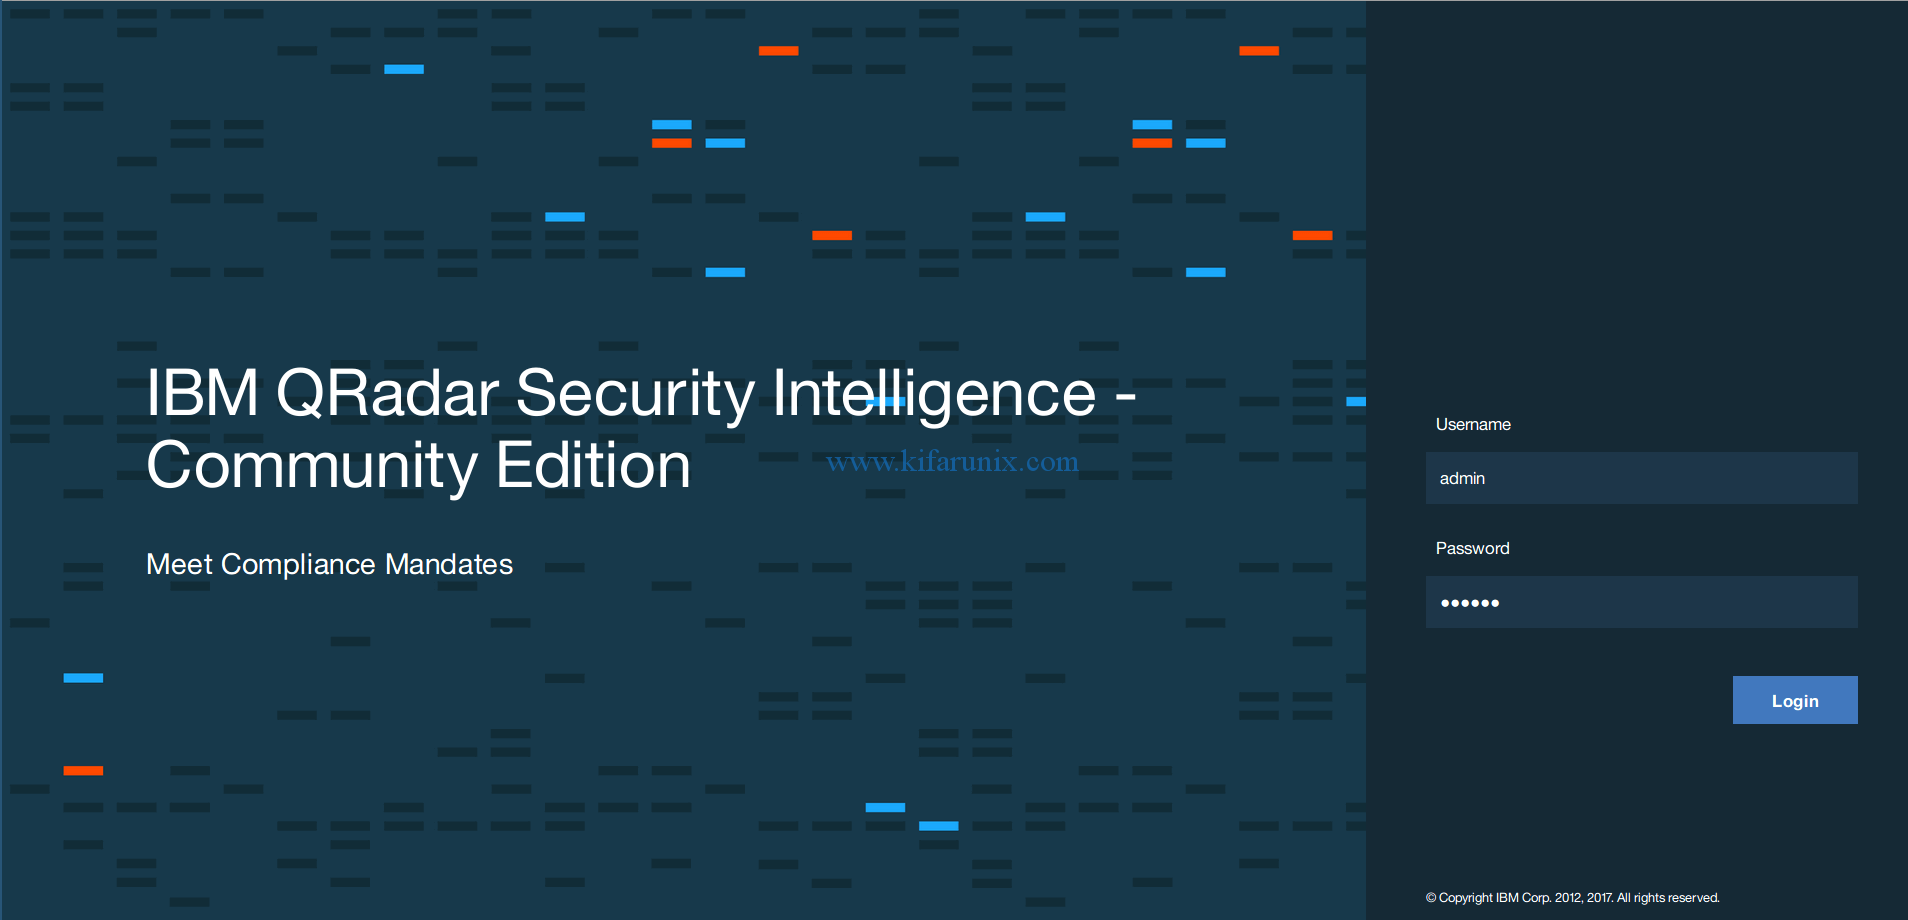
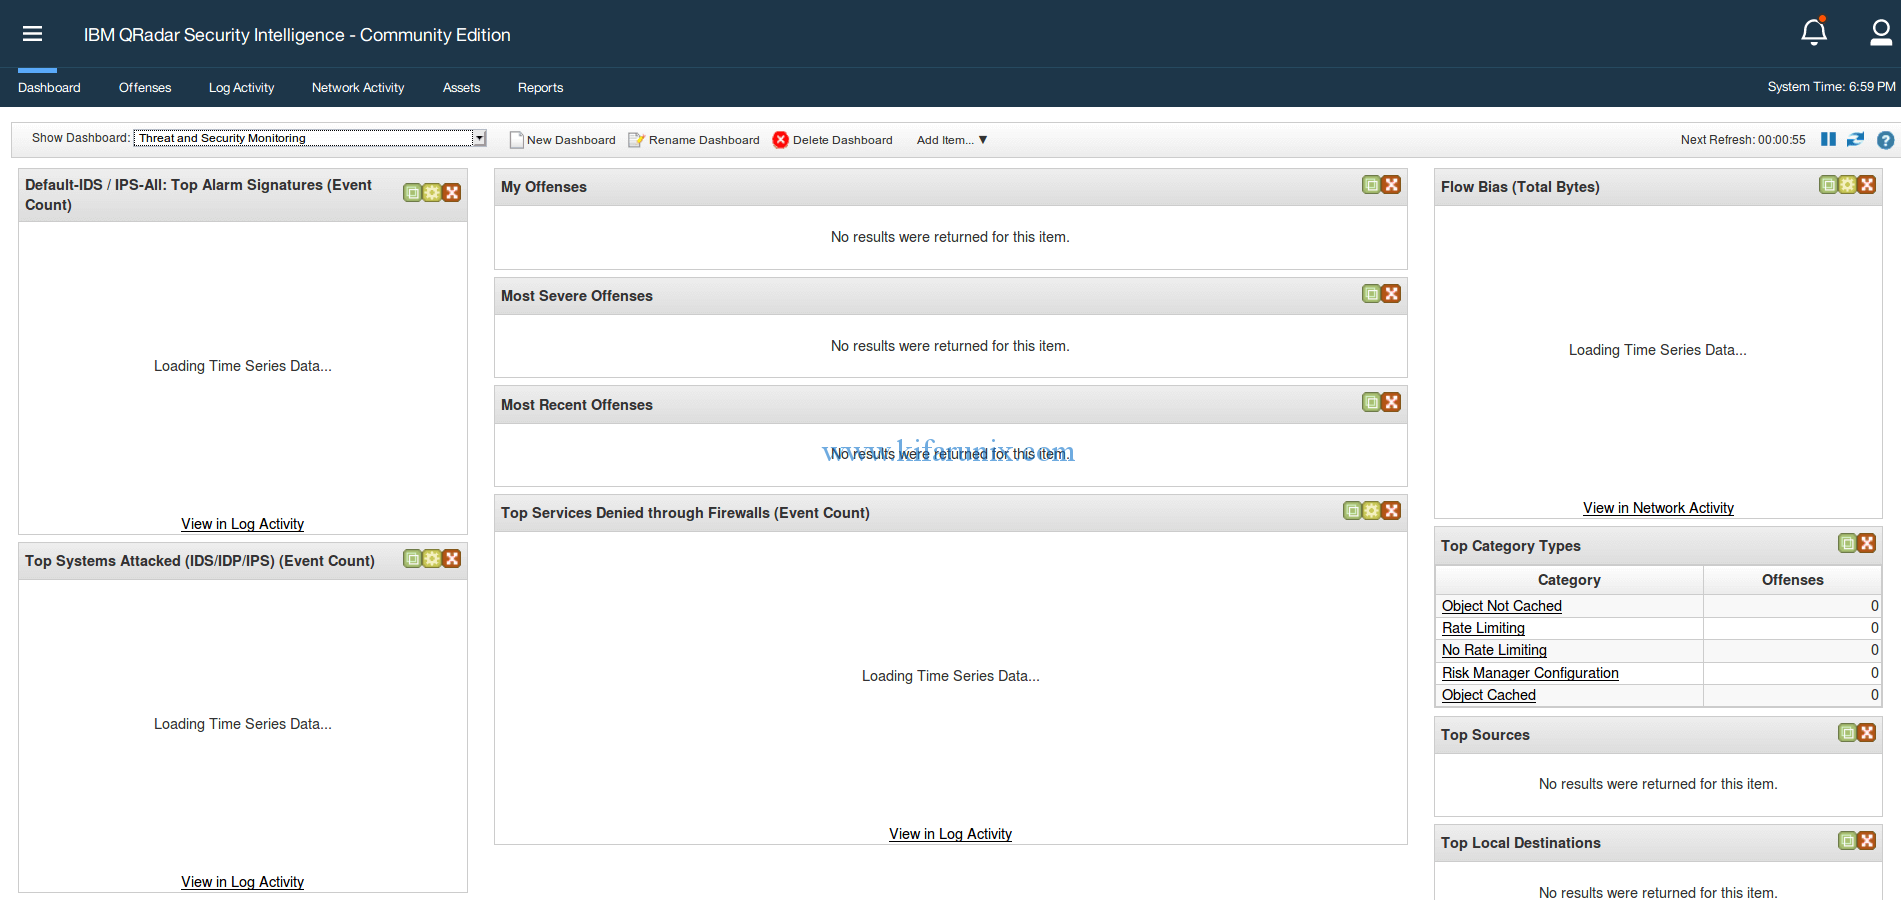
Login as admin user with the password you set above. If asked to reset the password, please do so and continue. Accept the EULA and proceed to QRadar Community Edition v7.3.1 dashboard.

Magnificent, that is all about installing IBM QRadar CE v7.3.1 on VirtualBox.

