In this guide, we are going to learn how to install phpMyAdmin on Ubuntu 20.04. phpMyAdmin is a free and opensource application written in PHP that facilitates the administration and management of MySQL and MariaDB over the Web.
Table of Contents
Installing phpMyAdmin on Ubuntu 20.04
What can you use phpMyAdmin for?
phpMyAdmin allows administrators to;
- browse through databases and tables;
- create, copy, rename, alter and drop databases;
- create, copy, rename, alter and drop tables;
- perform table maintenance;
- add, edit and drop fields;
- execute any SQL-statement, even multiple queries;
- create, alter and drop indexes;
- load text files into tables;
- create and read dumps of tables or databases;
- export data to SQL, CSV, XML, Word, Excel, PDF and LaTeX formats;
- administer multiple servers;
- manage MySQL users and privileges;
- check server settings and runtime information with configuration hints;
- check referential integrity in MyISAM tables;
- create complex queries using Query-by-example (QBE), automatically
connecting required tables; - create PDF graphics of database layout;
- search globally in a database or a subset of it;
- transform stored data into any format using a set of predefined
functions, such as displaying BLOB-data as image or download-link; - manage InnoDB tables and foreign keys;
Prerequisites
Since phpMyAdmin is a web based tool for administering MySQL or MariaDB, and is written on PHP, the most basic requirement that you need is either a LAMP or LEMP Stack. This demo uses the former.
Install LAMP Stack on Ubuntu 20.04
We have describe extensively how to install LAMP stack on Ubuntu 20.04 in our previous guide whose link is provided below;
Install LAMP Stack on Ubuntu 20.04
Note, we are using PHP 8 and MySQL 8 in this guide.
php -v
PHP 8.2.7 (cli) (built: Jun  8 2023 15:27:12) (NTS)
Copyright (c) The PHP Group
Zend Engine v4.2.7, Copyright (c) Zend Technologies
    with Zend OPcache v8.2.7, Copyright (c), by Zend Technologies
mysql -Vmysql Ver 15.1 Distrib 10.3.38-MariaDB, for debian-linux-gnu (x86_64) using readline 5.2Install other required PHP modules for phpMyAdmin;
apt install php8.2-{bz2,mbstring,zip,gd,curl,xml,mysqli,common,opcache,imagick}
See list of requirements on phpMyAdmin requirements page.
Install phpMyAdmin
phpMyAdmin 4.4.9 is available on the default Ubuntu 20.04 repos. However the latest stable release version of phpMyAdmin as of this writing is v5.2.1. Hence, to install the latest version, proceed as follows;
Download phpMyAdmin Tarball
Navigate to phpMyAdmin downloads page and grab the source tarball of your preferred language. You can obtain the source tarball link and use wget to pull it. For example, in this guide, we using phpMyAdmin english version. Be sure to replace the version number accordingly.
VER=5.2.1
wget https://files.phpmyadmin.net/phpMyAdmin/$VER/phpMyAdmin-$VER-english.tar.gz
phpMyAdmin comes bundled as a ready application. By default, phpMyAdmin expects to find its files under /usr/share/phpmyadmin directory. As such, we are going to install it on this directory.
Create this prior to extracting phpMyAdmin.
mkdir /usr/share/phpmyadmin
Extract the source tarball;
tar xzf phpMyAdmin-$VER-english.tar.gz -C /usr/share/phpmyadmin --strip-components=1
Create Apache VirtualHost for phpMyAdmin
Create Apache virtual host configuration file for phpMyAdmin as shown below;
vim /etc/apache2/sites-available/phpmyadmin.conf
Alias /phpmyadmin /usr/share/phpmyadmin

<Directory /usr/share/phpmyadmin>
    Options SymLinksIfOwnerMatch
    DirectoryIndex index.php

    <IfModule mod_php7.c>
        php_admin_value open_basedir /usr/share/phpmyadmin/
    </IfModule>

</Directory>

<Directory /usr/share/phpmyadmin/templates>
    Require all denied
</Directory>
<Directory /usr/share/phpmyadmin/libraries>
    Require all denied
</Directory>

# Enable phpMyAdmin Setup basic Authentication
<Directory /usr/share/phpmyadmin/setup>
    <IfModule mod_authz_core.c>
        <IfModule mod_authn_file.c>
            AuthType Basic
            AuthName "phpMyAdmin Setup"
            AuthUserFile /usr/share/phpmyadmin/.pma.setup
        </IfModule>
        Require valid-user
    </IfModule>
</Directory>
Save and exit the configuration file.
Since we have enabled basic authentication for the setup page, generate username and passwords and store them in the specified auth file. Replace the usernames accordingly;
htpasswd -c /usr/share/phpmyadmin/.pma.setup pmaadmin
Verify Apache configuration syntax;
apachectl -t
Syntax OK
Enable phpMyAdmin site;
a2ensite phpmyadmin.conf
Configure phpMyAdmin on Ubuntu 20.04
Rename the sample phpMyAdmin configuration file;
cp /usr/share/phpmyadmin/config{.sample,}.inc.php
Open the configuration file for modification;
vi /usr/share/phpmyadmin/config.inc.php
Create a blowfish secret required for cookie based authentication to encrypt password in cookie. You can generate the blowfish secret online and paste as follows;
...
/**
 * This is needed for cookie based authentication to encrypt password in
 * cookie. Needs to be 32 chars long.
 */
$cfg['blowfish_secret'] = 'f0b6c3a22fd04a454631f9e3b8f3c84f'; /* YOU MUST FILL IN THIS FOR COOKIE AUTH! */
...
Save and quit the configuration file.
You can use the command below to generate the string!
openssl rand -hex 16Create phpMyAdmin Temp Directory and update ownership;
mkdir /usr/share/phpmyadmin/tmp/chown -R www-data: /usr/share/phpmyadmin/tmpEnable phpMyAdmin General relation features
General relations are required to work with relationships between tables in a relational database;
Create phpmyadmin database;
mysqladmin -u root -p create phpmyadminCreate database use for phpMyAdmin database;
mysql -u root -p -e "GRANT ALL PRIVILEGES ON phpmyadmin.* TO 'phpmyadmin'@'localhost' IDENTIFIED BY 'ChangeME';"Import the initial structure and data into the phpmyadmin database;
mysql -u root -p phpmyadmin < /usr/share/phpmyadmin/sql/create_tables.sqlnext, edit the config, /usr/share/phpmyadmin/config.inc.php, and uncomment the lines below and update them;
// $cfg['Servers'][$i]['controluser'] = 'pma';
// $cfg['Servers'][$i]['controlpass'] = 'pmapass';
vi /usr/share/phpmyadmin/config.inc.php$cfg['Servers'][$i]['controluser'] = 'phpmyadmin';
$cfg['Servers'][$i]['controlpass'] = 'ChangeME';Save and exit the file
Restart Apache
systemctl restart apache2
Open HTTP Port on Firewall
Allow Apache on UFW for external access.
ufw allow "Apache Full"
Accessing phpMyAdmin on Ubuntu 20.04
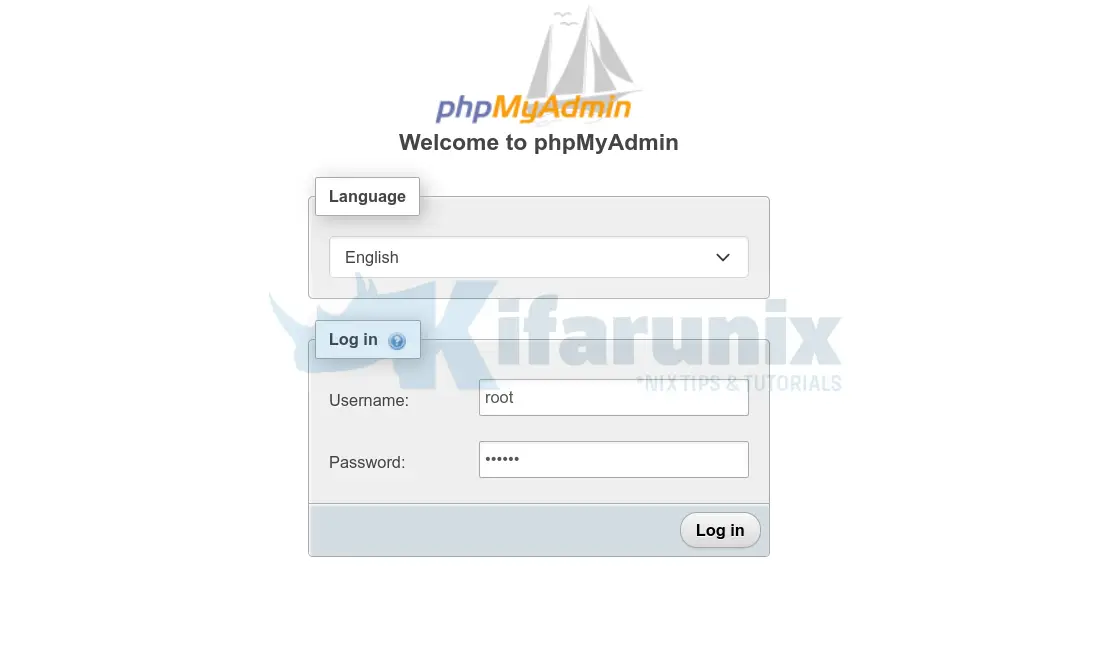
You can now access phpMyAdmin from the browser using the address, http://server-host-name_or_IP/phpmyadmin.

Login using your database root user credentials.
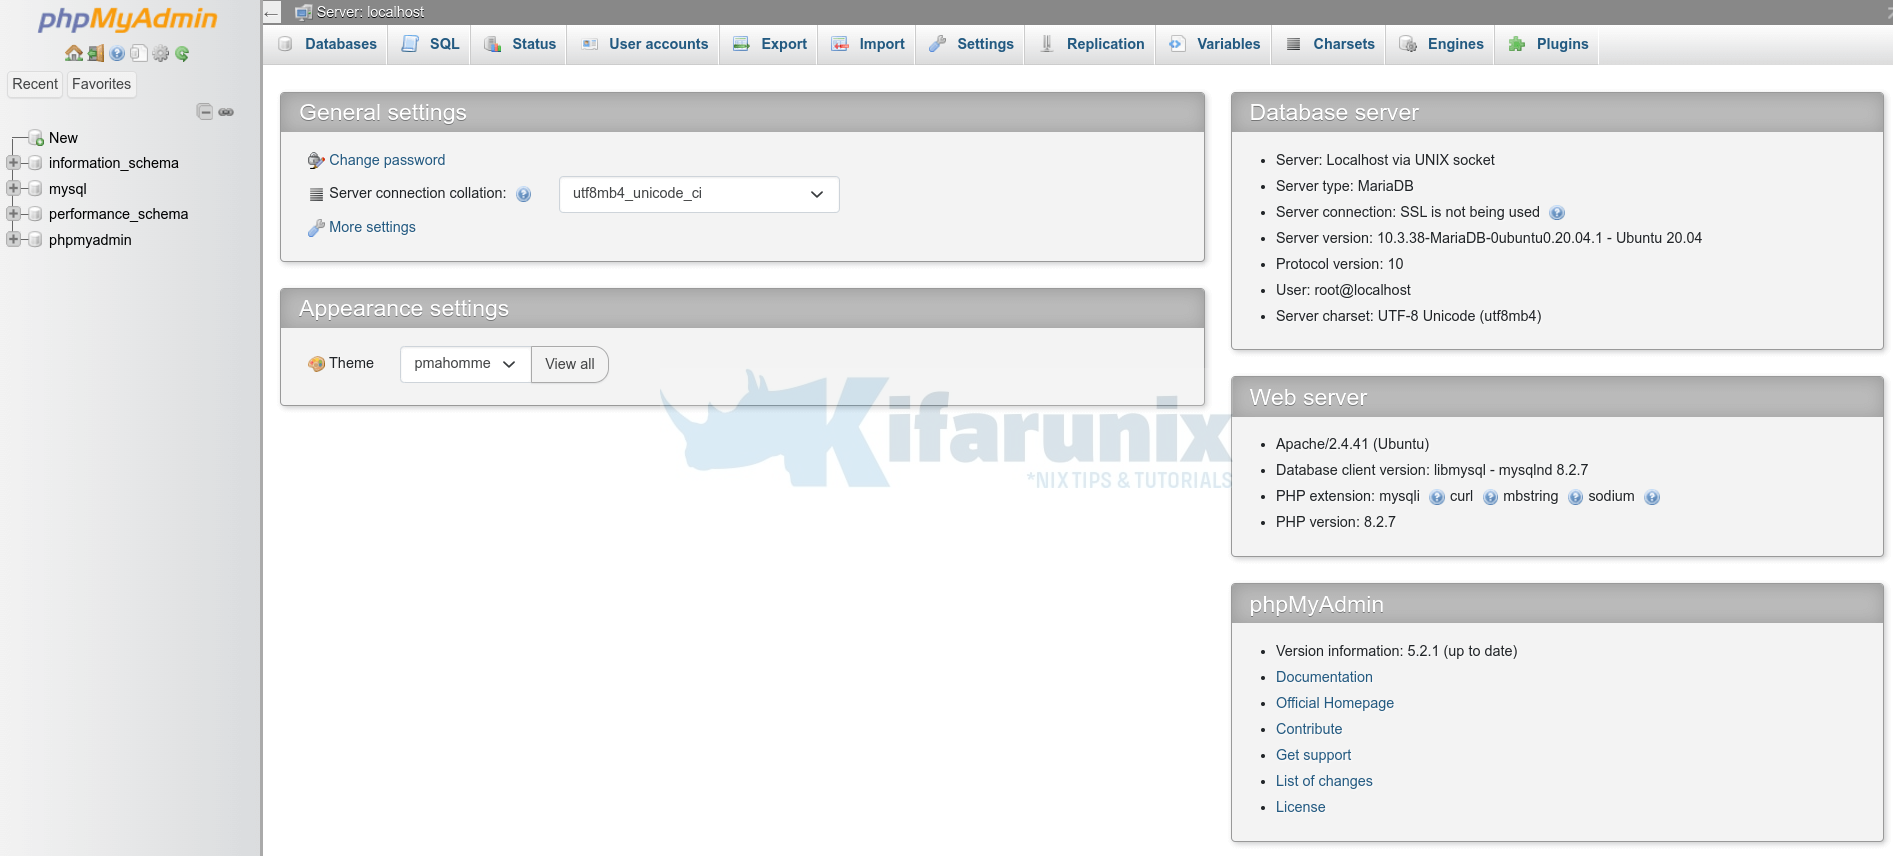
Upon successful login, you get to phpMyAdmin dashboard.

You have successfully installed and setup phpMyAdmin on Ubuntu 20.04. You can now be able to administer your MySQL or MariaDB from web.
Related Tutorials
Install phpMyAdmin with Nginx on Debian 10 Buster
Install phpMyAdmin on Debian 10 Buster

