Let us learn how to install phpMyAdmin with Nginx on Debian 10 Buster. phpMyAdmin is used to administer MySQL and MariaDB over the web.
Install phpMyAdmin with Nginx on Debian 10 Buster
Prerequisites
Install LEMP Stack on Debian 10 Buster
As a prerequisite of running phpMyAdmin with Nginx, you need to have installed and setup LEMP Stack on Debian 10 Buster. If you have not, you can follow the link below to setup LEMP stack on Debian 10.
Install LEMP Stack on Debian 10 Buster
Installing PHP Extensions
Run the command below to install the additional PHP extensions
apt install php-{mbstring,zip,gd,xml,pear,gettext,cgi}Download phpMyAdmin Archive
To install the latest and stable release version of phpMyAdmin, navigate to the phpMyAdmin downloads page and download it. As of this writing, the latest stable phpMyAdmin release is phpMyAdmin 4.9.0.1. You can simply use the wget command to download it
wget https://files.phpmyadmin.net/phpMyAdmin/4.9.0.1/phpMyAdmin-4.9.0.1-english.tar.gzVerifying phpMyAdmin Archive
Once you have downloaded phpMyAdmin archive, you should verify that the signature matches the archive you have downloaded as shown below;
Import the PGP key
apt install gpg
gpg --keyserver hkp://pgp.mit.edu --recv-keys 3D06A59ECE730EB71B511C17CE752F178259BD92
Download the phpMyAdmin archive PGP signature.
wget https://files.phpmyadmin.net/phpMyAdmin/4.9.0.1/phpMyAdmin-4.9.0.1-english.tar.gz.ascVerify the signature:
gpg --verify phpMyAdmin-4.9.0.1-english.tar.gz.ascgpg: assuming signed data in 'phpMyAdmin-4.9.0.1-english.tar.gz'
gpg: Signature made Tue 04 Jun 2019 12:08:42 PM EDT
gpg: using RSA key 3D06A59ECE730EB71B511C17CE752F178259BD92
gpg: Good signature from "Isaac Bennetch <[email protected]>" [unknown]
gpg: aka "Isaac Bennetch <[email protected]>" [unknown]
gpg: WARNING: This key is not certified with a trusted signature!
gpg: There is no indication that the signature belongs to the owner.
Primary key fingerprint: 3D06 A59E CE73 0EB7 1B51 1C17 CE75 2F17 8259 BD92You can verify the checksums too to confirm the integrity of the downloaded archive. The SHA256 has for the phpMyAdmin-4.9.0.1-english.tar.gz is 6494e2172354a6621d0accf3445dcc3db3d17c4274fb5a94c9159590f6978bad. To check the SHA256 for the downloaded file, run the command below;
sha256sum phpMyAdmin-4.9.0.1-english.tar.gz6494e2172354a6621d0accf3445dcc3db3d17c4274fb5a94c9159590f6978bad phpMyAdmin-4.9.0.1-english.tar.gzIntegrity is confirmed to be intact.
Next, extract phpMyAdmin archive to your web server root directory, /var/www/html.
mkdir /var/www/html/phpmyadmintar xzf phpMyAdmin-4.9.0.1-english.tar.gz --strip-components=1 -C /var/www/html/phpmyadminConfigure phpMyAdmin
Copy the sample phpMyAdmin configuration file and rename it as follows;
cp /var/www/html/phpmyadmin/config{.sample,}.inc.phpYou should now have the phpMyAdmin configuration file.
/var/www/html/phpmyadmin/config.inc.phpNext, open the configuration file and create a blowfish secret required for cookie based authentication to encrypt password in cookie. You can generate the secret from Blowfish hash password generator and paste as follows.
vim /var/www/html/phpmyadmin/config.inc.php...
/**
* This is needed for cookie based authentication to encrypt password in
* cookie. Needs to be 32 chars long.
*/
$cfg['blowfish_secret'] = '$2a$07$EJooQ7FWQIpYWJAMqd0mq.eRnrTTAkqpIwEv1InrJ8q0KMfAK0WLi'; /* YOU MUST FILL IN THIS FOR COOKIE AUTH! */
/**
...These are just the basic configurations required to get us started.
Set the permissions of the phpMyAdmin configuration file to 660.
chmod 660 /var/www/html/phpmyadmin/config.inc.phpSet the user and group ownership of the phpMyAdmin files to the web server user, www-data. If you however have a dedicated user for running phpMyAdmin, then set the user ownership to that user and group ownership to the web server user.
chown -R www-data:www-data /var/www/html/phpmyadminRestart Nginx
systemctl restart nginxAccessing phpMyAdmin
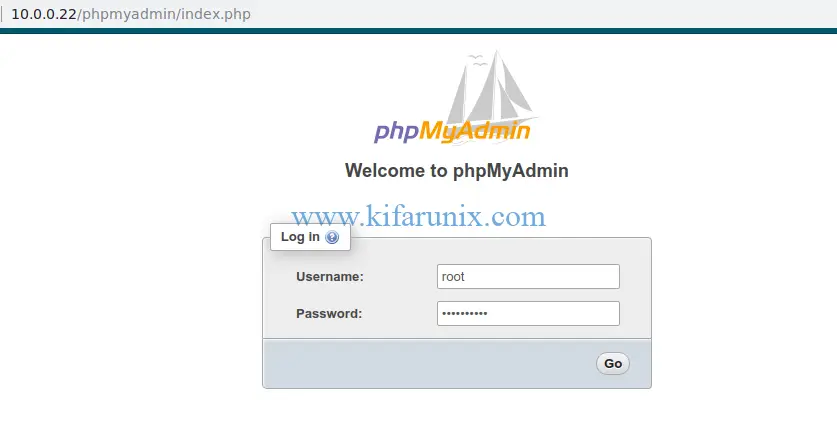
Navigate to your browser and enter the IP address of your phpMyAdmin server, http://<server-IP>/phpmyadmin.

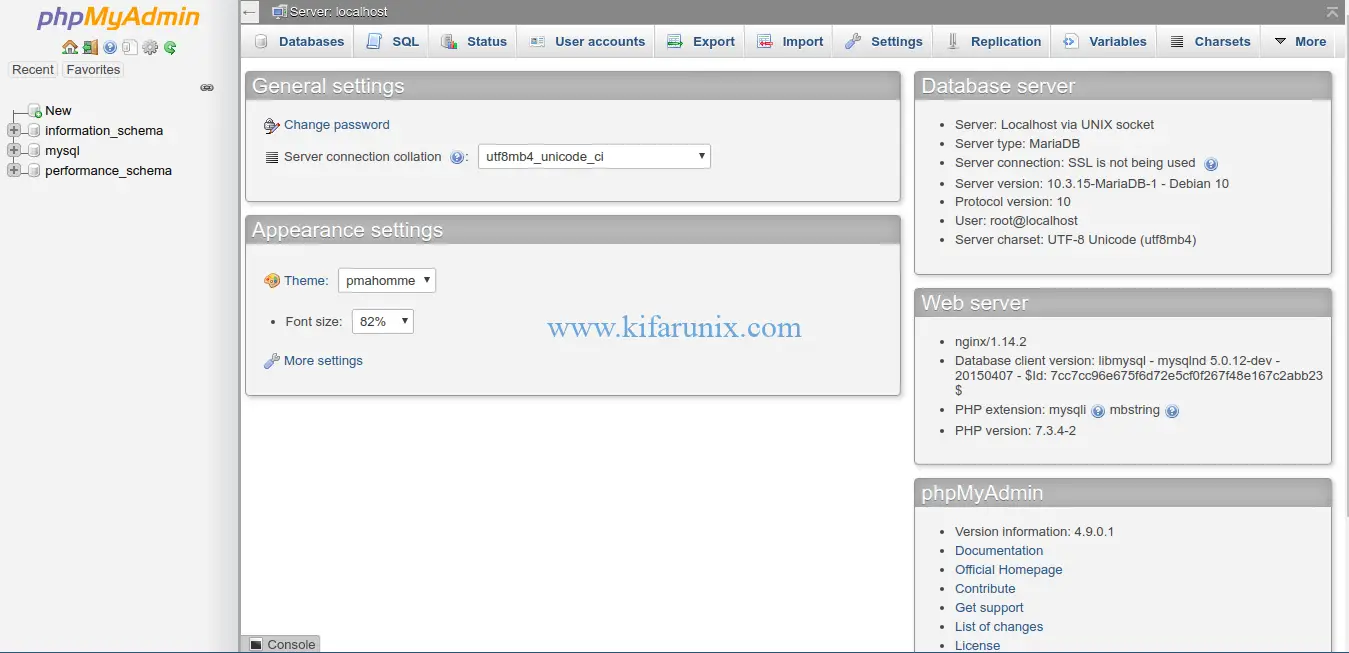
When you logged in, you will land on the phpMyAdmin dashboard.

That is it on how to install phpMyAdmin with Nginx on Debian 10 Buster. You can now go ahead and manage your MariaDB/MySQL databases.
Other phpMyAdmin Installations;
Install phpMyAdmin with Apache on Debian 10 Buster
Install phpMyAdmin with Nginx on Fedora 30
Install phpMyAdmin with Apache on Fedora 30


I followed all the steps but when I go to ip/phpmyadmin the page saves instead of loading