Follow through this tutorial to learn how to how to Install phpMyAdmin with Nginx on FreeBSD 12.
Table of Contents
Installing phpMyAdmin with Nginx on FreeBSD 12
Prerequisites
Ensure that FEMB stack is up and running on your FreeBSD 12 server. You can kindly follow our previous link on how Install Nginx, MySQL, PHP (FEMP) Stack on FreeBSD 12.
Install the following required PHP extensions if not already installed in the above guide.
pkg install php82-mysqli php82-json php82-mbstring php82-session php82-hash
Once the above prerequisites are met, please proceed as follows;
Install phpMyAdmin on FreeBSD 12
phpMyAdmin is usually available on most systems’ default repositories and hence can be easily installed using the respective system package manager. However, the package may not be up-to-date in terms of latest features support. In such a case, you can download latest version of phpMyAdmin from the downloads page and move it to your Nginx web root directory for installation.
Verify that the latest version of phpMyAdmin, version 5.2.1, with support for PHP 8.2 is available;
pkg search phpmyadmin
phpMyAdmin-php80-4.9.11        Set of PHP-scripts to manage MySQL over the web
phpMyAdmin-php81-4.9.11        Set of PHP-scripts to manage MySQL over the web
phpMyAdmin-php82-4.9.11        Set of PHP-scripts to manage MySQL over the web
phpMyAdmin5-php80-5.2.1        Set of PHP-scripts to manage MySQL over the web
phpMyAdmin5-php81-5.2.1        Set of PHP-scripts to manage MySQL over the web
phpMyAdmin5-php82-5.2.1        Set of PHP-scripts to manage MySQL over the web
Well, since it seems we are good to do phpMyAdmin installation from the repos, run the command below;
pkg install phpMyAdmin5-php82-5.2.1
Configure phpMyAdmin
phpMyAdmin is installed into the following directory
/usr/local/www/phpMyAdmin
Copy the sample phpMyAdmin configuration file as shown;
cp /usr/local/www/phpMyAdmin/config{.sample,}.inc.php
Create a blowfish secret required for cookie based authentication to encrypt password in cookie. You can generate the secret online and paste as follows;
vi /usr/local/www/phpMyAdmin/config.inc.php
Generate 32 bytes string;
openssl rand -hex 16e90cc4f83d22650e9c0688919cce8353You will paste that string as a value of blowfish secret.
...
/**
 * This is needed for cookie based authentication to encrypt the cookie.
 * Needs to be a 32-bytes long string of random bytes. See FAQ 2.10.
 */
$cfg['blowfish_secret'] = 'e90cc4f83d22650e9c0688919cce8353'; /* YOU MUST FILL IN THIS FOR COOKIE AUTH! */

/**
...
Save and exit the file.
Configure Nginx to Serve phpMyAdmin
Edit Nginx configuration configuration;
vi /usr/local/etc/nginx/nginx.confAnd add the following content under server block;
        location /phpmyadmin/ {
                alias /usr/local/www/phpMyAdmin/;
                location ~ \.php$ {
                        try_files $uri =404;
                        fastcgi_split_path_info ^(.+\.php)(/.+)$;
                        fastcgi_pass   unix:/var/run/php-fpm/php-fpm.sock;
                        fastcgi_index  index.php;
                        fastcgi_param  SCRIPT_FILENAME $request_filename;
                        include        fastcgi_params;
                }
        }
Save and exit the file.
Restart Nginx and PHP-FPM for the changes to take effect.
nginx -tnginx: the configuration file /usr/local/etc/nginx/nginx.conf syntax is ok
nginx: configuration file /usr/local/etc/nginx/nginx.conf test is successfulIf there is no error
service nginx restart
service php-fpm restartAccess phpMyAdmin Web Interface
To access phpMyAdmin dashboard, navigate to the browser and enter the URL in the format, http://server-IP/phpmyadmin. This will take you to phpMyAdmin login page.
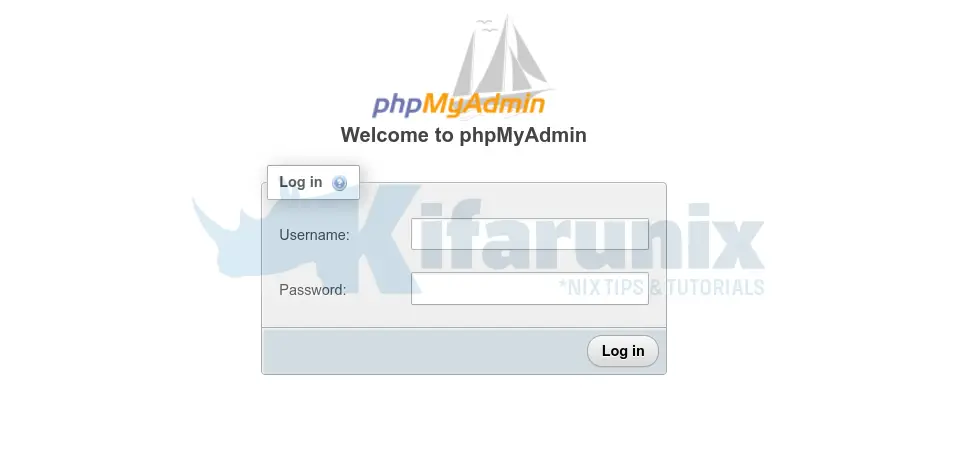
Login with MySQL database root credentials.
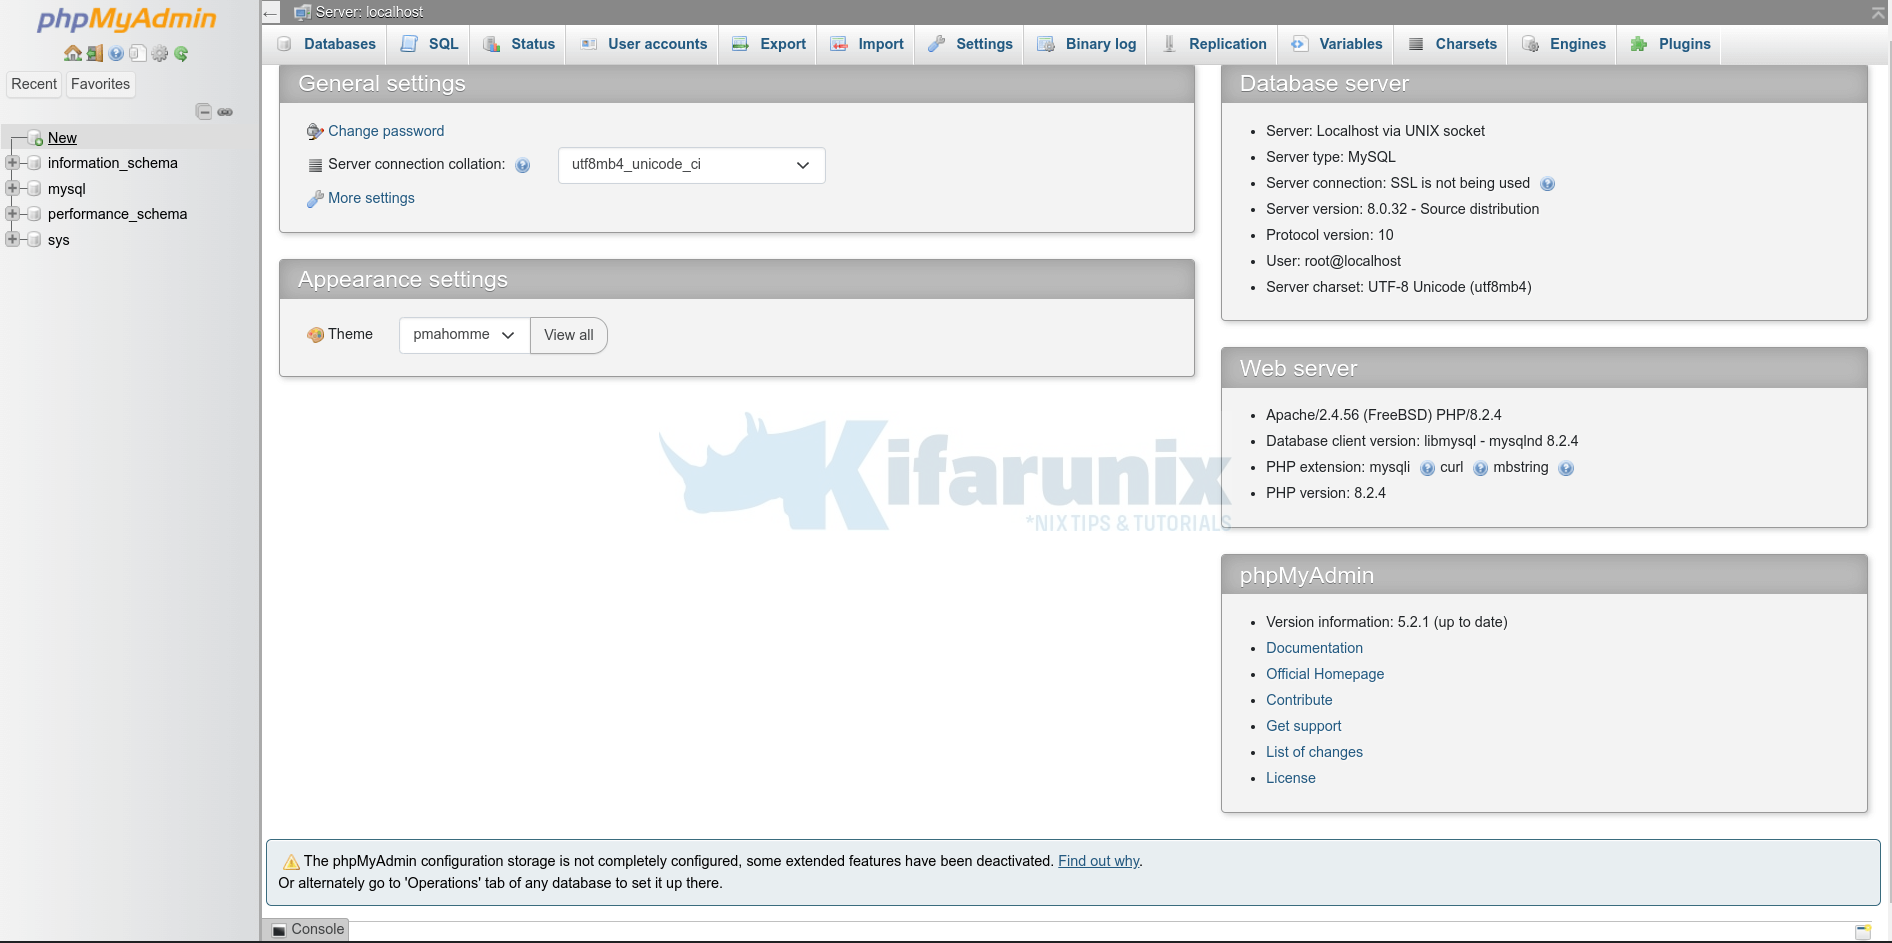
There you go. You have successfully gone through a guide on how to install phpMyAdmin on FreeBSD 12. Enjoy!
Running Database Queries on phpMyAdmin
You can see a list of databases on the left side of the phpMyAdmin Dashboard;
Select a database and you will see a list of all the tables it has. Take for example default mysql database.
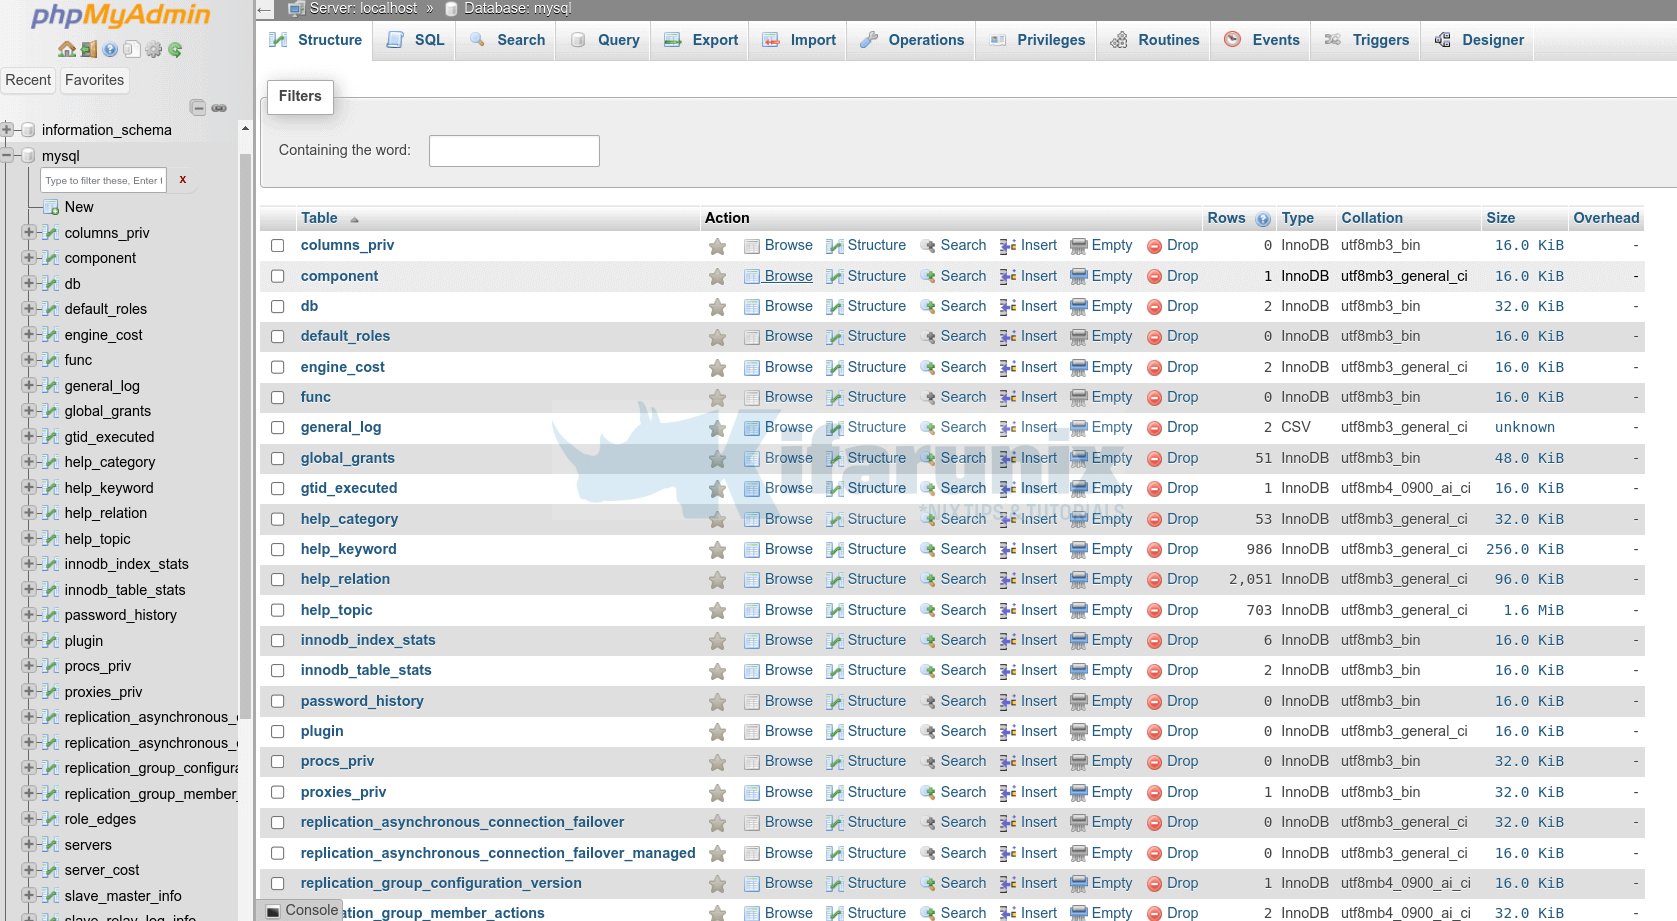
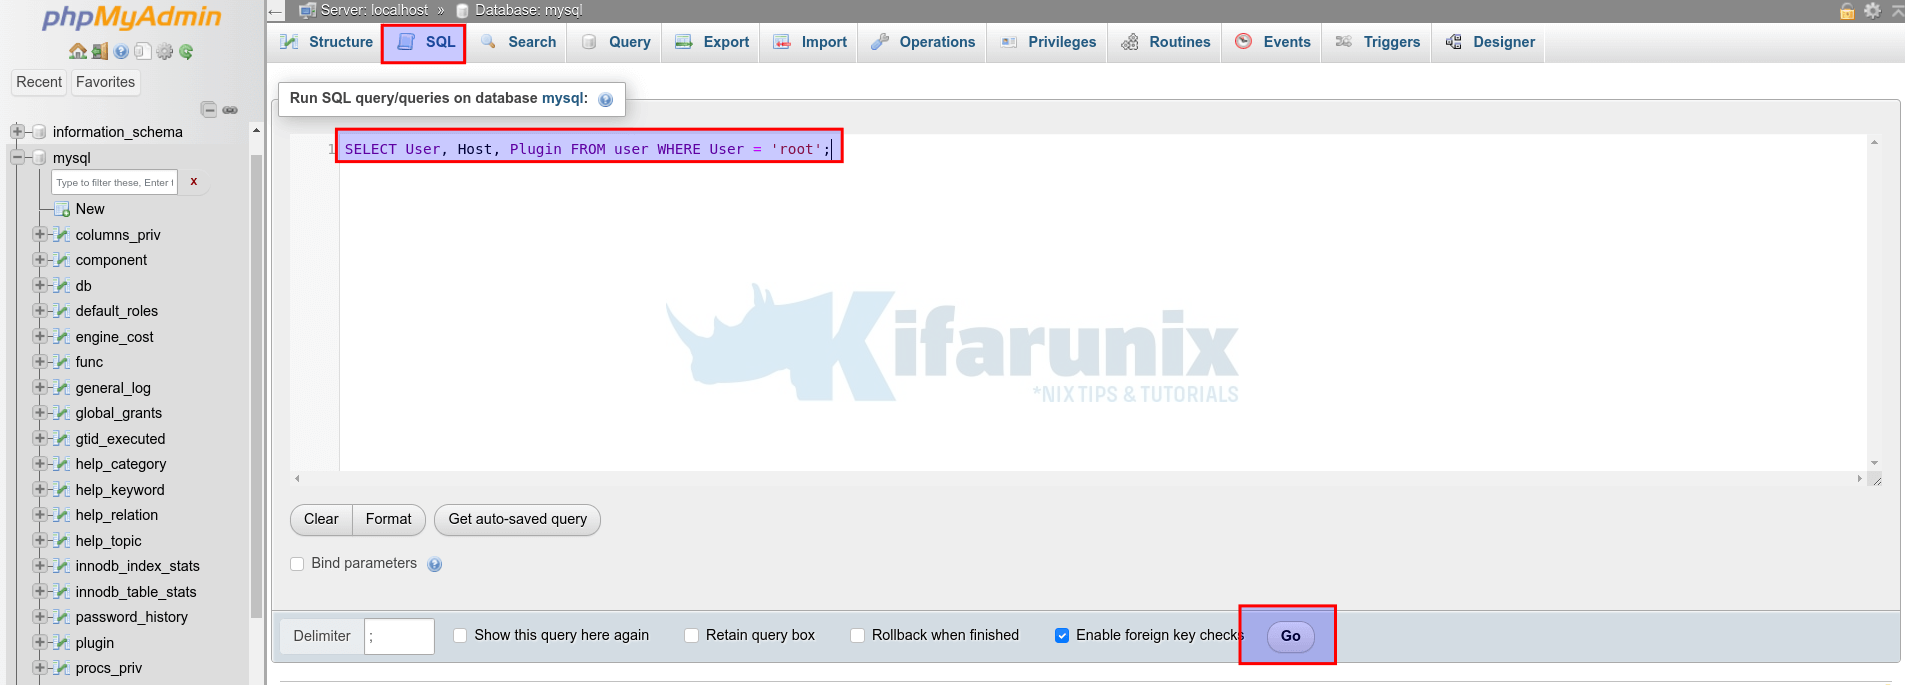
To run Queries against database tables, click SQL tab at the top and enter your queries on the SQL query interface.
For example;
SELECT User, Host, Plugin FROM user WHERE User = 'root';Once you have the query, click on the “Go” button to execute the query.
After execution, the results of your query will be displayed below the SQL query box.
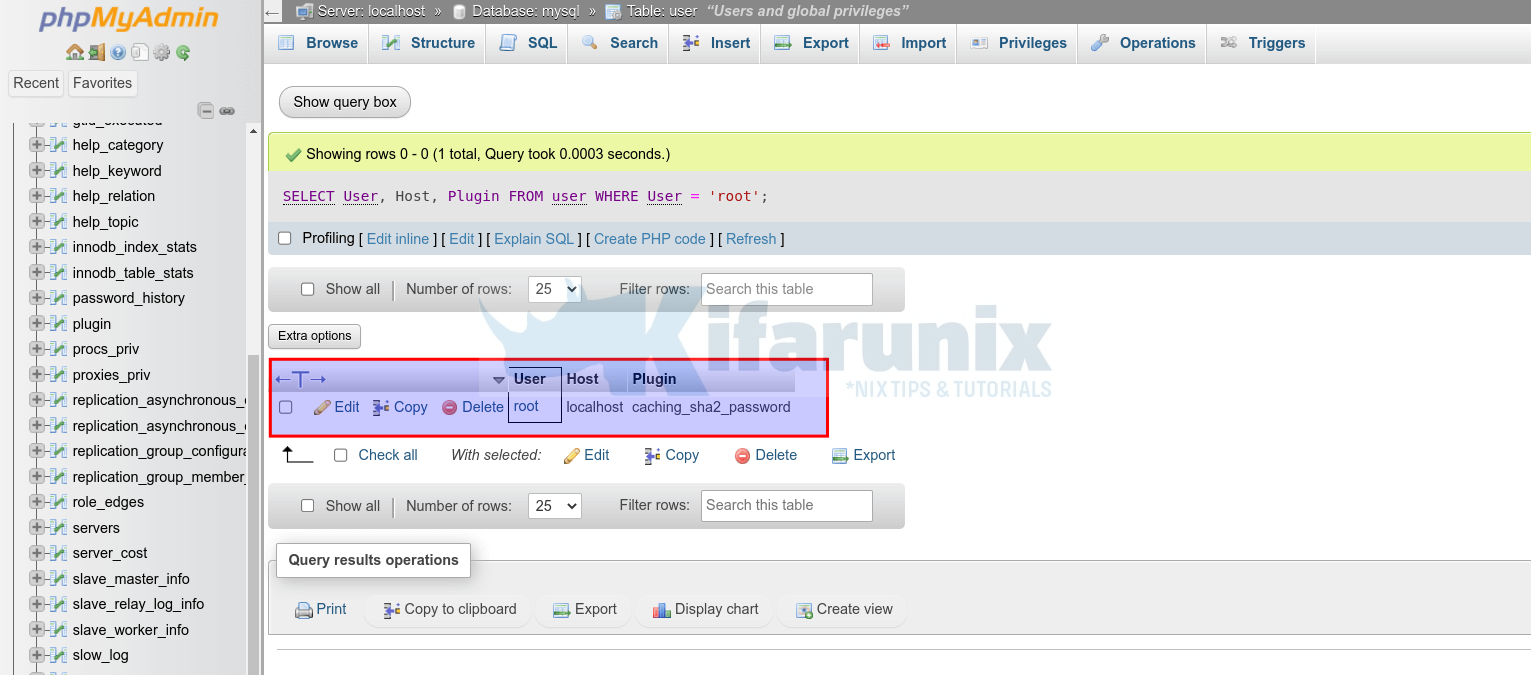
You can continue executing more queries by writing them in the SQL query box and clicking “Go” each time.
You can also check our previous articles on LAMP/LEMP Stack using the following links;
How To Install LAMP (Linux, Apache, MySQL, PHP) Stack on Fedora 28/29
How to Install LAMP Stack (Apache,MariaDB, PHP 7.2) on Ubuntu 18.04 LTS
How to Install LEMP (Nginx,MariaDB,PHP7.2) Stack on Fedora 28 / Fedora 29
How To Setup LEMP Stack (Nginx, MariaDB, PHP 7.2) on Ubuntu 18.04

