Hello there. Today we are going to learn how to install FreeIPA server on Fedora 29/Fedora 28/CentOS 7 or any other RHEL derivative. According to their About page, FreeIPA is an opensource integrated Identity and authentication management solution for Linux/UNIX environments. It provides centralized authentication, authorization and account information by storing data about users, groups, hosts and other relevant information necessary for managing the security aspects of a network of computers. It is build atop a number of opensource solutions such as 389 Directory Server, MIT Kerberos, NTP, DNS, Dogtag (Certificate System). FreeIPA can be managed via web interface or command line.
Table of Contents
How to Install FreeIPA Server on Fedora/CentOS
Prerequisites
To ensure a smooth FreeIPA installation, ensure that the following prerequisites are met.
Set static IP address on your server.
ip add1: lo: mtu 65536 qdisc noqueue state UNKNOWN group default qlen 1000
link/loopback 00:00:00:00:00:00 brd 00:00:00:00:00:00
inet 127.0.0.1/8 scope host lo
valid_lft forever preferred_lft forever
inet6 ::1/128 scope host noprefixroute
valid_lft forever preferred_lft forever
2: enp1s0: mtu 1500 qdisc fq_codel state UP group default qlen 1000
link/ether 52:54:00:08:8c:21 brd ff:ff:ff:ff:ff:ff
inet 192.168.122.110/24 brd 192.168.122.255 scope global dynamic noprefixroute enp1s0
valid_lft 3447sec preferred_lft 3447sec
inet6 fe80::2a79:62fd:eb27:1e0a/64 scope link noprefixroute
valid_lft forever preferred_lft forever
So my address is 192.168.122.110 and is set statically using the NMCLI command;
nmcli con add \
	type ethernet \
	ifname enp1s0 \
	con-name enp1s0 \
	ipv4.addresses 192.168.122.110/24 \
	ipv4.gateway 192.168.122.1 \
	ipv4.dns 8.8.8.8 \
	ipv4.method manual \
	connection.autoconnect yes
nmcli con up enp1s0Set a fully qualified hostname
hostnamectl set-hostname freeipa.kifarunix.com
Your hostname must be resolvable. If you don’t have a DNS server, you can use /etc/hosts file.
echo "192.168.122.110 freeipa.kifarunix.com freeipa" >> /etc/hosts
Ensure both forward and reverse DNS resolution;
dig freeipa.kifarunix.com +short192.168.122.110dig -x 192.168.122.110 +shortfreeipa.kifarunix.com.
freeipa.Ensure that your package repository is up to date
dnf update
Check if your server needs a reboot;
dnf install dnf-utilsThen;
need-restarting -rNo core libraries or services have been updated since boot-up.
Reboot should not be necessary.
If a restart is required, then do so.
Install FreeIPA on Fedora/CentOS
Once the above requirements are met, install FreeIPA packages as shown below;
dnf -y install freeipa-server
In this guide, we are going to set up basic FreeIPA server without integrated DNS. If you would like to include DNS integration, install these additional packages;
dnf install -y bind-dyndb-ldap freeipa-server-dns
Setup FreeIPA Server on Fedora/CentOS
Once the installation is done, run the command below to launch basic FreeIPA setup.
ipa-server-install
To perform FreeIPA setup with DNS integration, run the command below;
ipa-server-install --setup-dns
In this guide, we are going to perform FreeIPA basic setup without DNS integration.
When you launched the installation setup command, the first thing you are prompted to do is choose whether to setup integrated DNS.
If you want to accept the default settings shown in brackets, press the Enter key.
ipa-server-installIn this guide, we are not configuring DNS integration.
The log file for this installation can be found in /var/log/ipaserver-install.log
==============================================================================
This program will set up the IPA Server.
Version 4.11.1

This includes:
  * Configure a stand-alone CA (dogtag) for certificate management
  * Configure the NTP client (chronyd)
  * Create and configure an instance of Directory Server
  * Create and configure a Kerberos Key Distribution Center (KDC)
  * Configure Apache (httpd)
  * Configure SID generation
  * Configure the KDC to enable PKINIT

To accept the default shown in brackets, press the Enter key.

Do you want to configure integrated DNS (BIND)? [no]: no
Next, you are required to setup the server FQDN and the domain as well as the Kerberos realm. Kerberos realm is an authentication protocol for FreeIPA. You can press ENTER to accept the defaults.
The server hostname and domain should already be auto-detected. If that is the case, just press enter to proceed.
Enter the fully qualified domain name of the computer
on which you're setting up server software. Using the form
.
Example: master.example.com


Server host name [freeipa.kifarunix.com]: ENTER

The domain name has been determined based on the host name.

Please confirm the domain name [kifarunix.com]: ENTER

The kerberos protocol requires a Realm name to be defined.
This is typically the domain name converted to uppercase.

Please provide a realm name [KIFARUNIX.COM]: ENTER
Next, set the Directory manager (LDAP) password
Certain directory server operations require an administrative user.
This user is referred to as the Directory Manager and has full access
to the Directory for system management tasks and will be added to the
instance of directory server created for IPA.
The password must be at least 8 characters long.

Directory Manager password: password
Password (confirm): password
Set the IPA administrator password
The IPA server requires an administrative user, named 'admin'.
This user is a regular system account used for IPA server administration.

IPA admin password: password2
Password (confirm): password2
Accept defaults for NetBIOS and NTP server.
Trust is configured but no NetBIOS domain name found, setting it now.
Enter the NetBIOS name for the IPA domain.
Only up to 15 uppercase ASCII letters, digits and dashes are allowed.
Example: EXAMPLE.


NetBIOS domain name [KIFARUNIX]:

Do you want to configure chrony with NTP server or pool address? [no]:
Next, you are prompted on whether to configure the IPA server with the above configuration options you have provided.
The IPA Master Server will be configured with:
Hostname:       freeipa.kifarunix.com
IP address(es): 192.168.122.110
Domain name:    kifarunix.com
Realm name:     KIFARUNIX.COM

The CA will be configured with:
Subject DN:   CN=Certificate Authority,O=KIFARUNIX.COM
Subject base: O=KIFARUNIX.COM
Chaining:     self-signed

Continue to configure the system with these values? [no]: yes
If you are satisfied with what you have provided, accept and proceed.
The configuration will take quite some minutes to complete depending on the swiftness of your server. If all is well, you should see such an output.
...
Client configuration complete.
The ipa-client-install command was successful

Please add records in this file to your DNS system: /tmp/ipa.system.records.d6sgeix0.db
==============================================================================
Setup complete

Next steps:
	1. You must make sure these network ports are open:
		TCP Ports:
		  * 80, 443: HTTP/HTTPS
		  * 389, 636: LDAP/LDAPS
		  * 88, 464: kerberos
		UDP Ports:
		  * 88, 464: kerberos
		  * 123: ntp

	2. You can now obtain a kerberos ticket using the command: 'kinit admin'
	   This ticket will allow you to use the IPA tools (e.g., ipa user-add)
	   and the web user interface.

Be sure to back up the CA certificates stored in /root/cacert.p12
These files are required to create replicas. The password for these
files is the Directory Manager password
The ipa-server-install command was successful
Open FreeIPA Services Ports on Firewall
Next, you need to open the FreeIPA services ports through the firewall if it is running.
First check the state of firewall;
firewall-cmd --stateIf it is running, output should be, running. Thus, proceed to open the ports.
for i in 80 443 389 636 88 464; do firewall-cmd --add-port=$i/tcp --permanent; done
for i in 88 464 123; do firewall-cmd --add-port=$i/udp --permanent; done
You can even use the service name instead;
firewall-cmd --add-service={freeipa-ldap,freeipa-ldaps,dns,ntp} --permanentThen reload the firewall;
firewall-cmd --reload
Check Status of FreeIPA Services
To confirm if all the FreeIPA services are running, execute the command;
ipactl statusSample output;
Directory Service: RUNNING
krb5kdc Service: RUNNING
kadmin Service: RUNNING
httpd Service: RUNNING
ipa-custodia Service: RUNNING
pki-tomcatd Service: RUNNING
ipa-otpd Service: RUNNING
ipa: INFO: The ipactl command was successful
Obtain Kerberos Ticket for IPA Adminstration
Now that the installation is done, you need to authenticate to FreeIPA server. During installation two users were created, the Directory manager and the admin manager.
To authenticate to FreeIPA manager as an admin and even be able to use the IPA command line tools as well as the Web interface, you need to generate the Kerberos ticket by running the command below;
Use the password for IPA admin user.
kinit adminPassword for [email protected]: <IPA admin user password>
Using IPA Command Line tools
Once you obtain a Kerberos ticket, you can try to use the IPA command line tools. For example, to find the information about admin user, run the command ipa user-find admin.
ipa user-find admin--------------
1 user matched
--------------
User login: admin
Last name: Administrator
Home directory: /home/admin
Login shell: /bin/bash
Principal alias: [email protected], [email protected]
UID: 1152000000
GID: 1152000000
Account disabled: False
----------------------------
Number of entries returned 1
----------------------------
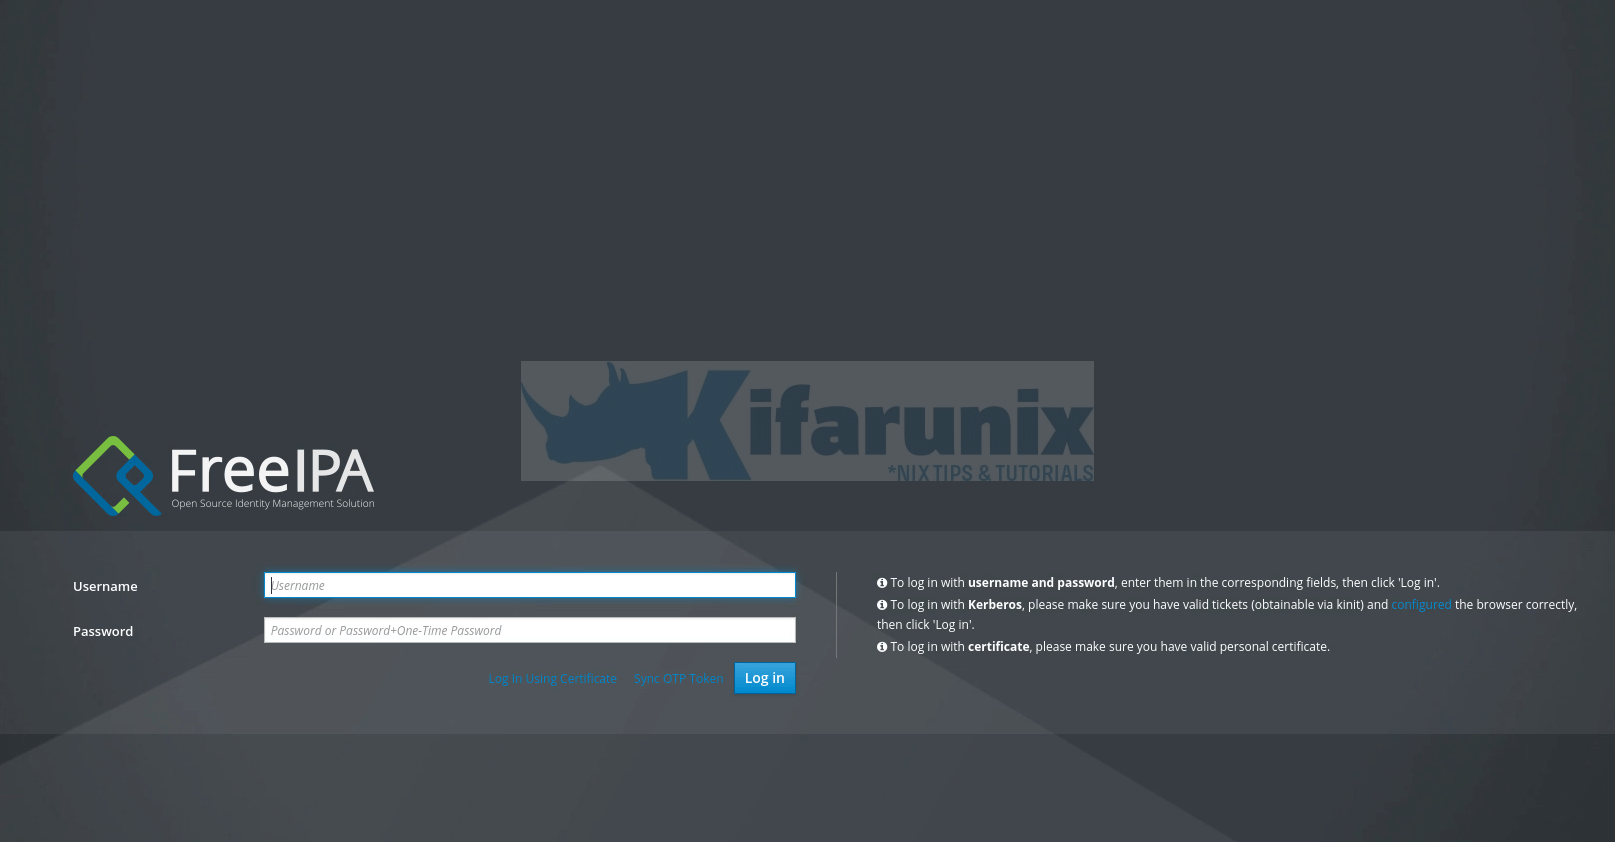
Access FreeIPA Web Interface
To login to your FreeIPA server via the browser, enter the FQDN on the browser address bar.
In case you get an SSL exception prompt, just accept it and proceed to login.

Authenticate using IPA Admin user credentials.
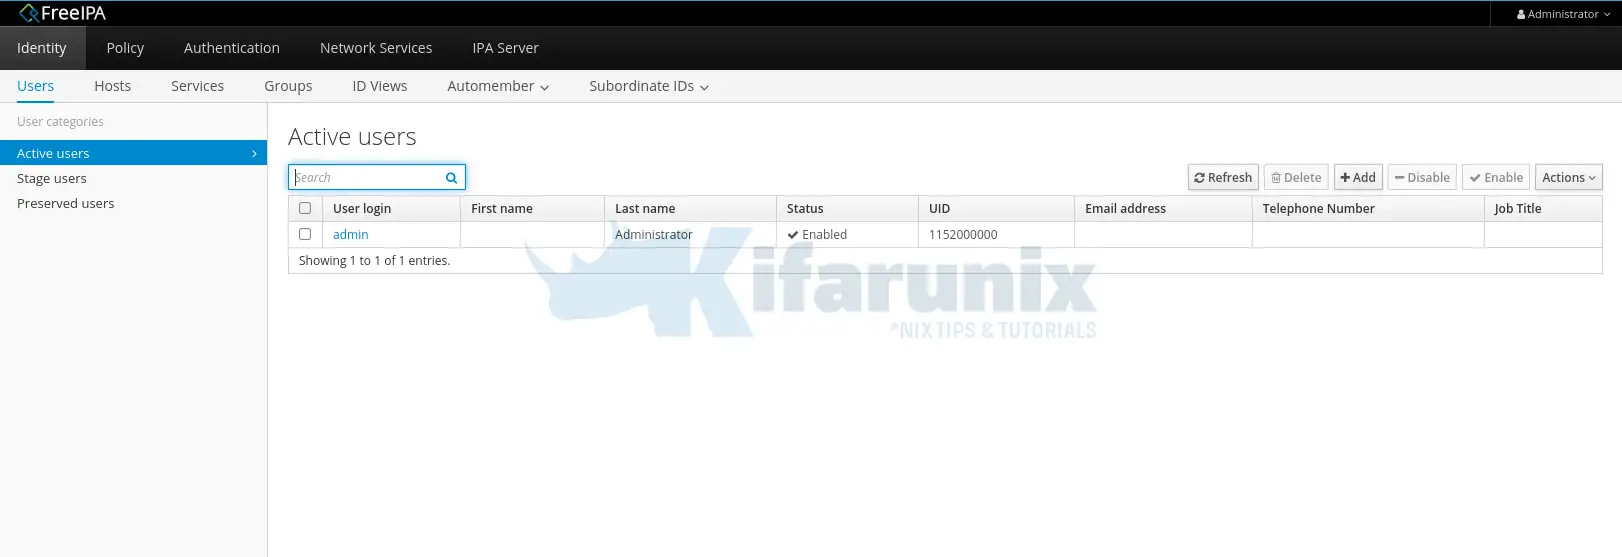
When you successfully authenticate, you should see FreeIPA’s Identity Users page as shown in the screenshot below;

You have successfully setup your basic FreeIPA server. In our next article, we will learn how to add and configure FreeIPA users. Stay connected.
Adding Users to FreeIPA Server
Follow the link below to add FreeIPA server users.

