Follow through the guide to install OpenNMS network monitoring tool on Ubuntu 20.04. OpenNMS is an open-source and enterprise grade network monitoring and management solution.
Read about the capabilities of OpenNMS on OpenNMS platform page.
Installing OpenNMS on Ubuntu 20.04
In order to install OpenNMS on Ubuntu 20.04;
Install OpenJDK 11 Development Kit on Ubuntu 20.04
Install Java 11 on Ubuntu 20.04;
apt updateapt install default-jdkThe command above installs OpenJDK 11 by default on Ubuntu 20.04, as of this writing.
You can confirm the version of installed Java on Ubuntu by running the command;
java -versionopenjdk version "11.0.9.1" 2020-11-04
OpenJDK Runtime Environment (build 11.0.9.1+1-Ubuntu-0ubuntu1.20.04)
OpenJDK 64-Bit Server VM (build 11.0.9.1+1-Ubuntu-0ubuntu1.20.04, mixed mode, sharing)Install OpenNMS Ubuntu 20.04
Once JDK 11 is installed, you can proceed to install OpenNMS on Ubuntu 20.04;
Create APT repository for the latest OpenNMS stable release version Ubuntu 20.04. You can get the latest version number from the latest release page.
cat << 'EOF' > /etc/apt/sources.list.d/opennms.list
deb https://debian.opennms.org opennms-27 main
deb-src https://debian.opennms.org opennms-27 main
EOF
Install OpenNMS APT repo GPG signing key;
wget -O - https://debian.opennms.org/OPENNMS-GPG-KEY | apt-key add -Run package cache update;
apt updateNext, Install OpenNMS on Ubuntu and all other required packages by running the command below;
apt install opennmsThe command installs OpenNMS and all other require packages including jicmp6 and jicmp, opennms-core, opennms-webapp-jetty, postgresql, postgresql–libs.
Configuring OpenNMS db
During the installation, you receive a notification that in order to complete the install and setup of OpenNMS, you need to run the installer manually. Click Ok to proceed. This step to finalize the OpenNMS setup will be executed later.
Postfix Configuration
When prompted to select the type of the Postfix mail server configuration, select Internet site and proceed.
Set system mail name to the system hostname (without the domain name part) as provided by the command hostname -s.
You can see how to configure Postfix with Gmail relay on Ubuntu 20.04 by following the link below;
Configure Postfix to Use Gmail SMTP on Ubuntu 20.04
If you encounter such an error;
Failed to install iplike into the template1 or opennms databases. See /tmp/install_iplike.log for details. To skip this step and install manually, set the
environment variable SKIP_IPLIKE_INSTALL before installing this package. To install iplike into your database, use the /usr/sbin/install_iplike.sh script.  See
`install_iplike.sh -h` for more details.
It is because;
less /tmp/install_iplike.logpsql: error: FATAL: database "opennms" does not existThis means that you need to initialize the PostgreSQL database before you can proceed to complete OpenNMS setup.
All the OpenNMS files are installed under, /usr/share/opennms/.
ls -1 /usr/share/opennms/bin
data
deploy
etc
jetty-webapps
lib
logs
share
systemInitialize and Setup PostgreSQL Database
Before you can run the installer to complete OpenNMS setup, you need to start, create and setup PostgreSQL for OpenNMS.
Running PostgreSQL Database
PostgreSQL database service is started and enabled to run on boot upon installation.
systemctl status postgresql● postgresql.service - PostgreSQL RDBMS
Loaded: loaded (/lib/systemd/system/postgresql.service; enabled; vendor preset: enabled)
Active: active (exited) since Wed 2021-01-20 19:12:22 UTC; 24min ago
Main PID: 10299 (code=exited, status=0/SUCCESS)
Tasks: 0 (limit: 2282)
Memory: 0B
CGroup: /system.slice/postgresql.service
Jan 20 19:12:22 opennms.kifarunix-demo.com systemd[1]: Starting PostgreSQL RDBMS...
Jan 20 19:12:22 opennms.kifarunix-demo.com systemd[1]: Finished PostgreSQL RDBMS.If not already running, you can start it by running the command;
systemctl start postgresqlCreate OpenNMS PostgreSQL Database and Database User
As a PostgreSQL user (postgres), create OpenNMS database and database user;
su - postgres -c "createuser -P opennms"su - postgres -c "createdb -O opennms opennms"Reset PostgreSQL Admin Password
The password for PostgreSQL administrative user is also needed, hence set one as follows;
su - postgres -c "psql -U postgres"alter user postgres with password 'ChangeME';Replace ChangeME password with your desired strong password.
Quit the database connection.
\qConfigure OpenNMS database connection details
Edit the OpenNMS datasources configuration file, /usr/share/opennms/etc/opennms-datasources.xml, and define PostgreSQL database connection details.
vim /usr/share/opennms/etc/opennms-datasources.xmlIn the section below, define the OpenNMS PostgreSQL database connection details (highlighted);
 <jdbc-data-source name="opennms"
                    database-name="opennms"
                    class-name="org.postgresql.Driver"
                    url="jdbc:postgresql://localhost:5432/opennms"
                    user-name="opennms"
                    password="opennsm-password" />
In the section below, define the PostgreSQL admin password set above;
  <jdbc-data-source name="opennms-admin"
                    database-name="template1"
                    class-name="org.postgresql.Driver"
                    url="jdbc:postgresql://localhost:5432/template1"
                    user-name="postgres"
                    password="ChangeME" />
Complete OpenNMS Setup on Ubuntu 20.04
Once the database is initialized and setup, you need to run the installer to finalize OpenNMS setup.
Set JAVA_HOME environment;
echo JAVA_HOME="/usr/lib/jvm/java-11-openjdk-amd64" >> /etc/environment
source /etc/environment
Exit the current terminal and launch another terminal to effect the environment variable set above.
Next, run the command below to detect of Java environment and persist in /usr/share/opennms/etc/java.conf.
/usr/share/opennms/bin/runjava -srunjava: Looking for an appropriate JVM...
runjava: Checking for an appropriate JVM in JAVA_HOME...
runjava: Found: "/usr/lib/jvm/java-11-openjdk-amd64/bin/java" is an appropriate JVM.
runjava: Value of "/usr/lib/jvm/java-11-openjdk-amd64/bin/java" stored in configuration file.Next, complete the setup by running the install command. This will initialize the database and detect system libraries persisted in /opt/opennms/etc/libraries.properties.
/usr/share/opennms/bin/install -disThe initialization and final setup of OpenNMS then runs. If you see the line, Upgrade completed successfully!, then all is well.
Running OpenNMS on Ubuntu 20.04
Once the installation and setup is done, you can start and enable OpenNMS to run on system boot;
systemctl enable --now opennmsChecking the status;
systemctl status opennms● opennms.service - OpenNMS server
Loaded: loaded (/lib/systemd/system/opennms.service; enabled; vendor preset: enabled)
Active: active (running) since Wed 2021-01-20 20:19:24 UTC; 9s ago
Process: 17185 ExecStart=/usr/share/opennms/bin/opennms -s start (code=exited, status=0/SUCCESS)
Main PID: 18242 (java)
Tasks: 38 (limit: 2282)
Memory: 203.2M
CGroup: /system.slice/opennms.service
├─18241 bash /usr/share/opennms/bin/opennms -s start
└─18242 /usr/lib/jvm/java-11-openjdk-amd64/bin/java --add-modules=java.base,java.compiler,java.datatransfer,java.desktop,java.instrument,java.logging,java.man>
Jan 20 20:19:27 opennms.kifarunix-demo.com opennms[18242]: [DEBUG] System property 'opennms.library.jicmp' set to '/usr/lib/jni/libjicmp.so. Attempting to load jicmp libr>
Jan 20 20:19:27 opennms.kifarunix-demo.com opennms[18242]: [INFO] Successfully loaded jicmp libraryAccessing OpenNMS Web Interface
You can now access OpenNMS from browser. To allow external access, OpenNMS web frontend port, 8980/tcp on firewall;
ufw allow 8980/tcpYou can then access OpenNMS web frontend using the URL http://server-IP-or-resolvable-hostname:8980.
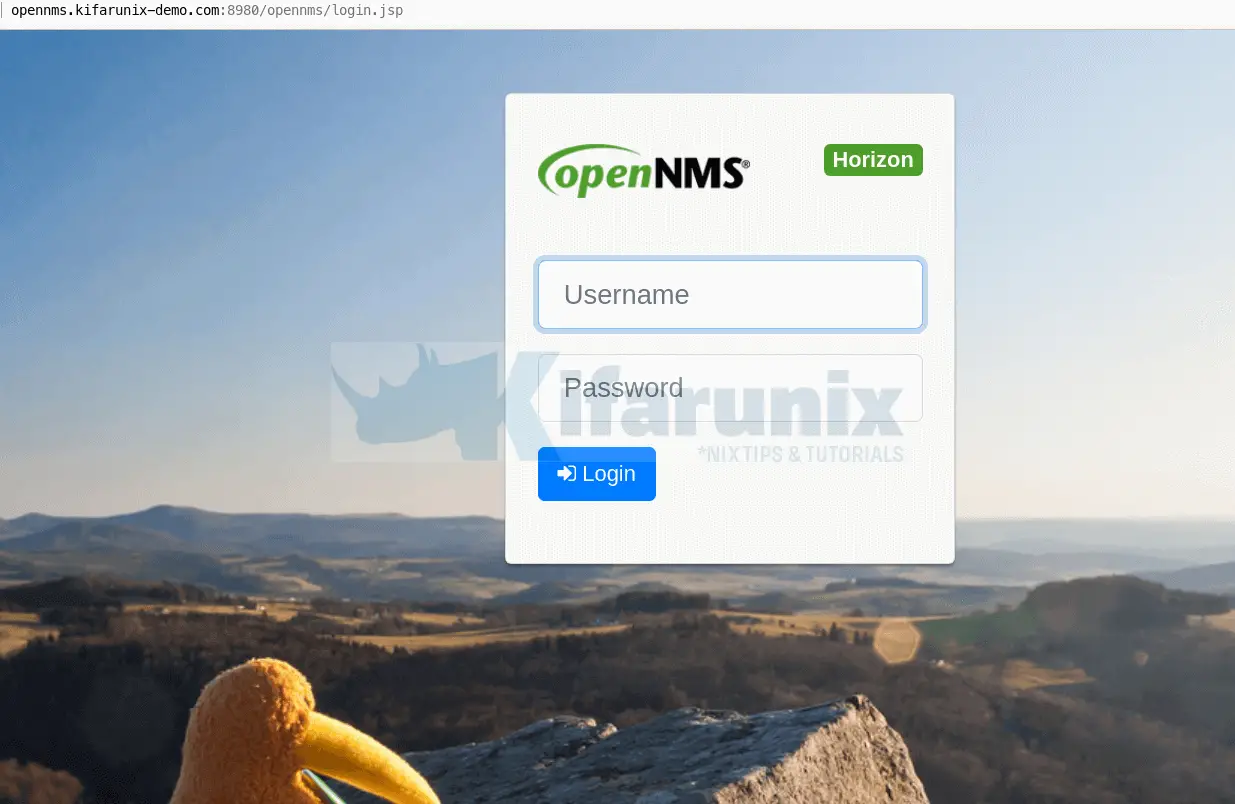
You should land on OpenNMS horizon login page.

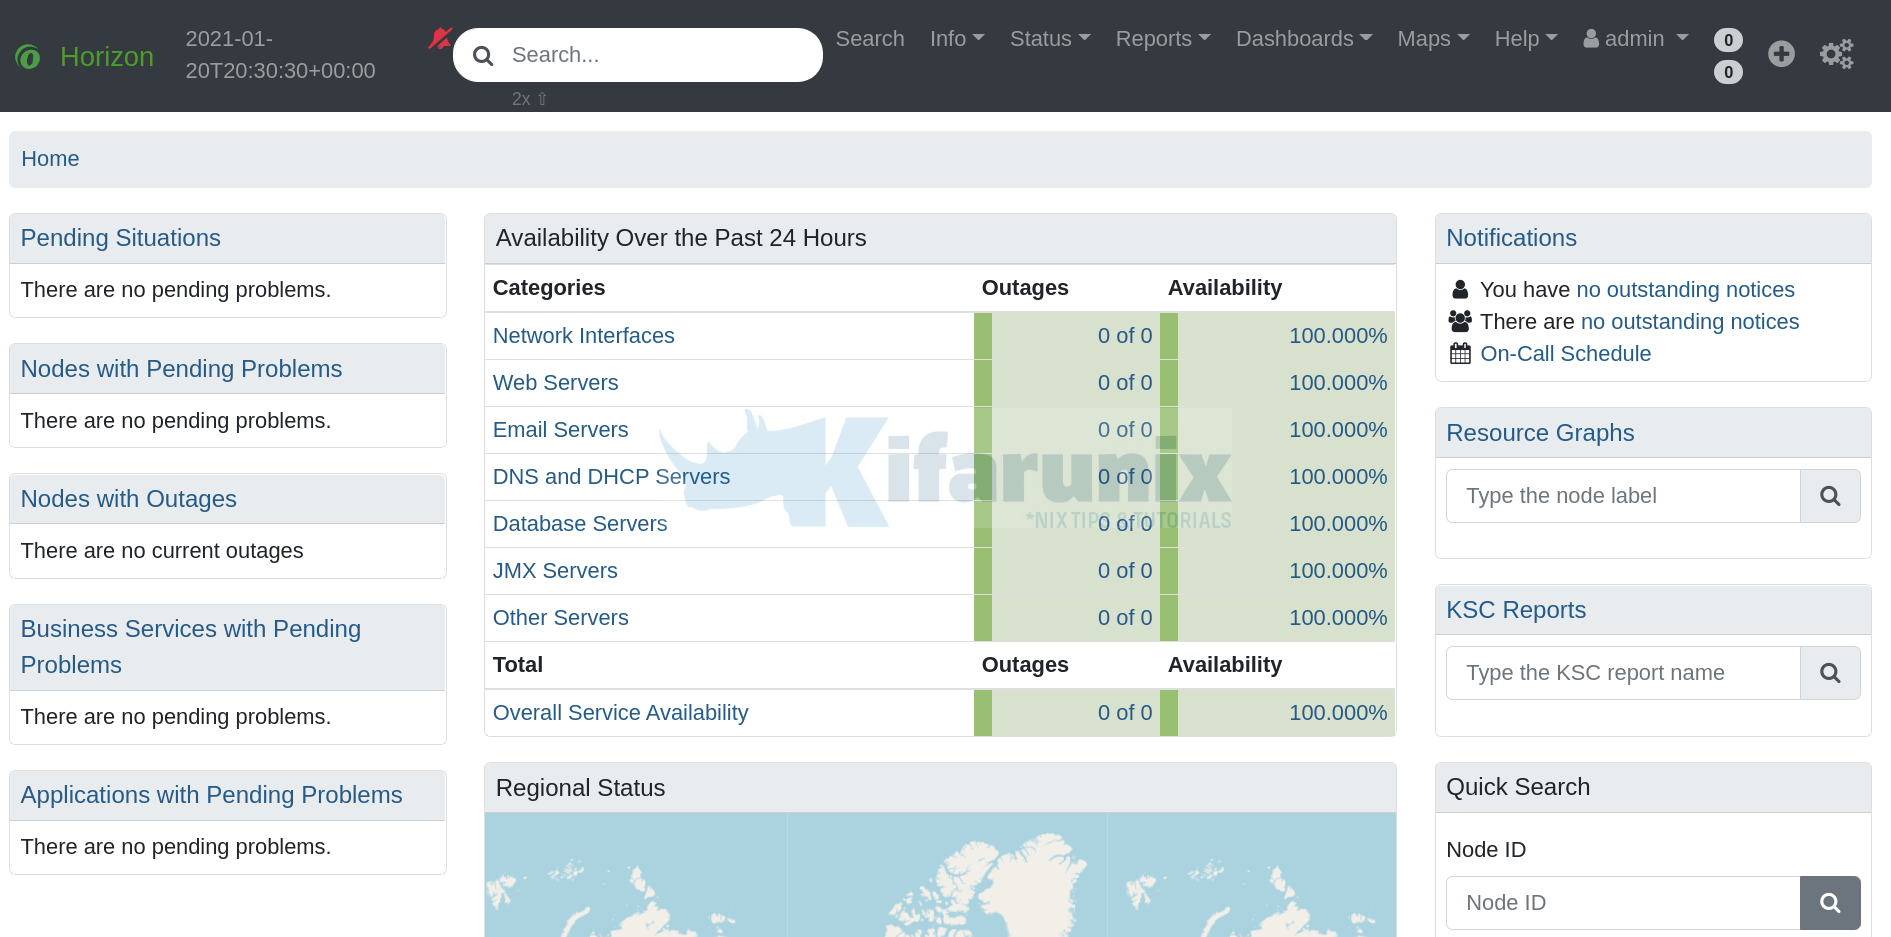
Login using the default credentials, admin for both username and password. You can reset the password later by navigating to admin > Change password.
OpenNMS default dashboard;

Further Reading
So what is next?
Refer to OpenNMS administration guide to administer OpenNMS.

