This guide demonstrates how to install Apache Tomcat 9 on Debian 10/Debian 9. Apache Tomcat is an opensource java based HTTP web server that implements the Java Servlet, JavaServer Pages, Java Expression Language and Java WebSocket technologies.
Table of Contents
Installing Apache Tomcat 9 on Debian 10/Debian 9
Update your system packages
Run the commands below to update and upgrade your system packages.
apt update
apt upgrade
Install Java
Apache Tomcat 9 requires Java 8 or later.
java -version
java version "11.0.3" 2019-04-16 LTS
Java(TM) SE Runtime Environment 18.9 (build 11.0.3+12-LTS)
Java HotSpot(TM) 64-Bit Server VM 18.9 (build 11.0.3+12-LTS, mixed mode)
If you need to install other versions of Java, see the links below;
Install Oracle Java 12 on Debian 10
Install Oracle Java 12 on Ubuntu 18.04/Debian 9.8
Install Java 11 on Debian 9.8/Ubuntu 18.04
Download and Install Apache Tomcat 9
Next, navigate to Apache Tomcat 9 downloads page and download Tomcat 9 archive. You can as well use wget command as in below;
wget https://www-us.apache.org/dist/tomcat/tomcat-9/v9.0.21/bin/apache-tomcat-9.0.21.tar.gzExtract the Apache Tomcat 9 binary to /opt/tomcat9 directory.
mkdir /opt/tomcat9
tar xzf apache-tomcat-9.0.21.tar.gz -C /opt/tomcat9 --strip-components=1
Configure Apache Tomcat 9 Environment Variables
Environment variables are used by the Tomcat startup scripts to prepare the command that starts Tomcat.
To begin with, set the CATALINA_HOME environment variable to the above created Tomcat directory where the binary files exist.
echo 'export CATALINA_HOME="/opt/tomcat9"' > /etc/profile.d/tomcat9.shAlso, you need to set JRE_HOME (JRE) or JAVA_HOME (JDK) environment variable for the Java version you have installed. You can find the path with update-java-alternatives command.
update-java-alternatives -l
java-1.11.0-openjdk-amd64      1111       /usr/lib/jvm/java-1.11.0-openjdk-amd64
Hence,
echo 'export JAVA_HOME="/usr/lib/jvm/java-1.11.0-openjdk-amd64"' >> /etc/profile.d/tomcat9.sh Reload the environment variables set above.
source /etc/profile.d/tomcat9.shCreate Tomcat System User
Just like any other web server, Apache Tomcat should not be run with a privileged user. Hence, create a system user for Apache Tomcat as follows;
useradd -r -d /opt/tomcat9/ -s /bin/false tomcatNext, you need to set the group ownership of Tomcat 9 directory to tomcat.
chown -R :tomcat /opt/tomcat9/Assign tomcat group the read permissions on the Tomcat 9 configuration files directory.
chmod -R g+r /opt/tomcat9/confNext, assign the group ownership the execution permissions on the Tomcat 9 configuration files directory.
chmod g+x /opt/tomcat9/confConfigure Tomcat Web Management Accounts
Define a user for the web management of Tomcat 9 Admin/Manager User interfaces. This can be done by editing the /opt/tomcat9/conf/tomcat-users.xml file and adding the line below between the </tomcat-users> tag.
vim /opt/tomcat9/conf/tomcat-users.xml<tomcat-users>
...
<role rolename="admin-gui"/>
<role rolename="manager-gui"/>
<user username="admin" password="StrongP@SS" roles="admin-gui,manager-gui"/>
</tomcat-users>Configure Tomcat to allow remote connection to Manager and Host Manager apps. Hence, edit the configuration files below for Manager and Host Manager respectively and enter the IP addresses of the remote server you are accessing the Tomcat from. The IPs are separated by a pipe, |.
vim /opt/tomcat9/webapps/manager/META-INF/context.xml...
<Context antiResourceLocking="false" privileged="true" >
<Valve className="org.apache.catalina.valves.RemoteAddrValve"
allow="127\.\d+\.\d+\.\d+|::1|0:0:0:0:0:0:0:1|192.168.43.96" />
...vim /opt/tomcat9/webapps/host-manager/META-INF/context.xml...
<Context antiResourceLocking="false" privileged="true" >
<Valve className="org.apache.catalina.valves.RemoteAddrValve"
allow="127\.\d+\.\d+\.\d+|::1|0:0:0:0:0:0:0:1|192.168.43.96" />
...Running Tomcat 9
Tomcat can be run by executing the startup script, /opt/tomcat9/bin/startup.sh. You need to open port 8080 on UFW.
ufw allow 8080Running Tomcat 9 startup script
/opt/tomcat9/bin/startup.shUsing CATALINA_BASE: /opt/tomcat9
Using CATALINA_HOME: /opt/tomcat9
Using CATALINA_TMPDIR: /opt/tomcat9/temp
Using JRE_HOME: /usr/lib/jvm/java-1.11.0-openjdk-amd64
Using CLASSPATH: /opt/tomcat9/bin/bootstrap.jar:/opt/tomcat9/bin/tomcat-juli.jar
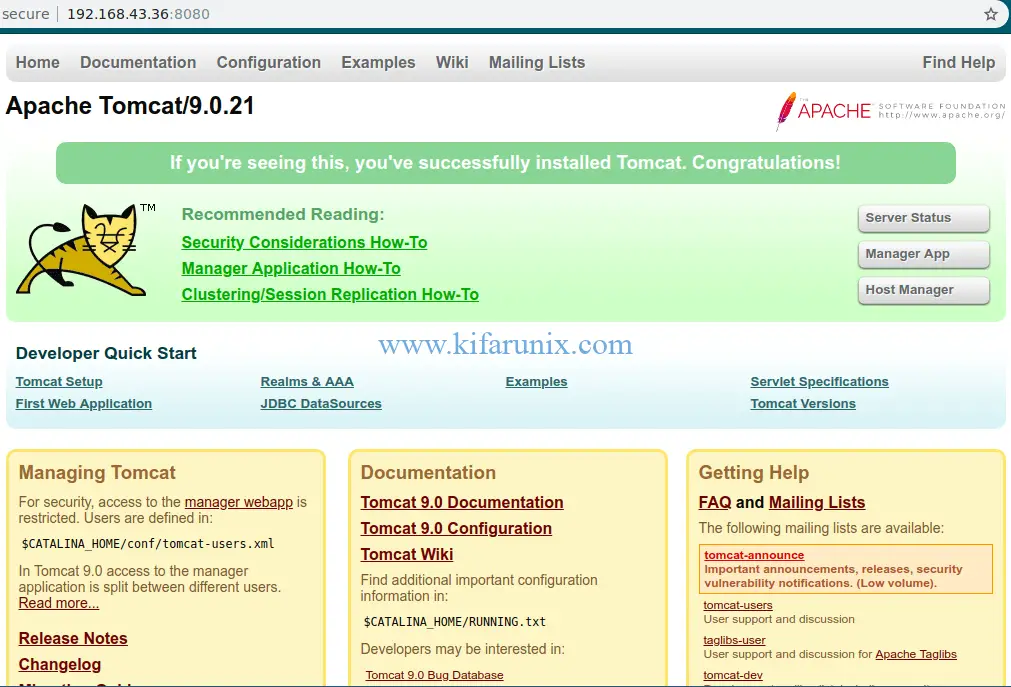
Tomcat started.You can now access your Tomcat 9 using the address, http://server-IP:8080

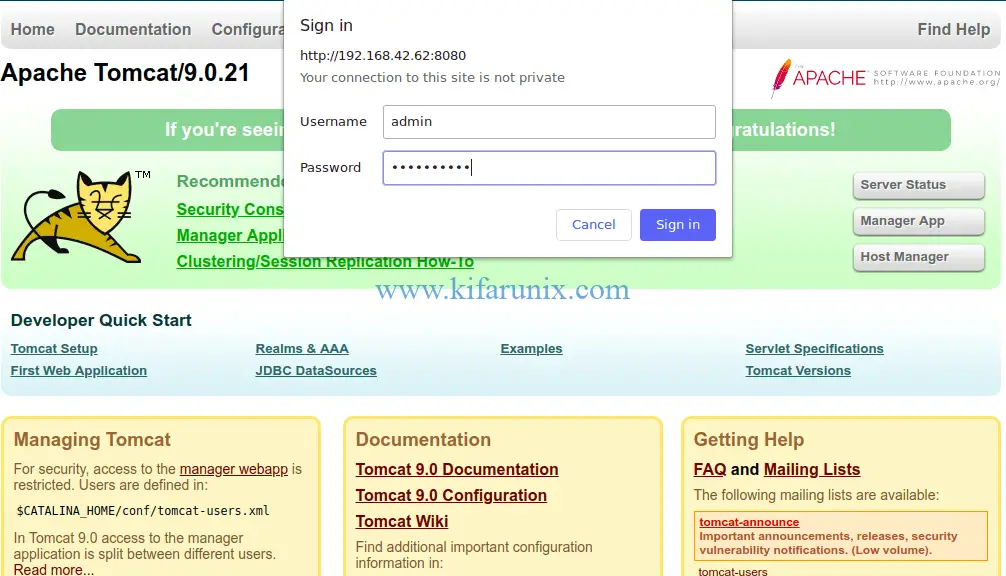
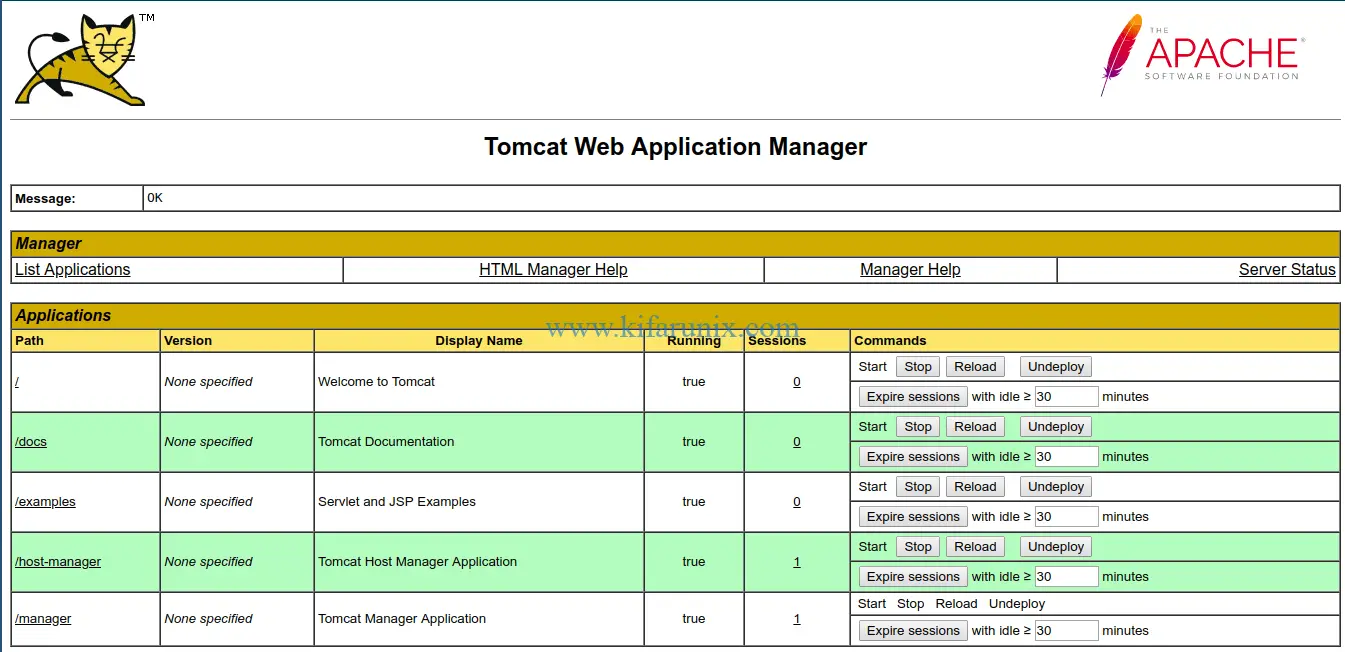
To access the Tomcat Web Application Manager, click Manager App. You will be prompted to login. Supply the credentials you set above.


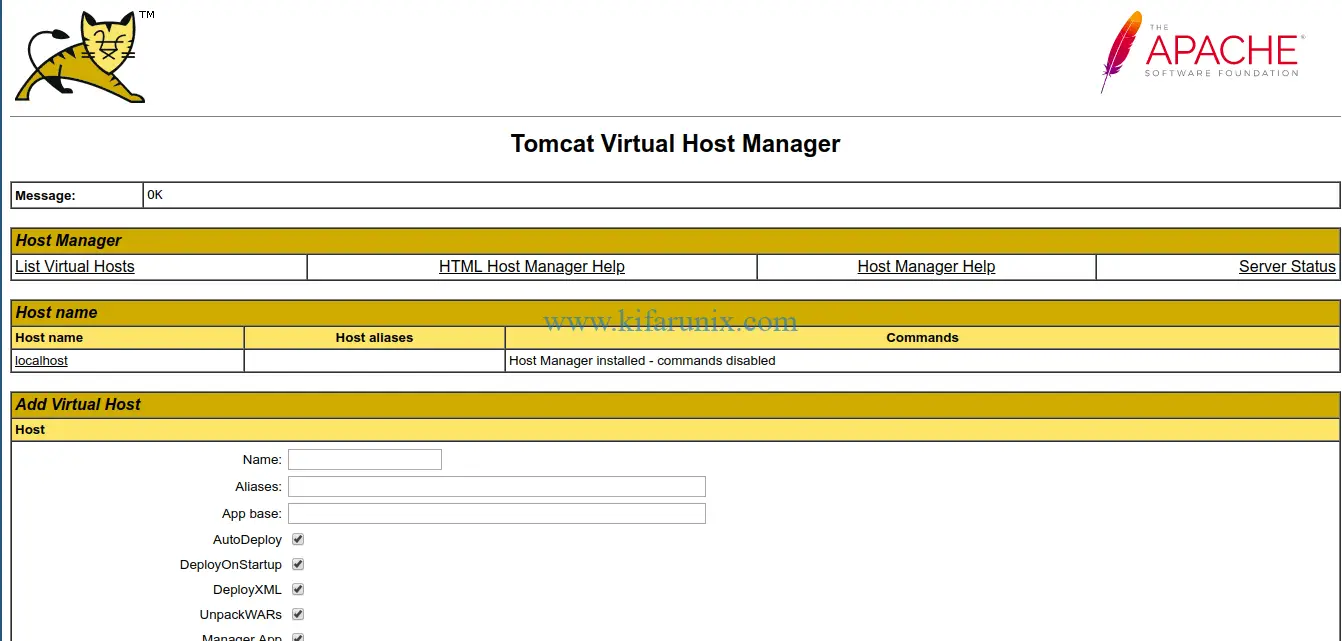
To access Tomcat virtual host manager, click Host Manager.

You can check our other guides below;
Install ManageEngine AssetExplorer on Ubuntu 18.04
Install AnyDesk on Ubuntu 18.04
Install Prometheus on Ubuntu 18.04
Install OpenVAS 9 with PostgreSQL in Ubuntu 18.04
Configure Sendmail to Use Gmail Relay on Ubuntu 18.04/Debian 10/9

