In this guide, we are going to learn how to install OpenVAS 9 with PostgreSQL in Ubuntu 18.04. In our previous guide, we covered the installation of OpenVAS 9 on Ubuntu 18.04, see the link below. OpenVAS 9 uses SQLite as the database by default.
Installing OpenVAS 9 on Ubuntu 18.04
Install OpenVAS 9 with PostgreSQL in Ubuntu 18.04
To begin with, update and upgrade your system packages.
sudo apt update
sudo apt upgrade
Install PostgreSQL on Ubuntu 18.04
Run the command below to install PostgreSQL and the required dependencies to function with OpenVAS 9.
sudo apt install postgresql postgresql-contrib postgresql-server-dev-10Running PostgreSQL
PostgreSQL is set to run after installation by default. You can check status by running the command below;
sudo systemctl status postgresql
● postgresql.service - PostgreSQL RDBMS
   Loaded: loaded (/lib/systemd/system/postgresql.service; enabled; vendor preset: enabled)
   Active: active (exited) since Mon 2019-06-17 22:47:18 EAT; 10min ago
 Main PID: 2019 (code=exited, status=0/SUCCESS)
    Tasks: 0 (limit: 1130)
   CGroup: /system.slice/postgresql.service
It is also enabled to run on system boot.
systemctl is-enabled postgresql
enabled
Create PostgreSQL User and Database
Once the installation is done, create the PostgreSQL user and database for OpenVAS manager. Note that the database and user should be created as PostgreSQL user, postgres.
sudo -Hiu postgres
createuser root
createdb -O root tasks
Grant PostgreSQL User DBA Roles
Next, login to PostgreSQL database and grant the user (created above) the administrative roles on that database.
sudo -Hiu postgres
psql tasks
create role dba with superuser noinherit;
grant dba to root;
create extension "uuid-ossp";
\q
exit
Build OpenVAS 9 Manager From Source
To build OpenVAS 9 from the source, you need to download the source code. Hence, before you can proceed, create a directory to which the OpenVAS manager source will be downloaded. This guide used the local source code directory.
sudo mkdir -p /usr/local/src/openvas/debsAdd the mrazavi OpenVAS repository to enable use install OpenVAS Manager as shown below.
sudo apt install software-properties-common
sudo add-apt-repository ppa:mrazavi/openvas
After that, edit the created source list to enable OpenVAS source repository by uncommenting source repository as shown below
sudo vim /etc/apt/sources.list.d/mrazavi-ubuntu-openvas-bionic.listdeb http://ppa.launchpad.net/mrazavi/openvas/ubuntu bionic main
deb-src http://ppa.launchpad.net/mrazavi/openvas/ubuntu bionic main
Next, run system update to resynchronize packages to the latest versions.
sudo apt updateInstall Required Build Tools and Dependencies
Next, run the command below to install the build tools and the required dependencies.
sudo apt install dpkg-dev debhelper cmake pkg-config libglib2.0-dev libgnutls28-dev build-essential libgcrypt11-dev libsqlite3-dev libgpgme-dev rats libopenvas9-devDownload OpenVAS Manager Source code
Navigate to OpenVAS 9 source directory created above and run the command below to download the source code.
cd /usr/local/src/openvas
sudo apt source openvas9-manager
Verify OpenVAS build dependencies
Before you can compile OpenVAS 9, you need to check if any dependency is missing. This can be done by running the dpkg-checkbuilddeps command within the OpenVAS manager source directory.
cd /usr/local/src/openvas/openvas9-manager-7.0.3
sudo dpkg-checkbuilddeps
If there is any dependency missing, you will see it. Hence, you need to install any missing dependency before you can proceed. If all is well, the command returns nothing.
Configure OpenVAS Source code to use PostgreSQL
To configure OpenVAS to use PostgreSQL instead of the default SQLite, edit the debian/rules within the source code directory and make the adjustments as shown below;
sudo vim debian/rules...
# Add '-DBACKEND=POSTGRESQL' to the line below to enable support for PostgreSQL
override_dh_auto_configure:
dh_auto_configure -- -DLOCALSTATEDIR=/var -DSYSCONFDIR=/etc -DBACKEND=POSTGRESQL
...Once that is done, add PostgreSQL directory as part of OpenVAS install directories.
sudo sh -c "echo 'usr/lib/openvasmd/pg' >> debian/openvas9-manager.dirs"
sudo sh -c "echo 'usr/lib/openvasmd/pg' >> debian/openvas9-manager.install"
Compile and Install OpenVAS 9 on Ubuntu 18.04
Run the command below to generate OpenVAS 9 manager DEB package from the source code.
sudo dpkg-buildpackage -uc -usIf all is well, multiple DEB files are generated and stored under the /usr/local/src/openvas/. Move all these binaries to debs directory created above.
sudo mv /usr/local/src/openvas/*.deb /usr/local/src/openvas/debs/Install OpenVAS 9 manager. To avoid any would be dependency, use the APT command.
sudo apt install /usr/local/src/openvas/debs/*.debDuring installation, you are prompted to enable redis unix socket. Enable it and proceed.

Next, you need to disable SQLite from overriding PostgreSQL when an update is run. This can be done by running the commands below;
sudo apt-mark hold openvas9-managerThe build and installation of OpenVAS 9 manager is done . You can now update the network vulnerability tests database by syncing it with feeds using the the following commands:
greenbone-nvt-sync
greenbone-scapdata-sync
greenbone-certdata-sync
Once the update is done, restart the OpenVAS scanner, manager and security assistant.
systemctl restart openvas-scanner
systemctl restart openvas-manager
systemctl restart openvas-gsa
Enable the services to run on system reboot.
systemctl enable openvas-scanner
systemctl enable openvas-manager
systemctl enable openvas-gsa
Next, rebuild the NVTs cache so that the feeds synced above are loaded to the OpenVAS manager.
openvasmd --rebuild --progress --verbose
Rebuilding NVT cache... done.
OpenVAS 9 should now be running. You can check it as shown below;
ps aux | grep openvas | grep -v grep
root     16686  0.0  0.1 102068  1380 ?        Ss   16:24   0:00 gpg-agent --homedir /var/lib/openvas/openvasmd/gnupg --use-standard-socket --daemon
root     16726  0.1  0.3 146408  3584 ?        Ss   16:26   0:01 openvassd: Waiting for incoming connections
root     16747  0.0 14.2 348460 143340 ?       SL   16:26   0:00 openvasmd
To be able to generate pdf reports for the scan results, you need to install some additional packages.
sudo apt install texlive-latex-extra --no-install-recommends
sudo apt install texlive-fonts-recommended --no-install-recommends
Accessing OpenVAS Web Interface
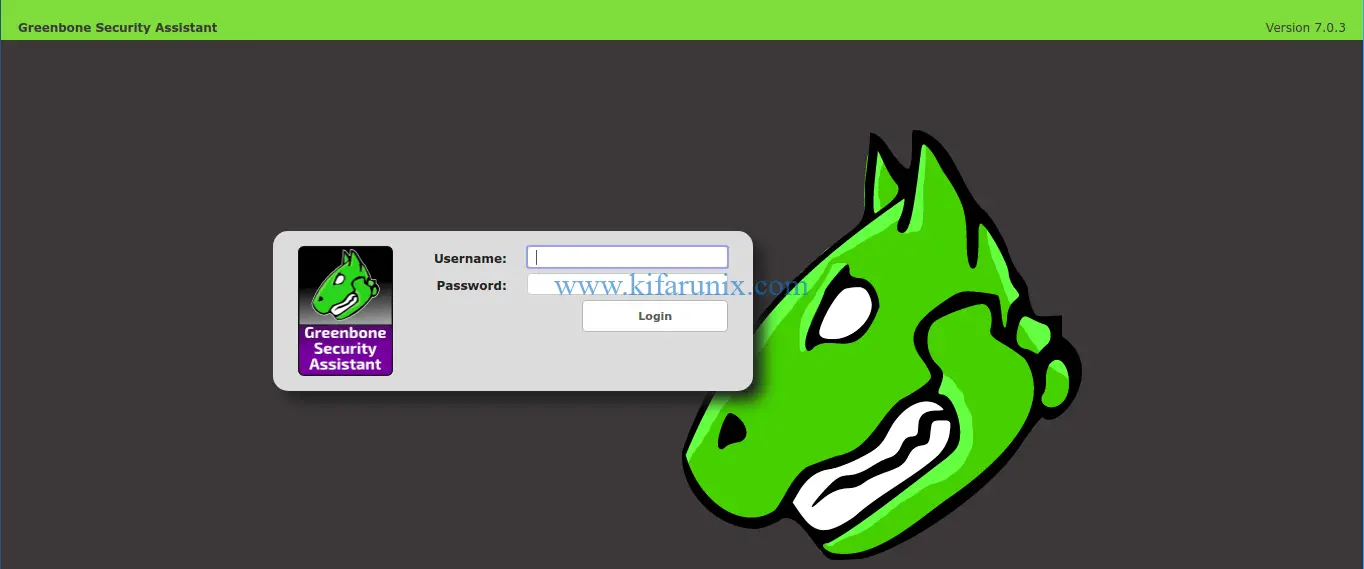
You should now be able to access OpenVAS web interface via the address, https://localhost:4000. Use “admin” as username and password for logins. However, if you are accessing OpenVAS 9 externally, you need to set the listen address to an interface IP as shown below.
vim /etc/default/openvas-gsa...
# To set listening address:
#
#LISTEN_ADDRESS="0.0.0.0"
LISTEN_ADDRESS="192.168.43.138"
...After that, restart OpenVAS GSA by executing the command;
systemctl restart openvas-gsaHence, login to web via https://<server-IP>:4000.

Login with “admin” as username and password for logins. However, you need to verify if this user is created by default by running the command below;
openvasmd --get-usersIf the user doesn’t exist, create an administrative user by running the command below;
openvasmd --create-user openvasadminThe command will automatically generate a password for the user created. You can use this credentials to login to OpenVAS 9 GSA web user interface.
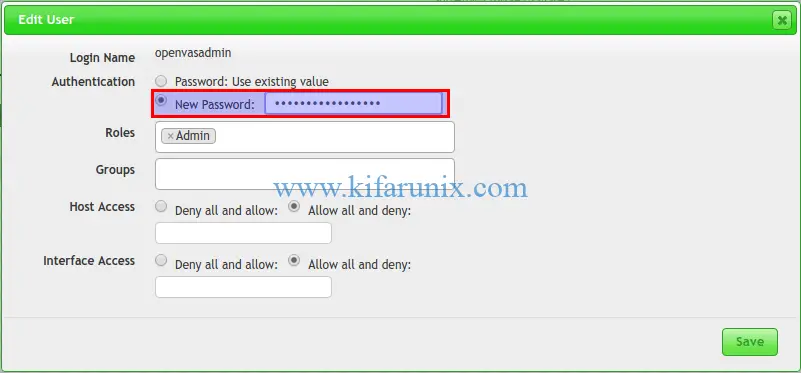
When you login, you can reset the password by navigating to Administration > Users > Actions > Edit User.

Click Save to save the new password.
You have successfully installed OpenVAS 9 with support for PostgreSQL as the default database. You can now run the scans on your target end points. See the link below on how to run scans. Enjoy.
How to Add and Scan a Target for Vulnerabilities on OpenVAS Scanner
Follow the links below for related content.
How to Install and Configure Nessus Scanner on Ubuntu 18.04/CentOS 7
How to Install and Use WPScan WordPress Vulnerability Scanner Ubuntu 18.04
How to Install and Use Nikto Web Scanner on Ubuntu 18.04
How to Install and Use ClamAV Antivirus on Ubuntu 18.04
How to Perform System Security Auditing with Lynis on Ubuntu 18.04
How to Install RKHunter (RootKit Hunter) On Ubuntu 18.04
How to Install Sophos AntiVirus on Ubuntu 18.04


FYI, this won’t work as is, have to change postgresql to postgresql-10, otherwise the NVT cache will not rebuild due to the version difference of the library and the server.
Hey, I have a message after login.
Logging from my pc to removet VM on Ubuntu 18.04
White screen and just that type of message:
The request contained an unknown or invalid Host header. If you are trying to access GSA via its hostname or a proxy, make sure GSA is set up to allow it.