
In this tutorial, you will learn how to monitor changes to critical files on Windows systems using Wazuh and ELK Stack. File operations are logged when a file is created, updated, overwritten or deleted. Such file changes events are useful for monitoring files under the directories such as the startup folders, download, temporary directories or any other custom directory. File/Folder activities are part of the file integrity monitoring (FIM) and registry change monitoring. Thus, to detect changes to these critical files, file integrity monitoring against the folder where these critical files resides needs to be enabled.
Monitor Changes to Critical Files on Windows Systems using Wazuh and ELK
In order to monitor changes to critical files on Windows systems, you need to collect the events associated with the changes made and push them to Wazuh Manager for visualization on Kibana Wazuh app.
Install and Integrate Wazuh Manager with ELK Stack
Thus before you begin, ensure that you have ELK Stack integrated with Wazuh manager and is up and running. See example tutorials below;
Integrate Wazuh Manager with ELK Stack
Install Wazuh Server on Rocky Linux 8
NOTE: We are running ELK 7.17.0 and Wazuh Manager 4.3.6.
Kibana (ELK) version;
cat /usr/share/kibana/package.json | grep versionSample output;
"version": "7.17.0",Wazuh Manager version;
/var/ossec/bin/wazuh-control info | grep WAZUH_VERSIONSample output;
WAZUH_VERSION="v4.3.6"Install Wazuh Agents on Windows Systems
In this example setup, I will be using Windows 10 system for demonstration purposes.
To install Wazuh agent on Windows 10 and automatically add it to Wazuh manager, then;
- Login to Kibana and navigate to Wazuh App > Agents > Deploy a new agent.
- Choose the Operating System, in this example is Windows.
- Set the Wazuh server address
- You can leave other settings default;

- scroll down and under Install and enroll the agent, copy the Windows Wazuh agent install command;

Invoke-WebRequest -Uri `
https://packages.wazuh.com/4.x/windows/wazuh-agent-4.3.6-1.msi `
-OutFile ${env:tmp}\wazuh-agent-4.3.6.msi; msiexec.exe /i ${env:tmp}\wazuh-agent-4.3.6.msi `
/q WAZUH_MANAGER='192.168.58.22' WAZUH_REGISTRATION_SERVER='192.168.58.22' - Next, login to your Windows and open Powershell as administrator.
- Copy and paste, and execute the command above on the Powershell.
- Once the installation is done, start the Wazuh agent service.
NET START WazuhSvcIt should also be showing on the Kibana Wazuh App.
To confirm on Wazuh Manager command line;
/var/ossec/bin/agent_control -lYou should see it among the active agents.
Wazuh agent_control. List of available agents:
   ID: 000, Name: debian11 (server), IP: 127.0.0.1, Active/Local
   ID: 001, Name: DESKTOP-JQ6I3Q8, IP: any, Active

List of agentless devices:
Enable File Integrity Monitoring on Folders Containing Critical Files
By default, Wazuh enables file integrity monitoring for some system files as defined in the <!-- File integrity monitoring --> section of the ossec.conf configuration file;
  <!-- File integrity monitoring -->
  <syscheck>

    <disabled>no</disabled>

    <!-- Frequency that syscheck is executed default every 12 hours -->
    <frequency>43200</frequency>

    <!-- Default files to be monitored. -->
    <directories recursion_level="0" restrict="regedit.exe$|system.ini$|win.ini$">%WINDIR%</directories>

    <directories recursion_level="0" restrict="at.exe$|attrib.exe$|cacls.exe$|cmd.exe$|eventcreate.exe$|ftp.exe$|lsass.exe$|net.exe$|net1.exe$|netsh.exe$|reg.exe$|regedt32.exe|regsvr32.exe|runas.exe|sc.exe|schtasks.exe|sethc.exe|subst.exe$">%WINDIR%\SysNative</directories>
    <directories recursion_level="0">%WINDIR%\SysNative\drivers\etc</directories>
    <directories recursion_level="0" restrict="WMIC.exe$">%WINDIR%\SysNative\wbem</directories>
    <directories recursion_level="0" restrict="powershell.exe$">%WINDIR%\SysNative\WindowsPowerShell\v1.0</directories>
    <directories recursion_level="0" restrict="winrm.vbs$">%WINDIR%\SysNative</directories>

    <!-- 32-bit programs. -->
    <directories recursion_level="0" restrict="at.exe$|attrib.exe$|cacls.exe$|cmd.exe$|eventcreate.exe$|ftp.exe$|lsass.exe$|net.exe$|net1.exe$|netsh.exe$|reg.exe$|regedit.exe$|regedt32.exe$|regsvr32.exe$|runas.exe$|sc.exe$|schtasks.exe$|sethc.exe$|subst.exe$">%WINDIR%\System32</directories>
    <directories recursion_level="0">%WINDIR%\System32\drivers\etc</directories>
    <directories recursion_level="0" restrict="WMIC.exe$">%WINDIR%\System32\wbem</directories>
    <directories recursion_level="0" restrict="powershell.exe$">%WINDIR%\System32\WindowsPowerShell\v1.0</directories>
    <directories recursion_level="0" restrict="winrm.vbs$">%WINDIR%\System32</directories>

    <directories realtime="yes">%PROGRAMDATA%\Microsoft\Windows\Start Menu\Programs\Startup</directories>

    <ignore>%PROGRAMDATA%\Microsoft\Windows\Start Menu\Programs\Startup\desktop.ini</ignore>

    <ignore type="sregex">.log$|.htm$|.jpg$|.png$|.chm$|.pnf$|.evtx$</ignore>

    <!-- Windows registry entries to monitor. -->
    <windows_registry>HKEY_LOCAL_MACHINE\Software\Classes\batfile</windows_registry>
    <windows_registry>HKEY_LOCAL_MACHINE\Software\Classes\cmdfile</windows_registry>
    <windows_registry>HKEY_LOCAL_MACHINE\Software\Classes\comfile</windows_registry>
    <windows_registry>HKEY_LOCAL_MACHINE\Software\Classes\exefile</windows_registry>
    <windows_registry>HKEY_LOCAL_MACHINE\Software\Classes\piffile</windows_registry>
    <windows_registry>HKEY_LOCAL_MACHINE\Software\Classes\AllFilesystemObjects</windows_registry>
    <windows_registry>HKEY_LOCAL_MACHINE\Software\Classes\Directory</windows_registry>
    <windows_registry>HKEY_LOCAL_MACHINE\Software\Classes\Folder</windows_registry>
    <windows_registry arch="both">HKEY_LOCAL_MACHINE\Software\Classes\Protocols</windows_registry>
    <windows_registry arch="both">HKEY_LOCAL_MACHINE\Software\Policies</windows_registry>
    <windows_registry>HKEY_LOCAL_MACHINE\Security</windows_registry>
    <windows_registry arch="both">HKEY_LOCAL_MACHINE\Software\Microsoft\Internet Explorer</windows_registry>

    <windows_registry>HKEY_LOCAL_MACHINE\System\CurrentControlSet\Services</windows_registry>
    <windows_registry>HKEY_LOCAL_MACHINE\System\CurrentControlSet\Control\Session Manager\KnownDLLs</windows_registry>
    <windows_registry>HKEY_LOCAL_MACHINE\System\CurrentControlSet\Control\SecurePipeServers\winreg</windows_registry>

    <windows_registry arch="both">HKEY_LOCAL_MACHINE\Software\Microsoft\Windows\CurrentVersion\Run</windows_registry>
    <windows_registry arch="both">HKEY_LOCAL_MACHINE\Software\Microsoft\Windows\CurrentVersion\RunOnce</windows_registry>
    <windows_registry>HKEY_LOCAL_MACHINE\Software\Microsoft\Windows\CurrentVersion\RunOnceEx</windows_registry>
    <windows_registry arch="both">HKEY_LOCAL_MACHINE\Software\Microsoft\Windows\CurrentVersion\URL</windows_registry>
    <windows_registry arch="both">HKEY_LOCAL_MACHINE\Software\Microsoft\Windows\CurrentVersion\Policies</windows_registry>
    <windows_registry arch="both">HKEY_LOCAL_MACHINE\Software\Microsoft\Windows NT\CurrentVersion\Windows</windows_registry>
    <windows_registry arch="both">HKEY_LOCAL_MACHINE\Software\Microsoft\Windows NT\CurrentVersion\Winlogon</windows_registry>

    <windows_registry arch="both">HKEY_LOCAL_MACHINE\Software\Microsoft\Active Setup\Installed Components</windows_registry>

    <!-- Windows registry entries to ignore. -->
    <registry_ignore>HKEY_LOCAL_MACHINE\Security\Policy\Secrets</registry_ignore>
    <registry_ignore>HKEY_LOCAL_MACHINE\Security\SAM\Domains\Account\Users</registry_ignore>
    <registry_ignore type="sregex">\Enum$</registry_ignore>
    <registry_ignore>HKEY_LOCAL_MACHINE\System\CurrentControlSet\Services\MpsSvc\Parameters\AppCs</registry_ignore>
    <registry_ignore>HKEY_LOCAL_MACHINE\System\CurrentControlSet\Services\MpsSvc\Parameters\PortKeywords\DHCP</registry_ignore>
    <registry_ignore>HKEY_LOCAL_MACHINE\System\CurrentControlSet\Services\MpsSvc\Parameters\PortKeywords\IPTLSIn</registry_ignore>
    <registry_ignore>HKEY_LOCAL_MACHINE\System\CurrentControlSet\Services\MpsSvc\Parameters\PortKeywords\IPTLSOut</registry_ignore>
    <registry_ignore>HKEY_LOCAL_MACHINE\System\CurrentControlSet\Services\MpsSvc\Parameters\PortKeywords\RPC-EPMap</registry_ignore>
    <registry_ignore>HKEY_LOCAL_MACHINE\System\CurrentControlSet\Services\MpsSvc\Parameters\PortKeywords\Teredo</registry_ignore>
    <registry_ignore>HKEY_LOCAL_MACHINE\System\CurrentControlSet\Services\PolicyAgent\Parameters\Cache</registry_ignore>
    <registry_ignore>HKEY_LOCAL_MACHINE\Software\Microsoft\Windows\CurrentVersion\RunOnceEx</registry_ignore>
    <registry_ignore>HKEY_LOCAL_MACHINE\System\CurrentControlSet\Services\ADOVMPPackage\Final</registry_ignore>

    <!-- Frequency for ACL checking (seconds) -->
    <windows_audit_interval>60</windows_audit_interval>

    <!-- Nice value for Syscheck module -->
    <process_priority>10</process_priority>

    <!-- Maximum output throughput -->
    <max_eps>100</max_eps>

    <!-- Database synchronization settings -->
    <synchronization>
      <enabled>yes</enabled>
      <interval>5m</interval>
      <max_interval>1h</max_interval>
      <max_eps>10</max_eps>
    </synchronization>
  </syscheck>
So how can you add your custom folders in to the configuration for file integrity monitoring?
Let’s assume we have a folder, C:\FIM, for example, that you would like to monitor all the changes in the files within it, then you can add the following configuration line into the <syscheck> </syscheck> section.
<directories check_all="yes" realtime="yes" report_changes="yes">C:\FIM</directories>check_all: Enables the following check_* options;check_sum, check_sha1sum, check_md5sum, check_size, check_owner, check_group, check_perm.realtime: Enables realtime/continuous monitoring.report_changes: Report diffs of file changes/registry value changes.
This is how I placed the above line in the C:\Program Files (x86)\ossec-agent\ossec.conf;
  <!-- File integrity monitoring -->
  <syscheck>

    <disabled>no</disabled>

    <!-- Frequency that syscheck is executed default every 12 hours -->
    <frequency>43200</frequency>

    <!-- Custom Folder -->
    <directories check_all="yes" realtime="yes" report_changes="yes">C:\FIM</directories>

    <!-- Default files to be monitored. -->
    <directories recursion_level="0" restrict="regedit.exe$|system.ini$|win.ini$">%WINDIR%</directories>
...
Once you have made the changes to the configuration file, restart the agent. You can execute the command below on Powershell as administrator;
Restart-Service WazuhSvcCheck the status of the service;
Get-Service WazuhSvcIf the service stops for any reason, be sure to check the agent logs to find out what the problem is.
Simulate Changes to Critical Files;
Under our custom folder, C:\FIM, we have two files;
ls C:\FIM
    Directory: C:\FIM


Mode                 LastWriteTime         Length Name
----                 -------------         ------ ----
-a----         7/30/2022   7:40 AM            667 file001.txt
-a----         7/30/2022   7:40 AM            667 file002.txt
So, try to make some changes in the file001.txt and file002.txt.
- Using powershell, i can do it using echo command;
echo "This is a tes FIM line 001" >> 'C:\FIM\file001.txt'- Delete some lines on file002.txt
- Create a new file
- Delete newly created file
- e.t.c
Immediately, you should be able to see the changes on the Wazuh dashboard. Select the respective agent and navigate to integrity monitoring dashboard;

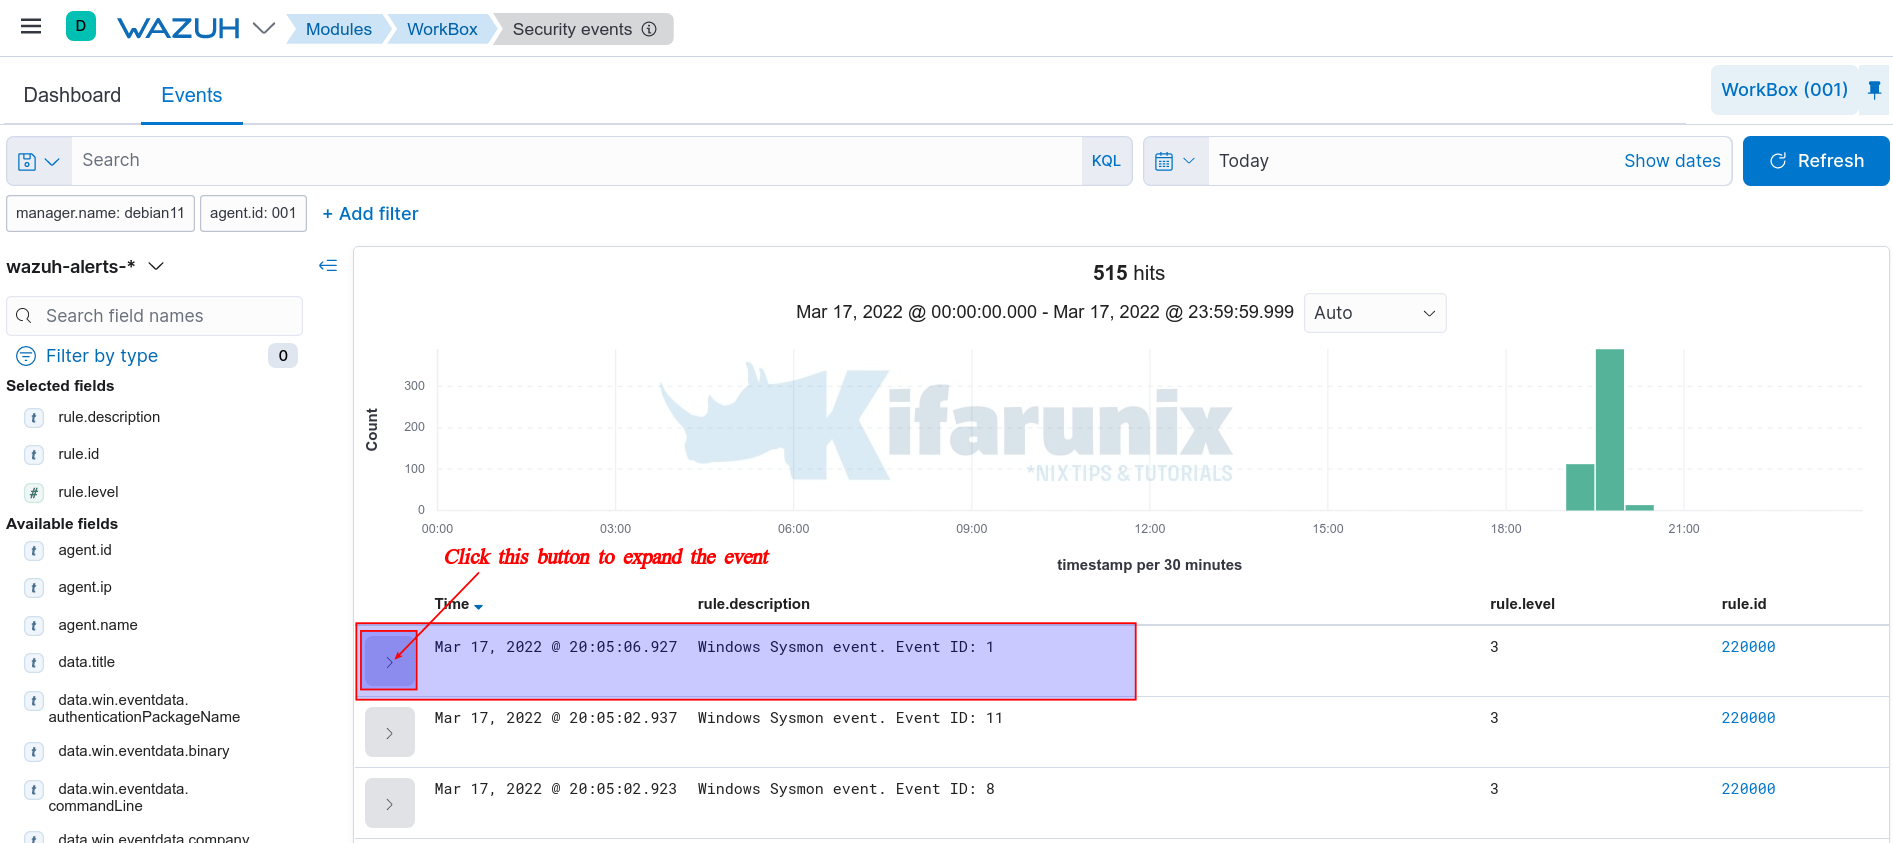
Let’s check the related events under Events tab for more information;

As you can see, it shows files added, deleted and those modified.
Let’s check the file modification events. For file001.txt, we added a line. For file002.txt, we removed some line.
So, expand these two events. You will notice under syscheck.diffs field you will see what changes are actually made on the files.
File001.txt;

File002.txt;

Awesome, isn’t it?
And that is how you can easily monitor changes to critical files on Windows systems.
Other Tutorials
Monitor Process Creation Events on Windows Systems using Wazuh and ELK stack
