In this tutorial, you will learn how to install Passbolt password manager on Rocky Linux 8. Passbolt is is a free, open source, self-hosted, extensible, OpenPGP based password manager that enables teams to securely store their personal as well as share their common credentials. It is available both a subscription based and community edition. This tutorial focuses on the setup of community edition.
As of this writing, there is no official guide release for setting up Passbolt on Rocky Linux 8. As such, we are going to install Passbolt from the source code.
Install Passbolt on Rocky Linux 8
Prerequisites
- Install a fresh Vanilla Rocky Linux 8 server.
- Allocate the server at least 2 GB RAM and 2 vCPUs
- A resolvable hostname or IP address of your server.
- Install LEMP/LAMP stack on Rocky Linux 8
Install LAMP/LEMP Stack on Rocky Linux 8
Assuming that the first three prerequisites mentioned above have been met, proceed to install LEMP/LAMP stack on Rocky Linux 8 server.
Note that Passbolt is written in PHP and hence, it requires either a LEMP or a LAMP stack to run.
Follow either of the links below to set up LAMP or LEMP stack on Rocky Linux 8.
Ensure that you install PHP 7.4.
Install LEMP Stack on Rocky Linux 8
Install LAMP Stack on Rocky Linux 8
In this tutorial, we are using LAMP stack to run Passbolt.
php -vPHP 7.4.6 (cli) (built: May 12 2020 08:09:15) ( NTS )
Copyright (c) The PHP Group
Zend Engine v3.4.0, Copyright (c) Zend Technologies
with Zend OPcache v7.4.6, Copyright (c), by Zend TechnologiesCreate Passbolt Database and Database User
Login to MariaDB/MySQL database server;
mysqlThe above command assumes that your MySQL/MariaDB database is using unix_socket for authentication and that you are executing the command as a root user. If you are not root and have sudo rights, simply use; sudo mysql -u root. Otherwise, you can just use mysql -u root -p command.
Replace the name of the database, the database user username and password as you see fit.
Create Passbolt database that supports non latin characters and emojis.
CREATE DATABASE passbolt CHARACTER SET utf8mb4 COLLATE utf8mb4_unicode_ci;Create a Passbolt database user and grant all privileges on the Passbolt database.
grant all on passbolt.* to passman@localhost identified by 'p@SSw0rd123';Reload privileges tables and quit database;
flush privileges;
quit
Install Other Required dependencies
To successfully install and run Passbolt, there are other tools and PHP extensions that are required.
Install additional PHP modules/extensions
dnf install php-intl php-gd php-mysqli php-json php-pear php-devel php-mbstring git make unzip wget mod_ssl opensslEnable PHP Gnupg Extension on Rocky Linux
Passbolt requires PHP Gnupg extension enabled to successfully install. Hence, PHP Gnupg extension can be enabled on Rocky Linux as follows;
dnf config-manager --set-enabled powertoolsdnf install gpgme gpgme-develpecl install gnupgecho "extension=gnupg.so" >> /etc/php.iniInstall PHP Composer on Rocky Linux 8
Install PHP Composer on Rocky Linux 8 by following the link below;
Install PHP Composer on Rocky Linux 8
Clone Passbolt Github Repository to Apache Web Root Directory
Since we are going to install Passbolt from the source, you need to clone its Gtihub repository to your web root directory.
In this tutorial, we are using /var/www/passbolt as the web root directory.
mkdir /var/www/passboltgit clone https://github.com/passbolt/passbolt_api.git /var/www/passboltSince we are using Apache as the web server, you need to set the ownership (user and group) of the Passbolt web root directory to Apache user and group;
chown -R apache: /var/www/passboltAlso create Composer cache directory and assign ownership to apache user.
mkdir /usr/share/httpd/.cache/chown -R apache: /usr/share/httpd/.cache/Next, navigate to Passbolt web root directory and install other required dependencies using composer.
cd /var/www/passboltRun composer as the non privileged user. In this case, we use the owner of the Passbolt directory (Apache web user, apache).
sudo -u apache composer install --no-devDuring the installation, you are prompted on whether to adjust directories permissions. Accept and continue.
> App\Console\Installer::postInstall
Created `config/app.php` file
Created `/var/www/passbolt/logs` directory
Created `/var/www/passbolt/tmp/cache/models` directory
Created `/var/www/passbolt/tmp/cache/persistent` directory
Created `/var/www/passbolt/tmp/cache/views` directory
Created `/var/www/passbolt/tmp/sessions` directory
Created `/var/www/passbolt/tmp/tests` directory
Set Folder Permissions ? (Default to Y) [Y,n]? y
Generate OpenPGP Key for Authenticating JSON Requests
In order to authenticate and sign outgoing JSON requests, Passbolt API uses PGP keys. Therefore, run the command below to generate the keys;
gpg --full-generate-keyWhen prompted for the passphrase, DO NOT set it. Just press ENTER and confirm that you don’t want to set it. Also, do not set the expiration date.
Replace YOUR_NAME and YOUR_EMAIL_ID with your name and email id.
Please select what kind of key you want:
   (1) RSA and RSA (default)
   (2) DSA and Elgamal
   (3) DSA (sign only)
   (4) RSA (sign only)
  (14) Existing key from card
Your selection? 1
RSA keys may be between 1024 and 4096 bits long.
What keysize do you want? (3072) 4096
Requested keysize is 4096 bits
Please specify how long the key should be valid.
         0 = key does not expire
        = key expires in n days
      w = key expires in n weeks
      m = key expires in n months
      y = key expires in n years
Key is valid for? (0) 0
Key does not expire at all
Is this correct? (y/N) y

GnuPG needs to construct a user ID to identify your key.

Real name: YOUR_NAME
Email address: ENTER_YOUR_EMAIL_ID
Comment:
You selected this USER-ID:
    "YOUR_NAME "

Change (N)ame, (C)omment, (E)mail or (O)kay/(Q)uit? O
...
gpg: /root/.gnupg/trustdb.gpg: trustdb created
gpg: key 505EFE2707BC4A9F marked as ultimately trusted
gpg: directory '/root/.gnupg/openpgp-revocs.d' created
gpg: revocation certificate stored as '/root/.gnupg/openpgp-revocs.d/9E968F508E35DDE61A819F59505EFE2707BC4A9F.rev'
public and secret key created and signed.

pub   rsa4096 2021-06-25 [SC]
      9E968F508E35DDE61A819F59505EFE2707BC4A9F
uid                      Kifarunix
sub   rsa4096 2021-06-25 [E]
Note the Key fingerprint and save it somewhere as it will be needed later in the setup.
Export and store both public and private keys on Passbolt configuration directory.
gpg --armor --export-secret-keys YOUR_EMAIL_ID > /var/www/passbolt/config/gpg/serverkey_private.ascgpg --armor --export YOUR_EMAIL_ID > /var/www/passbolt/config/gpg/serverkey.ascNext, initialize the gpg keyring for the Apache web server user so that Passbolt authentication can work.
mkdir /usr/share/httpd/.gnupg && chown -R apache: /usr/share/httpd/.gnupgchmod 700 /usr/share/httpd/.gnupgsudo su -s /bin/bash -c "gpg --list-keys" apacheConfiguring Passbolt on Rocky Linux 8
Copy the sample Passbolt configuration file renaming it as follows;
cp /var/www/passbolt/config/passbolt{.default,}.phpNext, open the configuration file for modification;
vim /var/www/passbolt/config/passbolt.phpSet the Application URL
Set the application url to the web address for your Passbolt app by replacing the value of the fullBaseUrl parameter appropriately.
        // 'fullBaseUrl' => 'https://www.passbolt.test',
        'fullBaseUrl' => 'https://passbolt.kifarunix-demo.com',
Define Database Connection settings
Configure Passbolt database connection settings;
    // Database configuration.
    'Datasources' => [
        'default' => [
            'host' => 'localhost',
            //'port' => 'non_standard_port_number',
            'username' => 'passman',
            'password' => 'p@SSw0rd123',
            'database' => 'passbolt',
        ],
    ],
Configure Passbolt Email Settings
Configure Passbolt Email Server settings. We are using Gmail SMTP as our relay server.
    // Email configuration.
    'EmailTransport' => [
        'default' => [
            'host' => 'smtp.gmail.com',
            'port' => 587,
            'username' => '[email protected]',
            'password' => 'secretpassword',
            // Is this a secure connection? true if yes, null if no.
            'tls' => true,
            //'timeout' => 30,
            //'client' => null,
            //'url' => null,
        ],
    ],
    'Email' => [
        'default' => [
            // Defines the default name and email of the sender of the emails.
            'from' => ['[email protected]' => 'Kifarunix-demo Passbolt'],
            //'charset' => 'utf-8',
            //'headerCharset' => 'utf-8',
        ],
    ],
Specify the GPG key fingerprint
Extract the GPG key fingerprint and set it as the value of the fingerprint parameter.
gpg --list-keys --fingerprint | grep -i -B 2 YOUR_EMAIL_ID pub rsa4096 2020-07-15 [SC]
C503 E615 618B 3433 1BA1 D26D 85EB 40BA 1D5D E890
uid [ultimate] <YOUR_NAME> <YOUR_EMAIL_ID>
sub rsa4096 2020-07-15 [E]Copy the highlighted string and remove spaces and paste it as the value of the fingerprint parameter. Also, uncomment the public and private lines below the fingerprint by removing the two forward slashes at the beginning of those lines;
...
            'serverKey' => [
                // Server private key fingerprint.
                'fingerprint' => 'C503E615618B34331BA1D26D85EB40BA1D5DE890',
                'public' => CONFIG . 'gpg' . DS . 'serverkey.asc',
                'private' => CONFIG . 'gpg' . DS . 'serverkey_private.asc',
            ],
Save and exit the configuration file.
Create Apache VirtualHost Configuration for Passbolt and Enable HTTPS
Next, create a dedicated Apache virtual host configuration file for Passbolt.
cat > /etc/httpd/conf.d/passbolt.conf  << 'EOL'
<VirtualHost *:80>

        ServerAdmin passbolt.kifarunix-demo.com
        DocumentRoot /var/www/passbolt

	Redirect / https://passbolt.kifarunix-demo.com
</VirtualHost>
#SSLStaplingCache "shmcb:logs/stapling-cache(150000)"
ServerSignature Off
ServerTokens Prod
<VirtualHost _default_:443>
        ServerAdmin passbolt.kifarunix-demo.com
        DocumentRoot /var/www/passbolt


        ErrorLog /var/log/httpd/passbolt_error.log
        CustomLog /var/log/httpd/passbolt_access.log combined


        SSLEngine on
        SSLCertificateFile      /etc/pki/tls/certs/ssl-cert-passbolt.pem
        SSLCertificateKeyFile /etc/pki/tls/private/ssl-cert-passbolt.key
        SSLCACertificateFile /etc/pki/tls/certs/ssl-cacert-passbolt.pem

        SSLCipherSuite EECDH+AESGCM:EDH+AESGCM
        SSLProtocol -all +TLSv1.3 +TLSv1.2
        SSLOpenSSLConfCmd Curves X25519:secp521r1:secp384r1:prime256v1
        SSLHonorCipherOrder On
        Header always set Strict-Transport-Security "max-age=63072000; includeSubDomains; preload"
        Header always set X-Frame-Options DENY
        Header always set X-Content-Type-Options nosniff
        SSLCompression off
        #SSLUseStapling on
        SSLSessionTickets Off

	<Directory /var/www/passbolt/>
  		Options FollowSymLinks MultiViews
  		AllowOverride All
		Require all granted
	</Directory>


        <FilesMatch "\.(cgi|shtml|phtml|php)$">
                        SSLOptions +StdEnvVars
        </FilesMatch>
        <Directory /usr/lib/cgi-bin>
                        SSLOptions +StdEnvVars
        </Directory>

</VirtualHost>
EOL
Save and exit the configuration file.
Generate TLS certificates
If you noticed, we enabled HTTP > HTTPS redirection in our configuration.
Obtain your commercially trusted CA certificates and install them on the directories specified on the Apache configuration.
Run Apache configuration syntax check.
apachectl -tif you get the output, Syntax OK, you are good to proceed, otherwise, fix the issues before you can proceed.
Ensure the Apache rewrite, ssl, headers modules are enabled;
httpd -M | grep -E "rew|ssl|head"Sample output:
 headers_module (shared)
 rewrite_module (shared)
 ssl_module (shared)
If you get the error below;
AH00526: Syntax error on line 85 of /etc/httpd/conf.d/ssl.conf:
SSLCertificateFile: file '/etc/pki/tls/certs/localhost.crt' does not exist or is empty
restart Apache to fix
systemctl restart httpdRun the Passbolt Install Script
Next, execute the Passbolt install script.
chown -R apache: /var/www/passboltcd /var/www/passboltsudo su -s /bin/bash -c "./bin/cake passbolt install --no-admin" apacheBy default, when script is run, it prompts you to create an administrative user. We disabled that by adding the --no-admin option. We will create the admin account later.
     ____                  __          ____
    / __ \____  _____ ____/ /_  ____  / / /_
   / /_/ / __ `/ ___/ ___/ __ \/ __ \/ / __/
  / ____/ /_/ (__  |__  ) /_/ / /_/ / / /
 /_/    \__,_/____/____/_.___/\____/_/\__/

 Open source password manager for teams
-------------------------------------------------------------------------------
Running baseline checks, please wait...
Critical healthchecks are OK
Cleaning up existing tables if any.
-------------------------------------------------------------------------------
0 tables dropped
Install the schema and default data.
-------------------------------------------------------------------------------
using migration paths
 - /var/www/passbolt/config/Migrations
using seed paths
 - /var/www/passbolt/config/Seeds
using environment default
using adapter mysql
using database passbolt
ordering by creation time

 == 20170830064410 V162InitialMigration: migrating
 == 20170830064410 V162InitialMigration: migrated 15.9084s
...
...

All Done. Took 100.0627s
Import the server private key in the keyring
-------------------------------------------------------------------------------
Importing /var/www/passbolt/config/gpg/serverkey_private.asc
Keyring init OK
Passbolt installation success! Enjoy! ☮
Run health check to verify that all is Okay.
cd /var/www/passboltsudo su -s /bin/bash -c "./bin/cake passbolt healthcheck" apacheSample output;
     ____                  __          ____
    / __ \____  _____ ____/ /_  ____  / / /_
   / /_/ / __ `/ ___/ ___/ __ \/ __ \/ / __/
  / ____/ /_/ (__  |__  ) /_/ / /_/ / / /
 /_/    \__,_/____/____/_.___/\____/_/\__/

 Open source password manager for teams
-------------------------------------------------------------------------------
 Healthcheck shell
-------------------------------------------------------------------------------

 Environment

 [PASS] PHP version 7.4.6.
 [PASS] PCRE compiled with unicode support.
 [PASS] The temporary directory and its content are writable.
 [PASS] The public image directory and its content are writable.
 [PASS] The logs directory and its content are writable.
 [PASS] GD or Imagick extension is installed.
 [PASS] Intl extension is installed.
 [PASS] Mbstring extension is installed.

 Config files

 [PASS] The application config file is present
 [PASS] The passbolt config file is present

 Core config

 [PASS] Debug mode is off.
 [PASS] Cache is working.
 [PASS] Unique value set for security.salt
 [PASS] Full base url is set to https://passbolt.kifarunix-demo.com
 [PASS] App.fullBaseUrl validation OK.
 [PASS] /healthcheck/status is reachable.

 SSL Certificate

 [PASS] SSL peer certificate validates
 [PASS] Hostname is matching in SSL certificate.
 [PASS] Not using a self-signed certificate

 Database

 [PASS] The application is able to connect to the database
 [PASS] 25 tables found
 [PASS] Some default content is present
 [PASS] The database schema up to date.

 GPG Configuration

 [PASS] PHP GPG Module is installed and loaded.
 [PASS] The environment variable GNUPGHOME is set to /usr/share/httpd/.gnupg.
 [PASS] The directory /usr/share/httpd/.gnupg containing the keyring is writable by the webserver user.
 [PASS] The server OpenPGP key is not the default one
 [PASS] The public key file is defined in config/passbolt.php and readable.
 [PASS] The private key file is defined in config/passbolt.php and readable.
 [PASS] The server key fingerprint matches the one defined in config/passbolt.php.
 [PASS] The server public key defined in the config/passbolt.php (or environment variables) is in the keyring.
 [PASS] There is a valid email id defined for the server key.
 [PASS] The public key can be used to encrypt a message.
 [PASS] The private key can be used to sign a message.
 [PASS] The public and private keys can be used to encrypt and sign a message.
 [PASS] The private key can be used to decrypt a message.
 [PASS] The private key can be used to decrypt and verify a message.
 [PASS] The public key can be used to verify a signature.

 Application configuration

 [PASS] Using latest passbolt version (3.2.1).
 [PASS] Passbolt is configured to force SSL use.
 [PASS] App.fullBaseUrl is set to HTTPS.
 [PASS] Selenium API endpoints are disabled.
 [PASS] Search engine robots are told not to index content.
 [PASS] Registration is closed, only administrators can add users.
 [PASS] Serving the compiled version of the javascript app
 [PASS] All email notifications will be sent.

 [PASS] No error found. Nice one sparky!
Finalize Passbolt Setup from Browser
Open the Apache Ports on Firewall;
firewall-cmd --add-service={http,https} --permanentfirewall-cmd --reloadDisable SELinux (We strongly do not recommend that you do this in a production system).
sed -i 's/=enforcing/=permissive/' /etc/selinux/configCreate Passbolt Administrative User
You can now create Passbolt admin user using the ./bin/cake passbolt register_user command. Below is the command line options for this command;
cd /var/www/passbolt./bin/cake passbolt register_user --help ____ __ ____
/ __ \____ _____ ____/ /_ ____ / / /_
/ /_/ / __ `/ ___/ ___/ __ \/ __ \/ / __/
/ ____/ /_/ (__ |__ ) /_/ / /_/ / / /
/_/ \__,_/____/____/_.___/\____/_/\__/
Open source password manager for teams
---------------------------------------------------------------
Register a new user.
Usage:
cake passbolt register_user [options]
Options:
--first-name, -f The user first name
--help, -h Display this help.
--interactive, -i Enable interactive mode
--interactive-loop Enable interactive mode (default:
3)
--last-name, -l The user last name
--quiet, -q Enable quiet output.
--role, -r The User role, such as "admin" or "user"
--username, -u The user email aka username
--verbose, -v Enable verbose output.
So let us create an admin user;
cd /var/www/passboltsudo su -s /bin/bash -c "./bin/cake passbolt register_user -u [email protected] -f Kifarunix -l Demo -r admin" apache ____ __ ____
/ __ \____ _____ ____/ /_ ____ / / /_
/ /_/ / __ `/ ___/ ___/ __ \/ __ \/ / __/
/ ____/ /_/ (__ |__ ) /_/ / /_/ / / /
/_/ \__,_/____/____/_.___/\____/_/\__/
Open source password manager for teams
---------------------------------------------------------------
User saved successfully.
To start registration follow the link provided in your mailbox or here:
https://passbolt.kifarunix-demo.com/setup/install/4dbe1c54-79bc-48b5-9ab3-705afd5af097/e34ea69b-0954-401b-8232-946ce721eda9Copy the link provided upon user registration and paste it on the browser address bar so you can use it to finalize the setup of Passbolt.
Install Passbolt Browser Plugin
Download and install plugin for your specific browser, in this demo, we using Firefox.
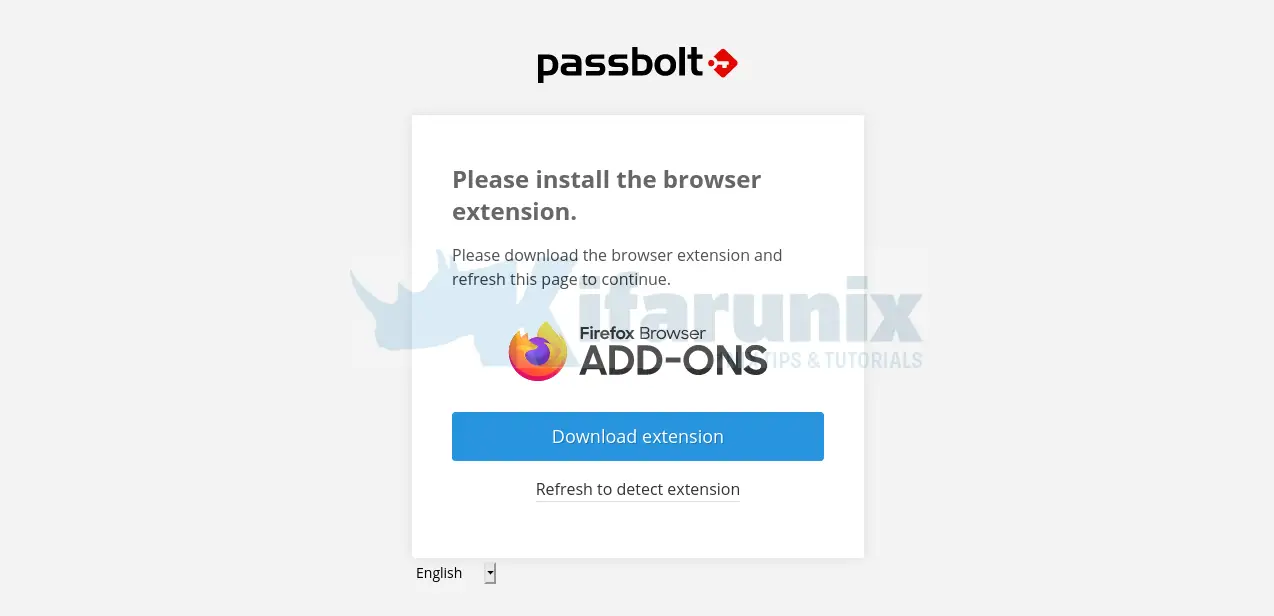
Therefore, click on Download Extension to download to install the Passbolt Firefox add-on extension.

Once the extension is installed, click Refresh to detect the extension.
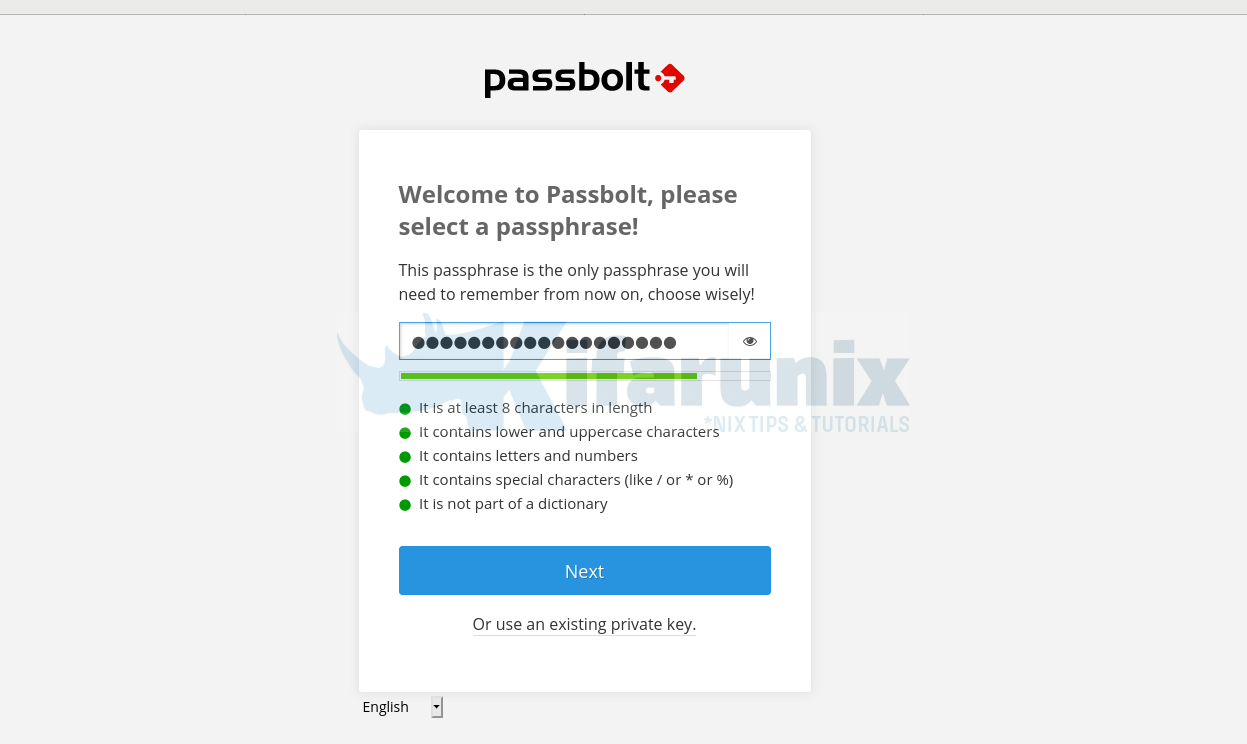
Set the Passbolt passphrase

Click Next to download the Passbolt recovery kit key. Save the key in a secure place.
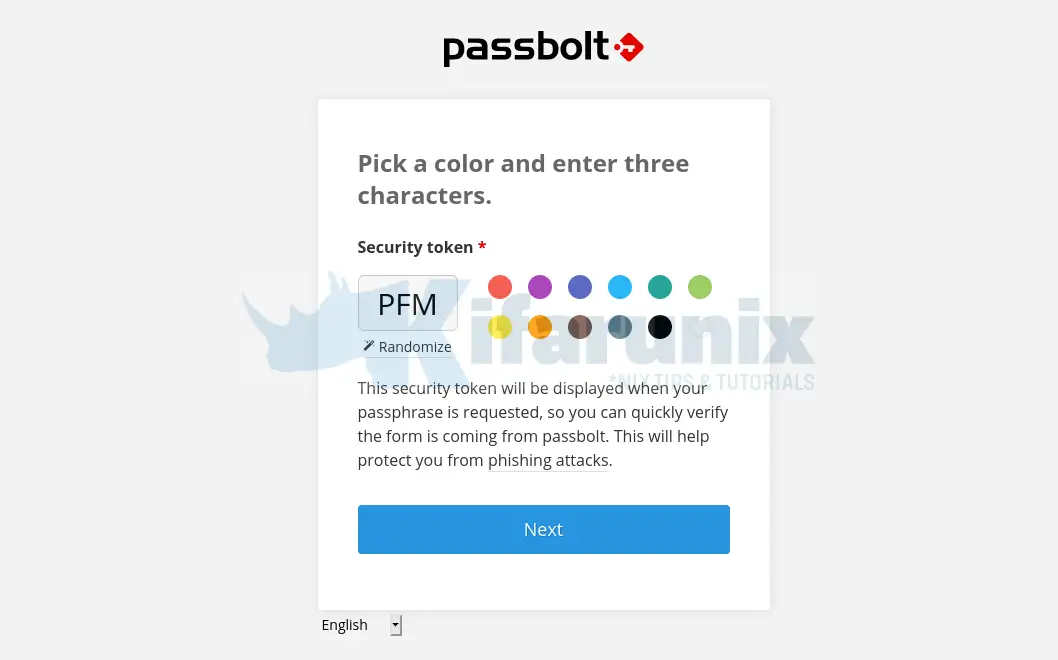
Click Next and select a color to identify your security token.

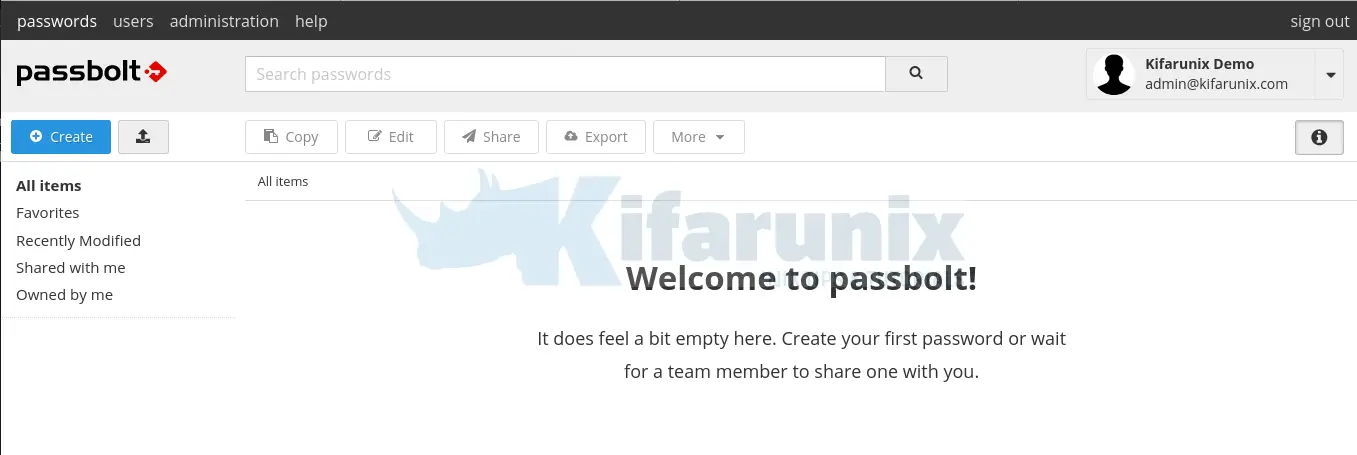
Click Next to get to proceed to Passbolt dashboard.

You can now start using Passbolt to store passwords/share them as you wish.
Configure Passbolt to Sent Emails
Last but not least, you can now configure Passbolt to be able to sent email notifications on new password creation, sharing, modification etc.
Before this, ensure that you have configured Passbolt email settings.
cd /var/www/passboltsudo -u apache ./bin/cake EmailQueue.senderWhen you run the above, you should be able to receive emails on activating your account as well as welcoming you to Passbolt.
Create a cron job to execute this script to have the emails sent automatically.
Install the cron jobs as Apache Web server user, apache.
crontab -u apache -eCreate a cron job that runs all the time.
* * * * * /var/www/passbolt/bin/cake EmailQueue.sender >> /var/log/passbolt-mails.logSave and exit the cron jobs file.
You can list installed cronjobs;
crontab -u apache -lYour Passbolt password manager is now ready.
That marks the end of our guide on how to install Passbolt on Rocky Linux 8.

