In this tutorial, we are going to learn how to install and setup Vtiger CRM on Ubuntu 20.04. CRM is an abbreviation for Custom Relationship Management. Vtiger CRM enables sales, support, and marketing teams to organize and collaborate to measurably improve customer experiences and business outcomes. In this tutorial, we are going to install the opensource version of Vtiger on Ubuntu 20.04.
Installing Vtiger CRM on Ubuntu 20.04
Prerequisites
System Requirements
Ensure that you have at least 2 CPU cores, at least 4GB RAM and enough disk space. (Vtiger recommends 250G for attachments)
Install and Setup LAMP Stack
Vtiger is a PHP based web application. As such, ensure that you install and setup LAMP stack before you can proceed. We have covered the installation and setup of LAMP stack on Ubuntu 20.04 in our previous guide. You can follow the link below to setup LAMP stack.
Install LAMP Stack on Ubuntu 20.04
Install other required PHP modules;
apt install php php-imap php-curl php-xml php-mysql php-mbstringConfigure PHP for Vtiger
Open the /etc/php/7.4/apache2/php.ini configuration file and make the following adjustments;
vim /etc/php/7.4/apache2/php.inimemory_limit = 256Mmax_execution_time = 60log_errors = Offdisplay_errors = Offshort_open_tag = OffSave and exit the file.
Create Database and Database User for Vtiger
Next, once the LAMP stack is in place, login to MySQL as administrative user.
mysql -u root -pNote that we are using MySQL 8 in this tutorial.
mysql -Vmysql Ver 8.0.20-0ubuntu0.20.04.1 for Linux on x86_64 ((Ubuntu))Create Vtiger database and database user. Be sure to replace the usernames.
create database vtiger default character set utf8 default collate utf8_general_ci;create user vtigeradm@localhost identified by 'myStr0nGp@ss';Grant all privileges to Vtiger database use on the Vtiger database.
grant all on vtiger.* to vtigeradm@localhost;Reload the privileges table and exit the database;
flush privileges;exit;Next, implement the following global configuration for MySQL;
echo -e '[mysqld]\nsql_mode = ""' >> /etc/mysql/my.cnfRestart MySQL;
systemctl restart mysqlDownload Vtiger Application Tarball
Navigate to Vtiger downloads page and the latest tarball for the opensource version of Vtiger.
wget https://sourceforge.net/projects/vtigercrm/files/vtiger%20CRM%207.2.0/Core%20Product/vtigercrm7.2.0.tar.gzExtract and Install Vtiger CRM on Ubuntu 20.04
Once the download is complete, extract the tarball to your preferred web root directory. Note the Vtiger is a ready to deploy application.
In this demo, we will use /var/www/vtigercrm as our default Vtiger CRM web root directory.
mkdir /var/www/vtigercrmtar xzf vtigercrm7.2.0.tar.gz --strip-components=1 -C /var/www/vtigercrm/Create Apache Web Configuration for Vtiger CRM
Since we are using Apache as our web server for the Vtiger CRM, you need to create the web configuration file to define how to access Vtiger from web as follows;
vim /etc/apache2/sites-available/vtigercrm.confPaster the following configurations making changes as per your setup.
<VirtualHost *:80>
     ServerName vtigercrm.kifarunix-demo.com
     DocumentRoot /var/www/vtigercrm/

     <Directory /var/www/vtigercrm/>
        Options FollowSymlinks
        AllowOverride All
        Require all granted
     </Directory>

     ErrorLog /var/log/apache2/vtigercrm_error.log
     CustomLog /var/log/apache2/vtigercrm_access.log combined
</VirtualHost>
If you want, you can configure Vtiger CRM with SSL/TLS cerfiticates.
Set the ownership of the Vtiger CRM web root directory to Apache user;
chown -R www-data:www-data /var/www/vtigercrm/Save and exit the configuration file above.
Disable default Apache site;
a2dissite 000-default.confEnable Vtiger CRM Apache site;
a2ensite vtigercrm.confEnable Apache Rewrite Module;
a2enmod rewriteCheck Apache configuration syntax;
apachectl -tIf you get Syntax OK, proceed to restart Apache.
systemctl restart apache2Finalize Vtiger CRM Setup from Browser
Open Apache on UFW to allow external access;
ufw allow 80/tcpYou can then access it via the address, http://server-IP-or-hostname.
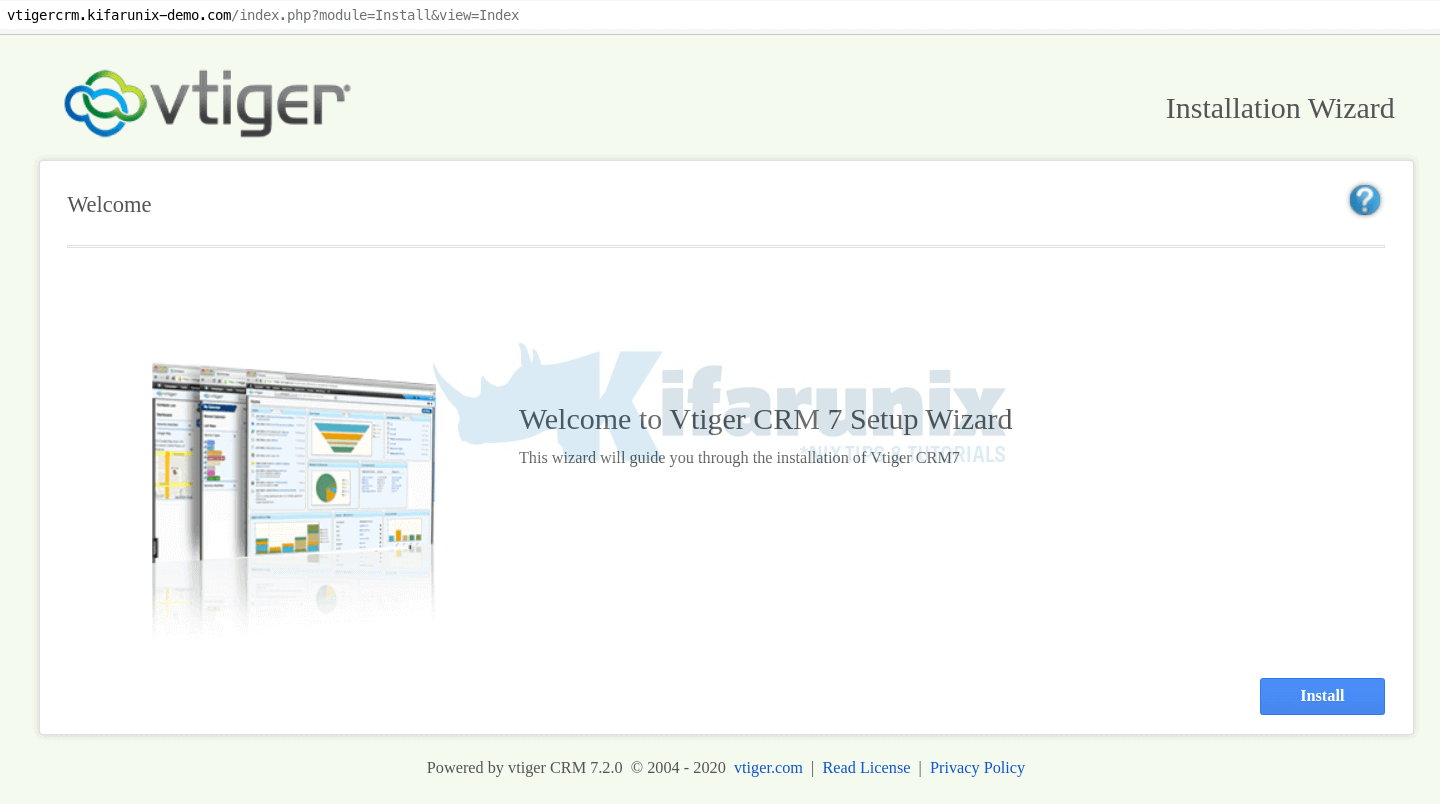
On the welcome page, click Install button to go through the setup wizard.
On the next page, accept the EULA and proceed.
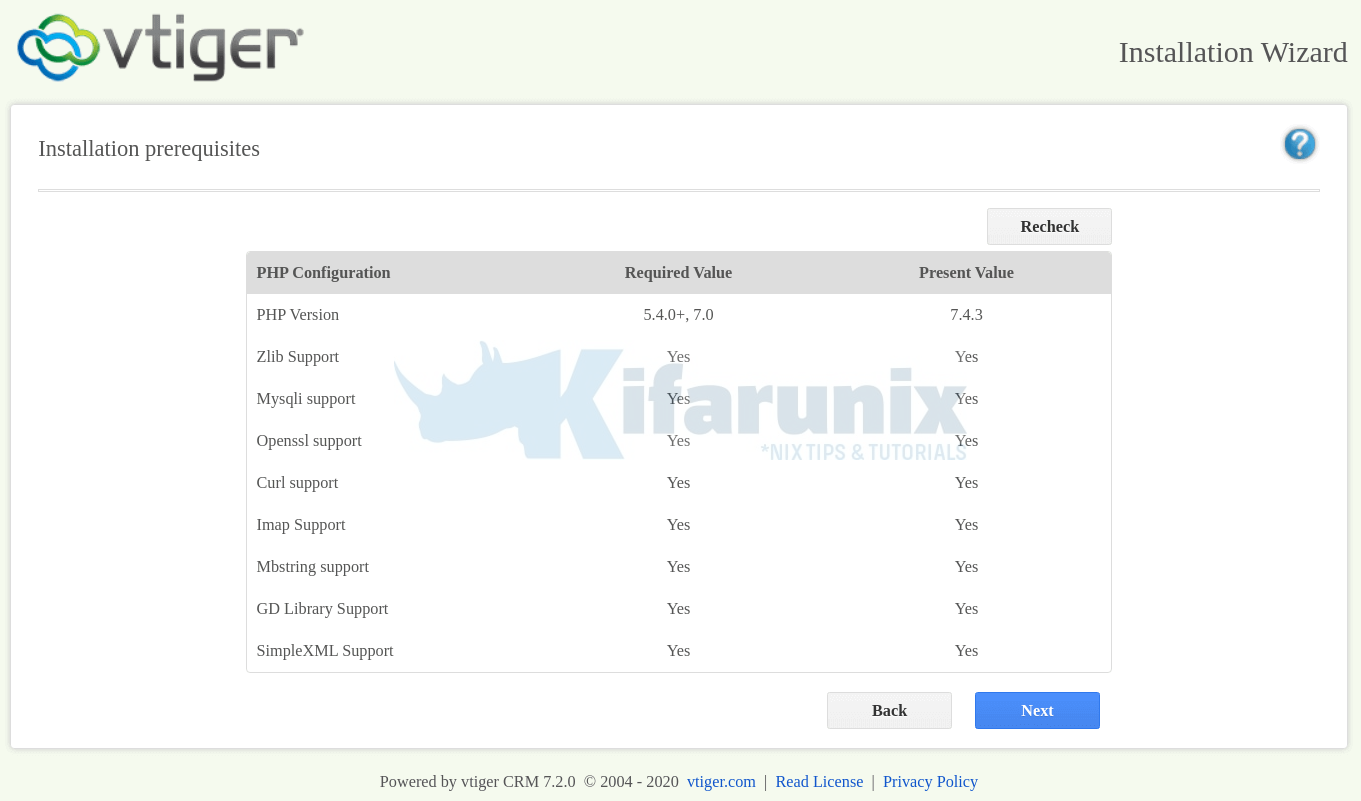
On the Installation prerequisites, ensure that all pre-reqs are met. Otherwise fix them before you proceed.
On system configuration page, configure database connection details as defined above and setup your Vtiger CRM administrative account.
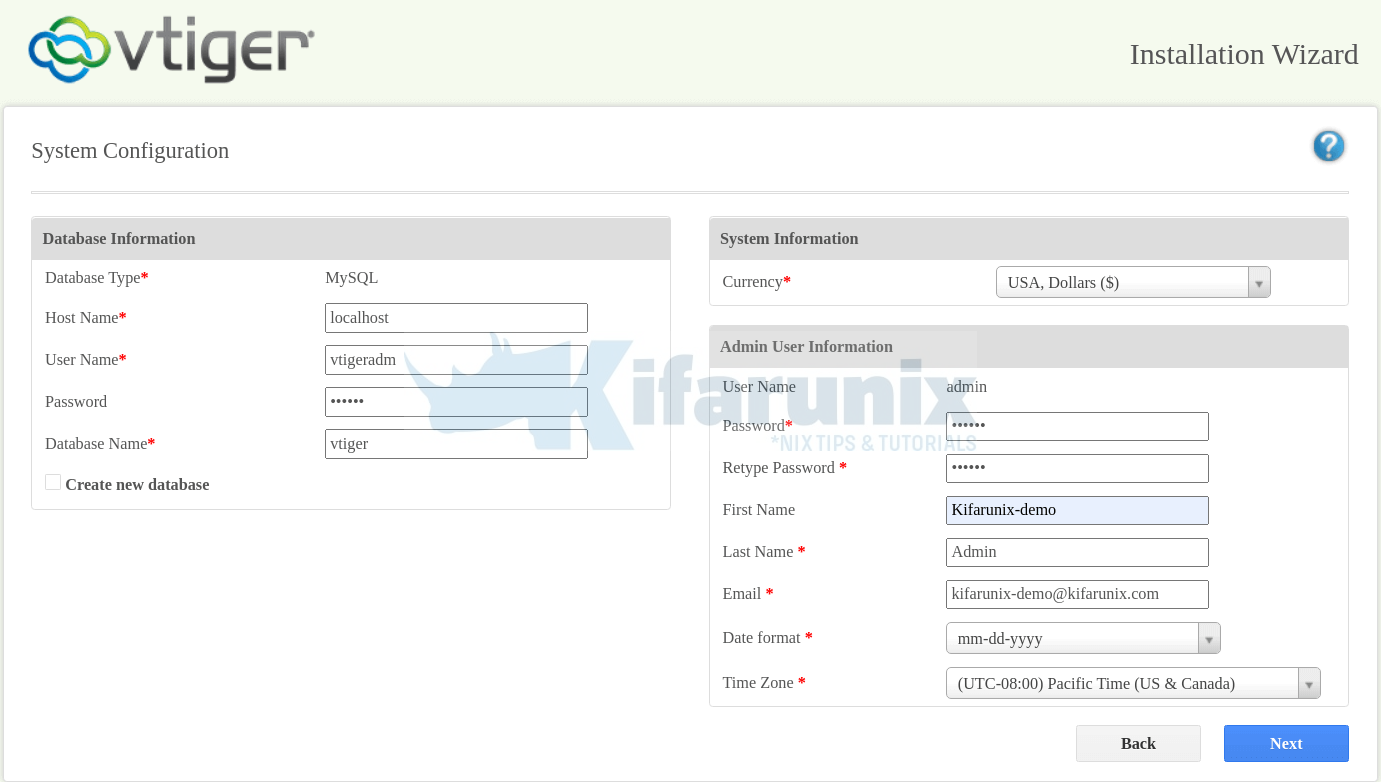
Click Next to review the system configuration settings.
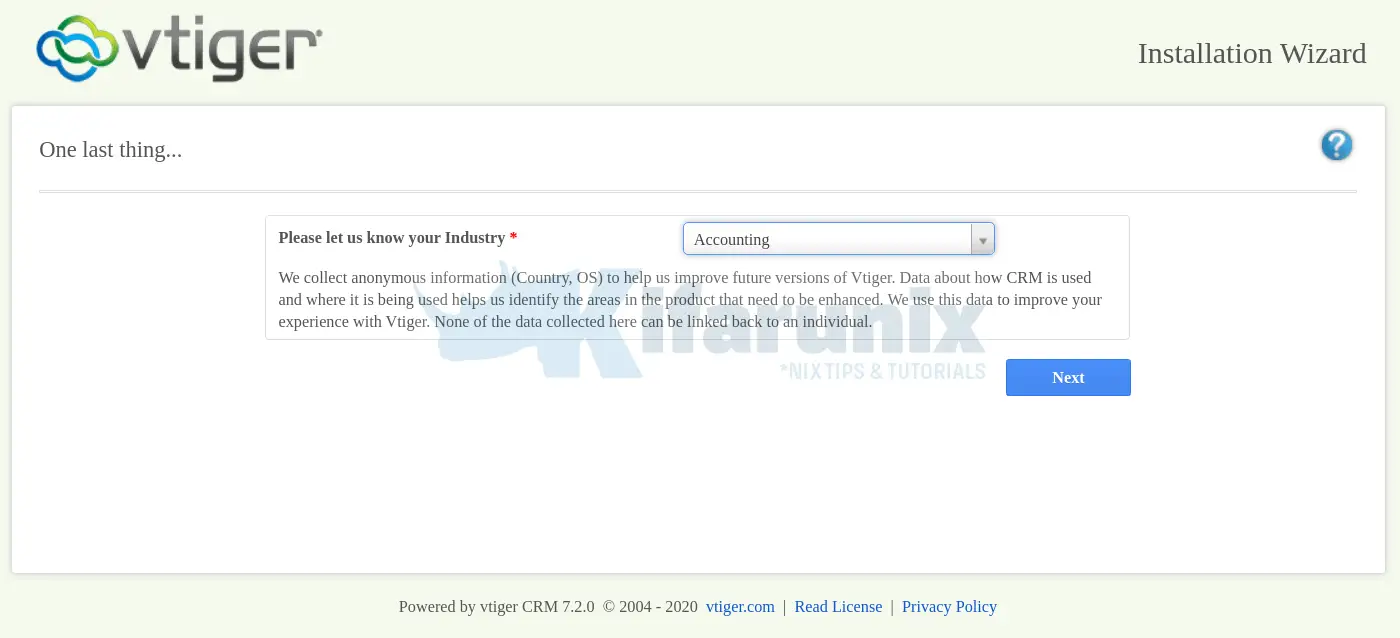
On the Next page, select your Industry and click Next to proceed with installation.
Wait for the installation to complete. This might take some time.
Once the installation is done, Select the modules for the Vtiger features you would like to have.
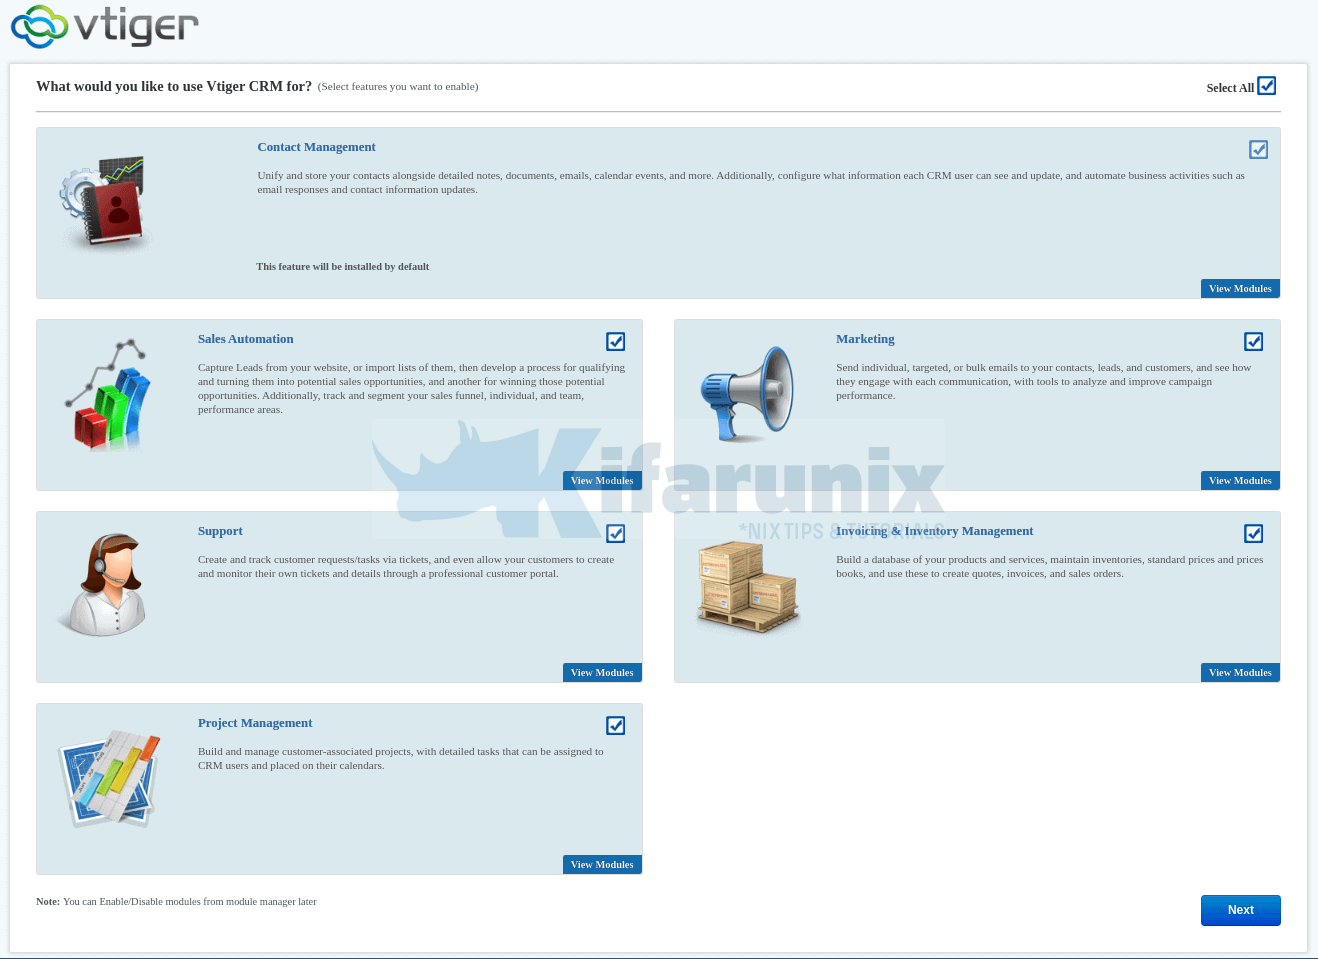
Click Next and login to you Vtiger. Use the administrative credentials you set above.

You can now add more widgets to your dashboard.
Great. That is all on how to installing Vtiger CRM on Ubuntu 20.04. You can configure it further to your liking. Enjoy.
Further Reading
Reference
Other Tutorials
Configure Offline Authentication via OpenLDAP on MacOS X
Configure OpenLDAP Authentication on MacOS X
Install and Deploy Kubernetes Cluster on Ubuntu 20.04
Configure Highly Available HAProxy with Keepalived on Ubuntu 20.04


Hello
I followed all steps
ubuntu 20.04
php 7.4
mysql 8.x.x
Vtiger version 7.4.0
and I have this error during installation
MySQL Server should be configured with:
sql_mode = ERROR_FOR_DIVISION_BY_ZERO,NO_AUTO_CREATE_USER,NO_ENGINE_SUBSTITUTION
my sql config is as follows
+—————+———————————————————————————————————————–+
| Variable_name | Value |
+—————+———————————————————————————————————————–+
| sql_mode | ONLY_FULL_GROUP_BY,STRICT_TRANS_TABLES,NO_ZERO_IN_DATE,NO_ZERO_DATE,ERROR_FOR_DIVISION_BY_ZERO,NO_ENGINE_SUBSTITUTION |
+—————+———————————————————————————————————————–+
1 row in set (0.00 sec)
please help