In this demo, we are going to learn how to install and setup DokuWiki on ubuntu 20.04 server. DokuWiki is an opensource software written in PHP that allows users to create and edit pages using a web browser. It works on plain texts and requires no database.
DokuWiki is feature rich. Read about the features on DokuWiki features page.
Installing DokuWiki on Ubuntu 20.04
Run system update
Update and upgrade your system packages;
apt updateapt upgrade
Next, run system reboot;
Note: In order to determine whether to reboot the system after the upgrade or what services need restart, just install the needrestart package, apt install needrestart. Once you install it, just run needrestart from terminal.
systemctl rebootInstall PHP and Required PHP Modules
DokuWiki is a PHP based web application. It requires PHP and some PHP extensions installed in order to function correctly. To install PHP and the required modules for DokuWiki, run the command below;
apt install php php-gd php-xml php-jsonInstall Apache Web Server
Apache is used as web server for DokuWiki in this demo. When PHP is installed, it installs Apache as one of its required package dependency. To confirm this use the list option of apt command;
apt list apache2apache2/focal,now 2.4.41-4ubuntu3 amd64 [installed,automatic]Assuming that for some weird reasons Apache is not installed with PHP, run the command below to install it.
apt install apache2Start and enable Apache to run on system boot.
systemctl enable --now apache2Open Apache Port on Firewall
To allow external access to your DokuWiki, you need to open Apache port on firewall (UFW) if at all it is running. The port to open depends on the traffic being server, which in this case is just basic HTTP (port 80).
ufw allow 80/tcpor simply;
ufw allow ApacheInstall DokuWiki on Ubuntu 20.04
DokuWiki is distributed as a ready to run application. All you need to do is download the distribution tarball and extract it to your web root directory;
Download the latest release version from DokuWiki download’s page. You can simply run the command below to get it;
wget https://download.dokuwiki.org/src/dokuwiki/dokuwiki-stable.tgz Unpack DokuWiki Tarball to your web root directory, /var/www/html/dokuwiki, in our case;
mkdir /var/www/html/dokuwikitar xzf dokuwiki-stable.tgz -C /var/www/html/dokuwiki/ --strip-components=1This will extract the application files on to our web root directory, /var/www/html/dokuwiki/.
ls /var/www/html/dokuwikibin conf COPYING data doku.php feed.php inc index.php install.php lib README vendor VERSIONCreate Apache VirtualHost for DokuWiki
To create a VirtualHost config file for DokuWiki, simply proceed as follows making the relevant changes as per your environment setup.
vi /etc/apache2/sites-available/dokuwiki.conf<VirtualHost *:80>
ServerName dokuwiki.kifarunix-demo.com
DocumentRoot /var/www/html/dokuwiki
<Directory ~ "/var/www/html/dokuwiki/(bin/|conf/|data/|inc/)">
<IfModule mod_authz_core.c>
AllowOverride All
Require all denied
</IfModule>
<IfModule !mod_authz_core.c>
Order allow,deny
Deny from all
</IfModule>
</Directory>
ErrorLog /var/log/apache2/dokuwiki_error.log
CustomLog /var/log/apache2/dokuwiki_access.log combined
</VirtualHost>
Save and exit the configuration file.
The use of AllowOverride All allows the use of .htaccess files. As such, rename the DokuWiki .htaccess file as shown below;
cp /var/www/html/dokuwiki/.htaccess{.dist,}Set the ownership of the DokuWiki web root directory to www-data.
chown -R www-data:www-data /var/www/html/dokuwikiCheck Apache for any syntax errors;
apache2ctl -tIf you get the Syntax OK output, then you good. Otherwise, fix any error.
Syntax OKDisable the default Apache test site;
a2dissite 000-default.confEnable the DokuWiki site;
a2ensite dokuwiki.confReload Apache;
systemctl reload apache2Complete DokuWiki Setup on Ubuntu 20.04
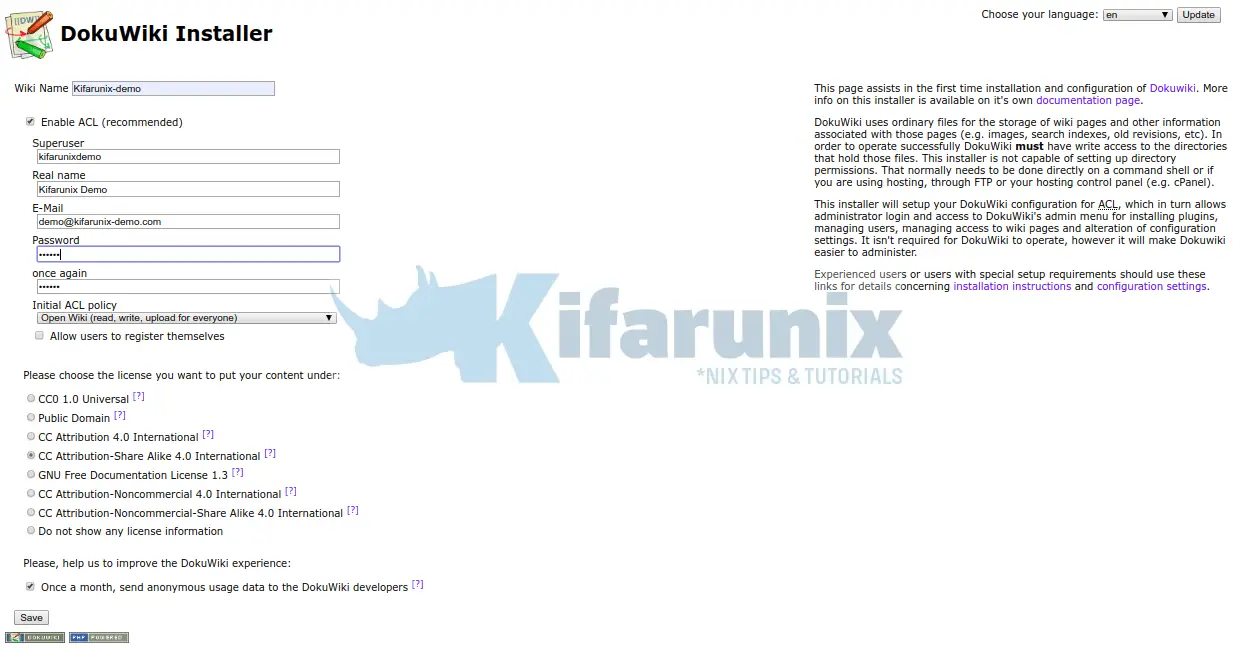
To complete the setup, access your DokuWiki from the browser, http://<server-IP-or-hostname>/install.php.

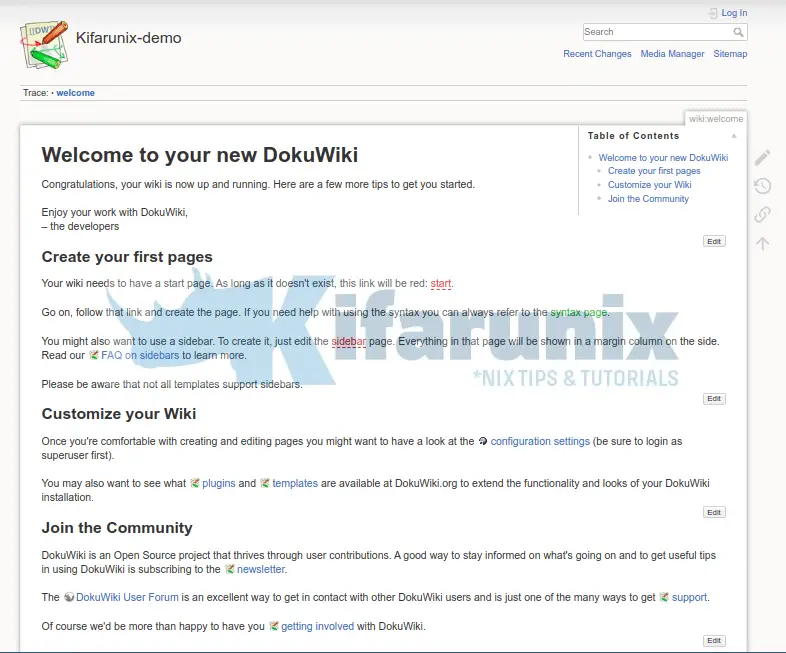
Set the name of the wiki, enable the ACL and other settings. Save the configurations and continue to your DokuWiki.

To login to your DokuWiki, click Log in at the top right corner.

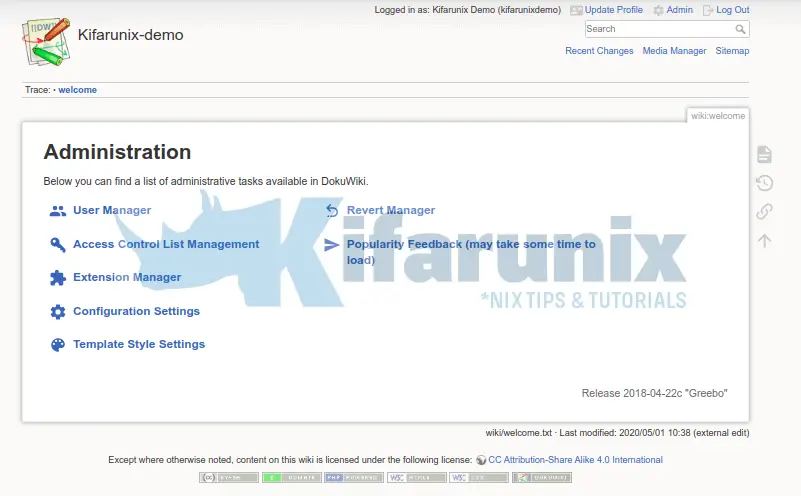
To make further configurations after login, click Admin gear icon at the top right corner.

Reference
Other Tutorials
How to Configure DokuWiki OpenLDAP Authentication


This page saved my (second) day, and was the only working way for the setup of an local dokuwiki, after ten hours of struggling with the apache configuration, outdated howtos full of deadlinks, and other error-after-error nightmares!
Thank You!
Enjoy!