Follow through this tutorial to learn how to install Rocky Linux 8 on VirtualBox. According to rockylinux.org, Rocky Linux is a community enterprise operating system designed to be 100% bug-for-bug compatible with RHEL (Red Hat Enterprise Linux).
Installing Rocky Linux 8 on VirtualBox
Download Rocky Linux Installation ISO file
Navigate to Rocky Linux downloads page and grab an ISO file for your specific system architecture.
Create New VirtualBox VM
Launch VirtualBox and create a new VM with your preferred settings such as networking, disk size, system resources etc.
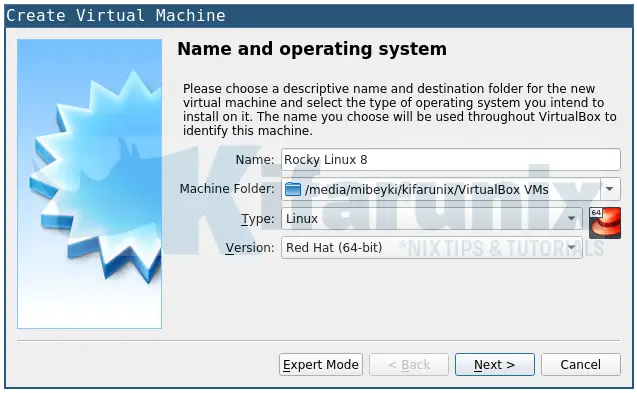
Next, step through the new vm wizard to;
- assign the memory to the VM
- Create hard disk for the VM
- Set the hard disk type
- Storage location and size
Attach Rocky Linux 8 Installation ISO to the VM
Once you have created and setup a new VirtualBox VM for Rocky Linux 8, higlight the vm open the settings.
Click Storage > Controller:IDE.
Next, click the disk like icon with a plus sign to choose the Rocky Linux 8 disk to attach.
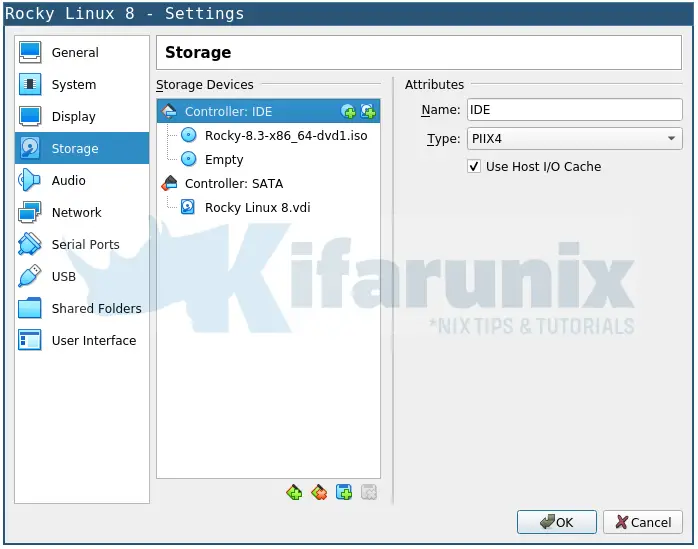
Once you have attached the ISO file, click Okay.
Installing Rocky Linux 8 on VirtualBox
Once you have setup your VM and attached the Rocky ISO file, start the vm to begin the installation.
When it runs, select the first installation option, Install Rocky Linux 8.
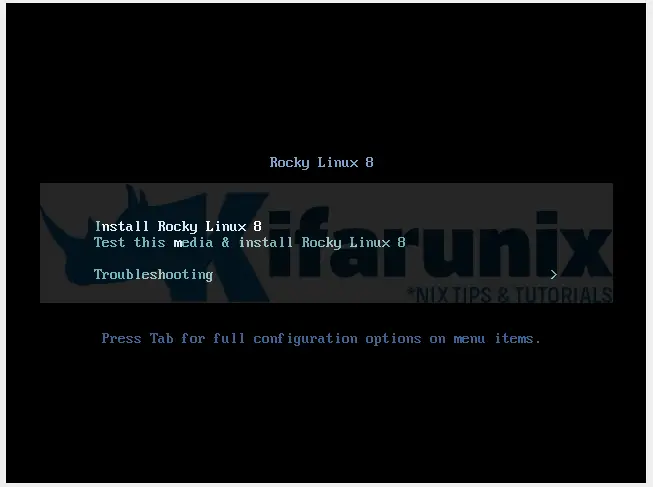
Next;
- Choose your installation language,
- Under the installation summary;
- set your localization settings
- Under Software summary, you can choose whether to install minimal version, server headless version or Rocky Linux desktop version.
- Under system settings, choose the installation medium, set the networking
- Under User settings, set the root account password as well as other user accounts.
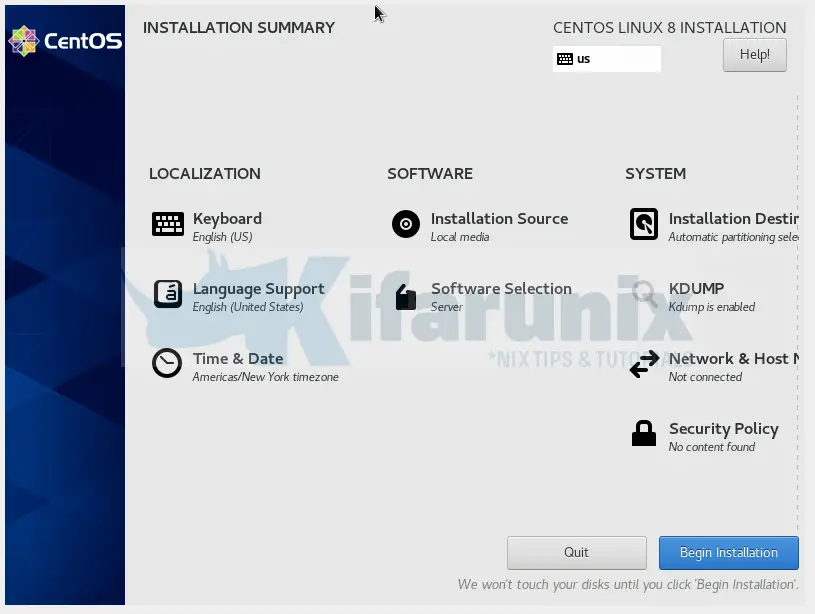
Click Begin Installation to proceed with installation of Rocky Linux 8 desktop version.
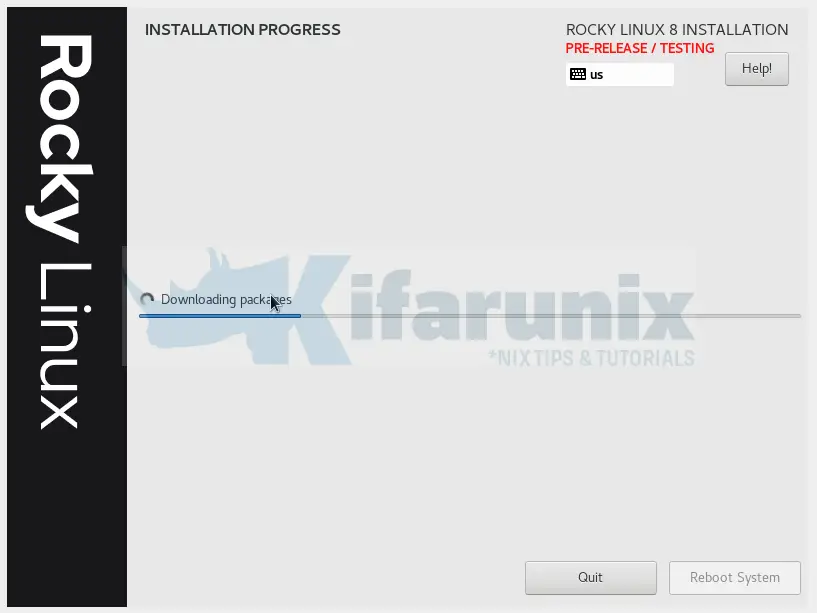
After the installation completes, instead of rebooting your Rocky Linux 8 virtual machine just power it off and detach the installation ISO file from the storage, otherwise the installation process will re-initiate.
Running Rocky Linux 8 on VirtualBox
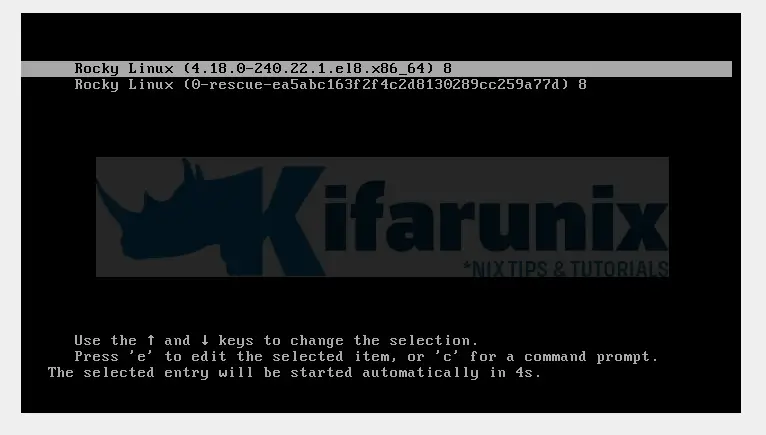
Once you have detached the installation medium, boot up your Rocky Linux 8 virtual machine.
Grub menu, the first entry is selected by default.
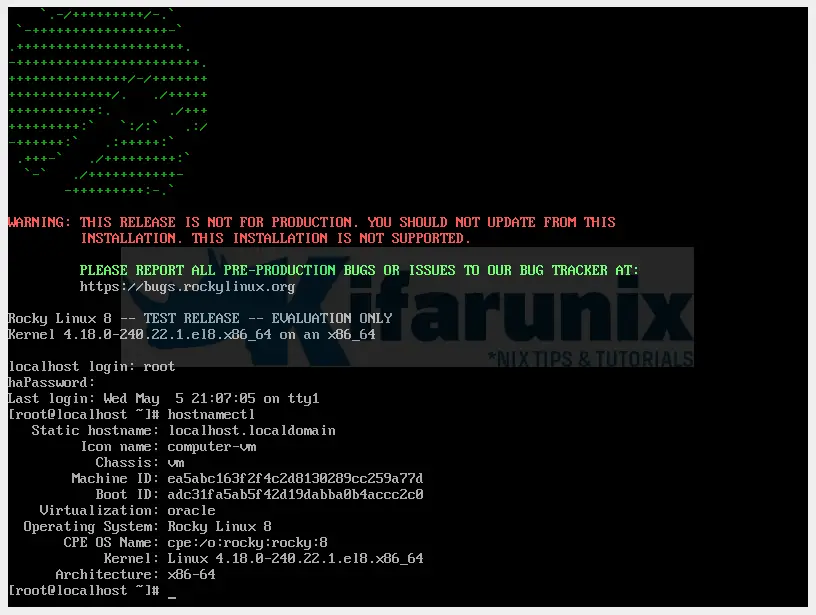
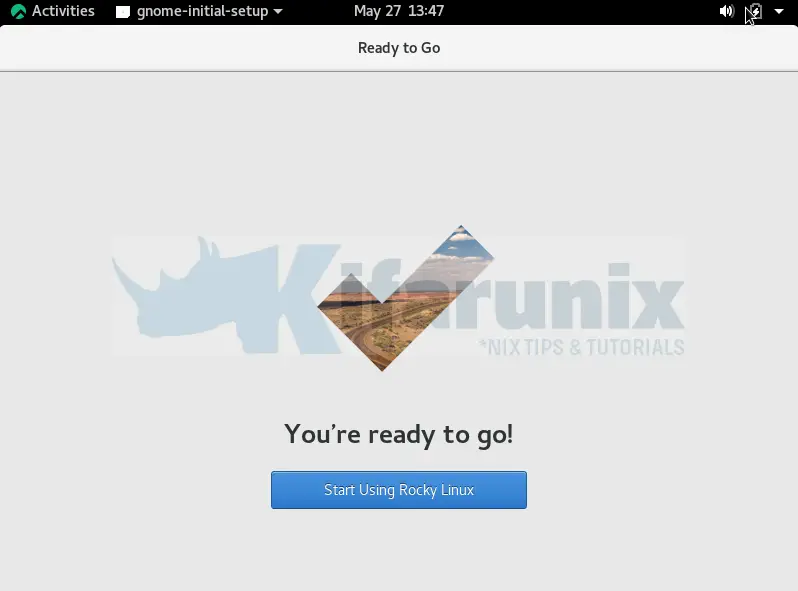
And there you go!
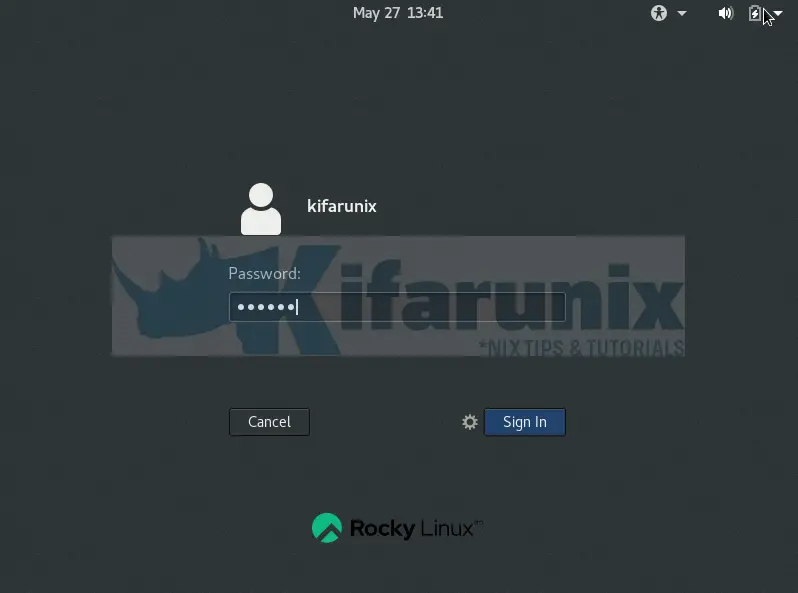
If you installed the desktop version, such screenshot is login interface.


And how do I install the Guest Additions on Rocky Linux?!
Hi, Please check the guide on installing Rocky Linux Guest Additions.