How can I setup Apache Guacamole with HTTPS? Well, this step by step tutorial will guide you on how to configure Guacamole SSL/TLS with Nginx Reverse Proxy. If you are going to use Guacamole in production environment, then it is highly recommended that it is placed behind a reverse proxy. The proxy can then be configured to provide SSL/TLS encryption that provides a secured connection.
Table of Contents
Configuring Guacamole SSL/TLS with Nginx Reverse Proxy
Install and Setup Apache Guacamole
Before you can proceed, ensure that you have setup Guacamole and is up and running. You can check our previous guide on how to setup Guacamole by following the link below;
Install and Setup Apache Guacamole
Configure Apache Guacamole to Listen on Localhost Only
Chances are, your Guacamole is listening on all interfaces including the public addresses.
ss -altnp | grep :8080LISTEN 0 100 *:8080 *:* users:(("java",pid=32027,fd=43))If that is the case, you can configure Apache Tomcat, which is the Apache Guacamole webserver to listen on the loopback address so that it is only accessible on the host.
Thus, Tomcat server.xml file, for example /opt/tomcat9/conf/server.xml;
vim /opt/tomcat9/conf/server.xmlUpdate the line;
<Connector port="8080" protocol="HTTP/1.1"To;
<Connector address="127.0.0.1" port="8080" protocol="HTTP/1.1"Save and exit the file.
Restart Tomcat;
systemctl restart tomcat9Confirm the ports and interface it is listening on;
ss -altnp | grep :8080LISTEN 0 100 [::ffff:127.0.0.1]:8080 *:* users:(("java",pid=32113,fd=43))Perfect!
Install Nginx web server
Nginx can be simply installed using the command below;
apt install nginx
Enable Nginx to run on system boot. Note that Nginx is set to run automatically after installation.
systemctl enable nginx
systemctl status nginx● nginx.service - A high performance web server and a reverse proxy server
Loaded: loaded (/lib/systemd/system/nginx.service; enabled; preset: enabled)
Active: active (running) since Thu 2023-08-31 15:01:39 EDT; 1min 26s ago
Docs: man:nginx(8)
Main PID: 31823 (nginx)
Tasks: 2 (limit: 2304)
Memory: 1.7M
CPU: 15ms
CGroup: /system.slice/nginx.service
├─31823 "nginx: master process /usr/sbin/nginx -g daemon on; master_process on;"
└─31824 "nginx: worker process"
Aug 31 15:01:39 debian systemd[1]: Starting nginx.service - A high performance web server and a reverse proxy server...
Aug 31 15:01:39 debian systemd[1]: Started nginx.service - A high performance web server and a reverse proxy server.
Generate SSL/TLS Self-signed Certificate
In this guide, for demonstration purposes, we are going to use self-signed certificates. You can however obtain the trusted CA certificate, otherwise, this will suffice.
Generate CA Private Key
Run the following OpenSSL command to generate a private key for your CA:
mkdir /etc/ssl/guacdopenssl genpkey -algorithm RSA -out /etc/ssl/guacd/ca.keyThe command generates an RSA private key and saves it in the file /etc/ssl/guacd/ca.key.
Generate CA self-signed certificate
Once you have the private key, you can now generate the CA self-signed certificate using the command below. When the command runs, you are prompted to provide information about your CA, such as the common name, organization, and location, contact email e.t.c. Common Name, must be provided.
openssl req -x509 \
	-new \
	-key /etc/ssl/guacd/ca.key \
	-days 3650 \
	-out /etc/ssl/guacd/ca.crt
Sample output;
You are about to be asked to enter information that will be incorporated
into your certificate request.
What you are about to enter is what is called a Distinguished Name or a DN.
There are quite a few fields but you can leave some blank
For some fields there will be a default value,
If you enter '.', the field will be left blank.
-----
Country Name (2 letter code) [AU]:US
State or Province Name (full name) [Some-State]:California
Locality Name (eg, city) []:San Francisco
Organization Name (eg, company) [Internet Widgits Pty Ltd]:Kifarunix-Demo Inc
Organizational Unit Name (eg, section) []:Infrastracture
Common Name (e.g. server FQDN or YOUR name) []:guacamole.kifarunix-demo.com
Email Address []:
You can provide all these information from the command line using the -subj option.
openssl req -x509 -new \
	-key /etc/ssl/guacd/ca.key \
	-days 3560 \
	-out /etc/ssl/guacd/ca.crt \
	-subj "/C=US/ST=California/L=San Francisco/O=Kifarunix-Demo Inc/CN=guacamole.kifarunix-demo.com/[email protected]"
Note that it is not recommended to use wildcard CN. Instead, use SAN to define your other domains/IPs/wildcards.
Generate Server Private Key and CSR
Next, generate the server private key and certificate signing request (CSR).
openssl req -new \
	-newkey rsa:4096 \
	-nodes \
	-keyout /etc/ssl/guacd/server.key \
	-out /etc/ssl/guacd/server.csr \
	-subj "/C=US/ST=California/L=San Francisco/O=Kifarunix-Demo Inc/CN=guacamole.kifarunix-demo.com/[email protected]"
Generate and Sign Server Certificate
Now, you need to generate the server certificate using the CSR, the CA cert and private key.
Note that since OpenSSL command doesn’t include the extensions such as Subject Alternative Names on the certificate, you need to provide this information manually.
SAN extension allows you to include additional subject names, such as domain names or IP addresses, in a single certificate, thus allowing a certificate to be valid for multiple entities or alternative names.
So, create a CNF file with your SAN extensions;
vim /etc/ssl/guacd/san.cnfauthorityKeyIdentifier=keyid,issuer
basicConstraints=CA:FALSE
keyUsage = digitalSignature, nonRepudiation, keyEncipherment, dataEncipherment
subjectAltName = @alt_names
[alt_names]
DNS.1=kifarunix-demo.com
DNS.2=*.kifarunix-demo.com
then generate and sign the server certificate;
openssl x509 -req \
	-in /etc/ssl/guacd/server.csr \
	-CA /etc/ssl/guacd/ca.crt \
	-CAkey /etc/ssl/guacd/ca.key \
	-CAcreateserial \
	-out /etc/ssl/guacd/server.crt \
	-days 3650 \
	-extfile /etc/ssl/guacd/san.cnf
Sample output;
Certificate request self-signature ok
subject=C = US, ST = California, L = San Francisco, O = Kifarunix-Demo Inc, CN = guacamole.kifarunix-demo.com, emailAddress = [email protected]
So you now have the server, CA certificate and key under /etc/ssl/guacd/ in PEM format.
Configure Nginx with HTTPS and Guacamole Reverse Proxy
Once you have the keys in place, proceed to configure Nginx with HTTPS by using the SSL/TLS certificates just generated. While at it, also configure Nginx Guacamole reverse proxy.
In this guide, we will use some of the recommendations on the Cipherli.st.
vim /etc/nginx/sites-available/nginx-guacamole-ssl
server {
	listen 80;
	server_name guacamole.kifarunix-demo.com;
	return 301 https://$host$request_uri;
}
server {
	listen 443 ssl;
	server_name guacamole.kifarunix-demo.com;

	root /var/www/html;

	index index.html index.htm index.nginx-debian.html;

    	ssl_certificate /etc/ssl/guacd/server.crt;
	ssl_certificate_key /etc/ssl/guacd/server.key;

	ssl_protocols TLSv1.2 TLSv1.3;
	ssl_prefer_server_ciphers on;
	ssl_dhparam /etc/nginx/dhparam.pem;
	ssl_ciphers ECDHE-RSA-AES256-GCM-SHA512:DHE-RSA-AES256-GCM-SHA512:ECDHE-RSA-AES256-GCM-SHA384:DHE-RSA-AES256-GCM-SHA384:ECDHE-RSA-AES256-SHA384;
	ssl_ecdh_curve secp384r1;
	ssl_session_timeout  10m;
	ssl_session_cache shared:SSL:10m;
	resolver 192.168.42.129 8.8.8.8 valid=300s;
	resolver_timeout 5s;
	add_header Strict-Transport-Security "max-age=63072000; includeSubDomains; preload";
	add_header X-Frame-Options DENY;
	add_header X-Content-Type-Options nosniff;
	add_header X-XSS-Protection "1; mode=block";

	access_log  /var/log/nginx/guac_access.log;
	error_log  /var/log/nginx/guac_error.log;

	location / {
		    proxy_pass http://127.0.0.1:8080/guacamole/;
		    proxy_buffering off;
		    proxy_set_header X-Forwarded-For $proxy_add_x_forwarded_for;
		    proxy_set_header Upgrade $http_upgrade;
		    proxy_set_header Connection $http_connection;
		    proxy_cookie_path /guacamole/ /;
	}

}
Save and exit the file.
As you can see, we are proxying access to Apache Guacamole running on the localhost port 8080/tcp.
The reverse proxy settings used here are;
location / { ... }: This block specifies that the configuration applies to requests coming to the root URL (e.g.,https://your-domain.com/). The block contains directives that define how Nginx should handle requests to this URL.proxy_pass http://127.0.0.1:8080/guacamole/;: This directive sets up a reverse proxy to forward requests to the Guacamole application running onhttp://127.0.0.1:8080/guacamole/. This means that when users access your domain, Nginx will pass the requests to the Guacamole server and send back the responses to clients.proxy_buffering off;: This directive disables proxy buffering. It ensures that Nginx forwards data from the Guacamole server to clients in real-time without buffering the data.proxy_set_header X-Forwarded-For $proxy_add_x_forwarded_for;: This directive sets theX-Forwarded-Forheader to include the original client’s IP address. This is useful for passing the client’s IP address to the backend server.proxy_set_header Upgrade $http_upgrade;: This directive sets theUpgradeheader to match the value of theUpgradeheader received from the client. It’s often used for WebSocket connections, as it allows Nginx to handle WebSocket traffic.proxy_set_header Connection $http_connection;: This directive sets theConnectionheader to match the value of theConnectionheader received from the client.proxy_cookie_path /guacamole/ /;: This directive modifies the path in cookies. It replaces occurrences of/guacamole/in cookies’ paths with a single/, which ensures that cookies work correctly with the reverse proxy setup.
Next, generate Deffie-Hellman certificate to ensure a secured key exchange. The -dsaparam option in the command below is added to speed up the generation.
openssl dhparam -dsaparam -out /etc/nginx/dhparam.pem 4096
Once that is done, activate Nginx Guacamole configuration.
ln -s /etc/nginx/sites-available/nginx-guacamole-ssl /etc/nginx/sites-enabled/
Verify Nginx configuration.
nginx -tnginx: the configuration file /etc/nginx/nginx.conf syntax is ok nginx: configuration file /etc/nginx/nginx.conf test is successful
Restart Nginx if all is good.
systemctl restart nginx
Verify Apache Guacamole HTTPS Access
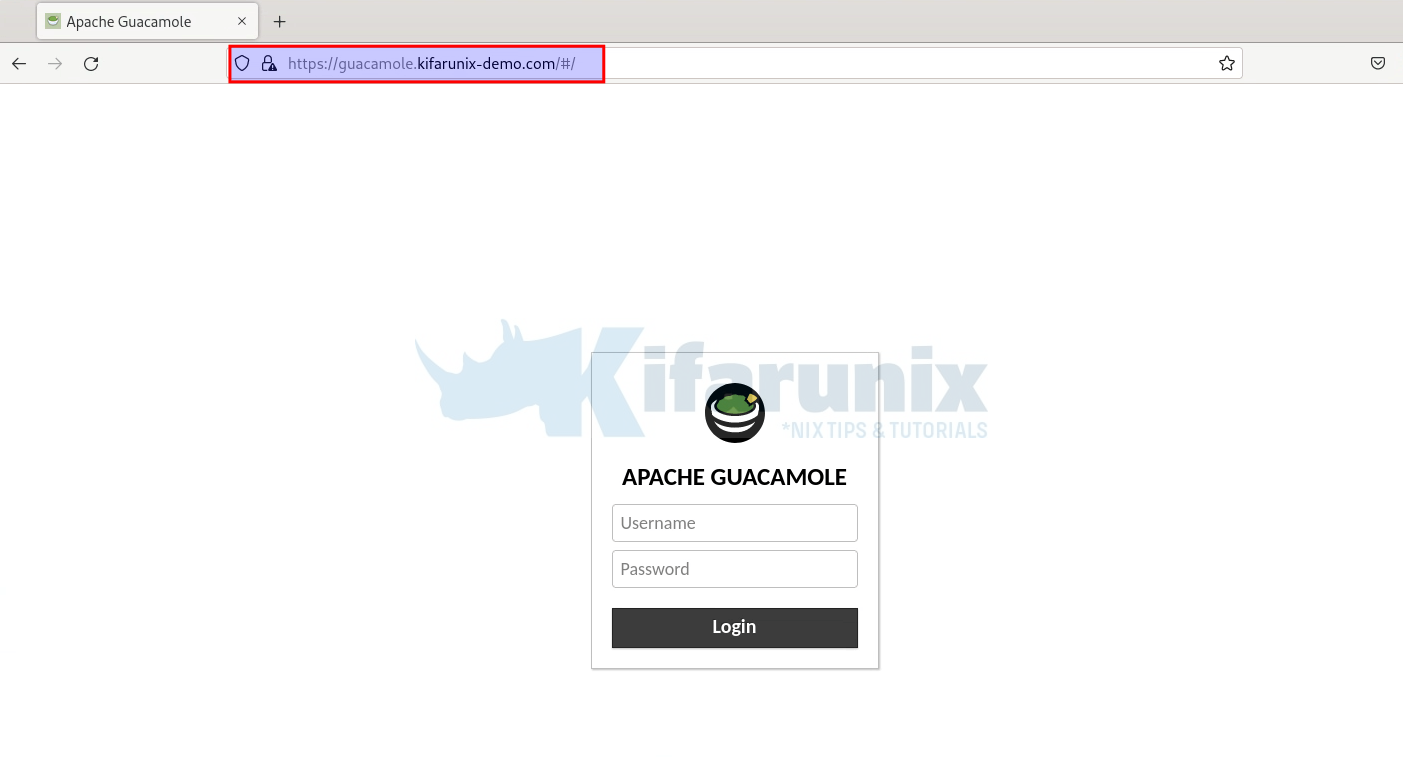
Now, login to Guacamole Dashboard using the URL https://server-hostname. You will see a browser warning against the use of self-signed SSL certificates. Add an exception and proceed.

Login to your Guacamole.
Guacamole dashboard.

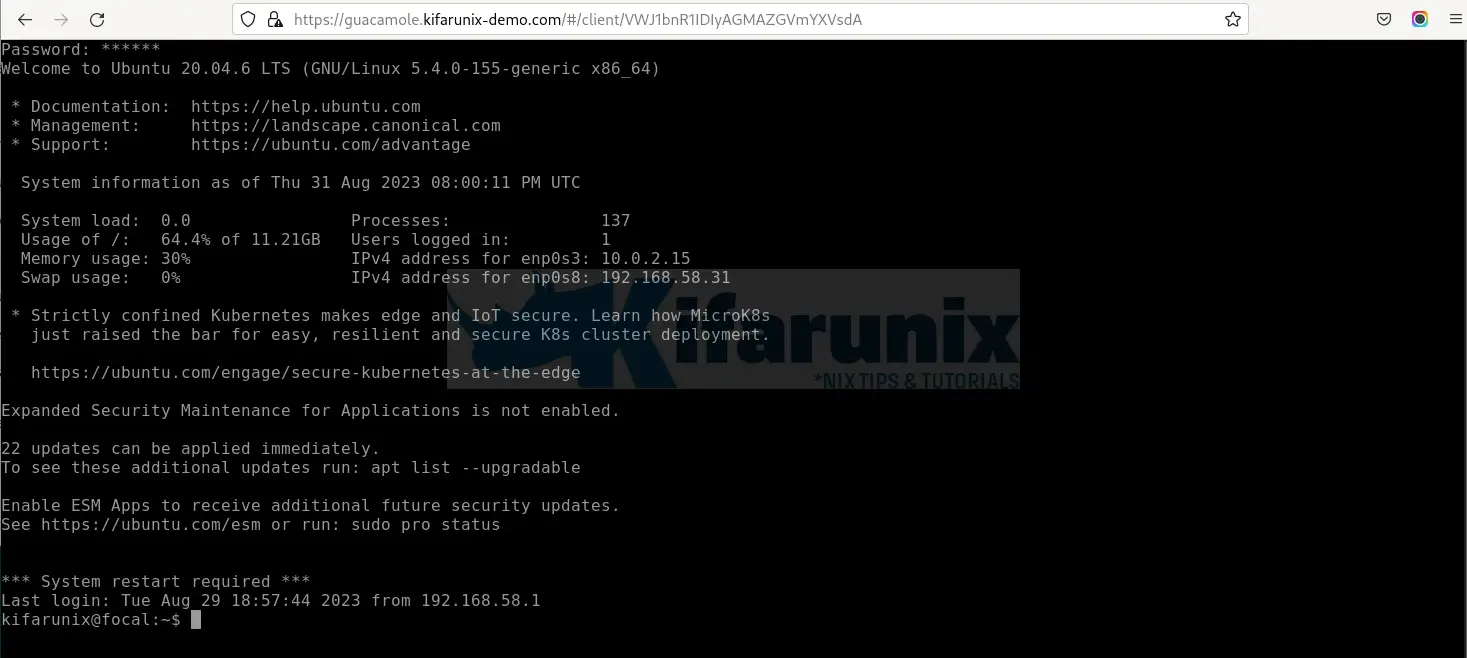
Sample access to remote systems via Guacamole with HTTPS;

You can read more about Proxying Guacamole here.
Other Tutorials
Hey, you can also check our previous articles on Elasticsearch by following the links below;
Quick Guide: Configure Apache Kafka SSL/TLS Encryption for Enhanced Security


Your guide is fantastic!
I think I ran into a slight issue with it though.
Shouldn’t this:
ln -s /etc/nginx/sites-available/guacamole-ssl /etc/nginx/sites-enabled/
be this:
ln -s /etc/nginx/sites-available/nginx-guacamole-ssl /etc/nginx/sites-enabled/
?
Am glad you found this helpful Mat.
You are actually right. Thanks for catching that. Update has been made accordingly.
Awesome Guide, simple and easy.
Can it be an IP Address instead of guacamole.example.com?
Yes
I doesn’t work for me. I replaced “guacamole.example.com” by “192.168.161.158”, but It doesn’t connect here https://192.168.161.158
Hi Alexis, check the log files for any would be error
This is a very neat and excellent guide for activating SSL/TLS on Guacamole Server. Very good Job. Thanks.
Question I have MFA enabled is there a certain configuration I need to use to enable SSL to passthrough
Great walk-through, thanks for sharing the info.
I am having the same problem as Alexis Llano; The https guac page loads, but it is just blank. Doesn’t show the login prompt. If I go to the http port 8080 page (no nginx) I can login as normal. The html source display on the https page, but it’s just displays blank. Nothing is showing in either the nginx or guac logs. I also tried using firefox and chrome.
You walk-throughs and tutorials are fantastic. Probably one of the most absolutely accurate instructions around. This reflects strongly on you as a true Linux expert. I have a question that I hope you could answer, that is, can I install Nginx on the same VM where my Tomcat and Guacd is or do I need to deploy another new Linux VM?
Hi Josiah, Many thanks for the feedback.
Yes, install Nginx on the same server running Guacamole.
Enjoy
Very nice article. I’m curious, from the perspective of Guacamole itself, are any changes necessary? I use Nginx Proxy Manager (https://nginxproxymanager.com/) as a front end for my NGINX Reverse Proxy Services. And I recall when I deployed Nextcloud behind NPM, there were some config changes I needed to implement in Nextcloud to make it “Reverse Proxy” aware. Wondering if Guacamole has any such requirements.
I know this particular article has been up for a while, so a belated thank you for sharing. You site is truly helpful and very professionally done.
thanks Chris for the feedback. Yeah, actually nothing special, just normal proxy pass to Guacamole.