In this tutorial, we are going to learn how to install NSClient Nagios monitoring agent on Windows systems. NSClient++ is a monitoring agent/daemon for Windows systems that makes it easier to collect performance metrics by Nagios.
Installing Nagios NSClient Agent on Windows System
Download NSClient Agent
Download the latest version of NSClient from here.
Install and Configure NSClient++ Nagios Agent on Windows System
Once the download is done, run the binary installer as an administrator to install the application.
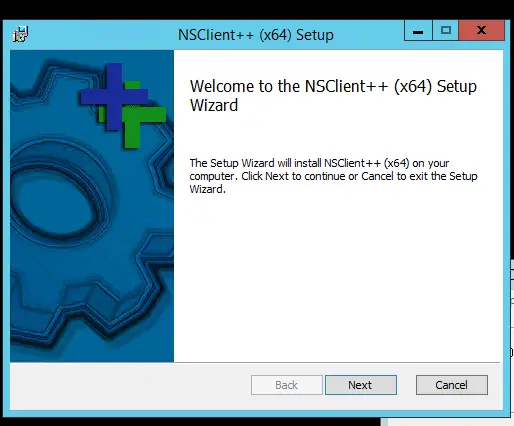
Once the installation launches, accept the default options until where you are prompted to choose the setup type.
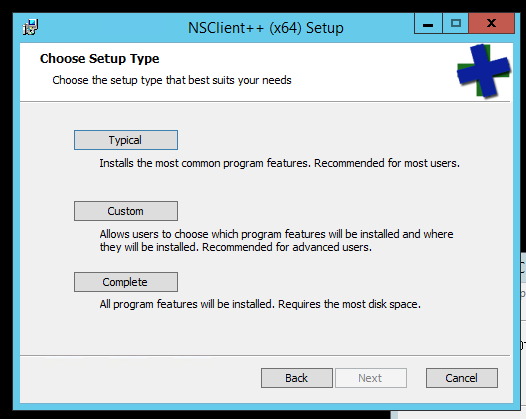
Select the Typical installation setup type and click Next. This takes you to agent configuration window as shown in the screenshot below;
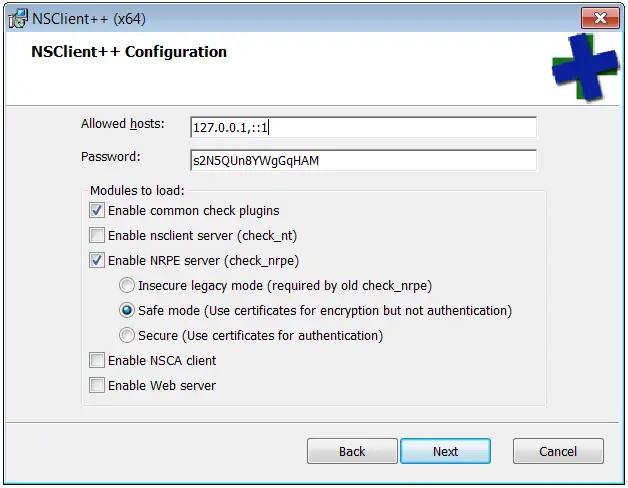
Edit the default configurations shown above as follows;
- Under Allowed hosts: replace the loopback-v6 address, ::1, with the IP of the Nagios Server. (In case of AlienVault, enter the IP of the Sensor)
- Under the Password: delete the existing string and set a Strong Password for use for communication between the Server and the Client.NOTE: The Password has to be same for a group of hosts.
- Under “Modules to load:”
- Check “Enable common check plugins” and “Enable nsclient server (check_nt)“
- Uncheck the “Enable NRPE Server (check_nrpe)”
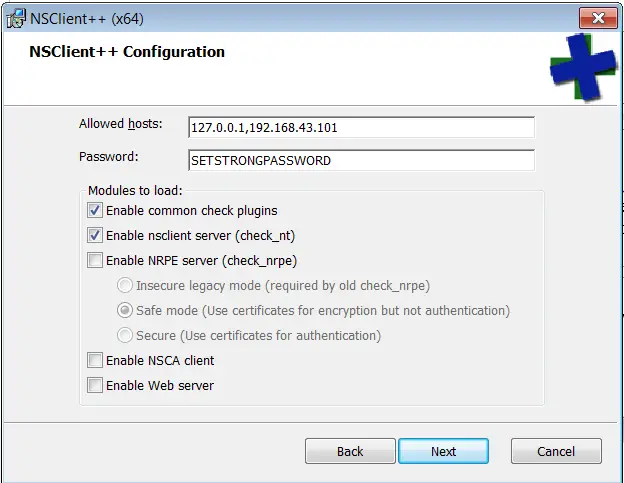
Click Next and then Install button to launch the installation.
Once the Installation is complete, click finish button to run the client.
Note that the NSClient service (nscp) will automatically run after installation.
It will also set a firewall rule to allow it access.
Also note that nscp service listens on port 12489.
Enable System Service and Disk Space Checks
Open the NSClient configuration file, C:\Program Files\NSClient++\nsclient.ini, with file editor such as Notepad and enable Disk space as well as System check that are disabled by default. See the highlighted lines below.
# If you want to fill this file with all available options run the following command:
# nscp settings --generate --add-defaults --load-all
# If you want to activate a module and bring in all its options use:
# nscp settings --activate-module <MODULE NAME> --add-defaults
# For details run: nscp settings --help


; TODO
[/settings/default]

; Undocumented key
password = STRONGPASSWORD

; Undocumented key
allowed hosts = 127.0.0.1,192.168.43.101


; TODO
[/modules]

; Undocumented key
CheckExternalScripts = disabled

; Undocumented key
CheckHelpers = disabled

; Undocumented key
CheckEventLog = disabled

; Undocumented key
CheckNSCP = disabled

; Undocumented key
CheckDisk = enabled

; Undocumented key
CheckSystem = enabled

; Undocumented key
NSClientServer = enabled
Restart NSClient Service
Once the changes are made, save the file and restart the NSClient service (nscp).
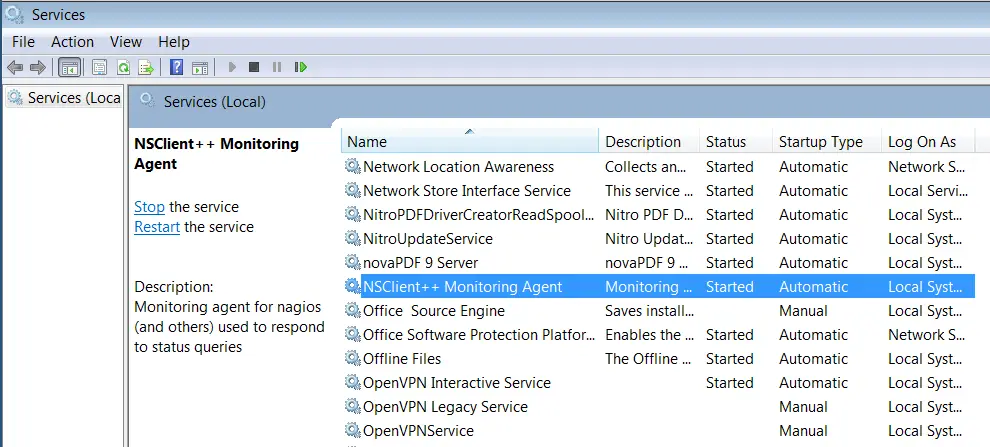
You can also use powershell to restart the service.
net stop nscp
net start nscp
The installation and configuration of the NSClient is now complete. You can test from the server that the services are actually being monitored.
For example to test for cpu load from Nagios server;
/usr/lib/nagios/plugins/check_nt -H 192.168.43.218 -p 12489 -s STRONGPASSWORD -v CPULOAD -l 5,80,90CPU Load 0% (5 min average) | '5 min avg Load'=0%;80;90;0;100

No I was following your documentation how to install NSClient nagios monitoring agent on Windows system and I arrived at this step (capture 1) but when I access the terminal of my machine nagios qd I entered the command of the capture 1 bein its not working, when I enter this command / usr / lib / nagios / plugins he tells me it’s an ok folder (capture2) but as soon as I add the continuation / check_nt -H … it displays no file or folder of this type (capture3) mrc pr your answer
hi i am using nagios 4.0 and i am getting the nsclient password invalid err.. please help if it isknown to you
Kindly counter check that the password you are using on both the client and the server are same.
Worked for my Windows Server 2k12 monitored by Nagios Core. I´m really thankfull!
Nsclient unable to install on SQL server installed machines. Can you assist?