In this guide, we are going to learn how to install OpenVAS 10 (GVM) on Debian 10 Buster. The Greenbone Vulnerability Management version 10 (GVM-10) (OpenVAS) is the current stable major release.
Install OpenVAS 10 (GVM) on Debian 10 Buster
Run system update
apt update
apt upgrade
Install the Required Dependencies
There a number of dependencies required to build OpenVAS 10 (GVM 10) from the source. Install them by running the command below;
apt install bison cmake gcc gcc-mingw-w64 heimdal-dev libgcrypt20-dev libglib2.0-dev libgnutls28-dev libgpgme-dev libhiredis-dev libksba-dev libmicrohttpd-dev git libpcap-dev libpopt-dev libsnmp-dev libsqlite3-dev libssh-gcrypt-dev xmltoman libxml2-dev perl-base pkg-config python3-paramiko python3-setuptools uuid-dev curl redis doxygen libical-dev python-polib gnutls-binInstall Yarn JavaScript package manager
curl -sS https://dl.yarnpkg.com/debian/pubkey.gpg | apt-key add -echo "deb https://dl.yarnpkg.com/debian/ stable main" | tee /etc/apt/sources.list.d/yarn.listapt update
apt install yarnYou can confirm the required dependencies for each module on the INSTALL.md file on the source code directory.
Download Greenborne Vulnerability Manager Source code
Installation of OpenVAS 10 (GVM 10) on Debian 10 Buster involves building different modules from the source code. Hence, run the commands below to download the source code of each module required to build OpenVAS 10 (Greenborne Vulnerability Manager).
Create a temporary directory to store source codes.
mkdir /tmp/gvm10
cd /tmp/gvm10Download GVM Libraries
wget https://github.com/greenbone/gvm-libs/archive/v10.0.1.tar.gz -O gvm-libs-v10.0.1.tar.gzDownload OpenVAS Scanner
wget https://github.com/greenbone/openvas/archive/v6.0.1.tar.gz -O openvas-scanner-v6.0.1.tar.gz Download Greenborne Vulnerability Manager (GVM)
wget https://github.com/greenbone/gvmd/archive/v8.0.1.tar.gz -O gvm-v8.0.1.tar.gzDownload Greenborne Security Assistant (GSA)
wget https://github.com/greenbone/gsa/archive/v8.0.1.tar.gz -O gsa-v8.0.1.tar.gzDownload Open Scanner Protocol Daemon (OSPd)
wget https://github.com/greenbone/ospd/archive/v1.3.2.tar.gz -O ospd-v1.3.2.tar.gzDownload OpenVAS SMB
wget https://github.com/greenbone/openvas-smb/archive/v1.0.5.tar.gz -O openvas-smp-v1.0.5.tar.gzYou should now have at least 5 major components source codes;
ls -1gsa-v8.0.1.tar.gz
gvm-libs-v10.0.1.tar.gz
gvm-v8.0.1.tar.gz
openvas-scanner-v6.0.1.tar.gz
openvas-smp-v1.0.5.tar.gz
ospd-v1.3.2.tar.gzExtract the OpenVAS 10 (GVM) Source Codes
Next extract the source codes to current directory.
for i in *.tar.gz; do tar xzf $i; doneInstall OpenVAS 10 (GVM) on Debian 10 Buster
Navigate to a directory where you extracted your source code and build each component of OpenVAS 10. Note for every component, there is a README.md and a INSTALL.md file that explains how to build and install it.
Build and Install GVM Libraries
cd gvm-libs-10.0.1/
mkdir build
cd build/
cmake ..
make
make installBuild and Install OpenVAS SMB
cd /tmp/gvm10/openvas-smb-1.0.5
mkdir build
cd build
cmake ..
make
make installBuild and Install OSPd
cd /tmp/gvm10/ospd-1.3.2
python3 setup.py installBuild and Install OpenVAS Scanner
cd cd /tmp/gvm10/openvas-6.0.1/
mkdir build
cd build
cmake ..
make
make installConfigure Redis Server
To improve the performance of Redis server, make the following configurations.
- Increase the value of somaxconn in order to avoid slow clients connections issues.
echo "net.core.somaxconn = 1024" >> /etc/sysctl.conf- Redis background save may fail under low memory condition. To avoid this, enable memory overcommit (man 5 proc).
echo 'vm.overcommit_memory = 1' >> /etc/sysctl.conf- To avoid creation of latencies and memory usage issues with Redis, disable Linux Kernel’s support for Transparent Huge Pages (THP). To easily work around this, create a systemd service unit for this purpose.
vim /etc/systemd/system/disable_thp.service[Unit]
Description=Disable Kernel Support for Transparent Huge Pages (THP)
[Service]
Type=simple
ExecStart=/bin/sh -c "echo 'never' > /sys/kernel/mm/transparent_hugepage/enabled && echo 'never' > /sys/kernel/mm/transparent_hugepage/defrag"
[Install]
WantedBy=multi-user.targetReload systemd configurations;
systemctl daemon-reloadStart and enable this service to run on system boot.
systemctl start disable_thp
systemctl enable disable_thpRename the default redis server configuration file and copy the redis configuration that is generated.
mv /etc/redis/redis.conf /etc/redis/redis.conf.bakcp /tmp/gvm10/openvas-6.0.1/build/doc/redis_config_examples/redis_4_0.conf /etc/redis/redis.confOpen the configuration and make the adjustments below;
vim /etc/redis/redis.conf#unixsocket /tmp/redis-server.sock
unixsocket /var/run/redis/redis-server.sock
...
#pidfile /usr/local/var/run/openvas-redis.pid
pidfile /var/run/redis/redis-server.pid
...
# Change the working directory to /var/lib/redis
dir ./
dir /var/lib/redisSince redis uses /tm/redis.socket, you need to explicitly define alternate socket directory as in the above configuration in the /usr/local/etc/openvas/openvassd.conf using the db_address parameter as follows;
echo "db_address = /var/run/redis/redis-server.sock" > /usr/local/etc/openvas/openvassd.confReload sysctl variables created above.
sysctl -pRestart Redis server
systemctl restart redis-serverUpdates the OpenVAS NVTs from Greenbone Security Feed/Community Feed
greenbone-nvt-syncReload Kernel modules and start OpenVAS Scanner
ldconfig && openvassdYou can check the logs to see if there is any issue with OpenVAS scanner.
tail /usr/local/var/log/gvm/openvassd.log sd main:MESSAGE:2019-07-20 15h29.32 utc:8258: openvassd 6.0.1 startedYou can also check running processes.
ps aux | grep openvasroot 8258 0.0 0.1 34520 3256 ? Ss 11:28 0:00 openvassd: Waiting for incoming connectionsBuild and Install GVM
cd /tmp/gvm10/gvmd-8.0.1/
mkdir build
cd build
cmake ..
make
make installBuild and Install GSA
cd /tmp/gvm10/gsa-8.0.1
mkdir build
cd build
cmake ..
make
make installNext, run the command below to set up the create certificates for the server and clients.
gvm-manage-certs -aCreate OpenVAS administrative user by running the command below;
gvmd --create-user openvasadminThis command generates a random password for the user. To create your own password;
gvmd --create-user openvasadmin --password=StronGP@SSTo reset the password of an already existing user;
gvmd --user=openvasadmin --new-password=StronGP@SSStart OpenVAS Scanner, GSA and GVM services
openvassd && gvmd && gsadCheck the status;
ps aux | grep -E "openvassd|gsad|gvmd" | grep -v greproot 8258 0.0 0.1 34520 3204 ? Ss 11:28 0:00 openvassd: Waiting for incoming connections
root 10351 0.0 0.1 34520 3396 ? Ss 11:55 0:00 openvassd: Waiting for incoming connections
root 10354 0.1 2.5 192572 78468 pts/0 S 11:55 0:00 gvmd: Waiting for incoming connections
root 10363 0.0 0.1 429192 6000 pts/0 Sl 11:55 0:00 gsad
root 10364 0.0 0.1 207996 3396 pts/0 Sl 11:55 0:00 gsad
root 10379 0.0 0.1 80960 3232 ? Ss 11:55 0:00 gpg-agent --homedir /usr/local/var/lib/gvm/gvmd/gnupg --use-standard-socket --daemon
root 10694 0.0 0.1 34568 4928 ? Ss 12:05 0:00 openvassd: Serving /usr/local/var/run/openvassd.sockYou can also check the logs for more details on /usr/local/var/log/gvm/.
Accessing OpenVAS 10 (GVM 10)
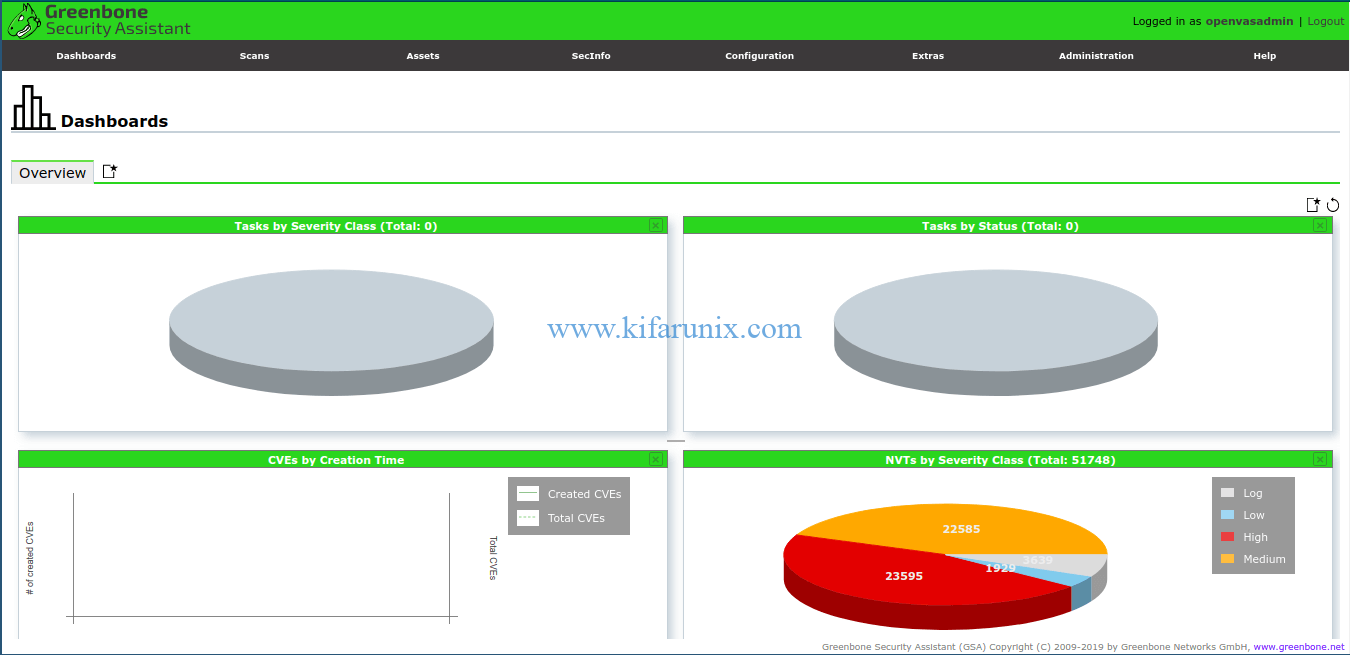
OpenVAS 10 is setup and you can access it via the address, https://<server-IP>.

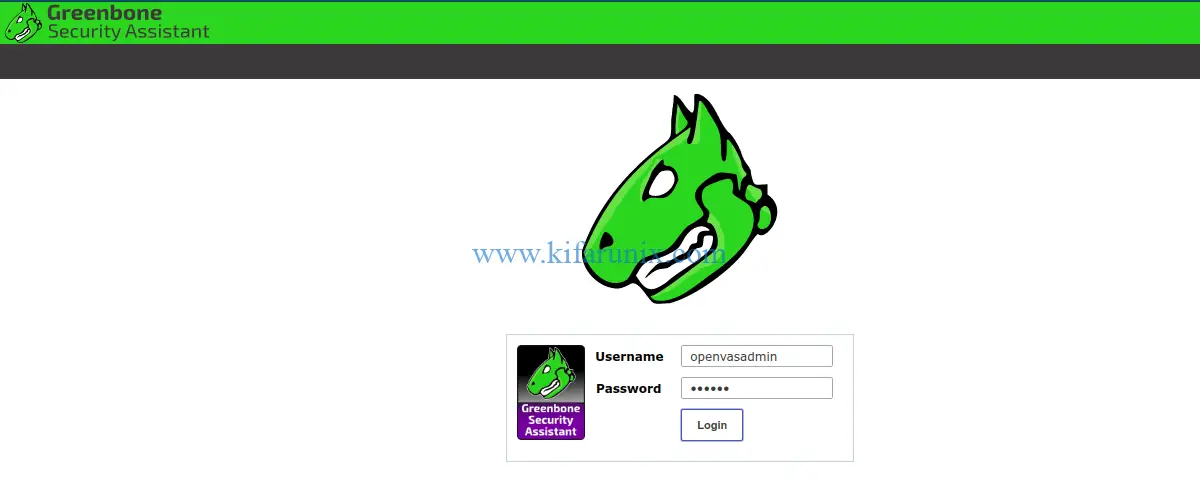
Login with the username and password generated.

There you go. You have successfully installed OpenVAS 10 (GVM) on Debian 10 Buster. Enjoy
Related Tutorials;
Install OpenVAS 9 with PostgreSQL in Ubuntu 18.04
How to Add and Scan a Target for Vulnerabilities on OpenVAS Scanner
How to Install and Setup OpenVAS 9 Vulnerability Scanner on Ubuntu 18.04
How to Install and Use WPScan WordPress Vulnerability Scanner Ubuntu 18.04


hi,
ERROR cmae .. (Build and Install GSA)
— Configuring Greenbone Security Assistant…
— Looking for clang-format…
— clang-format not found…
— Install prefix: /usr/local
CMake Error at /usr/share/cmake-3.13/Modules/FindPackageHandleStandardArgs.cmake:137 (message):
Could NOT find Node (missing: NODE_EXECUTABLE) (Required is at least
version “8.0”)
Call Stack (most recent call first):
/usr/share/cmake-3.13/Modules/FindPackageHandleStandardArgs.cmake:378 (_FPHSA_FAILURE_MESSAGE)
cmake/FindNode.cmake:45 (find_package_handle_standard_args)
gsa/CMakeLists.txt:19 (find_package)
— Configuring incomplete, errors occurred!
See also “/tmp/gvm10/gsa-8.0.1/build/CMakeFiles/CMakeOutput.log”.
Hi Pablo. Did you install Yarn?
The problem as said Amos is related to yarn. You have to:
curl -sS https://dl.yarnpkg.com/debian/pubkey.gpg | apt-key add –
echo “deb https://dl.yarnpkg.com/debian/ stable main” | tee /etc/apt/sources.list.d/yarn.list
apt update
apt install yarn
Solution ✅
Edit
vim tee /etc/apt/sources.list.d/yarn.list
And quit commas “ ”
deb https://dl.yarnpkg.com/debian/ stable main
Now update.
apt update
If works, the problem is solve.
And install yarn.
apt install yarn
Ive got exactly the same issue as Pablo did.
Of course yarn was previously installed with success.
Any hint?
Thanks
Luca
Missed nodejs
I would prefer using git for downloading the code. That way you don’t need to worry about changing version numbers for the download of the source code.
It’s the master branch I was playing with. Dang. Then forget my comment.
True that Rudiger
Hi,
i get the following error while trying to compile openvas
/tmp/gvm10/openvas-6.0.1/build# make
Scanning dependencies of target openvas_misc_shared
[ 1%] Building C object misc/CMakeFiles/openvas_misc_shared.dir/bpf_share.c.o
/tmp/gvm10/openvas-6.0.1/misc/bpf_share.c: In function ‘bpf_open_live’:
/tmp/gvm10/openvas-6.0.1/misc/bpf_share.c:70:5: error: ‘pcap_lookupdev’ is deprecated: use ‘pcap_findalldevs’ and use the first device [-Werror=deprecated-declarations]
iface = pcap_lookupdev (errbuf);
^~~~~
In file included from /usr/include/pcap.h:43,
from /tmp/gvm10/openvas-6.0.1/misc/bpf_share.c:27:
/usr/include/pcap/pcap.h:326:16: note: declared here
PCAP_API char *pcap_lookupdev(char *)
^~~~~~~~~~~~~~
cc1: all warnings being treated as errors
make[2]: *** [misc/CMakeFiles/openvas_misc_shared.dir/build.make:63: misc/CMakeFiles/openvas_misc_shared.dir/bpf_share.c.o] Error 1
make[1]: *** [CMakeFiles/Makefile2:91: misc/CMakeFiles/openvas_misc_shared.dir/all] Error 2
make: *** [Makefile:163: all] Error 2
Hello,
NVT are updates, but I cannot update Certdata & Scapdata. How can I do that?
Commands greenbone-certdata-sync & greenbone-scapdata-sync did not work.
Also omp was changed to gmp, but I cannot find it.
Regards,
L
From /var/log/sysllog:
Sep 23 11:49:24 yaopenvas greenbone-certdata-sync: Running as root
Sep 23 11:49:24 yaopenvas greenbone-certdata-sync: rsync not found (required).
Try with
apt install rsync
Thank you for this tutorial! Spent hours trying to compile and the INSTALL.md’s just aren’t enough!
I’m getting this error:
/tmp/gvm10/openvas-6.0.1/nasl/nasl_http.c: In function ‘_http_req’:
/tmp/gvm10/openvas-6.0.1/nasl/nasl_http.c:174:38: error: format ‘%lu’ expects argument of type ‘long unsigned int’, but argument 4 has type ‘size_t’ {aka ‘unsigned int’} [-Werror=format=]
“Content-Length: %lu\r\n\r\n”, strlen (data));
~~^ ~~~~~~~~~~~~~
%u
cc1: all warnings being treated as errors
make[2]: *** [nasl/CMakeFiles/openvas_nasl_shared.dir/build.make:398: nasl/CMakeFiles/openvas_nasl_shared.dir/nasl_http.c.o] Error 1
make[1]: *** [CMakeFiles/Makefile2:188: nasl/CMakeFiles/openvas_nasl_shared.dir/all] Error 2
make: *** [Makefile:163: all] Error 2
I can not creat PDF report 🙁 , pls help me
Hi. Any error you get when you try to create the PDF?
apt-get install xsltproc texlive-latex-base texlive-latex-extra
(I’ve checked file /root/gvm10/gvmd-8.0.1/src/report_formats/PDF/generate which use xsltproc & pdflatex)
Hi, report file size 0 Kbs 🙁
I had install texlive-latex-extra but
CORRUPT OPENVAS PDF’S IN UBUNTU
For the PDF report, install xsltproc 😉
Thanks for the feedback
Command ‘greenbone-nvt-sync’ not found, but can be installed with:
apt install openvas-scanner
Hello everyone,
Excellent as, thank you very much.
After installation, I tried to set up radius authentication and, on the GVM screen, got “Radius support not available”, can anyone help me fix it?
Alex
Great instructions. Any suggestion on how to get the processes to automatically start on system boot? Thanks.
Thanks for this tuto . which files i have to edit if i want to access to the Web GUI from anywhere in my network?
Hi, I can’t sync the nvt:
:/tmp/gvm10/gsa-8.0.1/build# greenbone-nvt-sync
–2020-10-30 12:11:30– http://dl.greenbone.net/community-nvt-feed-current.tar.bz2
Auflösen des Hostnamens dl.greenbone.net (dl.greenbone.net)… 89.146.224.58, 2a01:130:2000:127::d1
Verbindungsaufbau zu dl.greenbone.net (dl.greenbone.net)|89.146.224.58|:80 … fehlgeschlagen: Die Wartezeit für die Verbindung ist abgelaufen.
Verbindungsaufbau zu dl.greenbone.net (dl.greenbone.net)|2a01:130:2000:127::d1|:80 … fehlgeschlagen: Das Netzwerk ist nicht erreichbar.
Can anyone help me to fix it?
Thank you and have a nice day.
Hey, this link not working : wget https://github.com/greenbone/gvm-libs/archive/v10.0.1.tar.gz -O gvm-libs-v10.0.1.tar.gz
When i insert this link, it responds me :
Résolution de github.com (github.com)… 140.82.121.3
Connexion à github.com (github.com)|140.82.121.3|:443… connecté.
GnuTLS: A TLS fatal alert has been received.
GnuTLS: received alert [49]: Access was denied
Incapable d’établir une connexion SSL.
Someone Could you help me ? Please
After making few changes, CA and many other stuff, how to restart all the services ?
You can check the suggestions on the comments on how to create systemd services, all the best.
any advice on how to uninstall all files through this method?
Hi,
OSPD does not have any CMakeLists.txt file. I tried to search on google but could not find a solution. Could you please help?
You can install the latest GVM versions instead, zed. Check our previous guides. they may help you.