In this guide, we are going to learn how to install ManageEngine AssetExplorer on CentOS 7/Fedora 30/29. ManageEngine AssetExplorer is a web-based IT Asset Management (ITAM) software that is used to monitor and manage assets in a network from Planning phase to Disposal phase.
We covered the installation of ManageEngine AssetExplorer on Ubuntu 18.04 in our previous guide. See the link below;
Install ManageEngine AssetExplorer on Ubuntu 18.04
Some of the Benefits that ManageEngine AssetExplorer provides include;
- Discover all the assets in your network.
- Manage and Monitor software and hardware assets.
- Manage the complete IT Asset lifecycle.
- Ensure software license compliance.
- Make informed decisions about hardware and software purchases throughout the entire IT Life Cycle.
- Track Purchase Orders and Contracts.
- Know the total cost of ownership of an asset.
Check more features of ManageEngine AssetExplorer here.
Install ManageEngine AssetExplorer on CentOS 7/Fedora 30/29
Update and upgrade your system.
CentOS 7
yum update
yum upgrade
Fedora 30/29
dnf update
dnf upgrade
Download ManageEngine AssetExplorer Installer
Navigate to ManageEngine AssetExplorer downloads page and download the installer for your respective system architecture. This demo used the 64-bit systems. You can simply run the command below to download the binary installer for the 64-bit systems.
wget https://www.manageengine.com/products/asset-explorer/87652187/ManageEngine_AssetExplorer_64bit.binSet Execution Permissions on the Binary
Run the command below to make the ManageEngine AssetExplorer executable.
chmod +x ManageEngine_AssetExplorer_64bit.binInstall ManageEngine AssetExplorer on CentOS 7/Fedora 30/29
Once you have made the binary installer executable,proceed to launch the installation.
Before that, install the zip command (if not already installed) for extracting the installation resources from the installer archive.
yum install zipNext, run the command below to install launch the installer
sudo ./ManageEngine_AssetExplorer_64bit.binPreparing to install...
Extracting the JRE from the installer archive...
Unpacking the JRE...
Extracting the installation resources from the installer archive...
Configuring the installer for this system's environment...
Launching installer...
Graphical installers are not supported by the VM. The console mode will be used instead...
===============================================================================
AssetExplorer (created with InstallAnywhere)
-------------------------------------------------------------------------------
Preparing CONSOLE Mode Installation...
...
PRESS <ENTER> TO CONTINUE: ENTERNext, read through the End User License Agreement and accept it to proceed with installation.
...
DO YOU ACCEPT THE TERMS OF THIS LICENSE AGREEMENT? (Y/N): Y
Choose ManageEngine Install Edition
...
===============================================================================
Choose Edition
--------------


    1- Trail Edition
  ->2- Free Edition

ENTER A COMMA-SEPARATED LIST OF NUMBERS REPRESENTING THE DESIRED CHOICES, OR
   PRESS <ENTER> TO ACCEPT THE DEFAULT: 2
Select and confirm ManageEngine AssetExplorer install location.
...
===============================================================================
Choose Install Folder
---------------------

Where would you like to install?

  Default Installation Folder: /root/ManageEngine/AssetExplorer

ENTER AN ABSOLUTE PATH, OR PRESS <ENTER> TO ACCEPT THE DEFAULT
      : /opt/ManageEngine/AssetExplorer

INSTALL FOLDER IS: /opt/ManageEngine/AssetExplorer
   IS THIS CORRECT? (Y/N): y
Set ManageEngine AssetExplorer web server port. The default TCP port 8080 is used by default. Press ENTER to accept the default.
...
Get User Input
--------------

Enter requested information

Enter WebServer Port (Default: 8080): ENTER
Next, the installer provides with pre-installation summary. Press ENTER to proceed if all is well.
...
Pre-Installation Summary
------------------------

Please Review the Following Before Continuing:

Product Name:
    AssetExplorer

Install Folder:
    /opt/ManageEngine/AssetExplorer

Link Folder:
    /opt/ManageEngine/AssetExplorer

Disk Space Information (for Installation Target):
    Required:  479,396,717 Bytes
    Available: 6,171,893,760 Bytes

PRESS <ENTER> TO CONTINUE: ENTER
Install ManageEngine AssetExplorer
...
Ready To Install
----------------

InstallAnywhere is now ready to install AssetExplorer onto your system at the
following location:

   /opt/ManageEngine/AssetExplorer

PRESS <ENTER> TO INSTALL: ENTER
The installer will then run and if all goes well, you should see a confirmation of completion of installation. Press ENTER to exit the installer.
...
Installation Complete
---------------------

Congratulations. AssetExplorer has been successfully installed to:

   /opt/ManageEngine/AssetExplorer

PRESS <ENTER> TO EXIT THE INSTALLER: ENTER
Running ManageEngine AssetExplorer
If FirewallD is running, open TCP port 8080
sudo firewall-cmd --add-port=8080/tcp --permanent
sudo firewall-cmd --reload
Next, you can manually start the AssetExplorer application by navigating to /<install-dir>/ManageEngine/AssetExplorer/bin and execute the run.sh script.
cd /opt/ManageEngine/AssetExplorer/binsudo ./run.sh
JAVA_HOME : /opt/ManageEngine/AssetExplorer/jre
SERVER_HOME : /opt/ManageEngine/AssetExplorer
DATE : Sun Jun 16 22:22:14 EAT 2019
Starting Server from location: /opt/ManageEngine/AssetExplorer
Starting Server from location: /opt/ManageEngine/AssetExplorer
Loading Modules
ModulePreStartProcess :: Persistence::DBAUDIT[ STARTED ]
Persistence [POPULATED]
ModulePostStartProcess:: Persistence::DBAUDIT[ STARTED ]
Audit [POPULATED]
...
Server started in :: [406964 ms]
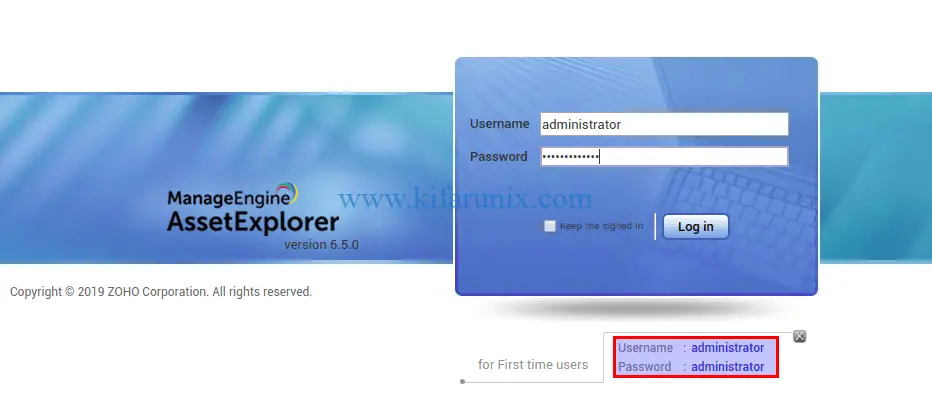
Connect to: [ http://localhost:8080 ]You can now accessing ManageEngine AssetExplorer web interface via the address, http://<server-IP>:8080. Login in with the default credentials; administrator,administrator.

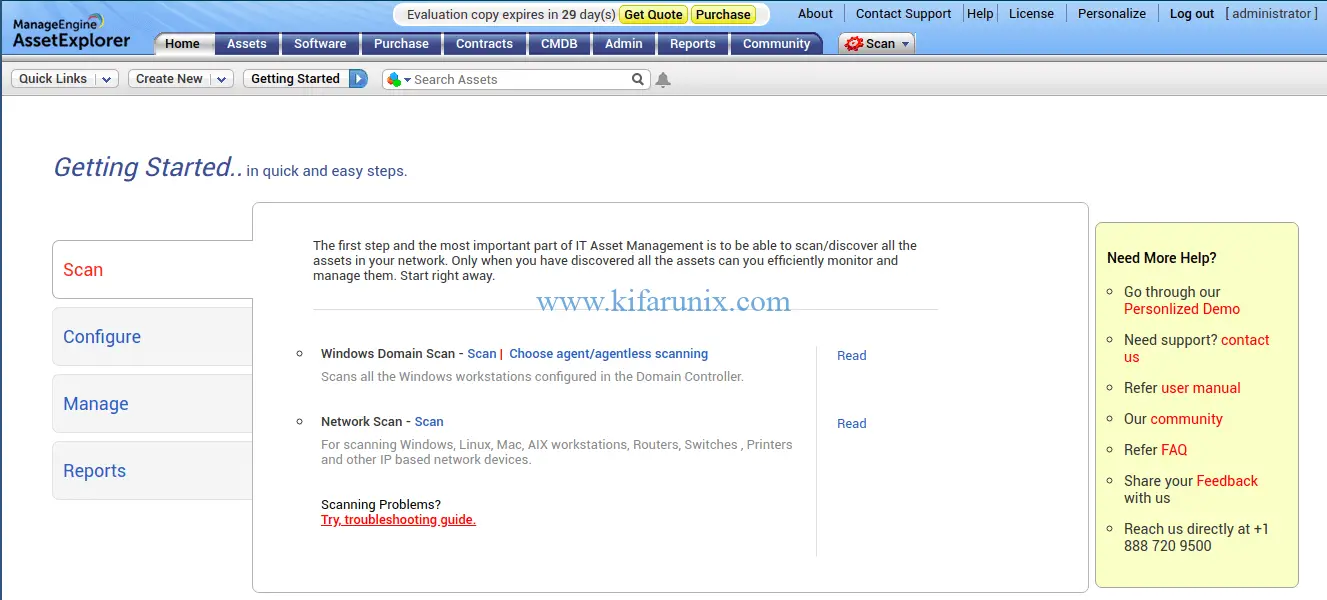
Once you login in, you will land on ManageEngine AssetExplorer dashboard.

That is all on how to install ManageEngine AssetExplorer on CentOS 7/Fedora 30/29. You can now start to scan/discover all the assets in your network so you can efficiently monitor and manage them.
Check our other articles by following the links below;
Install AnyDesk on Fedora 30/29/CentOS 7
Install MongoDB 4 on Fedora 30/29/CentOS 7
Install Fedora 30 Workstation on VirtualBox

