In this tutorial, you will learn how to install TeamPass password manager on Ubuntu 20.04. TeamPass is a collaborative password manager tool that organizes password items in a file hierarchy like format. Access to each password item is based on the rights assigned to users and groups.
Install TeamPass on Ubuntu 20.04
Prerequisite
There are a few requirements necessary for running TeamPass;
- MySQL 5.1 or higher,
- PHP 5.5.0 or higher,
- PHP extensions:
- mcrypt
- openssl
- ldap (if used)
- mbstring
- bcmath
- iconv
- xml
- gd
- curl
In short, Teampass requires a LAMP/LEMP stack installed in order to function.
In this tutorial, we run TeamPass over LAMP stack. As a result, you can check our previous guide on how to install LAMP Stack on Ubuntu 20.04 by following the link below;
How to Install LAMP Stack on Ubuntu 20.04
There are extra PHP extensions required by Teampass that have not been set for installation in the above link. Hence, if you followed the above link, run the following command to install extra PHP extensions.
apt install php-{curl,mbstring,bcmath,iconv,gd,xml}To install PHP MCrypt extension on Ubuntu 20.04;
apt -y install gcc make autoconf libc-dev pkg-configapt install libmcrypt-dev php-pear php-devpecl channel-update pecl.php.net
pecl update-channelspecl install mcryptWhen prompted, press ENTER to autodetect libmcrypt prefix.
Enable the module;
echo "extension=mcrypt.so" | tee -a /etc/php/7.4/cli/php.ini /etc/php/7.4/apache2/php.iniConfirm;
php -m | grep mcryptmcryptCreate TeamPass MySQL Database and Database User
Once the installation of the LAMP stack and is done, proceed to create the MySQL database and database user for TeamPass. The user created must have a full privileges on the TeamPass database.
Hence, login to MySQL as root user and execute the following commands. Be sure to replace the database name, the username and the password accordingly.
create database teampass;
grant all privileges on teampass.* to tpadmin@localhost identified by "YourP@SSWORD";
flush privileges;
quit
In the above, we have created a database called teampass and user called tpadmin whose password is set as in above.
Installing TeamPass on Ubuntu 20.04
To install TeamPass, you need to clone the TeamPass Github repository to your web server root directory (in this setup, we use /var/www/html/teampass as the web root directory) as shown below;
git clone https://github.com/nilsteampassnet/TeamPass.git /var/www/html/teampassSet the ownership of the teampass web directory to web server user (www-data)
chown -R www-data.www-data /var/www/html/teampass/Next, edit the php.ini configuration file and increase the script execution time from 30 to 60 secs.
vim /etc/php/7.4/apache2/php.ini...
;max_execution_time = 30
max_execution_time = 60
...Disable the Apache default site;
a2dissite 000-default.confRestart Apache web server
systemctl restart apache2Finalize TeamPass installation
Final setup of Teampass can be done from the browser.
If UFW is running, be sure to allow external access to Apache;
ufw allow "Apache Full"Next, navigate to the browser and enter the TeamPass server URL, http://Server_IP-OR-Hostname/teampass. This will redirect you to TeamPass welcome page shown below.
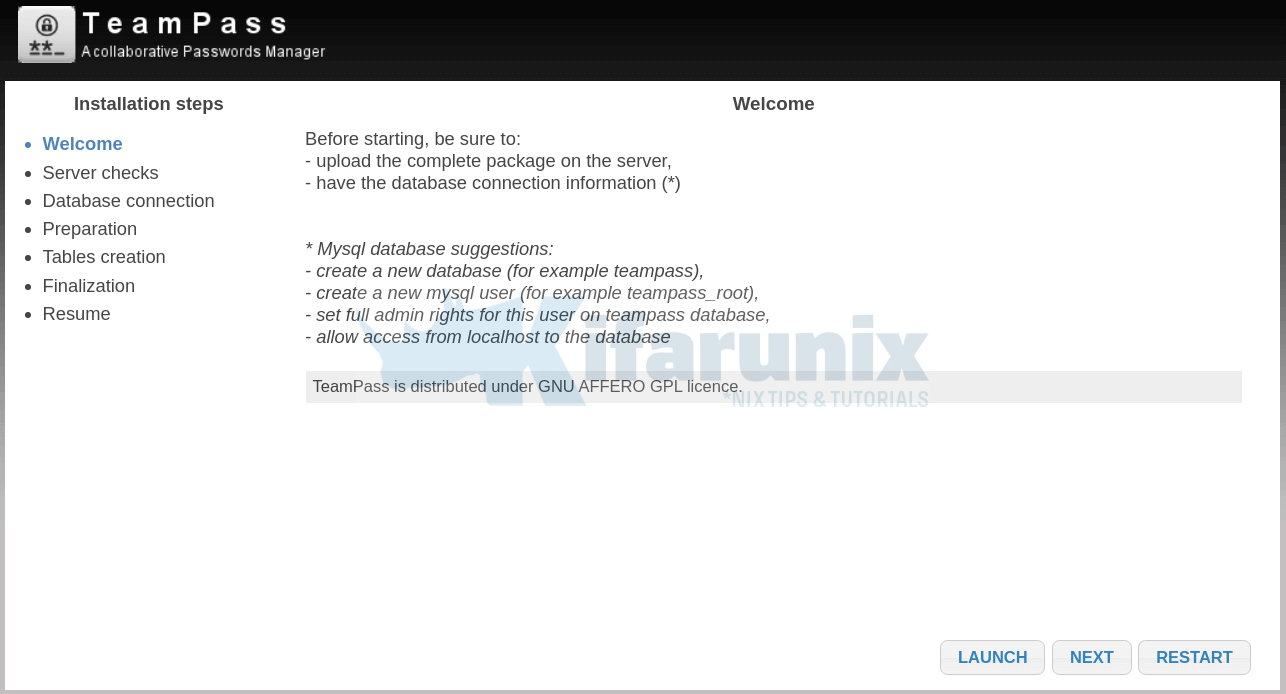
Click Next to proceed to the Server checks screen.
Click Launch to verify that the requirements are okay. In case there is any error, please fix it before you can proceed.
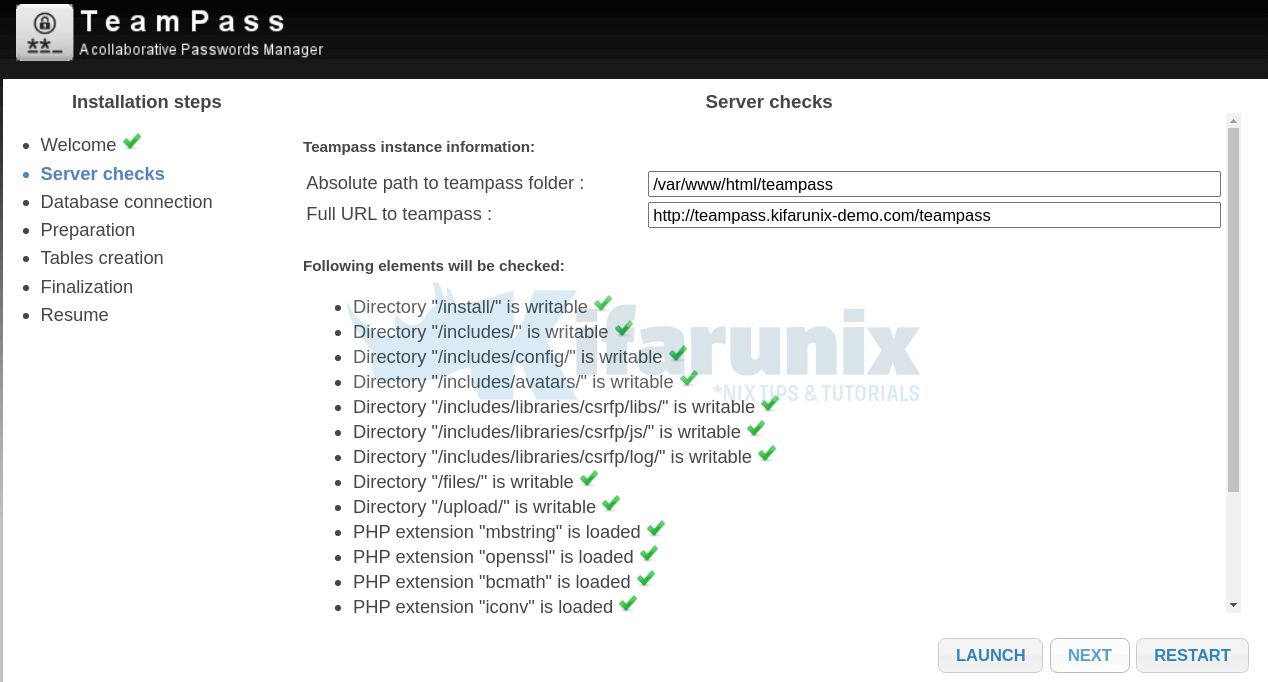
If all the checks are good, click Next to set the database connection details. Once you set the database connection details, click Launch to verify connection.
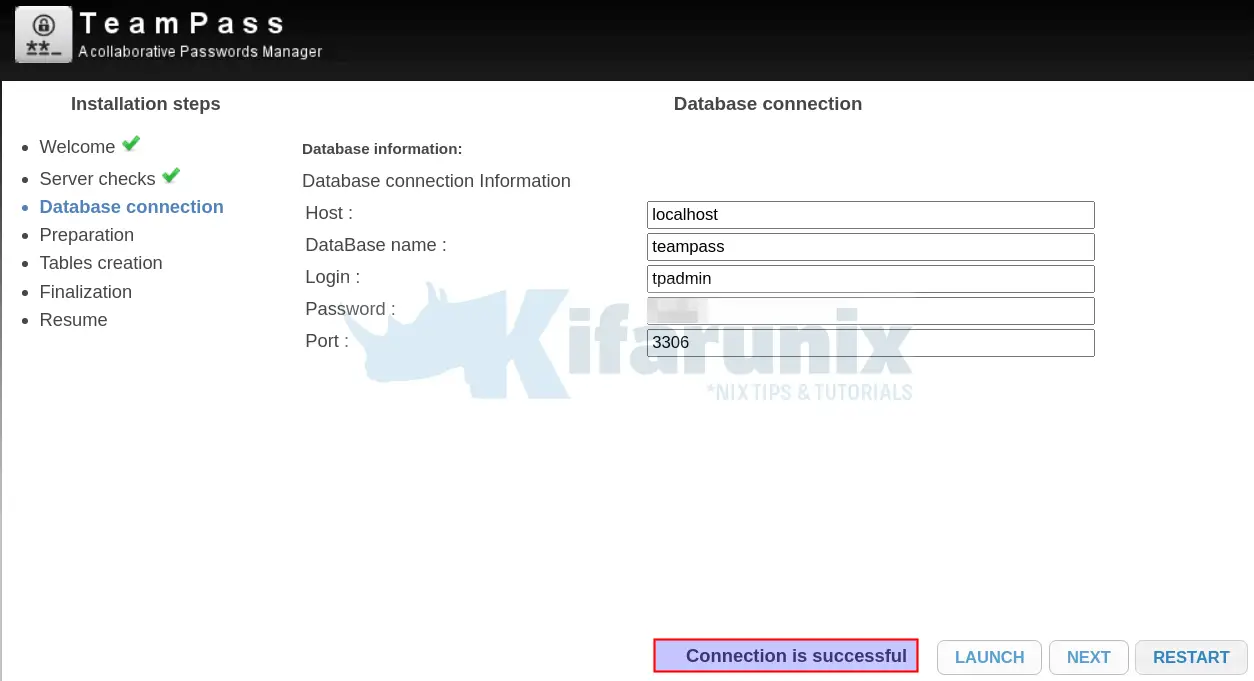
If everything is fine, click Next to proceed to Preparation page where you can set the SaltKey absolute path and the TeamPass admin password.
Note that it is a good idea to store Saltkeys on a separate directory rather than the default /var/www/html/teampass/includes/ directory (used if you do not specify the path) within TeamPass directory. Salt key is saved as sk.php. Click Launch to save the information.
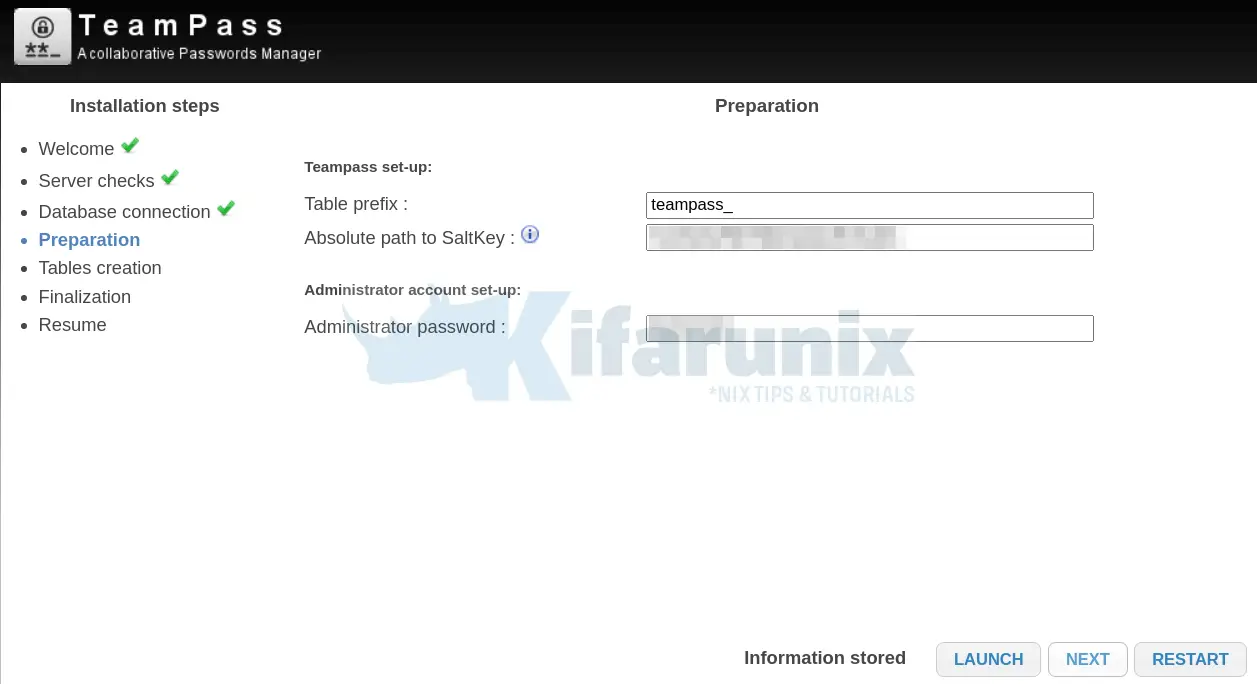
The information entered above needs to be populated to the database, hence click Next and then Launch to initiate the database population process.
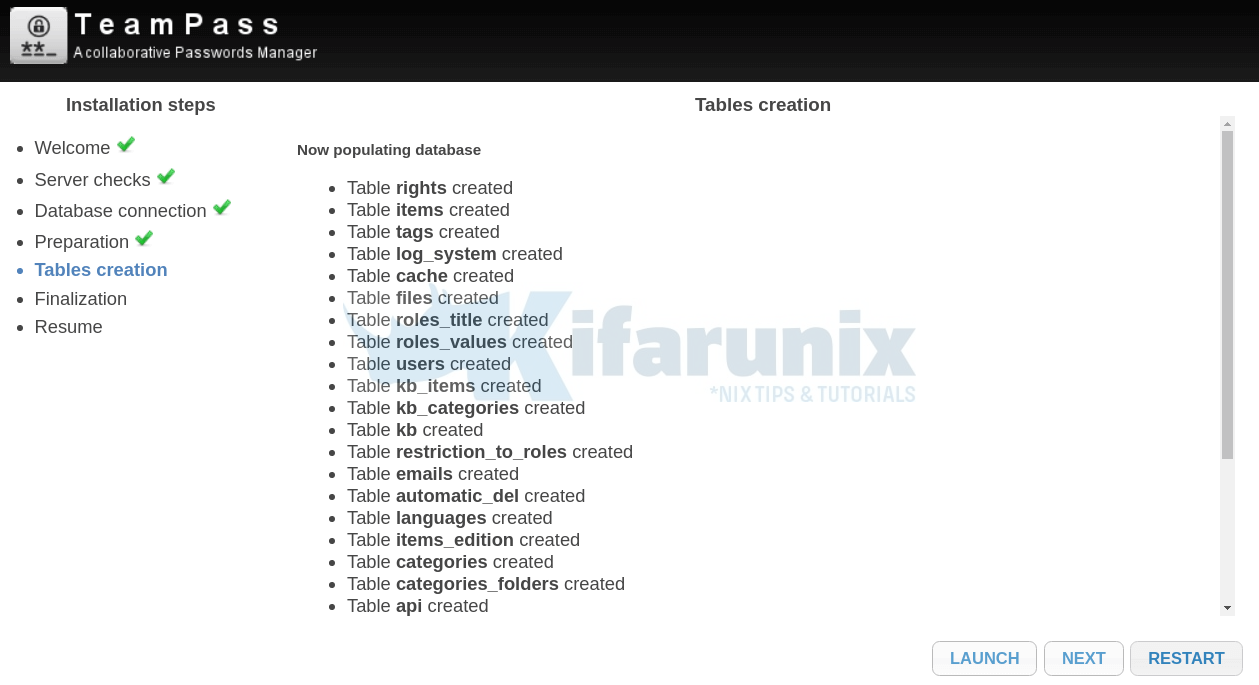
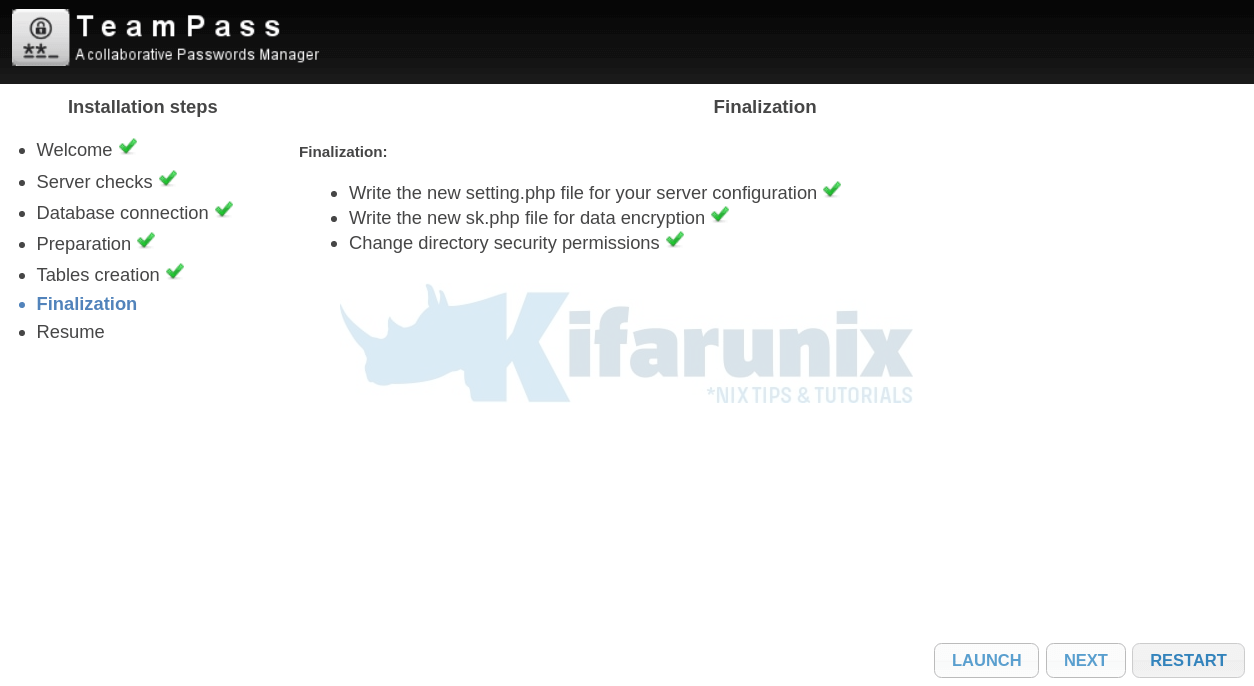
Once that is done, click Next and then Launch to effect the changes by writing them to the configuration file.
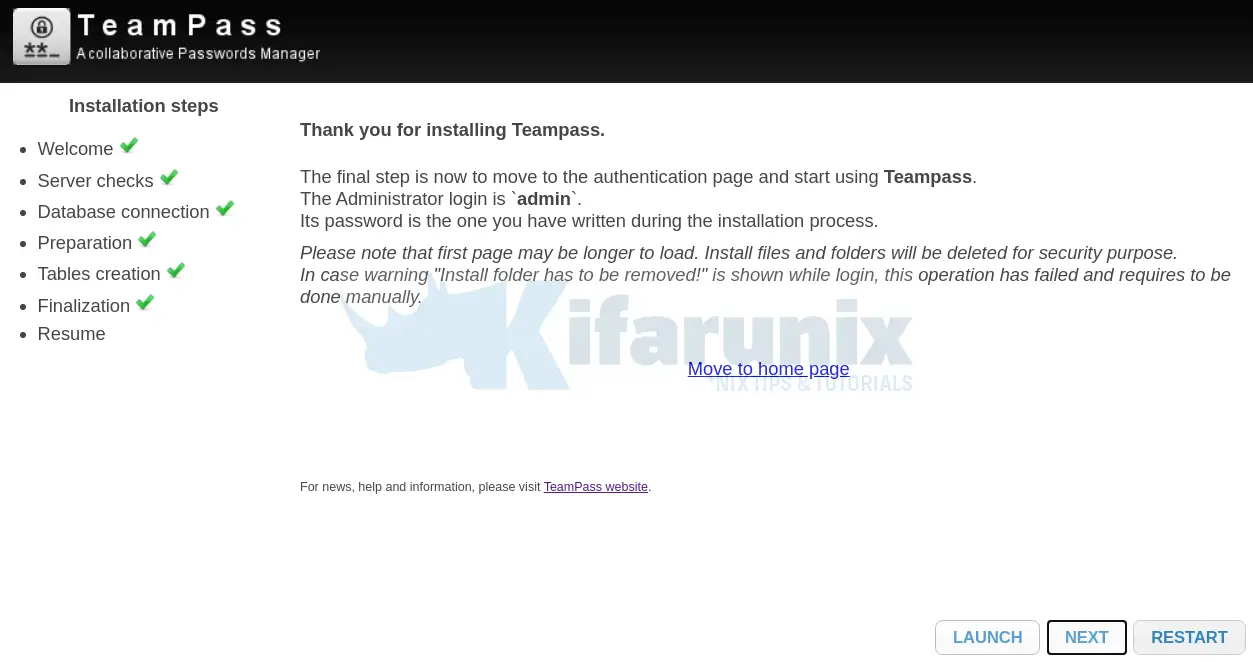
On the Next screen, you will be provided with the Administrator username and how to access the login Dashboard. As shown, the login username is admin and the password set above for Administrator.
You can get to the login page by pressing the Move to home page link.
To login to your Teampass, use admin as the username and the password specified for the administrator.
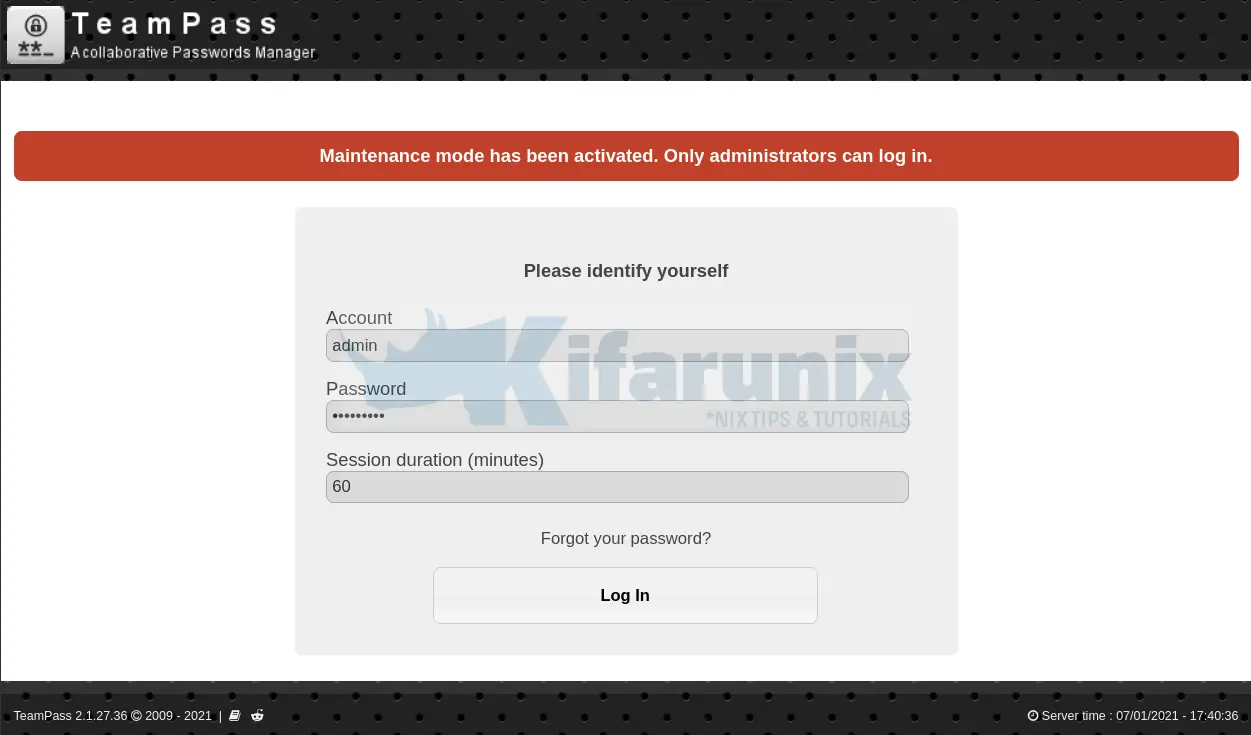
This is how initial Teampass UI looks like.
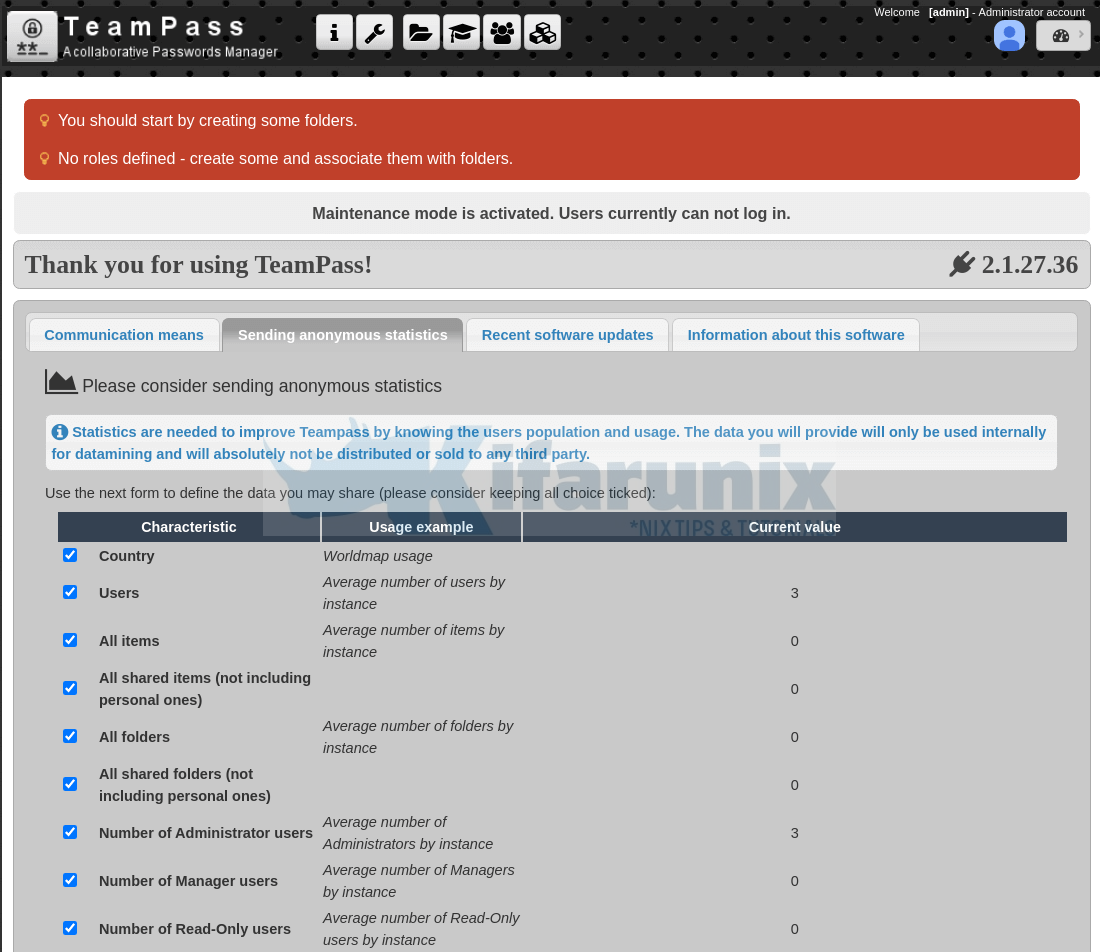
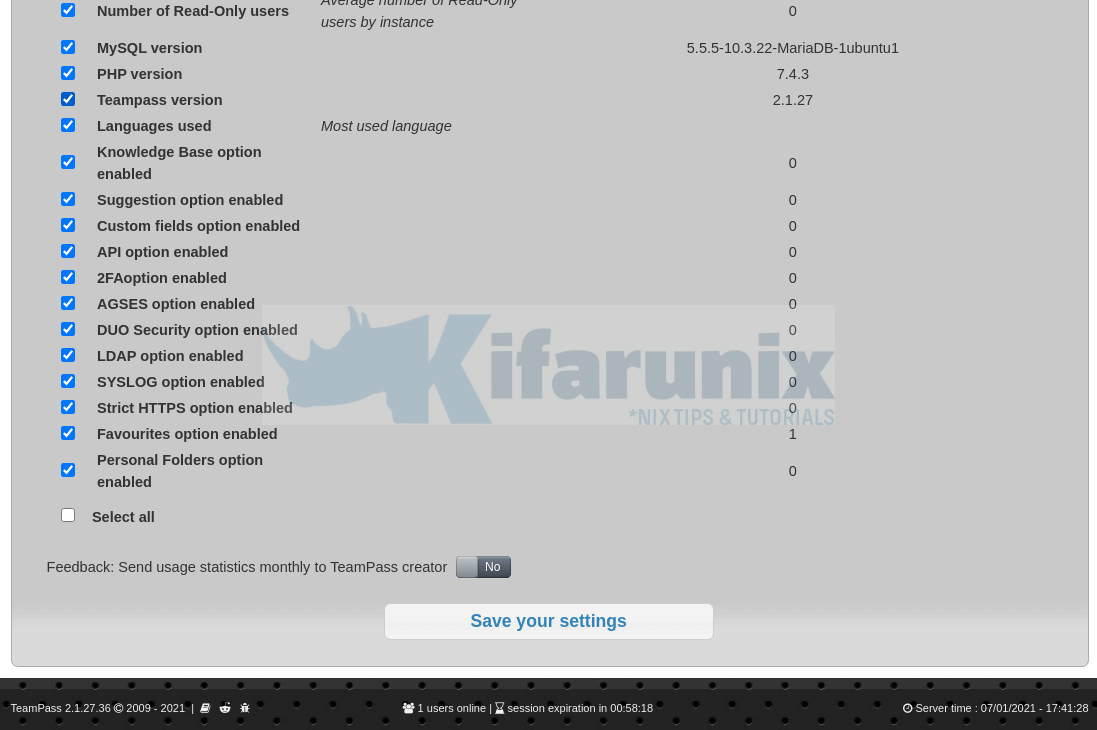
You can now start using TeamPass to store and share your passwords. Read more about how to use TeamPass on its documentation page, link provided below.
Well, that is how easy it is to install TeamPass on Ubuntu 20.04.
Further Reading
Related Tutorials
How to Install sysPass Password Manager on Ubuntu 18.04
Install Passbolt Password Manager on Debian 10

