Hello there. Today we are going to learn how to install Graylog 3.0 on CentOS 7. Graylog is a leading open-source log management tool that provides real time collection, storage, analysis and enrichment of machine data. It makes it easy to search, explore and visualize on the analysed data.
Installing Graylog 3.0 on CentOS 7
This guide focuses on the minimal installation of Graylog 3.0 on CentOS 7. In order to get Graylog up and running, there are other components that needs to be installed along with it namely, MongoDB and Elasticsearch where;
MongoDB – Graylog uses MongoDB to store configuration metadata such as such as user information or stream configurations.
Elasticsearch – Is a search analytics engine that provides Graylog with a central log data storage. You can search any kind of document from Elasticsearch
While installing Graylog on CentOS 7, both MongoDB and Elasticsearch should be the first components to be installed before Graylog installation.
Disabling SELinux
While I do not recommend disabling SELinux, since this guide is for demonstration purposes, SELinux is disabled. Note that a reboot is required to effect the changes.
sed -i 's/=enforcing/=disabled/g' /etc/selinux/config
systemctl reboot
According to Graylog, if you are using SELinux, consider doing the following;
- Allow the web server to access the network:
sudo setsebool -P httpd_can_network_connect 1 - To allow access to each port individually:
- Graylog REST API and web interface:
sudo semanage port -a -t http_port_t -p tcp 9000 - Elasticsearch (only if the HTTP API is being used):
sudo semanage port -a -t http_port_t -p tcp 9200
- Graylog REST API and web interface:
- Allow using MongoDB’s default port (27017/tcp):
sudo semanage port -a -t mongod_port_t -p tcp 27017
Ensure that you have the policycoreutils-python package installed to manage SELinux.
yum install policycoreutils-pythonInstall MongoDB 4.0 on CentOS 7
As stated above, Graylog uses MongoDB for storing configuration metadata. You can check the instructions for installation of MongoDB 4 on CentOS 7 in our previous guide by following the link below;
Install MongoDB 4 on Fedora 30/29/CentOS 7
Install Elasticsearch 6.x on CentOS 7
Graylog doesn’t work with Elasticsearch 7.x yet. Hence you need to install Elasticsearch 6.x.
Install Java 8 on CentOS 7
Elasticsearch is built using Java, and requires at least Java 8 in order to run. Hence, before you can install Elasticsearch, you need to install Java 8.
yum install java-1.8.0-openjdk-headlessYou can verify Java Version using the java -version command.
java -version
openjdk version "1.8.0_212"
OpenJDK Runtime Environment (build 1.8.0_212-b04)
OpenJDK 64-Bit Server VM (build 25.212-b04, mixed mode)
Install Elasticsearch 6.x on CentOS 7
To install Elasticsearch 6.x from RPM repository, you need to create the repository as shown below;
cat > /etc/yum.repos.d/elasticsearc-6.repo << EOL
[elasticsearch-6.x]
name=Elasticsearch repository for 6.x packages
baseurl=https://artifacts.elastic.co/packages/6.x/yum
gpgcheck=1
gpgkey=https://artifacts.elastic.co/GPG-KEY-elasticsearch
enabled=1
autorefresh=1
type=rpm-md
EOL
Import Elasticsearch PGP repo signing key.
rpm --import https://artifacts.elastic.co/GPG-KEY-elasticsearchInstall Elasticsearch 6.x
yum install elasticsearchConfigure Elasticsearch
In its basic configuration, Graylog requires that the Elasticsearch cluster name be set to graylog. Hence, edit Elasticsearch configuration file, /etc/elasticsearch/elasticsearch.yml.
vim /etc/elasticsearch/elasticsearch.yml...
# ---------------------------------- Cluster -----------------------------------
#
# Use a descriptive name for your cluster:
#
#cluster.name: my-application
cluster.name: graylog
#
...Once that is done, restart Elasticsearch and enable it to run on system boot.
sudo systemctl daemon-reload
systemctl restart elasticsearch
systemctl enable  elasticsearch
To verify that all is well with Elasticsearch, run the command below after it has fully started.
curl -X GET http://localhost:9200
{
  "name" : "x55YNL_",
  "cluster_name" : "graylog",
  "cluster_uuid" : "CQBqPDoCRKW7tt955kq5Uw",
  "version" : {
    "number" : "6.8.0",
    "build_flavor" : "default",
    "build_type" : "rpm",
    "build_hash" : "65b6179",
    "build_date" : "2019-05-15T20:06:13.172855Z",
    "build_snapshot" : false,
    "lucene_version" : "7.7.0",
    "minimum_wire_compatibility_version" : "5.6.0",
    "minimum_index_compatibility_version" : "5.0.0"
  },
  "tagline" : "You Know, for Search"
}
Installing Graylog
After you have installed both MongoDB and Elasticsearch, proceed to install Graylog.
Add Graylog 3.x RPM repository
Run the command below to install Graylog 3.0 RPM repository.
rpm -Uvh https://packages.graylog2.org/repo/packages/graylog-3.0-repository_latest.rpmInstall Graylog 3.0
Next, install Graylog 3.0 server.
yum install graylog-serverConfiguring Graylog
Once the installation is done, there are a few basic configurations that needs to be done. These include setting the password secret and the root user (admin) password hash.
To generate password secret, you can use the pwgen random password generator. To install pwgen, run the command below (For CentOS 7, you need to install EPEL repos, yum install epel-release).
yum install epel-release
yum install pwgen
Next, generate the password secret by running the pwgen as shown below.
pwgen -N 1 -s 96
zYYdkClD9UOgtujYZ5btftmxvl1s3Hd9Q4DbX5TIX8hUYrvBtqEWR0iU1mCETv43TqTdyuEsgC9bENq1RBidWyGP9xZeohnQ
To generate admin user password hash;
echo -n "YouStrongPAsswordhere" | sha256sum | cut -d" " -f1
e7d3685715939842749dd27b38d0ddb9706d4d14a5304ef9eee093780eab5df9
Next, open the Graylog server configuration file for editing.
vim /etc/graylog/server/server.conf
...
password_secret = zYYdkClD9UOgtujYZ5btftmxvl1s3Hd9Q4DbX5TIX8hUYrvBtqEWR0iU1mCETv43TqTdyuEsgC9bENq1RBidWyGP9xZeohnQ
...
root_password_sha2 = e7d3685715939842749dd27b38d0ddb9706d4d14a5304ef9eee093780eab5df9
...
If you need to publicly access Graylog, set the correct IP address for Graylog server for the http_bind_address parameter.
# Default: 127.0.0.1:9000
#http_bind_address = 127.0.0.1:9000
http_bind_address = 192.168.43.98:9000
If you are running a single node Elasticsearch, be sure to set the value for elasticsearch_shards to 1.
#elasticsearch_shards = 4
elasticsearch_shards = 1
If firewalld is running, be sure to open TCP port 9200 to allow external access.
firewall-cmd --add-port=9200/tcp --permanent
firewall-cmd --reload
In its basic settings, that is just is about Graylog configuration.
Running Graylog
Run the commands below to start and enable Graylog server to run on system reboot.
systemctl start graylog-server
systemctl enable graylog-server
Access Graylog Web Interface
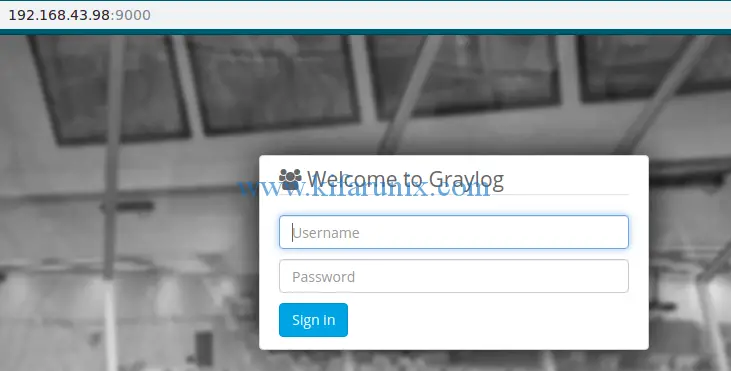
Now that Graylog server is running, you can access it via the browser using the address: http://<server-IP>:9000.

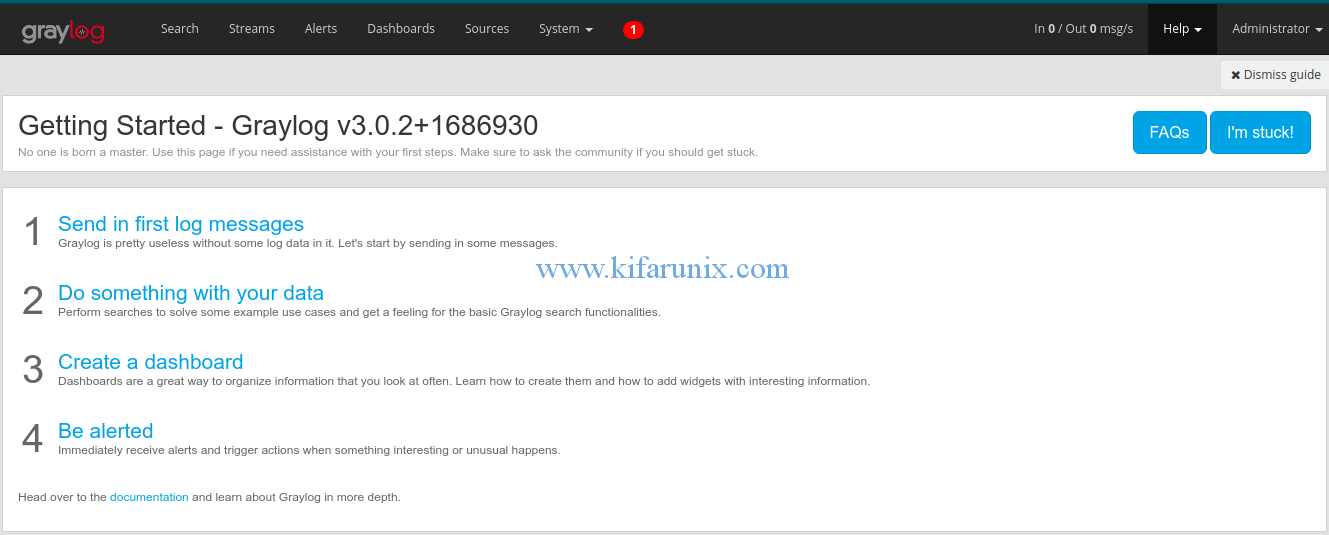
Login with username admin and the password whose hash you generated above. When you login, you will land on Graylog getting started dashboard.

That is it on how to install Graylog 3.0 on CentOS 7. In our next guide covers how ingest Squid access logs into Graylog for analysis. See the link below. Enjoy.
Monitor Squid Access Logs with Graylog Server
Reference;
You can check our other articles by following the links below;
Install and Configure Telegraf on FreeBSD 12
Install and Setup TIG Stack on Fedora 30
Install InfluxDB on Fedora 30/Fedora 29
Install Elastic Stack 7 on Ubuntu 18.04/Debian 9.8
Nagios SNMP Monitoring of Linux Hosts on AlienVault USM/OSSIM


Hi sir, could you plz make steps Graylog 3.2.4 it’s different from this
Hello there. We would be glad to do this. Thanks Liban