In this tutorial, you will learn how to install and setup Security Onion on VirtualBox. According to Security Onion page, “Security Onion is a free and open Linux distribution for threat hunting, enterprise security monitoring, and log management. The easy-to-use Setup wizard allows you to build an army of distributed sensors for your enterprise in minutes! It includes a native web interface with built-in tools analysts use to respond to alerts, hunt for evil, catalog evidence into cases, monitor grid performance, and much more. Additionally, third-party tools, such as Elasticsearch, Logstash, Kibana, Suricata, Zeek (formerly known as Bro), Wazuh, Stenographer, CyberChef, NetworkMiner, and many more are included.”
Install and Setup Security Onion on VirtualBox
Download Security Onion Installation ISO File
Navigate to the downloads page and grab the current release version, (2.3.160-20220829 as of this writing), of Security Onion installation ISO file.
The ISO file is around 7.3GB in size.
You can simply get the download URL and pull using wget;
wget -c https://download.securityonion.net/file/securityonion/securityonion-2.3.160-20220829.isoVerify the Integrity of the ISO file
Once the download is complete, you need to verify the integrity of the ISO file by checking the hash values and comparing with those provided on the downloads page.
It is also possible to verify the integrity of the ISO file using GPG sigatures. However, in this setup, we will just calculate MD5 hash value of the iso file;
md5sum securityonion-2.3.160-20220829.isoSample output;
ced26ed960f4f778db59fb9a4aec88a7 securityonion-2.3.160-20220829.isoCompare the hash value with what is provided on the official download page;
MD5: CED26ED960F4F778DB59FB9A4AEC88A7Ensure the hash values match!
Create Security Onion VirtualBox VM
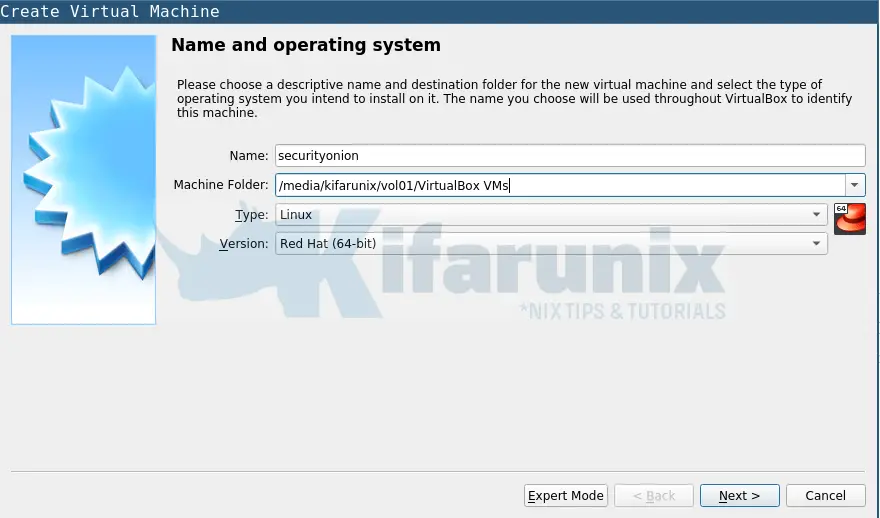
- Launch VirtualBox Manager and create a new virtual machine by pressing Ctrl+n.
- Go Next and select the amount of memory (RAM) in megabytes to be allocated to the virtual machine. See hardware requirements page for the recommendations.
- Create a virtual hard disk for the machine
- choose the file type as VDI
- Set the storage to be dynamically allocated
- Set the File location and size. You will need at least 99GB.
- Click Create.
Attach Security Onion Installation ISO file to the VM
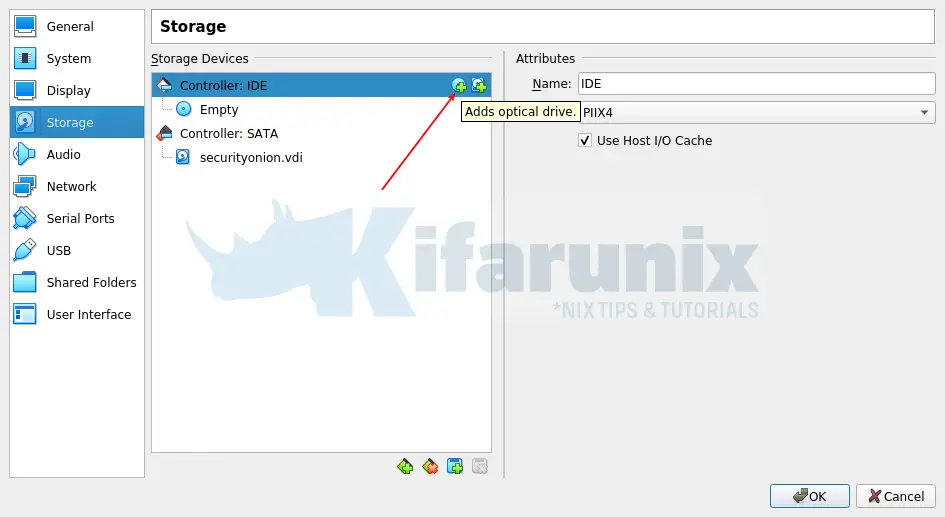
Open the settings of the newly created security onion vm and navigate to storage.
Under storage devices > Controller IDE, click on the optical drive icon to add the installation ISO file to the vm.
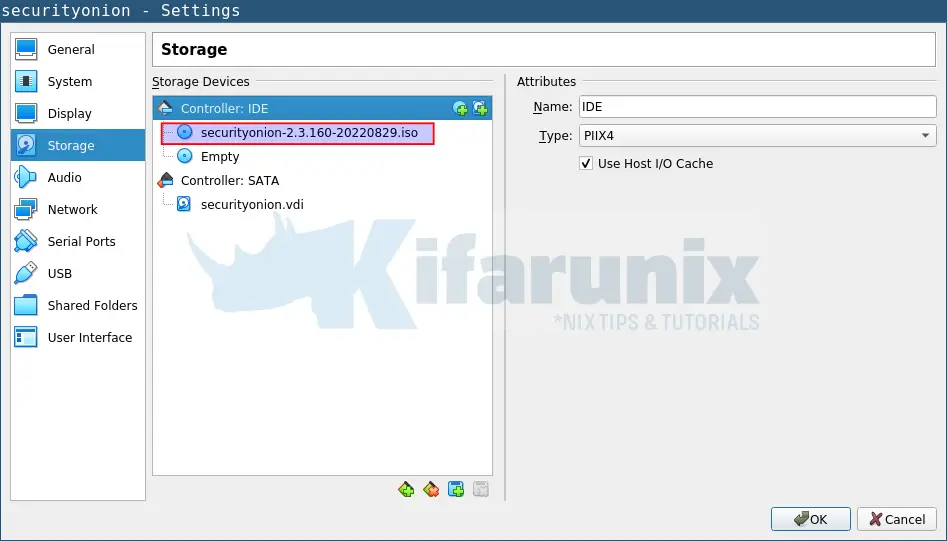
Search for the ISO file and attach it. It should now look like;
Update System Resources, RAM and vCPUs
Under System settings;
- Under motherboard, update the amount of RAM to be assigned to your VM. Minimum recommended is 4GB.
- Under processor, update the number of vCPUs. Minimum recommended is 2 vCPUs
Add Network Interface Cards to Security Onion VM
Security Onion requires at least one NIC. However, “If you plan to sniff network traffic from a tap or span port, then you will need one or more interfaces dedicated to sniffing (no IP address).“
Thus, under Network settings, VirtualBox allows you to attach up to 4 NICs to a VM.
In our setup, we have attached three Network interfaces;
- Bridged host interface to allow internet access
- host-only interface to allow access to the vm from the host
- We also attached Host-only interface as well. This will be used for sniffing traffic.
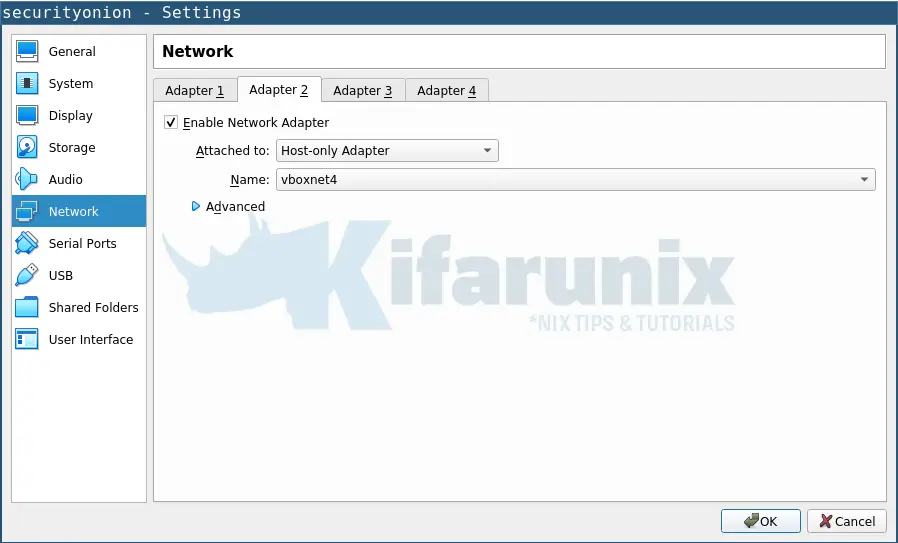
Click Ok when do to exit the settings wizard.
Install Security Onion on VirtualBox
It is now time to start the VM and install Security Onion on VirtualBox. Hence, hit the Start button.
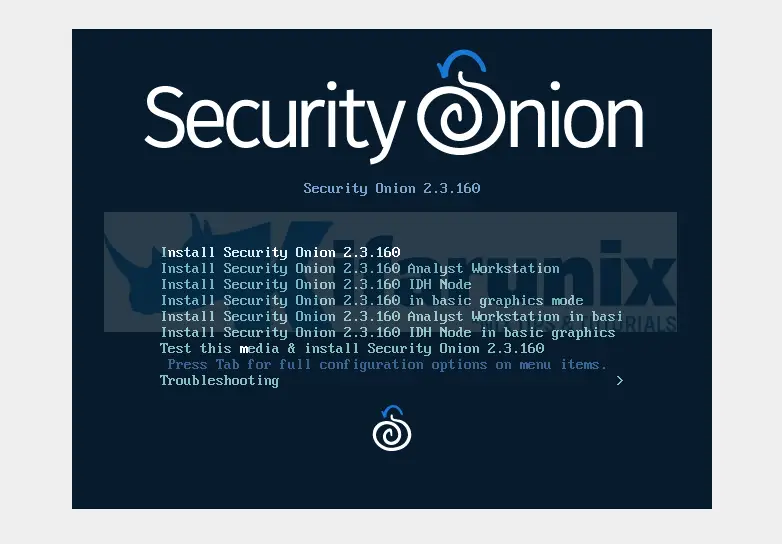
Security Onion components can be deployed separately or can be deployed as all in one. In this setup, we are deploying an all in one Security Onion setup.
Thus, when the installer launches, select the first installation option;
You will get several prompts during the installation. Provide the appropriate options.
To begin with;
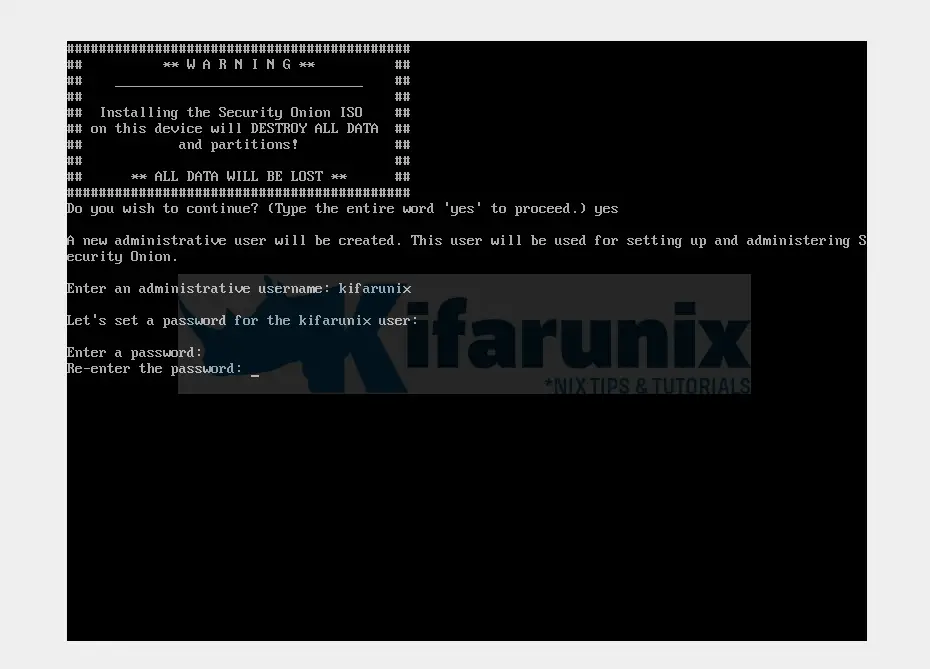
- Confirm that all the data, if any is written to the attached storage medium, will be destroyed by typing yes and press ENTER.
- Set the administrative username that will be used to setup and administer Security Onion.
- Set the password for the admin user created above.
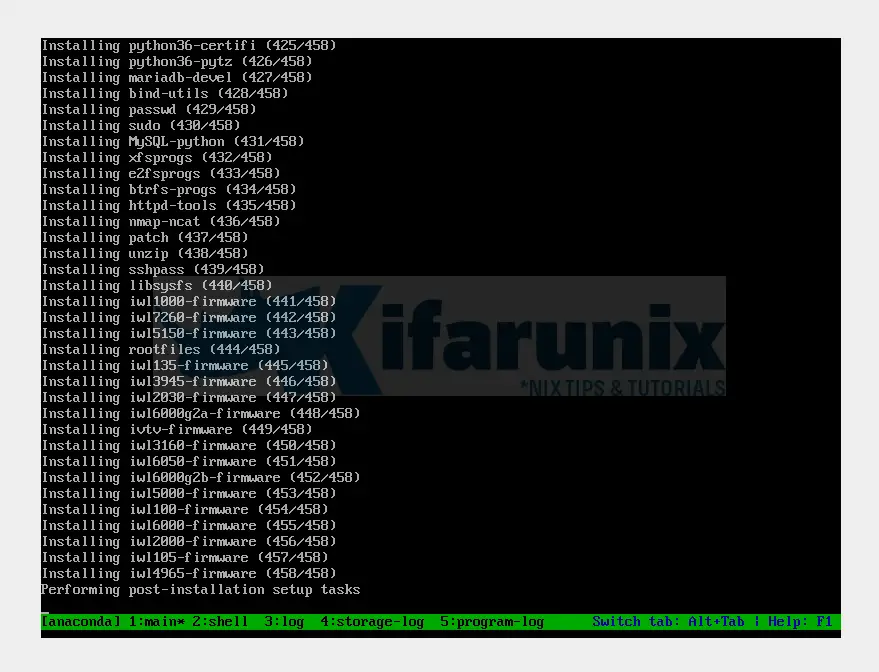
The install and setup of Security Onion on VirtualBox will now proceed.
When the installation completes, press ENTER to reboot the vm.
Setup Security Onion on VirtualBox
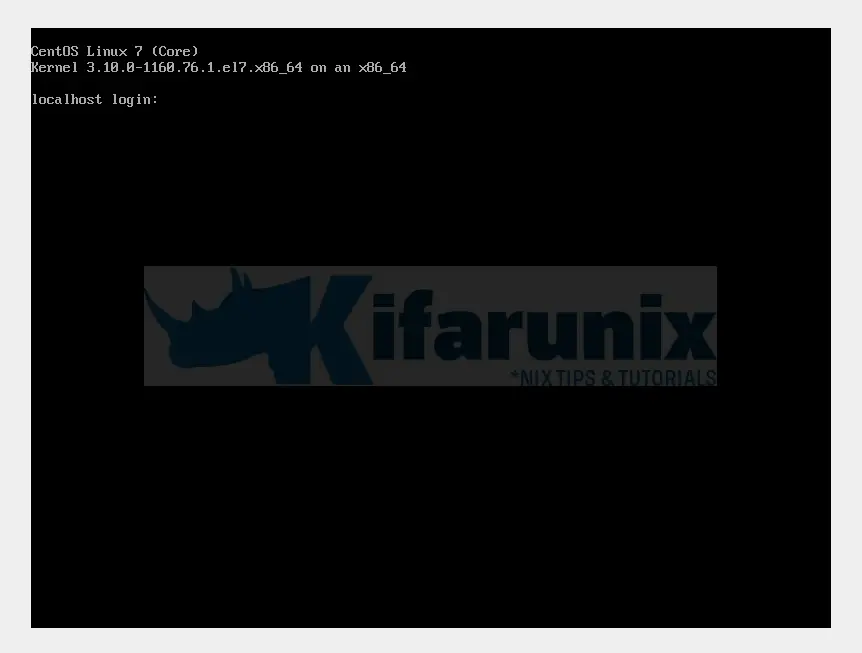
- You can now login to Security Onion via the console to continue with the setup.
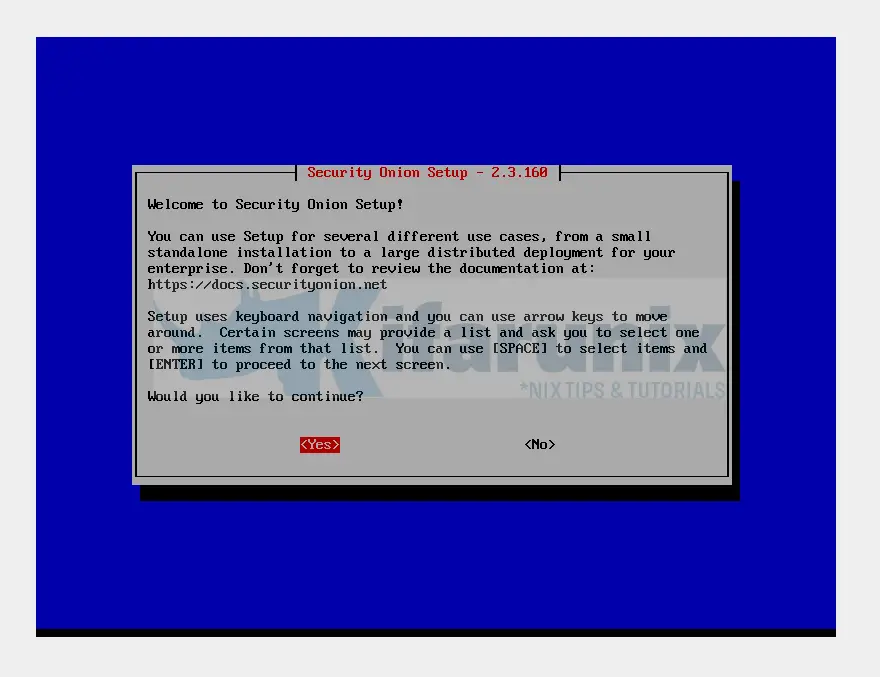
- Welcome to the setup!
- Would you like to continue? Yes
- Run the standard security onion installation;
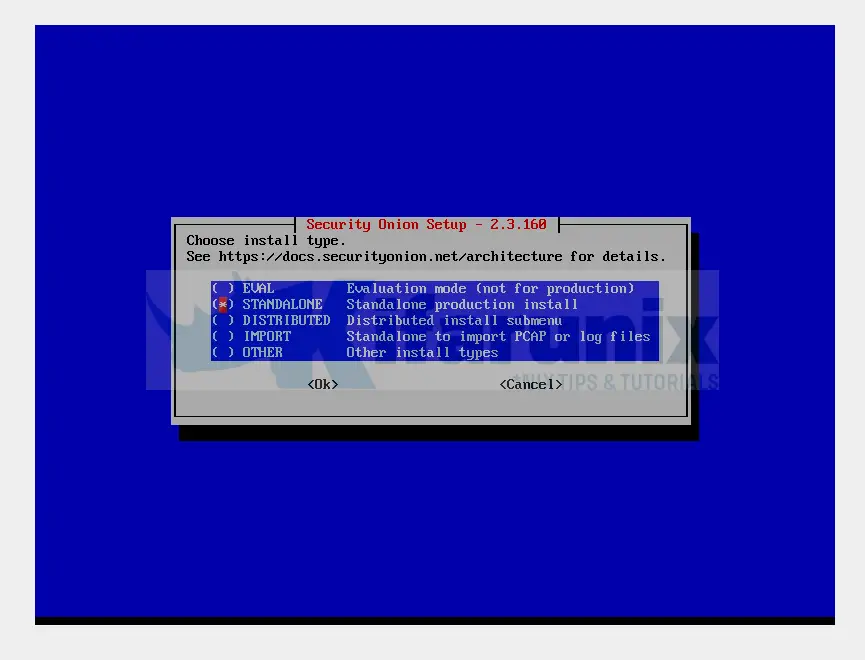
- Choose STANDALONE installation type;
- Type AGREE to agree to the Elastic license.
- If you have less then 12 GB of RAM, you will be prompted whether you want to run Security Onion anyway. If you have at least 4GB, proceed.
- Set the hostname (not FQDN) of your Security Onion.
- Enter a short description of the node.
- Select the management Network interface card.
- Set static IP address assignment for the management interface;
- define static IP address
- define the interface gateway
- DNS server IP addresses.
- DNS search domain
- Select OK to initialize the setting.
- When prompted on how the manager should be installed, select Standard (to have internet access).
- Security Onion will now restart docker service. All Security Onion components are deployed as docker containers.
- Choose how you would like to connect to Internet, either via proxy or direct.
- Add NICs to the monitor interface, to use for traffic sniffing.
- Choose OS Patch schedule as manual.
- Define a list of your home/internal networks.
- Choose the type of manager to install. Basic or Advanced. We choose Basic to get us started.
- Choose which tool between Zeek and Suricata to use to generate network traffic Metadata. We use Zeek in this setup. This option will set Suricata for NIDs.
- Choose IDS ruleset to use. We use Emerging Threat Open (ETOPEN).
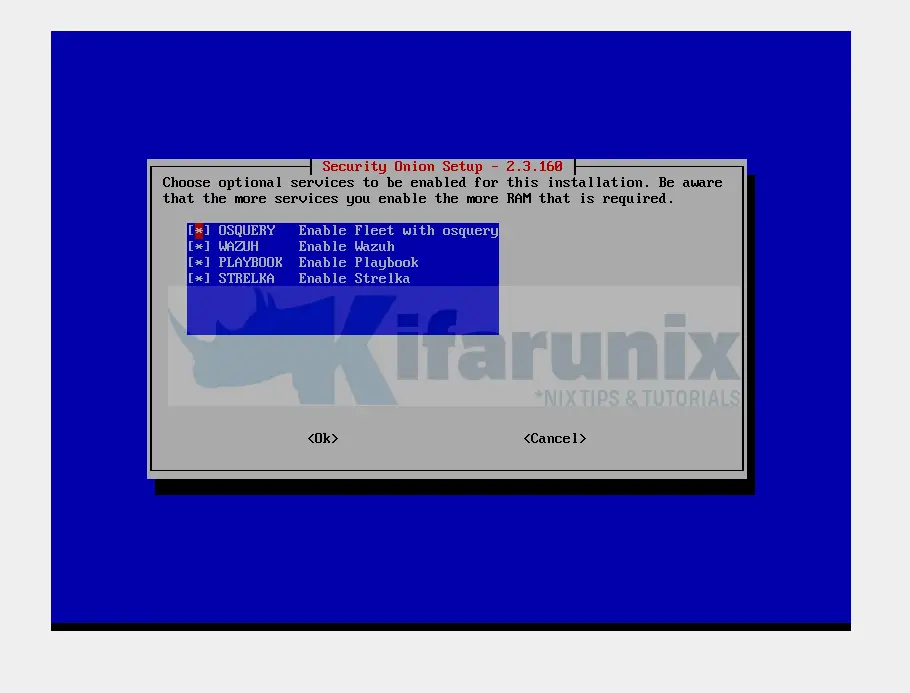
- Choose which other services to enable. If you have enough RAM, enable all of them if you need them;
- Keep the Docker IP ranges.
- Enter the Admin email address to create an account for web interface. The same account will be used for ELK.
- Set the password for the admin web UI account.
- Choose how to access the instance. Via an hostname or IP. If you use hostname, ensure it is resolvable.
- Set a password for soremote user for adding sensors remotely.
- Choose the type of NSM setup. we go with basic to setup the NSM with recommended settings.
- Define the number of Zeek and Suricata processes. We go with 1 for each.
- Choose whether to configure NTP server and proceed appropriately.
- Select the type of search node config to use. We use NODEBASIC.
- Allow so-allow to allow other machines to access Security Onion web interface.
- Define the network range to allow to access your Security Onion instance.
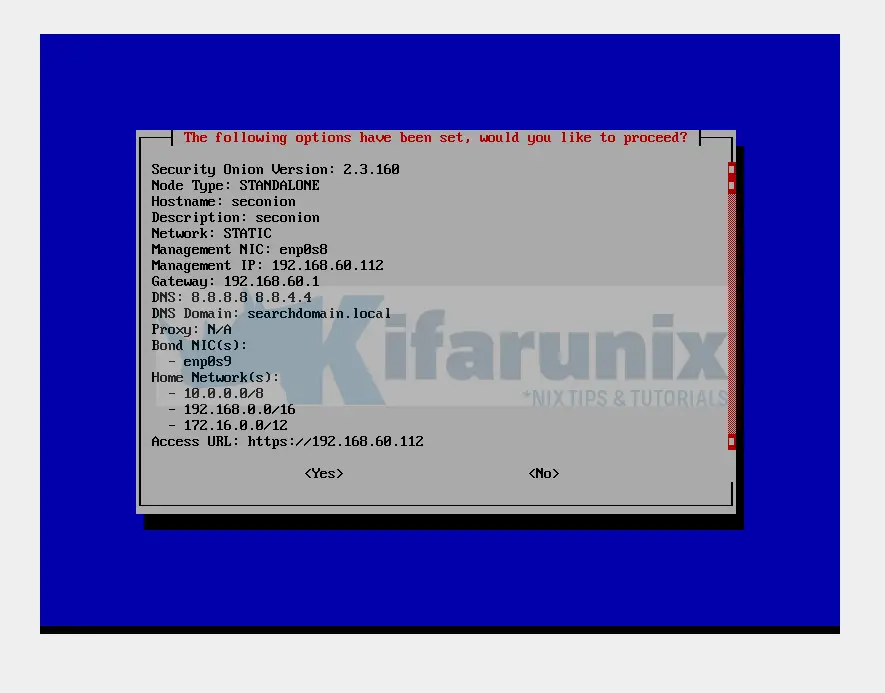
- And finally, setup summary;
Select Yes and press ENTER to proceed with the setup.
Once the setup is complete, reboot the node;
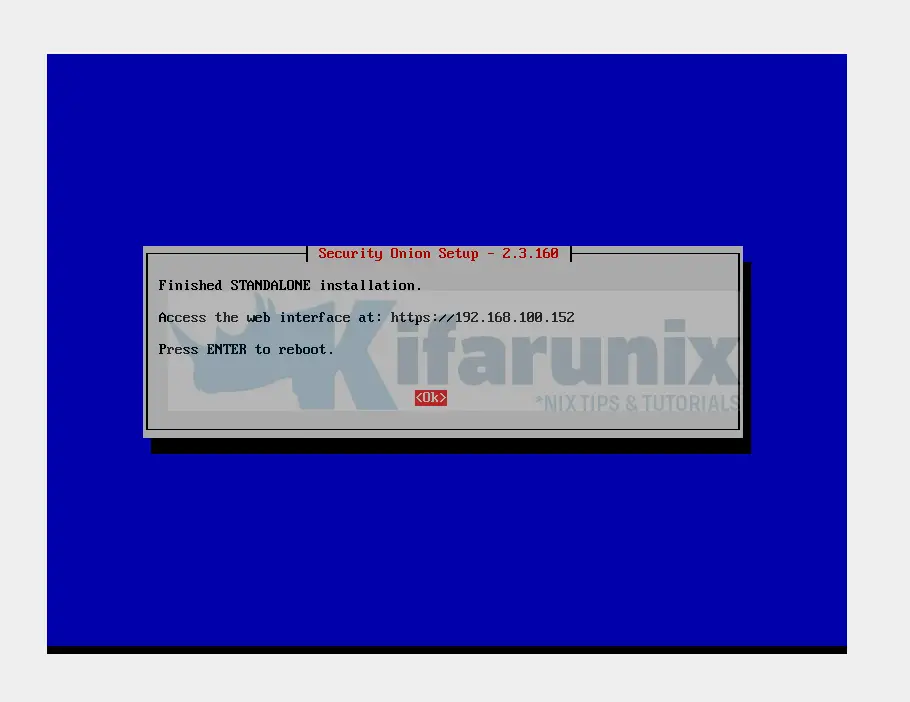
Access Security Onion Web UI
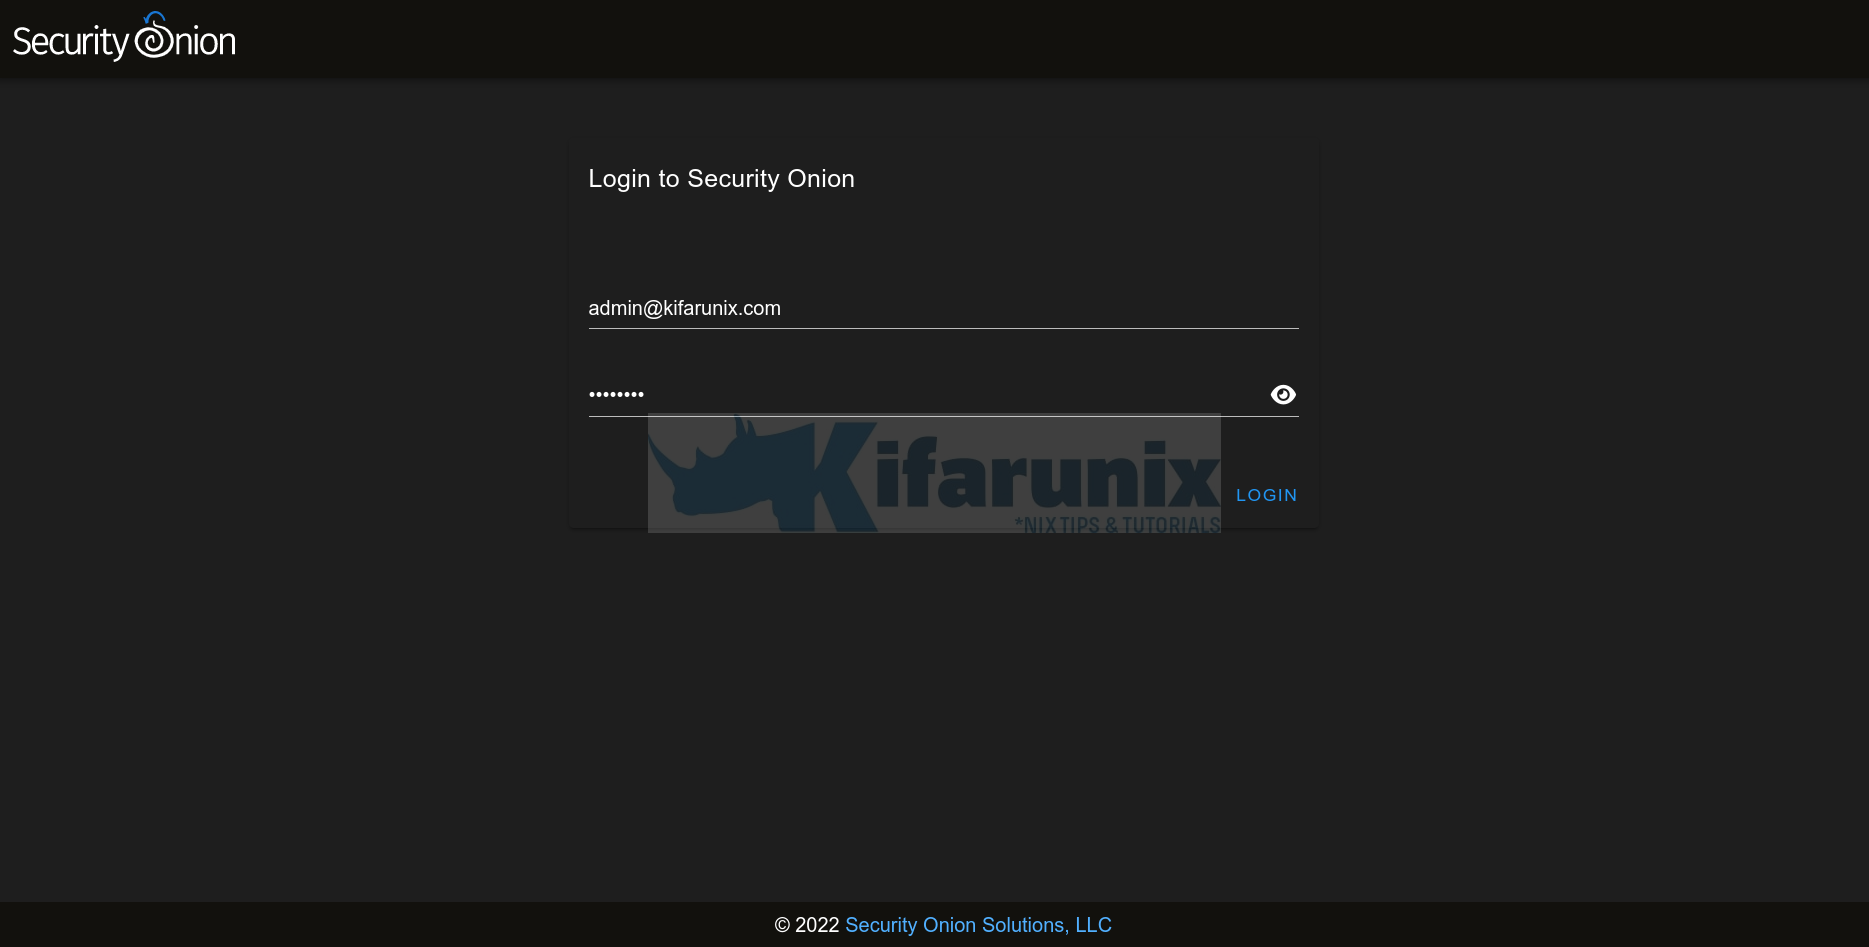
You can navigate to the browser and access your security onion instance either via a domain or IP depending on how you set it up.
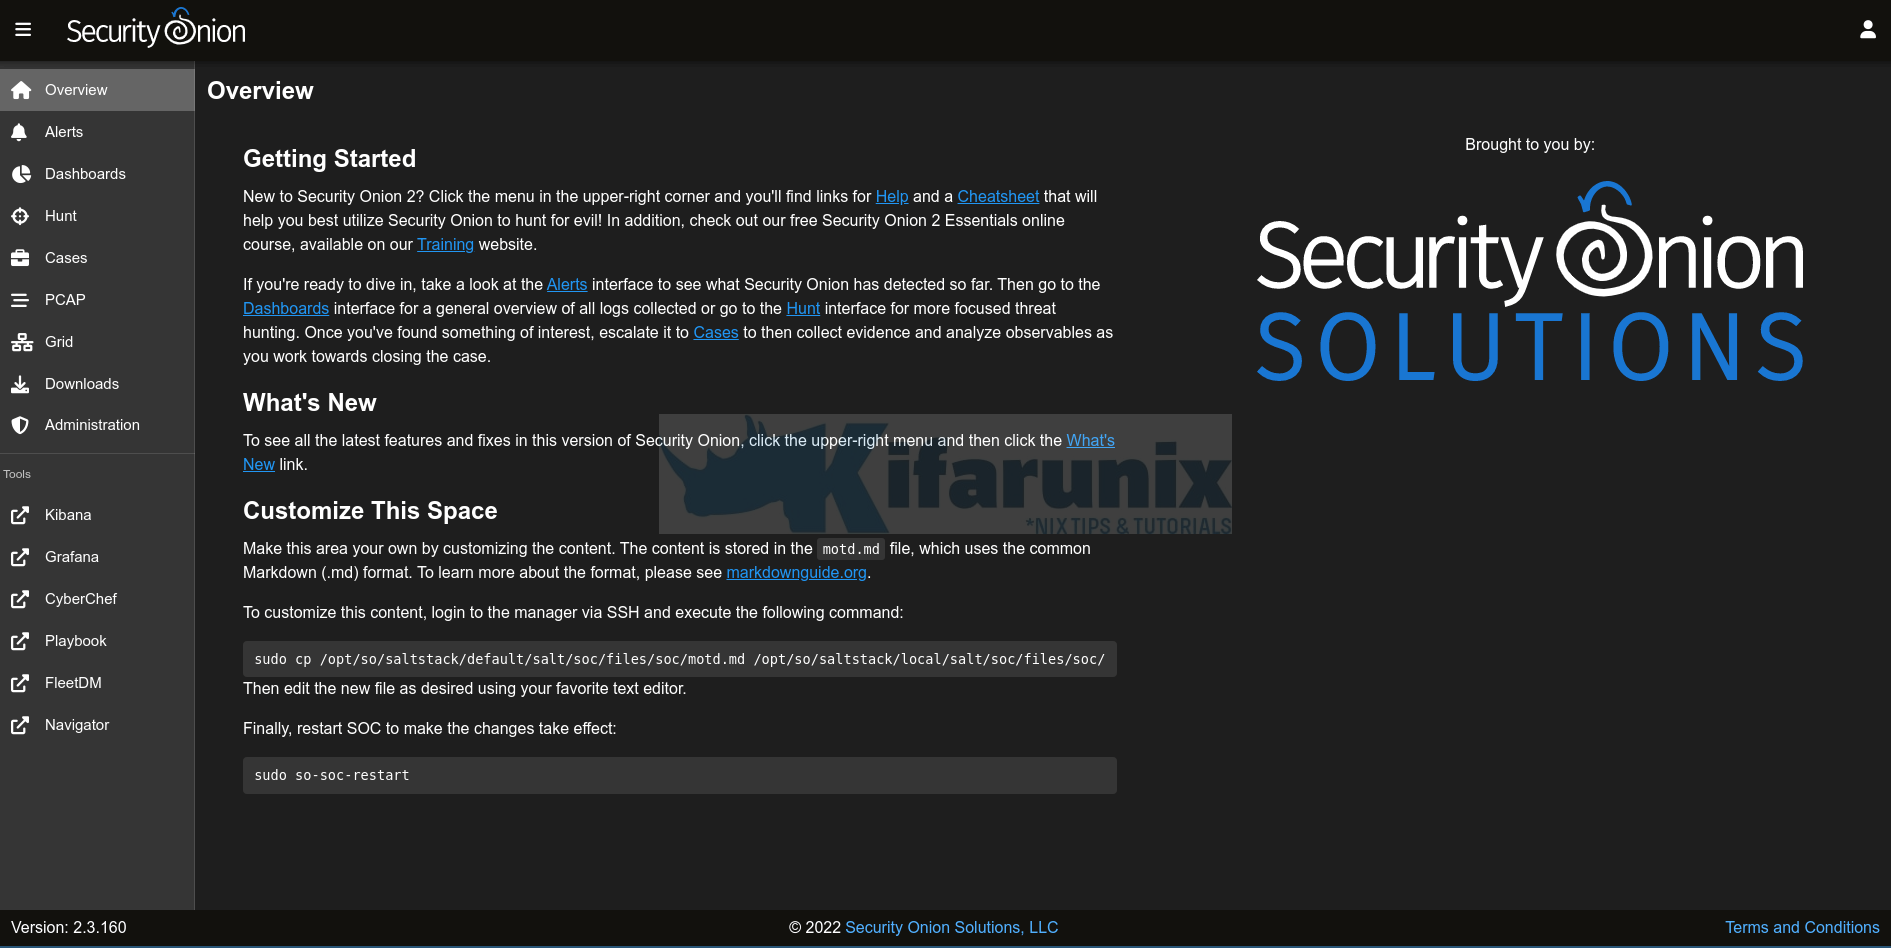
Security Onion Dashboard.
You can go through the all the tools on the left pane menu;
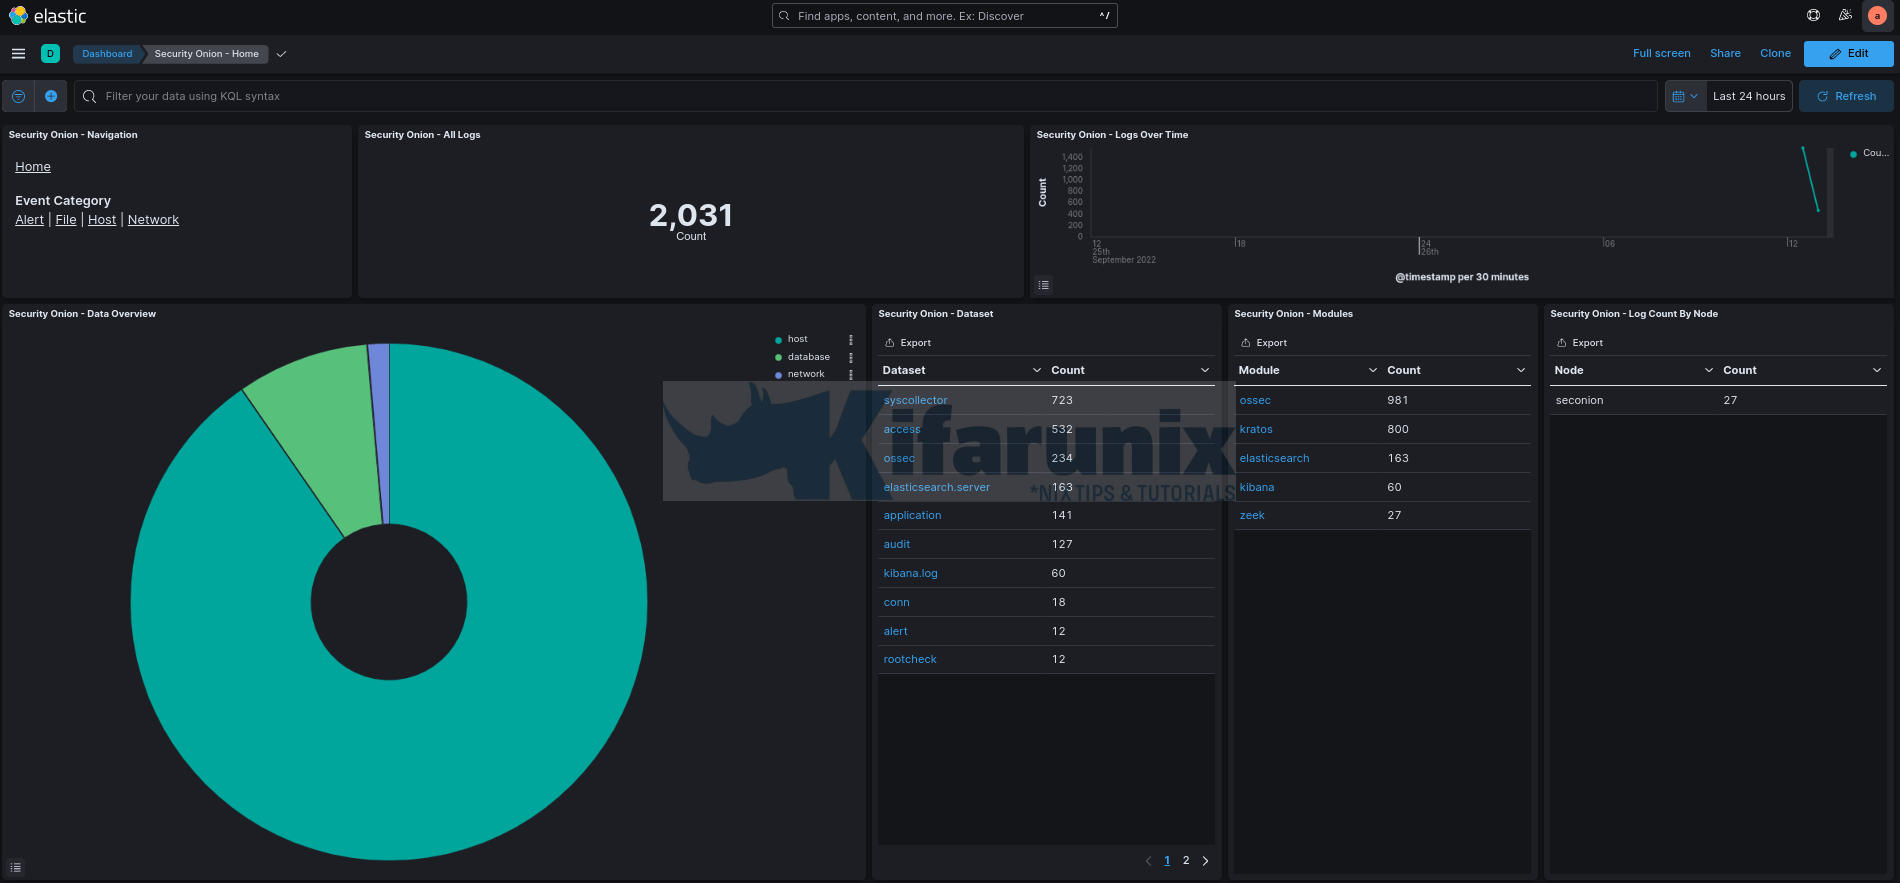
Sample Security Onion ELK;
And that is how you can install Security Onion on VirtualBox. Stay tuned for more tutorials.
Further Reading
Other Tutorials
Visualize ClamAV Scan Logs on ELK Stack Kibana
Monitor Changes to Critical Files on Windows Systems using Wazuh and ELK

