In this guide, you are going to learn how to install Nessus Professional Scanner on Debian 10 Buster server. Nessus is vulnerability scanner developed by Tenable Inc. It is used to scan a variety of operating systems, devices and applications to identify and fix vulnerabilities – including software flaws, missing patches, malware, and misconfigurations.
Installing Nessus Professional Scanner on Debian 10
In this guide, we are going to install the trial version of Nessus Professional scanner for testing purposes. The free trial version of Nessus professional offers the following features;
- Free for 7 days
- Scan upto 32 IPs
- Configuration Assessment
- Live Results
- Configurable Reports
- Support via Tenable Community
Learn more on Nessus Professional page.
For system hardware requirements, refer to Nessus scanner hardware requirements page.
Get Nessus Professional Trial Activation Code
To obtain Nessus professional free trial activation code, navigate to Nessus professional activation code page and click Try for Free to register. Once you have registered and activated your account, login to Nessus trials page and copy your activation code.
Download Nessus Binary Installer
Navigate to Nessus downloads page and download the 64 bit debian binary installer.
Run System Update
Update your system packages.
apt update
apt upgrade
Install Nessus on Debian 10
Once the system update is done, run the command below to install Nessus on Debian 10 Buster.
apt install ./Nessus-8.6.0-debian6_amd64.debRunning Nessus Scanner
Once the installation is done, the installer displays a command that can be used to start Nessus.
/etc/init.d/nessusd startYou can simply use systemctl command the start
systemctl start nessusdTo enable Nessus to start on system reboot, run the command below;
systemctl enable nessusdTo check the status of Nessus daemon;
systemctl status nessusd● nessusd.service - LSB: Starts and stops the Nessus
Loaded: loaded (/etc/init.d/nessusd; generated)
Active: active (running) since Fri 2019-09-20 06:00:40 EDT; 5s ago
Docs: man:systemd-sysv-generator(8)
Process: 11655 ExecStart=/etc/init.d/nessusd start (code=exited, status=0/SUCCESS)
Tasks: 11 (limit: 1150)
Memory: 49.8M
CGroup: /system.slice/nessusd.service
├─11657 /opt/nessus/sbin/nessus-service -D -q
└─11658 nessusd -qAllow Nessus on Firewall
Nessus listens on TCP port 8834. To be able to access it externally, open this port on UFW if it is running.
ufw allow 8834/tcpActivate and Setup Nessus
To activate and finalize the setup of Nessus professional scanner, accessing the web user interface using the address, https://server-hostname:8834/. The access address is displayed by the installer after the installation.
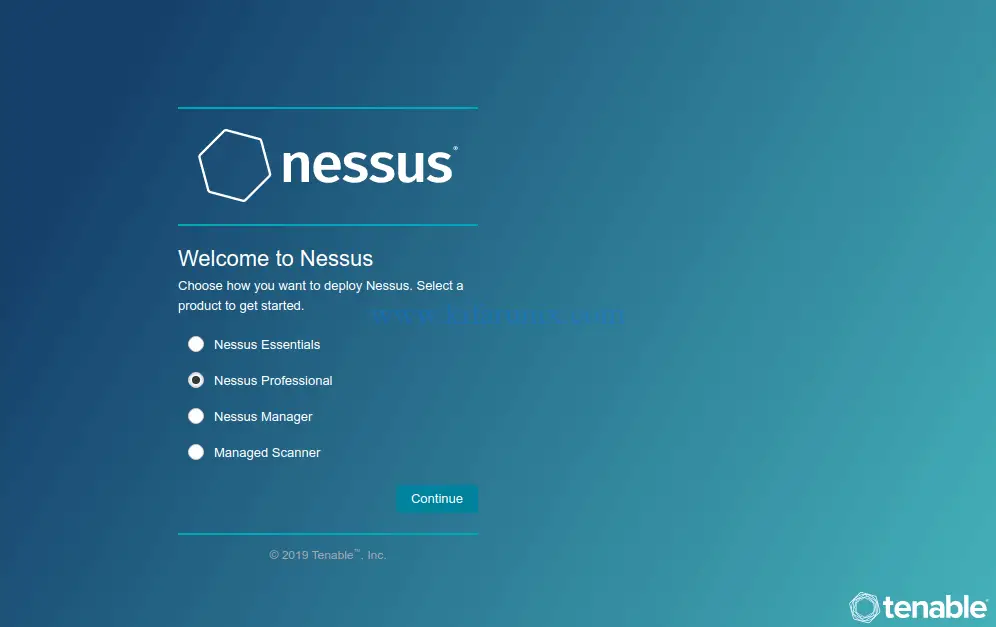
Accept the SSL warning and proceed to setup Nessus. Choose Nessus professional and continue.
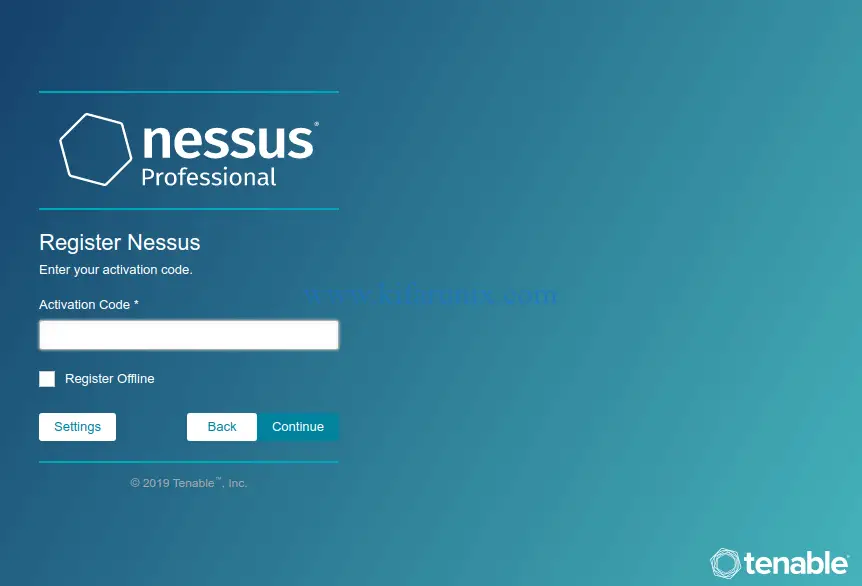
Activate Nessus professional by entering the activation code obtained above.
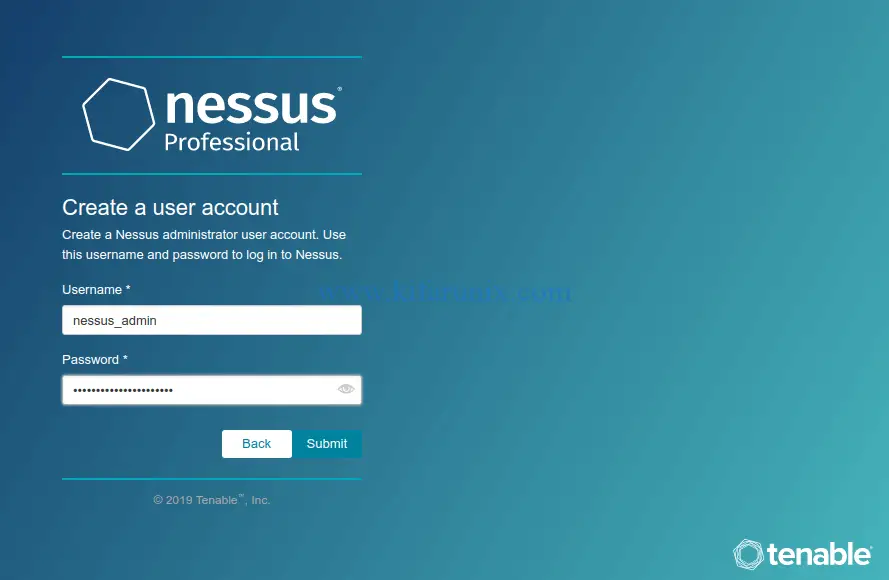
Next, create the Nessus admin account.
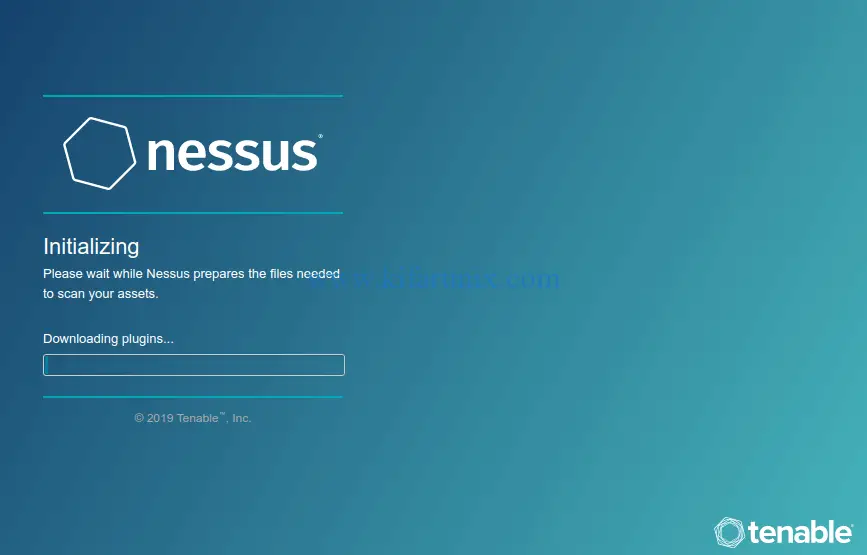
When setup completes, Nessus will start to initialize by downloading and compiling the plugins required for scanning.
Once the scanner plugins are downloaded and compiled, you are taken to the login screen.
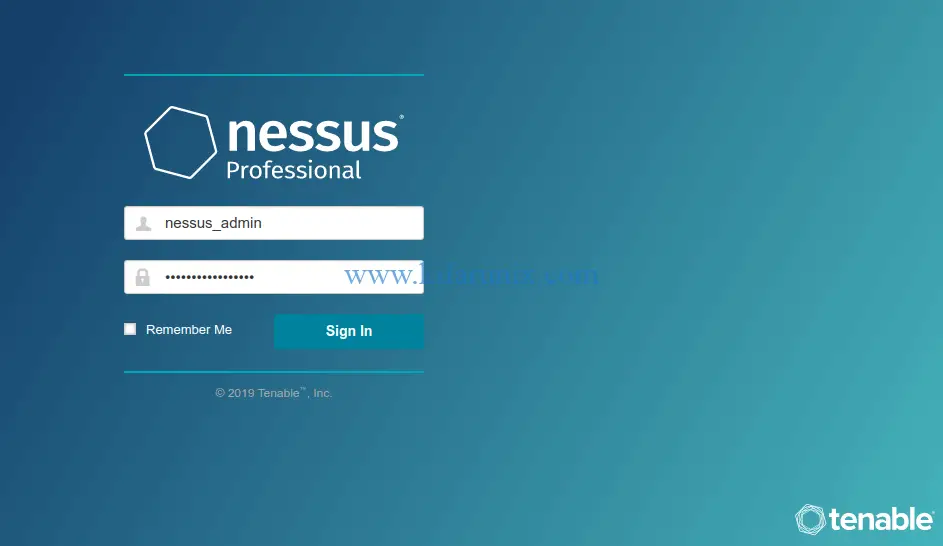
Login using the admin user credentials created above. Upon successful authentication, you will land on Nessus professional dashboard.
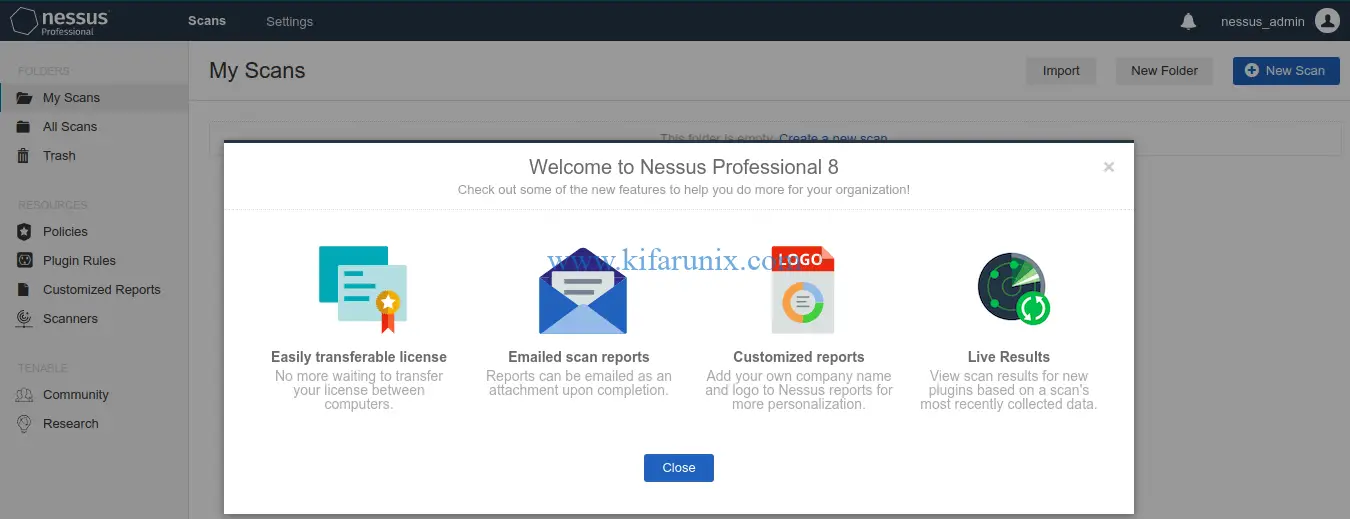
You can now create scan jobs to scan your hosts. Follow the link below to learn how to scan your host systems.
How to Scan a Remote Host using Nessus Vulnerability Scanner
You can also learn how to install Nessus vulnerability scanner on Ubuntu 18.04/CentOS 7.
How to Install and Configure Nessus Scanner on Ubuntu 18.04/CentOS 7
Related Tutorials
Install OpenVAS 9 with PostgreSQL in Ubuntu 18.04
How to Install Acutenix on Ubuntu 18.04
How to Install and Use WPScan WordPress Vulnerability Scanner Ubuntu 18.04


install Nessus vulnerability scanner on Linux/ Ubuntu is perfect