In this guide, we are going to walk you through steps required to install Thunderbird mail client on Rocky Linux system.
Thunderbird is a free and opensource cross-platform email application that was developed by Mozilla Foundation. It can be used as a mail client, chat client, RSS and news client.
Thunderbird is easy to set up and comes bundled with so many features. Some of the features include;
- It support security features such as SSL/TLS connection to IMAP and SMTP servers.
- It supports HTML code insertion on message composure.
- Supports big size file linking instead of sending them as an attachment
- Supports junk/spam filtering and whitelisting based on the address book.
- It supports quick search, advanced message filtering, message labeling to make it easy to find your messages.
- It can manage multiple email and multiple identities within accounts.
For a comprehensive list of features, check on Thunderbird Features page.
Install Thunderbird Mail Client
Thunderbird is usually not installed by default on Rocky Linux desktop systems. It is however available on Rocky Linux default repositories and you can easily execute the command below to install latest version of Thunderbird on Rocky Linux;
sudo dnf updatesudo dnf install thunderbird -yLaunch Thunderbird
Once the installation is done, click on Windows Key to launch the Activity Overview and search for Thunderbird to launch it.
Click the icon to launch.
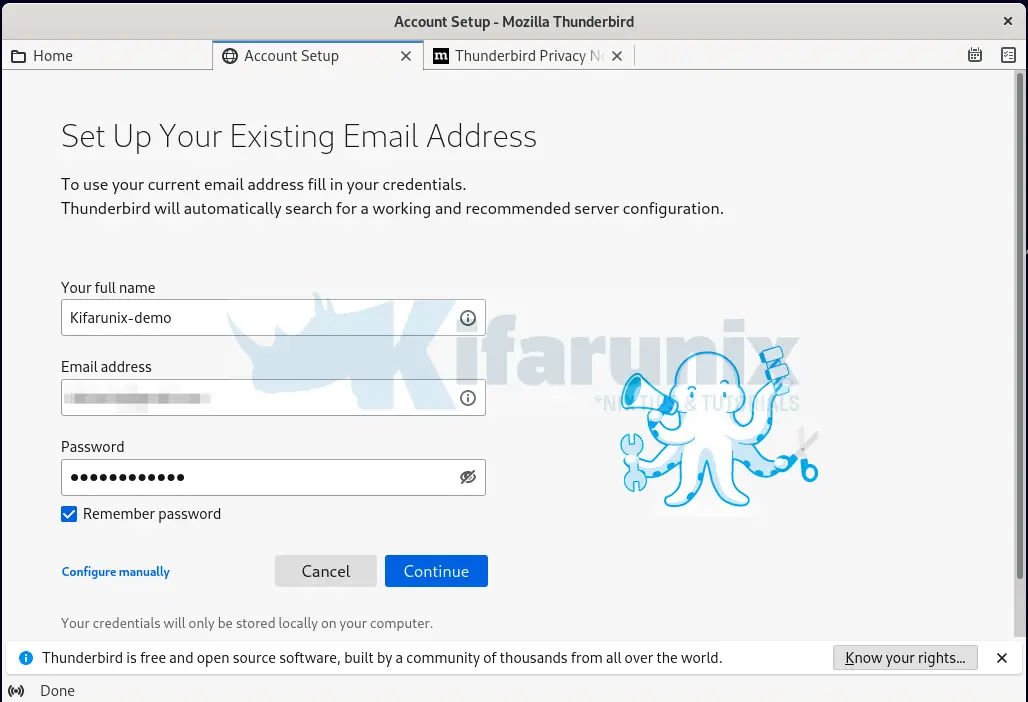
When you launch it for the first time, it will prompt you whether to add your existing email address.
Setup Mail Account
If you are adding mail account for the first time, you can proceed with the setup wizard above. Therefore;
- Enter your name that will appear as from in the outgoing messages.
- Enter your email address e.g [email protected], xxxx@domain.
- Set your mail authentication password.
You can also use your Gmail account, as we do in this guide;
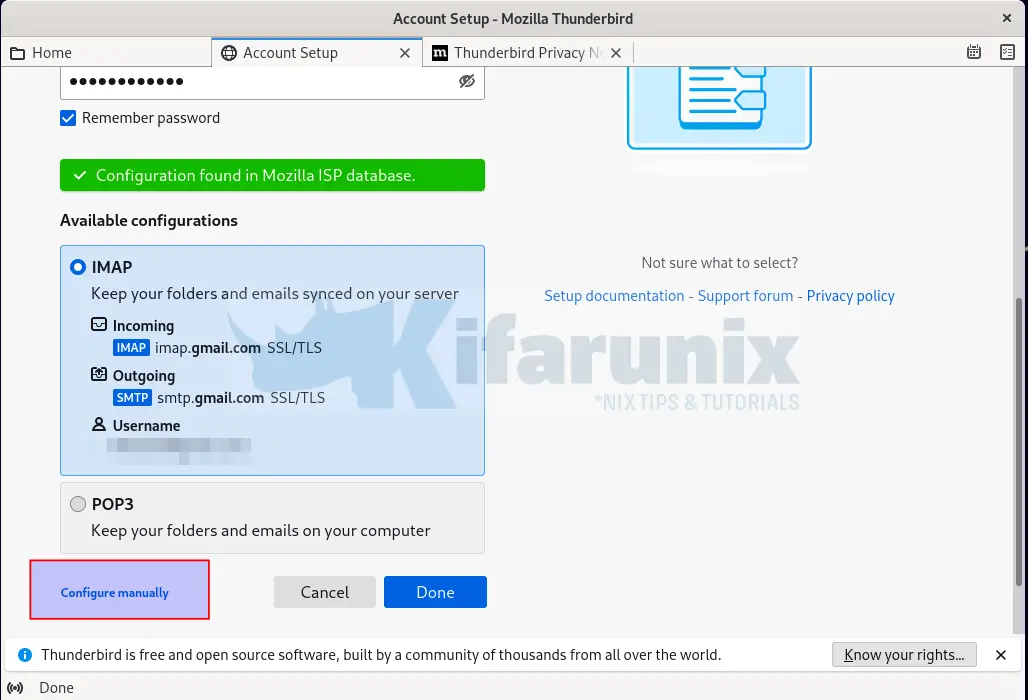
Click Continue to set up your email configurations. If your configuration settings are available in Mozilla ISP database, your setup should be successful and you should see such a screen as shown below;
If you encounter an error saying “Thunderbird failed to find the settings for your email account“, you have to set up your configurations manually specifying your SMTP/IMAP server, type of encryption, type of authentication. See screenshot below as an example;
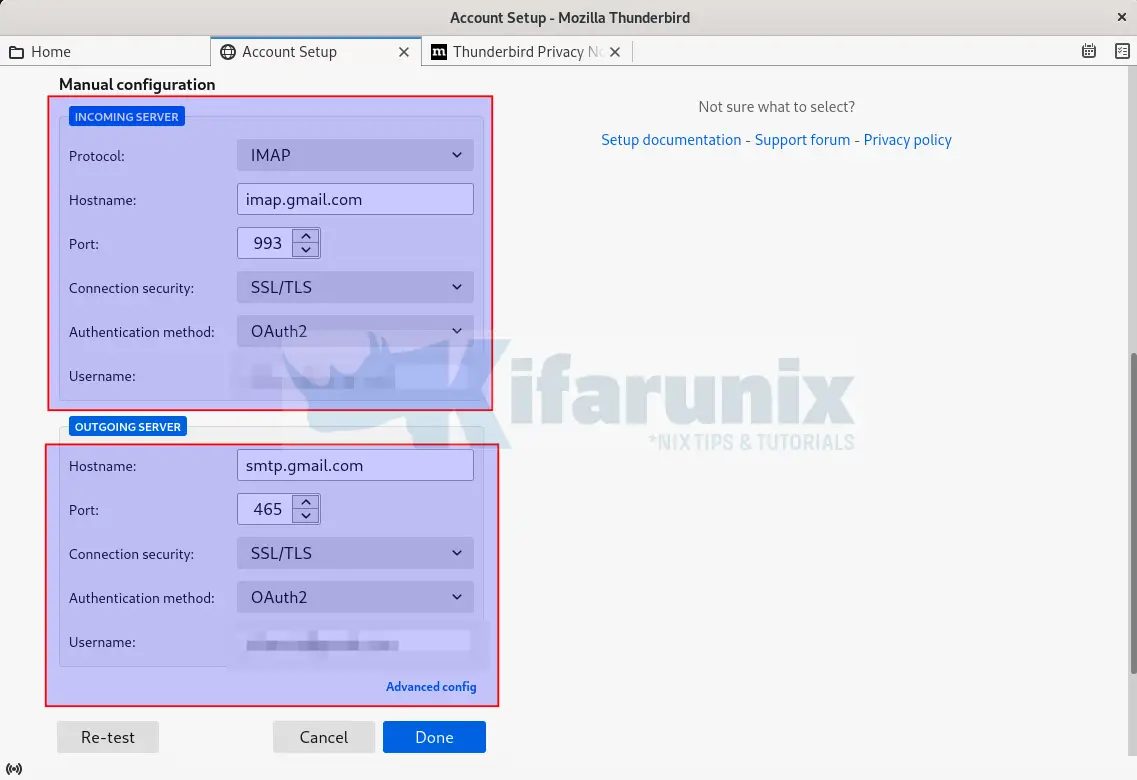
Click Done to finalize the setup.
If you are using a Gmail account as in our example, you will be redirected to your Google account sign in page.
Click Next to login to your account and continue.
In the next page, you will be prompted to allow Mozilla Thunderbird as a trusted application to access your Gmail account in order to read, compose and sent your emails.
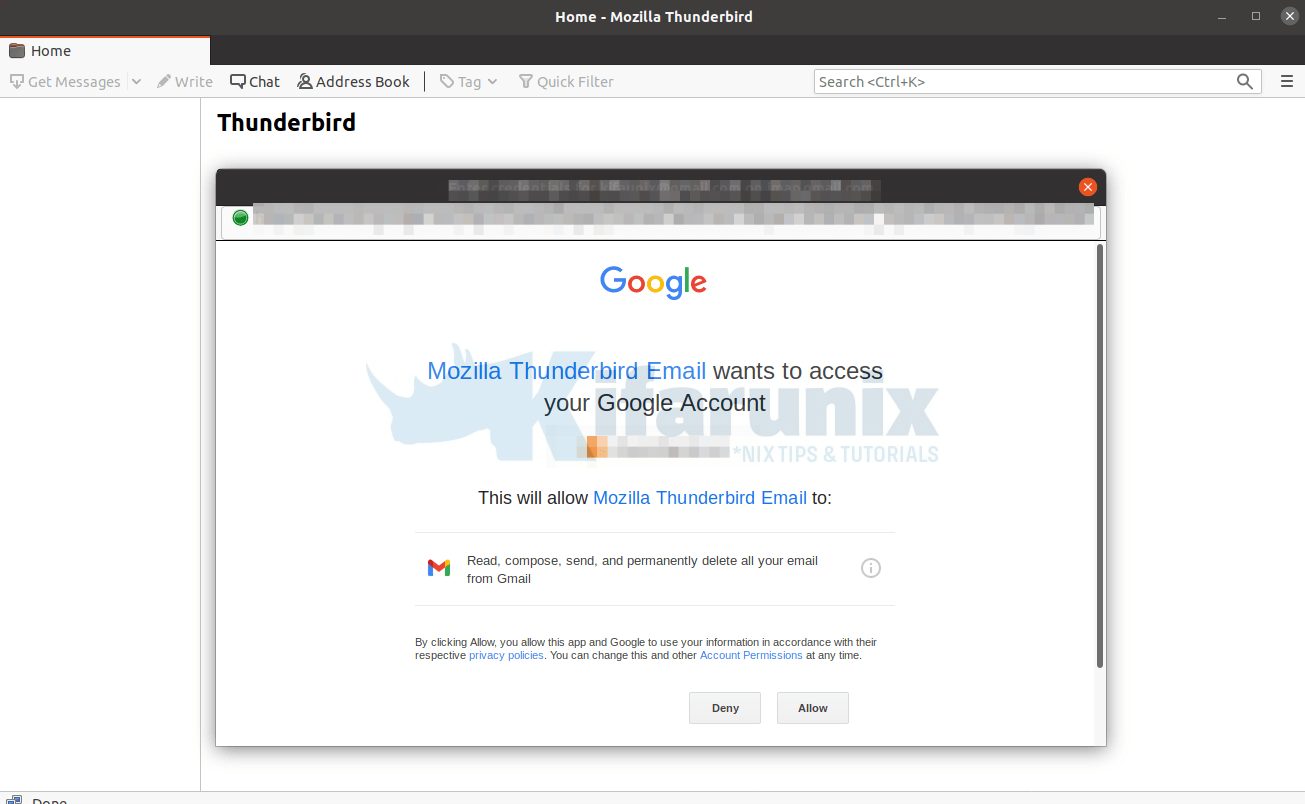
Click Allow to finalize your email setup.
When done, click Finish to go to your mailbox.
Thunderbird is now setup to send and receive mail messages from your Gmail account.
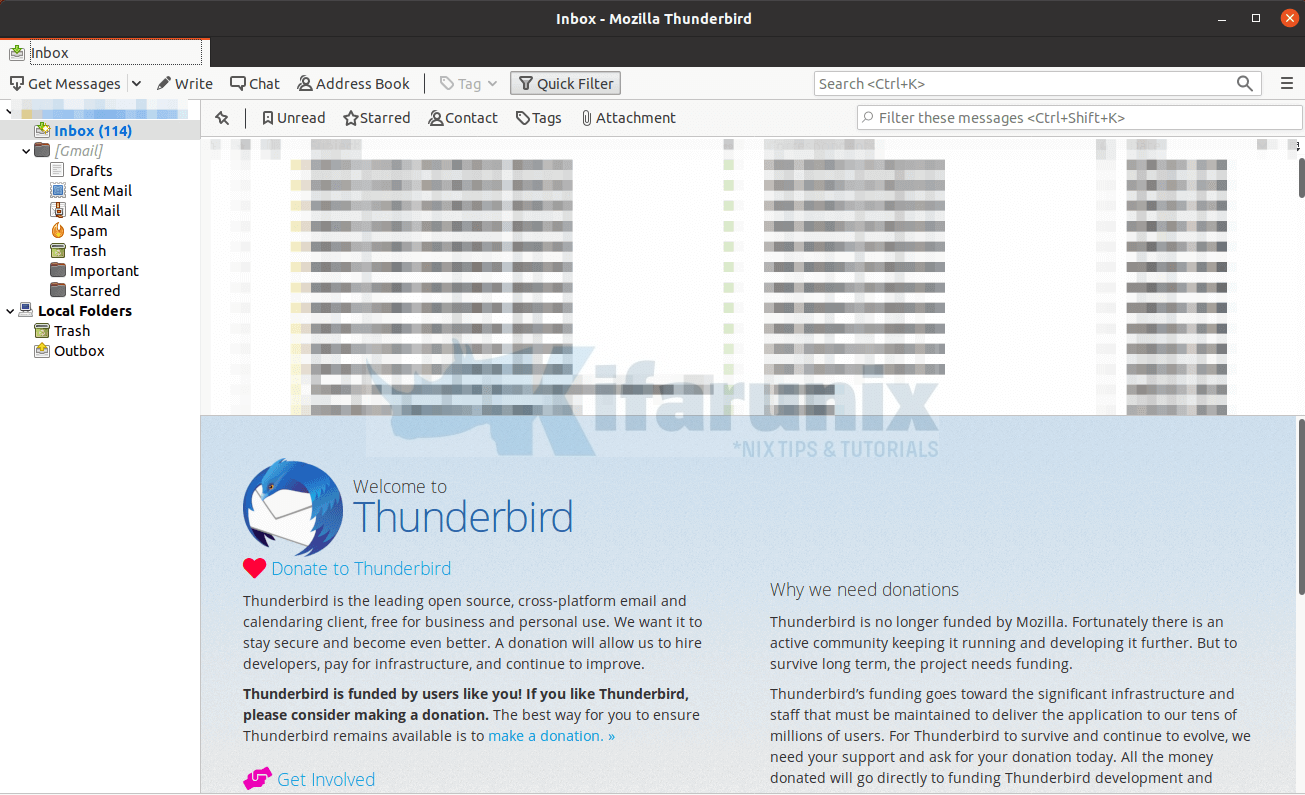
Great, that is all it takes to install Thunderbird on Rocky Linux. Feel free to explore it. Click Get Messages to view your mails, write to compose…
Other Tutorials
Install Thunderbird Mail Client on Debian 11/Debian 10
Install Thunderbird mail client on Ubuntu 22.04/Ubuntu 20.04


