This guide will take you through simple steps to install Nginx web server on Debian 12.
Table of Contents
Installing Nginx Web Server on Debian 12
Have you installed Debian 12 and want to run some web applications on it? You can install Apache or Nginx, the most commonly used HTTP servers on the internet and configure it to server your web application.
You can check the guide below for installing Apache on Debian 12;
Install Apache Web Server on Debian 12
Run System Update
To ensure you are installing up-to-date packages on Debian 12, update the package cache by running the command below;
sudo apt updateInstalling Nginx Web Server on Debian 12
Execute the command below to install Nginx web server;
apt install nginx
Reading package lists... Done
Building dependency tree... Done
Reading state information... Done
The following additional packages will be installed:
  nginx-common
Suggested packages:
  fcgiwrap nginx-doc
The following NEW packages will be installed:
  nginx nginx-common
0 upgraded, 2 newly installed, 0 to remove and 0 not upgraded.
Need to get 640 kB of archives.
After this operation, 1,696 kB of additional disk space will be used.
Do you want to continue? [Y/n] y
Start Nginx Service
Once the installation is done, Nginx is started and enabled to run on system boot.
Thus, you can confirm the status using the command below;
systemctl status nginx
● nginx.service - A high performance web server and a reverse proxy server
     Loaded: loaded (/lib/systemd/system/nginx.service; enabled; preset: enabled)
     Active: active (running) since Wed 2023-06-14 19:08:00 EAT; 44s ago
       Docs: man:nginx(8)
    Process: 2350 ExecStartPre=/usr/sbin/nginx -t -q -g daemon on; master_process on; (code=exited, status=0/SUCCESS)
    Process: 2351 ExecStart=/usr/sbin/nginx -g daemon on; master_process on; (code=exited, status=0/SUCCESS)
   Main PID: 2377 (nginx)
      Tasks: 3 (limit: 2285)
     Memory: 2.3M
        CPU: 23ms
     CGroup: /system.slice/nginx.service
             ├─2377 "nginx: master process /usr/sbin/nginx -g daemon on; master_process on;"
             ├─2379 "nginx: worker process"
             └─2380 "nginx: worker process"

Jun 14 19:08:00 bookworm systemd[1]: Starting nginx.service - A high performance web server and a reverse proxy server...
Jun 14 19:08:00 bookworm systemd[1]: Started nginx.service - A high performance web server and a reverse proxy server.
If it is not started nor enabled to run on system boot, run the command below to start Nginx service;
systemctl enable --now nginxVerify Nginx installation
You can now try to access Nginx from the browser to verify its installation.
You can use the address http://server-IP.
If Nginx is installed and is working correctly, then you see Nginx Test page;

Creating Custom Site with Nginx
You can create and server your own site using Nginx.
By default, Nginx uses /var/www/html as the document root directory. It is also known as web root directory, and is the main directory where the web server looks for files to serve to clients.
So if you want to serve your own page, you can create your application directory under /var/www/ or /var/www/html.
In this demo, we create a directory called kifarunix where will put our basic site html content.
mkdir /var/www/html/kifarunixvim /var/www/html/kifarunix/index.htmlThen this is our html configs;
<!DOCTYPE html>
<html>
<head>
    <title>Welcome to Kifarunix.com</title>
    <style>
        body {
            display: flex;
            justify-content: center;
            align-items: flex-start;
            min-height: 100vh;
            text-align: center;
            font-family: Arial, sans-serif;
            margin: 0;
        }
        .container {
            max-width: 600px;
            margin-top: 20vh;
        }
        h1 {
            font-size: 28px;
            margin-bottom: 20px;
        }
        p {
            font-size: 18px;
            line-height: 1.5;
            margin-bottom: 10px;
        }
        a {
            color: #007bff;
        }
    </style>
</head>
<body>
    <div class="container">
        <h1>Welcome to Kifarunix.com</h1>
        <p>This is a sample HTML page for my website.</p>
        <p>Feel free to customize this page with your own content.</p>
        <p>For more information, visit <a href="https://www.kifarunix.com">kifarunix.com</a>.</p>
    </div>
</body>
</html>
Next, update the ownership of the directory;
chown -R www-data: /var/www/html/kifarunix/Configure Nginx to serve your site. Similarly, create your own Nginx virtualhost config to server your site content;
cat > /etc/nginx/sites-available/kifarunix << 'EOL'
server {
    listen 80;
    server_name kifarunix-demo.com;

    root /var/www/html/kifarunix;
    index index.html index.htm;

    location / {
        try_files $uri $uri/ =404;
    }

    error_log /var/log/nginx/kifarunix_error.log;
    access_log /var/log/nginx/kifarunix_access.log combined;
}
EOL
Check Nginx for configuration syntax errors;
nginx -tIf the tests are okaym you should see such an output;
nginx: the configuration file /etc/nginx/nginx.conf syntax is ok
nginx: configuration file /etc/nginx/nginx.conf test is successful
Next, enable your site;
ln -s /etc/nginx/sites-available/kifarunix /etc/nginx/sites-enabled/kifarunixDisable default Nginx site;
unlink /etc/nginx/sites-enabled/defaultRestart Nginx service;
systemctl restart nginxAllow Nginx HTTP Connection on Firewall
If you are behind the firewall, you need to open port 80/TCP to allow Nginx external access.
UFW;
ufw allow "WWW"IPTABLES;
iptables -I INPUT -p tcp --dport 80 -j ACCEPTFirewalld;
firewall-cmd --add-port=80/tcp --permanent
firewall-cmd --reload
Verify Nginx HTTP Connection
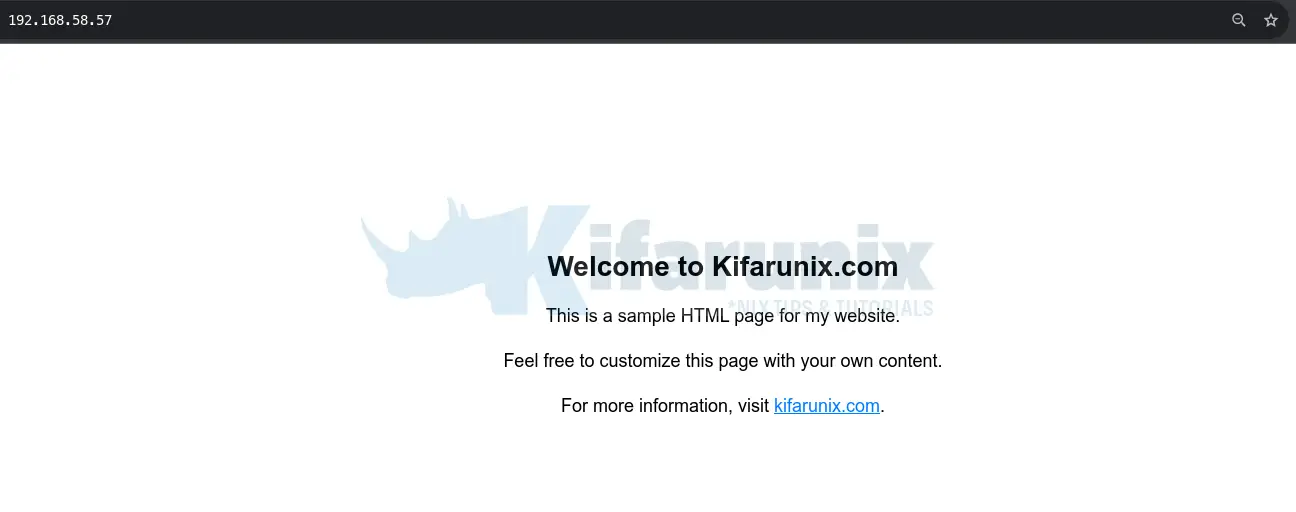
Verify your site processing from web browser, http://server-IP-or-resolvable-domain-name.

Configure Nginx with HTTPS
If you want to enable HTTPS on Nginx, how can you go about it?
Generate SSL/TLS certificates
Firs of all, you need to generate the SSL/TLS certificates.
We will use self signed SSL certs in this guide. The process to use commercial certs is out of scope of this guide.
Generate private key
mkdir /etc/ssl/kifarunixopenssl genrsa -out /etc/ssl/kifarunix/kifarunix-private.key 4096Generate CSR
openssl req -new -key /etc/ssl/kifarunix/kifarunix-private.key \
-out /etc/ssl/kifarunix/kifarunix-csr.pem \
-subj "/C=US/ST=CA/L=San Francisco/O=Organization/CN=kifarunix.com"
Where;
/C=: Country (2-letter ISO code)/ST=: State or province/L=: Locality or city/O=: Organization/CN=: Common Name (e.g., the domain name)
Generate SSL/TLS certificate;
openssl x509 -req -days 3650 -in /etc/ssl/kifarunix/kifarunix-csr.pem \
-signkey kifarunix-private.key -out /etc/ssl/kifarunix/kifarunix-cert.crt
Sample output;
Certificate request self-signature ok
subject=C = US, ST = CA, L = San Francisco, O = Organization, CN = kifarunix.com
Install/Enable Nginx SSL Modules
By default, Nginx SSL modules are enabled. Confirm using the command below;
nginx -V 2>&1 | grep -o with-http_ssl_modulewith-http_ssl_moduleConfigure Nginx to use SSL/TLS certs
Now, update your config to use SSL/TLS.
We will update our config above. So update yours accordingly.
vim /etc/nginx/sites-available/kifarunix
server {
    listen 80;
    server_name kifarunix-demo.com;
    return 301 https://$host$request_uri;
}

server {
    listen 443 ssl http2;
    server_name kifarunix-demo.com;

    ssl_certificate /etc/ssl/kifarunix/kifarunix-cert.crt;
    ssl_certificate_key /etc/ssl/kifarunix/kifarunix-private.key;

    ssl_protocols TLSv1.3;
    ssl_prefer_server_ciphers on;
    ssl_dhparam /etc/nginx/dhparam.pem;
    ssl_ciphers EECDH+AESGCM:EDH+AESGCM;
    ssl_ecdh_curve secp384r1;
    ssl_session_timeout 10m;
    ssl_session_cache shared:SSL:10m;
    ssl_session_tickets off;
    ssl_stapling_verify on;
    resolver_timeout 5s;
    add_header Strict-Transport-Security "max-age=63072000; includeSubDomains; preload";
    add_header X-Frame-Options DENY;
    add_header X-Content-Type-Options nosniff;
    add_header X-XSS-Protection "1; mode=block";

    root /var/www/html/kifarunix;
    index index.html index.htm;

    location / {
        try_files $uri $uri/ =404;
    }

    error_log /var/log/nginx/kifarunix_error.log;
    access_log /var/log/nginx/kifarunix_access.log combined;
}
Save and exit the file.
The SSL settings are based on the strong ciphers provided here. Customize them to suite you.
As you can see in our config, we are using DH parameters (ssl_dhparam /etc/nginx/dhparam.pem);
So, we need to generate them using the command below;
openssl dhparam -out /etc/nginx/dhparam.pem 4096Check Nginx for any errors;
nginx -tif no errors, restart;
systemctl restart nginxOpen Nginx HTTPS Port on Firewall
If you are behind the firewall, you need to open port 443/TCP to allow Nginx external access.
UFW;
ufw allow "WWW Secure"Or;
ufw allow 443/tcpIPTABLES;
iptables -I INPUT -p tcp --dport 443 -j ACCEPTFirewalld;
firewall-cmd --add-port=443/tcp --permanent
firewall-cmd --reload
Verify Nginx HTTPS Connection
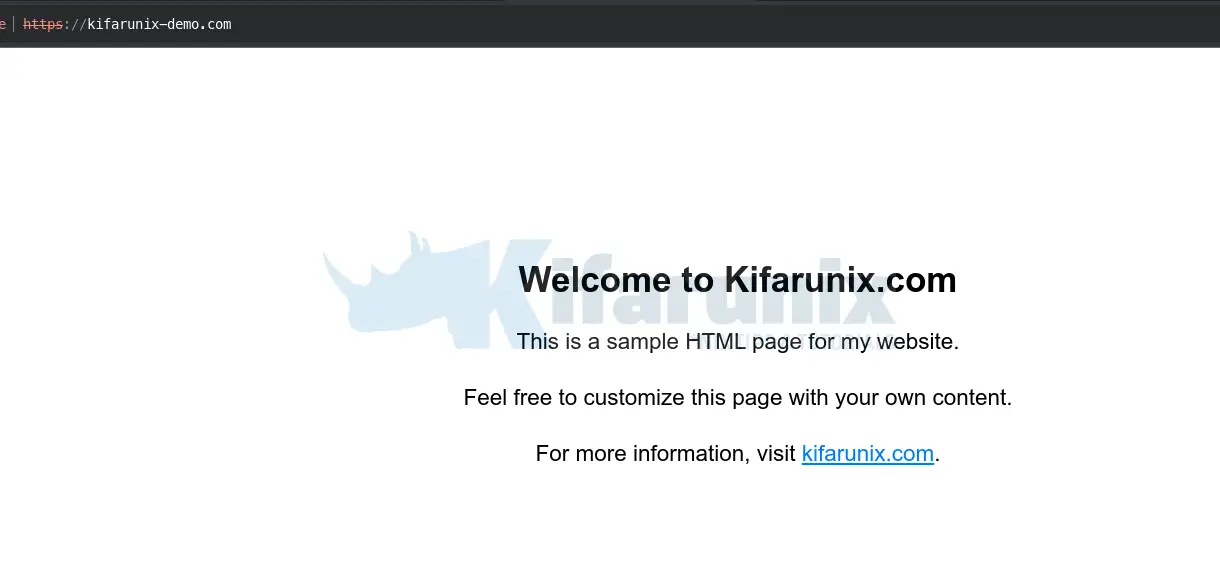
Verify that you can now access your site via HTTPS by visiting the https://domain-name.com.

Conclusion
That is all on installing Nginx web server on Debian 12. You have also learnt how to create custom basic site and how to enable SSL/TLS on Nginx!

