Hello there, today we are going to learn how to install and configure DVWA lab on Ubuntu 18.04 server.
DVWA has been defined as a damn vulnerable PHP/MySQL based web application whose main goals are to aid security professionals to test their skills and tools in a legal environment, help web developers better understand the processes of securing web applications and aid teachers or students to teach or learn web application security respectively in a class room environment.
Installing DVWA on Ubuntu 18.04
To setup DVWA on Ubuntu 18.04 server, step through the following procedure.
Update and upgrade all packages on your server.
apt update
apt upgrade
One the upgrade is done, we are going to install the basic components of LAMP stack i.e Apache, MySQL, and PHP. Therefore you can check our previous article on how to install LAMP Stack on Ubuntu 18.04.
Once you have had LAMP Stack, proceed as follows.
When prompted to set MySQL password you can set it to the default password that is used by the DVWA, p@ssw0rd. If you do set a different password, keep it as we will need it later.
Download DVWA
DVWA is available either as a package that will run on your own web server or as a Live CD. In this guide, we are going to use DVWA package.
We are going to install DVWA on the Apache web root directory,/var/www/html. Therefore you have to remove the default index.html file.
rm -r /var/www/html/index.html
Once that is done, clone the latest version of the DVWA to some directory, say /tmp by running the command below;
git clone https://github.com/ethicalhack3r/DVWA /tmp/DVWA
The required DVWA source code files are now available under /tmp/DVWA. You need to move or copy these files to Apache default web root directory as shown below.
rsync -avP /tmp/DVWA/ /var/www/html/
You can now verify that all the DVWA source code files are under the Apache Web root directory.
ls /var/www/html/
about.php     config       docs  external     hackable     index.php         login.php   phpinfo.php  README.md   security.php  vulnerabilities
CHANGELOG.md  COPYING.txt  dvwa  favicon.ico  ids_log.php  instructions.php  logout.php  php.ini      robots.txt  setup.php
Configure DVWA on Ubuntu 18.04
Set Database connection details
Next, we are going to configure DVWA database connection details. You will notice that the DVWA configuration file named /var/www/html/config/config.inc.php.dist. Therefore, rename this configuration file to /var/www/html/config/config.inc.php
cp /var/www/html/config/config.inc.php.dist /var/www/html/config/config.inc.php
If you had set a different MySQL password, edit the configuration file, /var/www/html/config/config.inc.php and find the line, $_DVWA[ 'db_password' ] = 'p@ssw0rd'; and replace the 'p@ssw0rd' with your new password. For example, if you set your root password to NewP@SSw0rd, your configuration should look like as shown below;
vim /var/www/html/config/config.inc.php
...
# If you are using MariaDB then you cannot use root, you must use create a dedicated DVWA user.
#   See README.md for more information on this.
$_DVWA = array();
$_DVWA[ 'db_server' ]   = '127.0.0.1';
$_DVWA[ 'db_database' ] = 'dvwa';
$_DVWA[ 'db_user' ]     = 'root';
$_DVWA[ 'db_password' ] = 'NewP@SSw0rd';
...
Note, if you are using MariaDB rather than MySQL, you can’t use the database root user and therefore you must create a new database and the database user using the commands below;
mysql> create database dvwa;
mysql> grant all on dvwa.* to dvwa@localhost identified by 'STRONGP@SSW0rd';
mysql> flush privileges;
mysql> quit
Once you are done creating dvwa database user, edit the DVWA configuration and adjust the database configuration settings such that your configuration looks like;
...
$_DVWA[ 'db_server' ] = '127.0.0.1';
$_DVWA[ 'db_database' ] = 'dvwa';
$_DVWA[ 'db_user' ] = 'dvwa';
$_DVWA[ 'db_password' ] = 'STRONGP@SSW0rd';
...
Save the configuration file and restart MySQL.
systemctl restart mysql
Configure PHP
The version PHP installed in our case here is 7.2.
php -v
PHP 7.2.10-0ubuntu0.18.04.1 (cli) (built: Sep 13 2018 13:45:02) ( NTS )
Now edit the file, /etc/php/7.2/apache2/php.ini and make the following changes.
allow_url_include = on– Allows for Remote File Inclusions (RFI)allow_url_fopen = on– Allows for Remote File Inclusions (RFI)safe_mode = off– (If PHP <= v5.4) Allows for SQL Injection (SQLi)magic_quotes_gpc = off– (If PHP <= v5.4) Allows for SQL Injection (SQLi)display_errors = off– (Optional) Hides PHP warning messages to make it less verbose
File Permissions
Make the following folder and file writeable by the web service for File Uploads and PHPIDS respectively.
/var/www/html/hackable/uploads/
/var/www/html/external/phpids/0.6/lib/IDS/tmp/phpids_log.txt
In short, you can change the ownership of the Apache web root directory as shown below;
chown -R www-data.www-data /var/www/html/
Now locate the IP address of your server and navigate to the web browser and type the IP address of your web server on the address bar to access your DVWA. See the screenshot below.
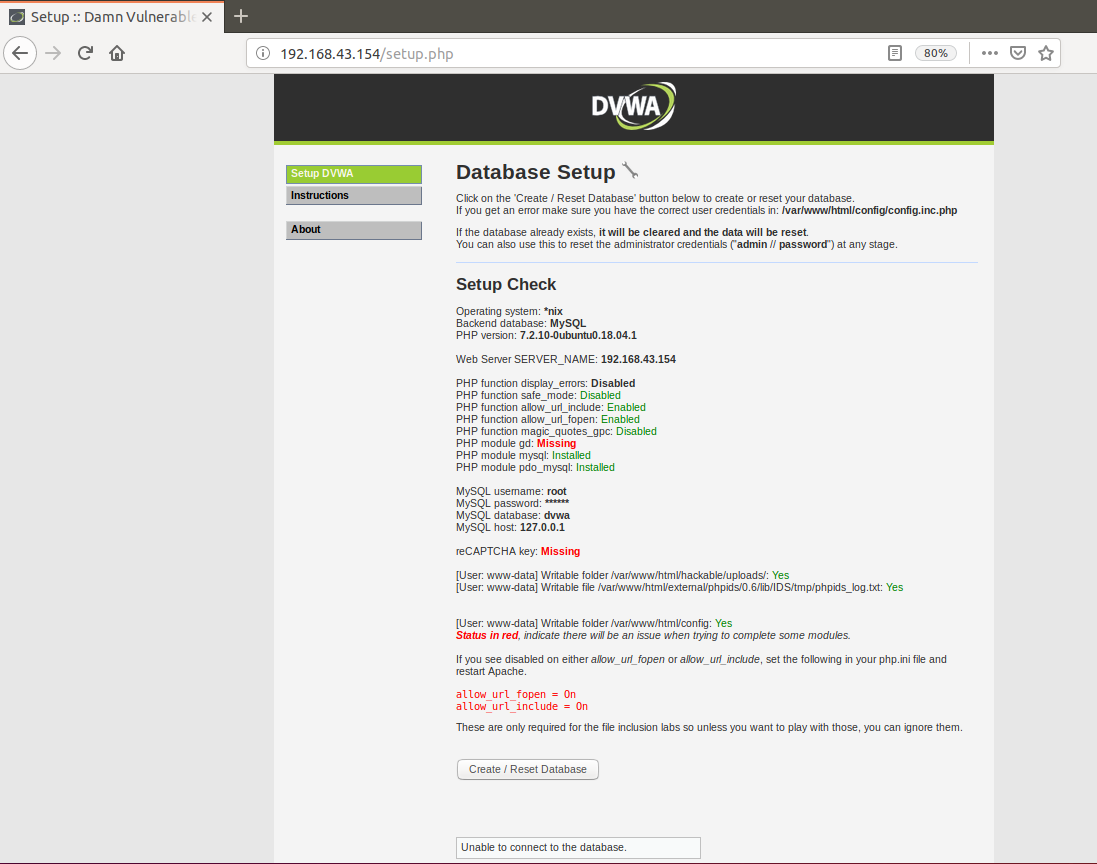
If your are using MariaDB, then you will get the login page directly.
If the web page doesn’t load, and tailing the the Apache error log, # tail /var/log/apache2/error.log, you get the following error;
[Tue Oct 30 23:27:28.149822 2018] [php7:error] [pid 16560] [client 192.168.43.149:40556] PHP Fatal error: Uncaught Error: Call to undefined function mysqli_connect() in /var/www/html/dvwa/includes/dvwaPage.inc.php:470\nStack trace:\n#0 /var/www/html/login.php(8): dvwaDatabaseConnect()\n#1 {main}\n thrown in /var/www/html/dvwa/includes/dvwaPage.inc.php on line 470
It means you are missing the PHP mysqli package. Install the package as shown below and restart Apache;
apt install php-mysqli -y
systemctl restart apache2
As shown in the dashboard above, there are a few issues whose status is marked in red ans therefore we need to fix them as follow;
- PHP module gd: Missing
- Fix this by install php-gd module;
# apt install php-gd -y
- reCAPTCHA key: Missing
- Fix this by generating recapture values from Google service.
- Once you have generated, edit the
/var/www/html/config/config.inc.phpand set the values for;$_DVWA[ 'recaptcha_public_key' ] = 'PASTE YOUR PUBLIC KEY HERE';&$_DVWA[ 'recaptcha_private_key' ] = 'PASTE YOUR SECRET KEY HERE';
Once you are done with configurations, restart both Apache and MySQL
systemctl restart apache2
systemctl restart mysql
Go back to your web browser and reload the page and everything should be fine now.
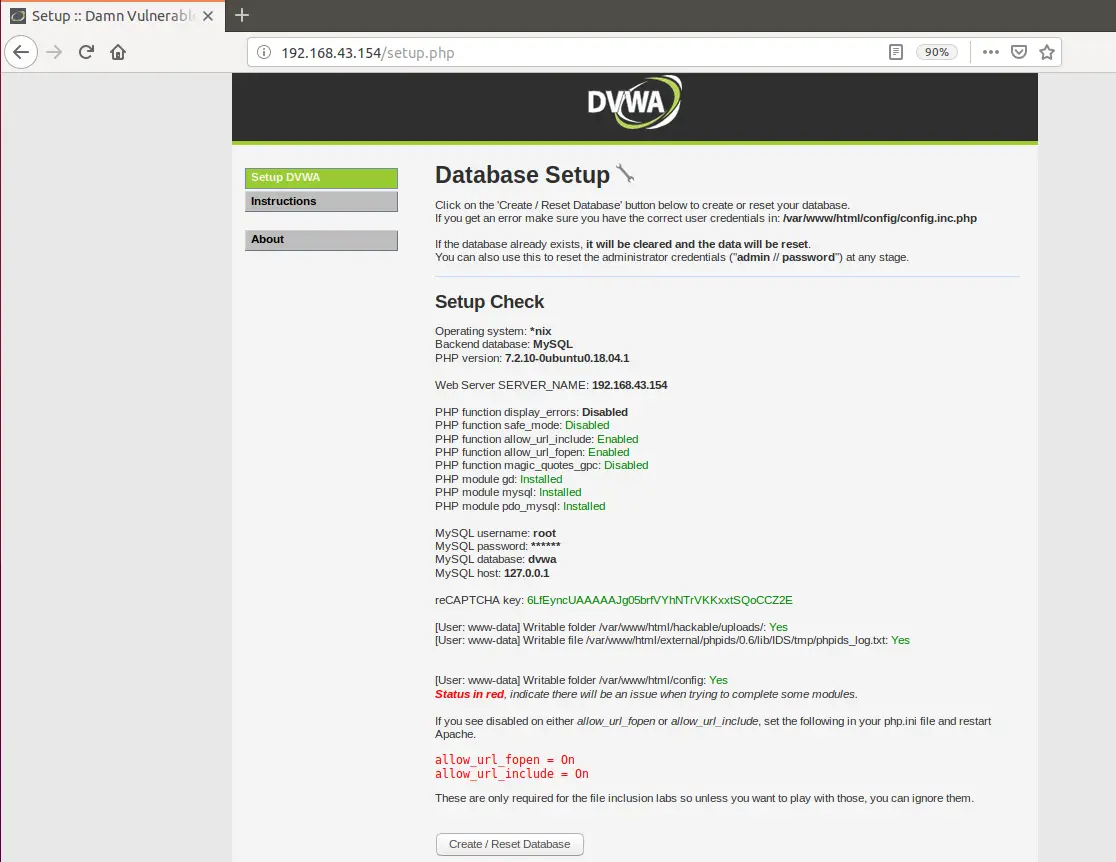
Create Database for DVWA
Now, you have to create the DVWA database to ensure the success of your exercise. Click the button Create/Reset Database at the bottom of your web page. You may encounter the following error;
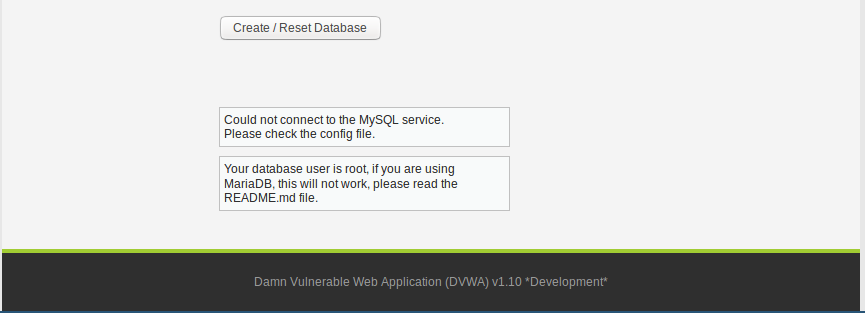
The error above is due to wrong database connection details. You can verify the same as shown below;
mysql -u root -pNewP@SSw0rd -D dvwa -h 127.0.0.1
mysql: [Warning] Using a password on the command line interface can be insecure.
ERROR 1698 (28000): Access denied for user 'root'@'localhost'
Therefore, login to your mysql reconfigure it as follows;
mysql -u root -p
Drop the root user;
drop user root@localhost;
Recreate root user;
create user root@localhost identified by 'NewP@SSw0rd'
You may opt to use the default DVWA password, p@ssw0rd.
Run the command below to reload the database grant tables and quit DB connection.
flush privileges;
quit;
Restart MySQL service
systemctl restart mysql
Before you can navigate back to the web UI, verify that you can now connect to the DVWA DB with the set login credentials;
mysql -u root -pNewP@SSw0rd -D dvwa -h 127.0.0.1
If all is well, then it should be able to see that the database has been created on the Web UI.
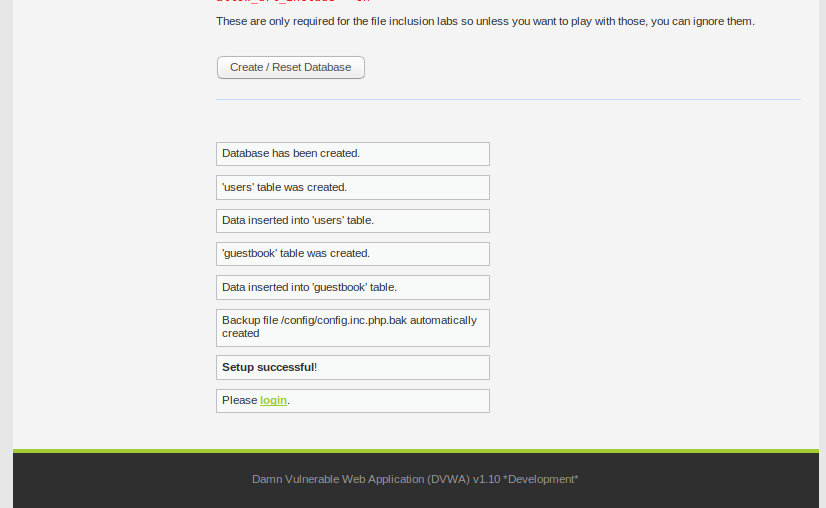
If all is well, you will be redirected to the login page.
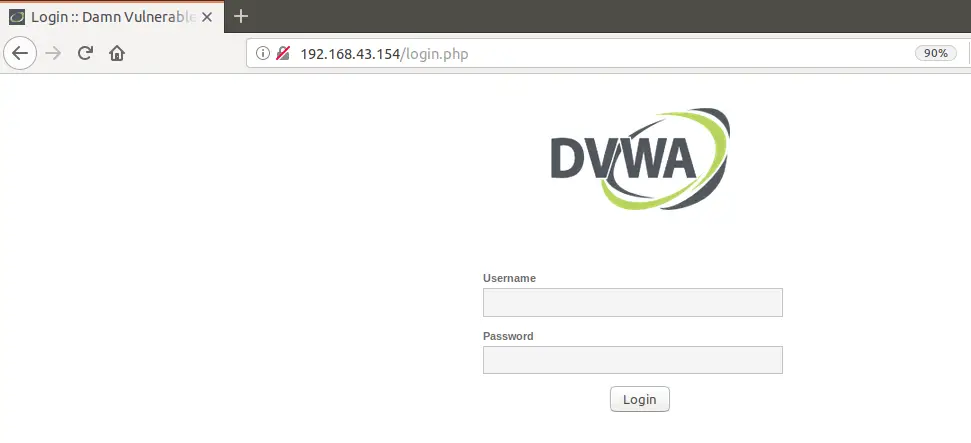
You can now login to your DVWA server using the credentials; user admin passord: password.
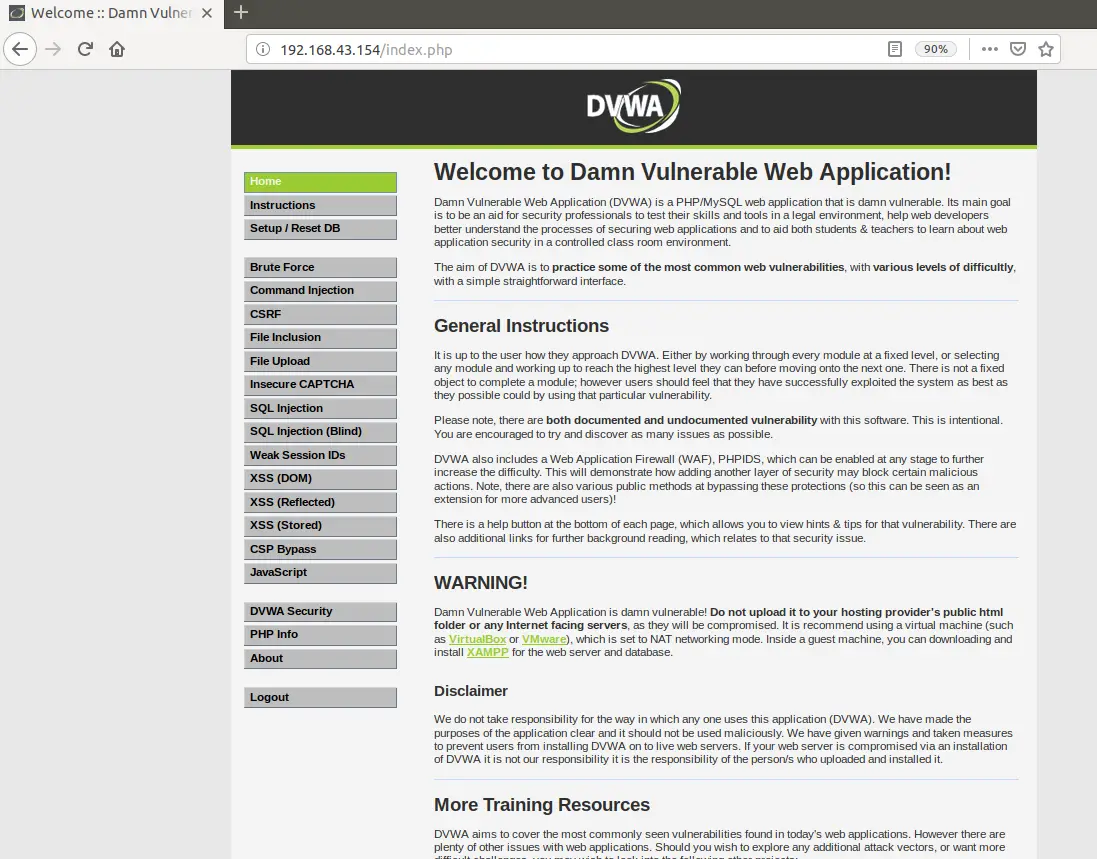
There you go.
To wrap, we have successfully learnt Install and configure DVWA lab on Ubuntu 18.04 server. You can now hunt for the vulnerabilities. We hope this article helped. Happy vulnerability hunting!
Other Related Guides
How to Install Acutenix on Ubuntu 18.04


Thanks for the very nice document.