Welcome again to our guide on how to add and manage Ubuntu systems using Landscape Ubuntu systems management tool. Before you can proceed, ensure that you have setup Landscape on premise edition. You can check our previous guide on how to install and setup Landscape on Ubuntu 18.04 by following the link below;
Install and Setup Landscape on Ubuntu 18.04
Add and Manage Ubuntu Systems Using Landscape
Set Landscape Server Access Keys
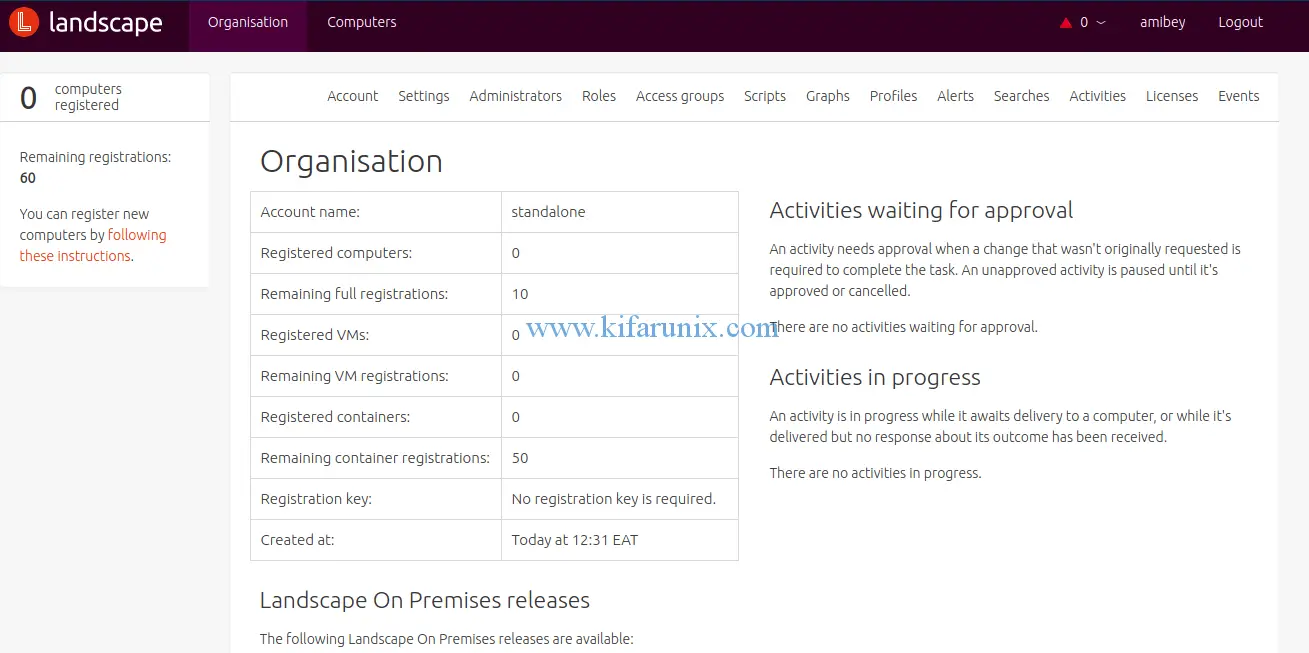
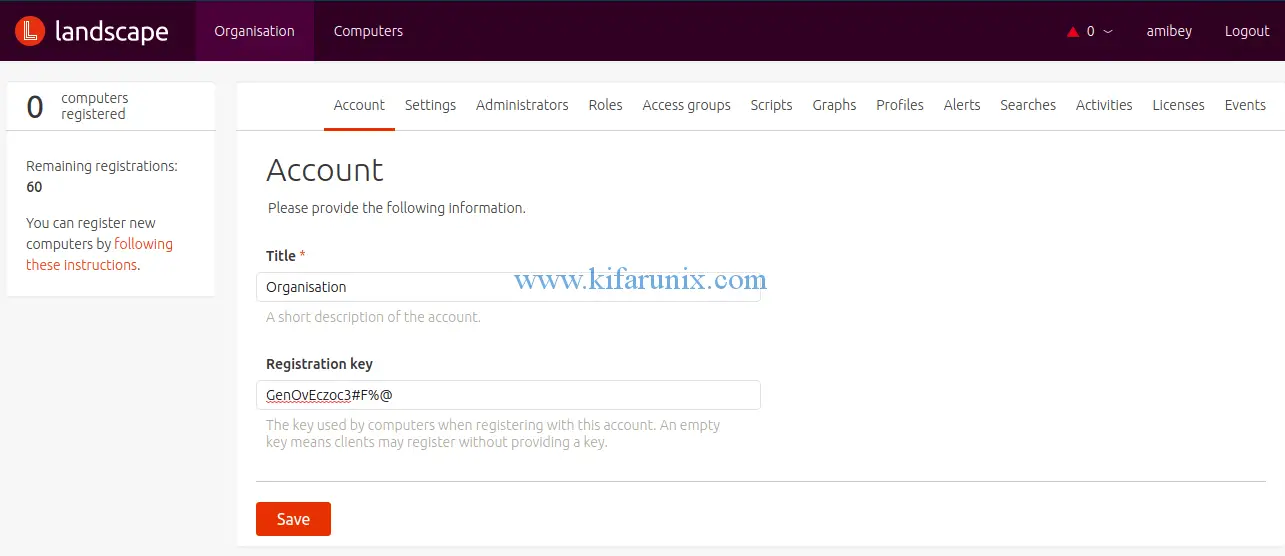
To ensure a secured connection to the Landscape server, you need to create access keys. This key prevent unauthorized registration attempts. You will be prompted to enter this key while registering the client. Hence, Login to Landscape web user interface and navigate to Organizations tab > Account.
Set your key and click save.
Copy Landscape SSL CA certificate to Clients
Registration of the client systems requires Landscape server’s SSL public key for authenticity. The Landscape quickstart package generates and installs a self-signed SSL certificate in /etc/ssl/certs/landscape_server_ca.crt using the FQDN of the host for the commonName field of the certificate.
Hence, copy this certificate file to every client and place it under an appropriate directory, say /etc/landscape/, for example;
scp /etc/ssl/certs/landscape_server_ca.crt [email protected]:/etc/landscape/Install Landscape Client
In order to manage Ubuntu systems using Landscape, you need to register them as Landscape clients. Hence, login to the Ubuntu systems you need to manage from Landscape dashboard and install Landscape client package to allow you register Ubuntu systems.
Update your system packages and install Landscape client.
sudo apt update
sudo apt install landscape-client
Register the computer
Next, proceed to register the client Ubuntu systems you need to manage from Landscape dashboard by executing the command below;
sudo landscape-config --computer-title "Server01" --account-name standalone --url https://u18server.example.com/message-system --ping-url http://u18server.example.com/ping --ssl-public-key /etc/landscape/landscape_server_ca.crtYou will be prompted to provide a few details about the client computer and the Landscape account.
The Landscape client must be started on boot to operate correctly.

Start Landscape client on boot? [Y/n]: y

This script will interactively set up the Landscape client. It will
ask you a few questions about this computer and your Landscape
account, and will submit that information to the Landscape server.
After this computer is registered it will need to be approved by an
account administrator on the pending computers page.

Please see https://landscape.canonical.com for more information.


A registration key may be associated with your Landscape
account to prevent unauthorized registration attempts.  This
is not your personal login password.  It is optional, and unless
explicitly set on the server, it may be skipped here.

If you don't remember the registration key you can find it
at https://landscape.canonical.com/account/standalone

Account registration key: Access Key
Please confirm: Access Key

The Landscape client communicates with the server over HTTP and
HTTPS.  If your network requires you to use a proxy to access HTTP
and/or HTTPS web sites, please provide the address of these
proxies now.  If you don't use a proxy, leave these fields empty.

HTTP proxy URL: Enter
HTTPS proxy URL: Enter

Landscape has a feature which enables administrators to run
arbitrary scripts on machines under their control. By default this
feature is disabled in the client, disallowing any arbitrary script
execution. If enabled, the set of users that scripts may run as is
also configurable.

Enable script execution? [y/N]: y

By default, scripts are restricted to the 'landscape' and
'nobody' users. Please enter a comma-delimited list of users
that scripts will be restricted to. To allow scripts to be run
by any user, enter "ALL".

Script users: Enter

You may provide an access group for this computer e.g. webservers.

Access group: Test_Servers

You may provide tags for this computer e.g. server,precise.

Tags: server01
[ ok ] Restarting landscape-client (via systemctl): landscape-client.service.
Please wait...

Request a new registration for this computer now? [Y/n]: y
System successfully registered.
Verify Client Registration
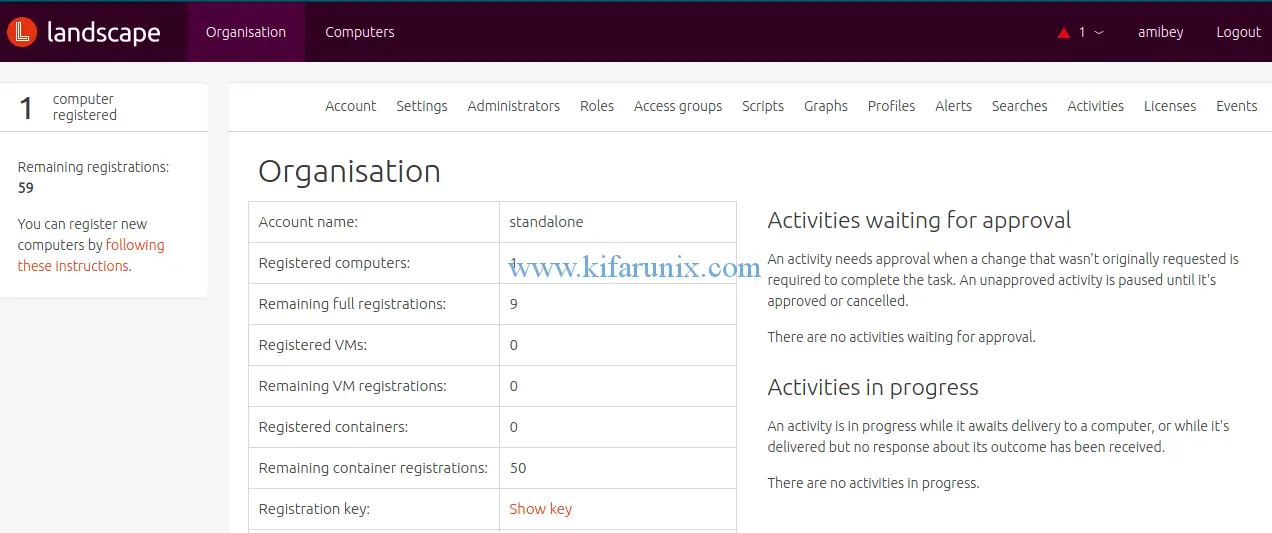
When you login back to Landscape web user interface, you will be able to see a registered client.
Click on Computer tab to see more details about the client.
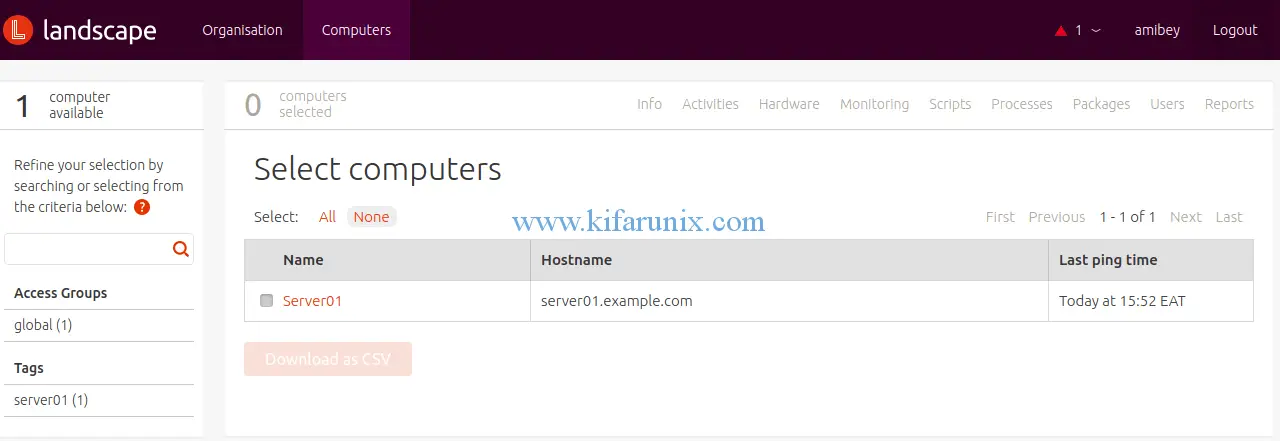
To see more details about the client computer, click on the checkbox adjacent to the client name. You can then go through the taps above to see more details. For example, to check the client computer info, click on the Info tab.
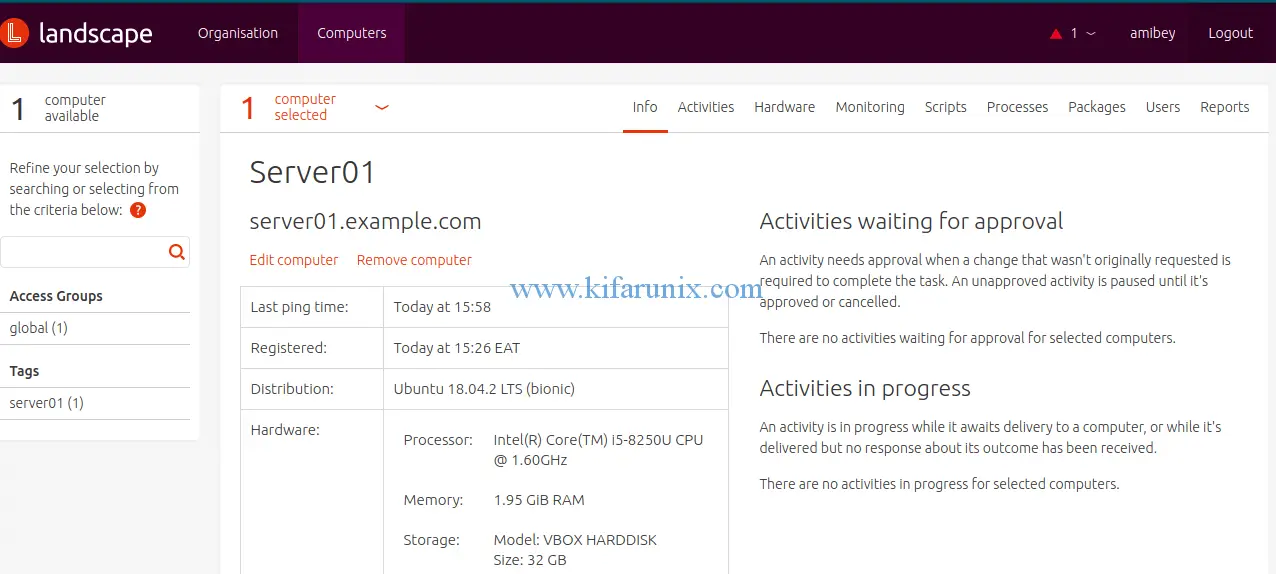
Amazing, isn’t it? Now, feel free to explore this tool. That is all about how to add and manage Ubuntu systems using Landscape.
For a list of frequently asked questions, check Landscape FAQs page. Enjoy.

