In this tutorial, we are going to learn how to install sysPass password manager on Rocky Linux. sysPass is opensource multiuser password manager written in PHP for business and personal use. It allows a centralized and collaborative passwords management. It saves passwords using bidirectional encryption with a master password to a database. Passwords are associated to accounts, and these have detailed information about it like: customer, category, notes, files, etc.
Install sysPass Password Manager on Rocky Linux
- Install Required Packages
In this guide, we are going to install the latest version of sysPass, v3.2.2 as of this writing. Successful setup of sysPass v3.2.2 requires LAMP stack installed;
- Web server (Apache/Nginx/Lighttpd) with SSL enabled.
- MariaDB >= 10.1 (we use MySQL 8.x in this tutorial).
- PHP >= 7.0
- PHP modules; mysql, curl, json, gd, xml, mbstring, intl, readline, ldap (optional), mcrypt (optional for importing older XML export files)
We have covered installation of LAMP stack on Rocky Linux in our previous guide. Check the link below;
Install LAMP Stack on Rocky Linux
Ensure you install PHP 7.4 on Rocky Linux. This is due to some compatibility issues between PHP 8 and Composer.
If you followed our tutorial above, some of the required modules are not installed and hence can be installed by running the command below.
dnf install php-pear php php-cgi php-cli php-common \
php-fpm php-gd php-json php-readline php-curl php-intl \
php-ldap php-xml php-mbstring php-mysqlnd git
Just to verify the MariaDB and PHP versions installed;
mysqld -Vmysql Ver 8.0.26 for Linux on x86_64 (Source distribution)php -vPHP 7.4.19 (cli) (built: May 4 2021 11:06:37) ( NTS )
Copyright (c) The PHP Group
Zend Engine v3.4.0, Copyright (c) Zend Technologies
with Zend OPcache v7.4.19, Copyright (c), by Zend Technologies- Create sysPass Database and user
Login to MariaDB and create sysPass database and user will full privileges on the database. The names used here are not standard. Feel free to change them to suite your environment.
mysql -u root -p -e "create database syspass"mysql -u root -p -e "create user spadmin@localhost identified by 'StronGP@ssw0RD'"mysql -u root -p -e "grant all on syspass.* to spadmin@localhost"mysql -u root -p -e "flush privileges"- Download sysPass
You can choose to use the sysPass tarball available on the latest releases page or just clone its repository.
git clone https://github.com/nuxsmin/sysPass.git /var/www/html/syspass- Install sysPass Dependencies
sysPass requires Composer that helps in managing all the required libraries and dependencies. To install Composer, navigate to the sysPass web directory and run the script below to programmatically install composer.
cd /var/www/html/syspassRun the commands below to install composer.
wget -O composer-setup.php https://getcomposer.org/installersudo php composer-setup.php --install-dir=/usr/local/bin --filename=composerNext, install the sysPass dependencies.
composer install --no-dev- Setup sysPass directories permissions
The sysPass web directory should be owned by the web server user which is www-data in this case. Hence, run the command below to set up proper permissions and ownership of the directories.
chown apache: -R /var/www/html/syspass
chmod 750 /var/www/html/syspass/app/{config,backup}- Restart Apache and MariaDB;
systemctl restart httpd mysqld- Finalize sysPass Setup
Once the installation is done, access sysPass from the browser to finalize on the setup. To access sysPass from web, use the URL;
http://<syspass-server>/syspassBe sure to open the web server ports on firewall.
firewall-cmd --add-port={80,443}/tcp --permanent
firewall-cmd --reload
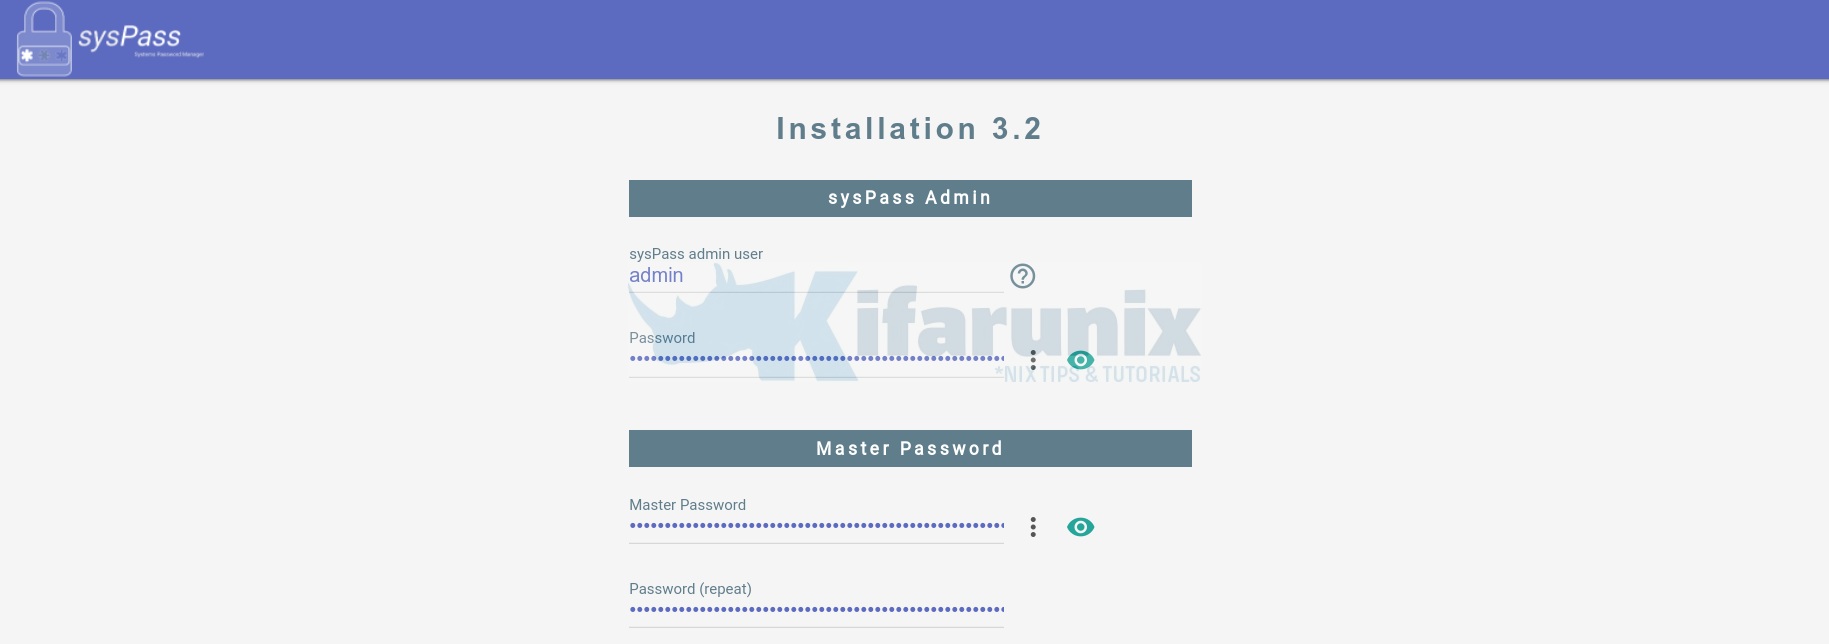
Configure sysPass admin and Master password.
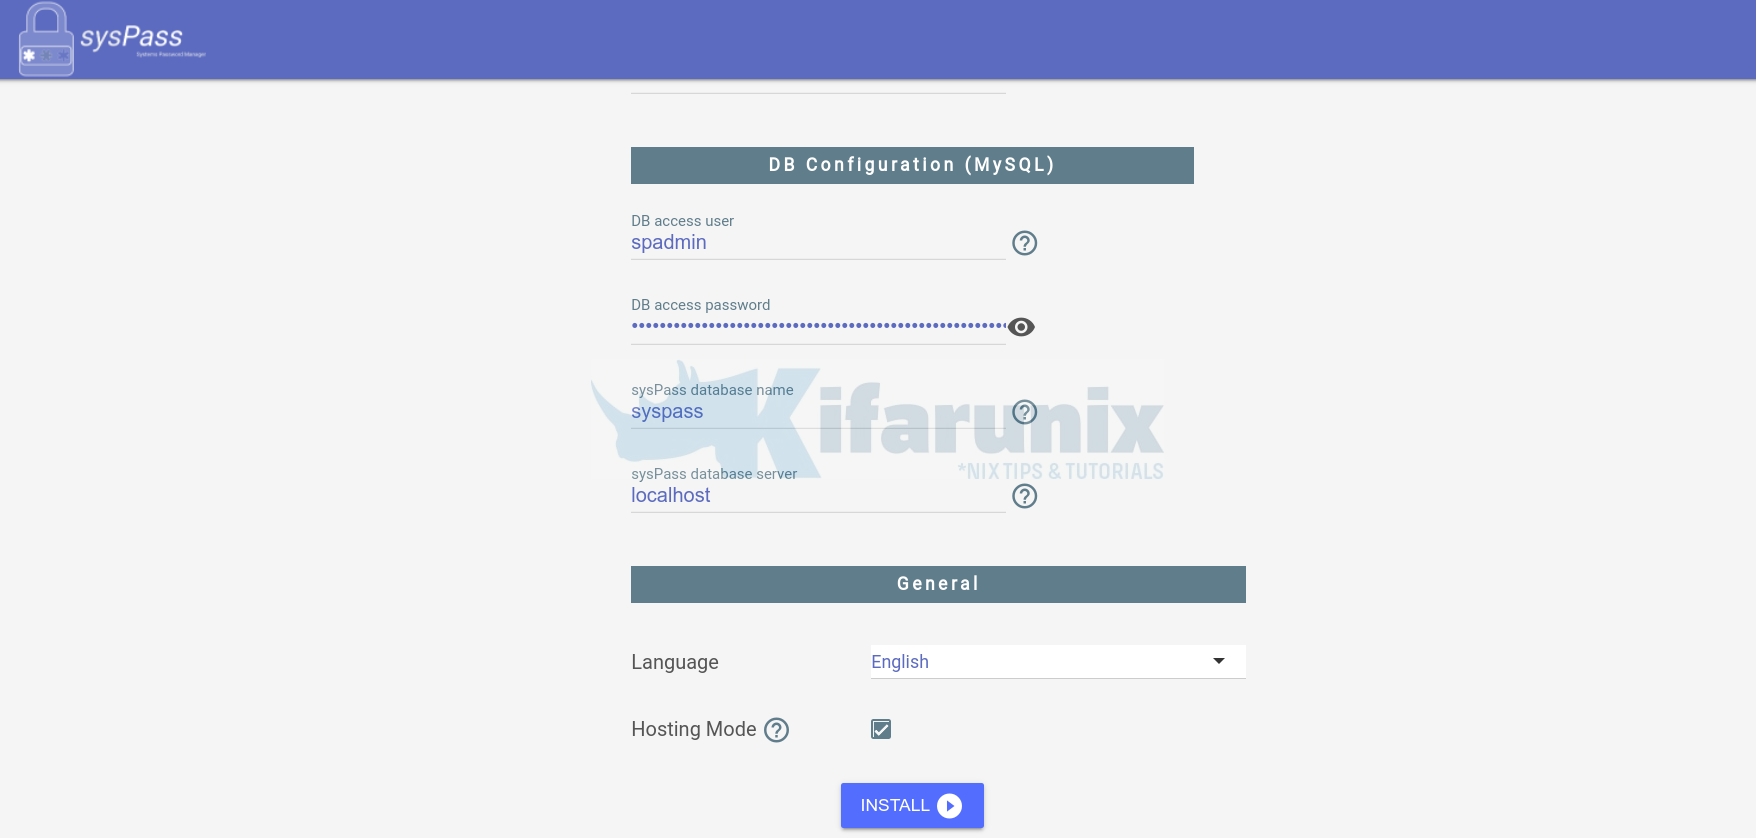
Next;
- Set the sysPass database connection details created above
- Choose the sysPass language
- check the hosting mode box
- hit install button to finalize on the setup.
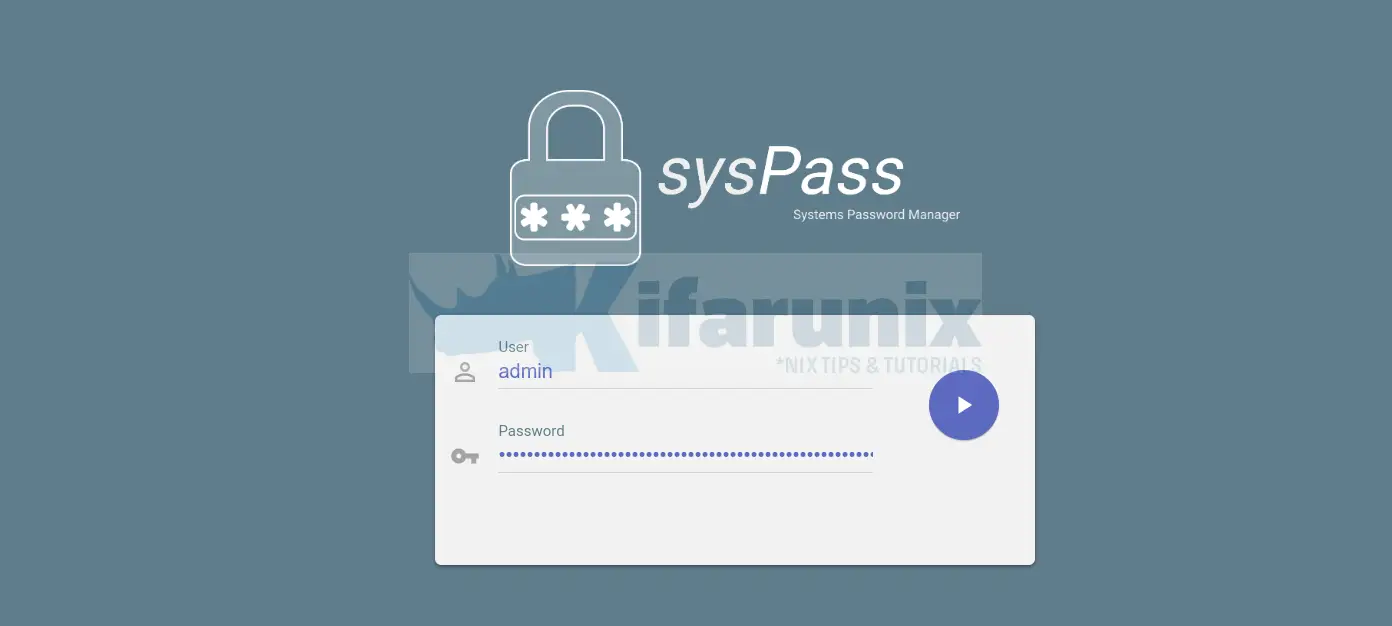
Once the setup is done, you will be redirected to sysPass login page. Use the admin credentials set during setup.
When you successfully login, you will land on the default sysPass dashboard.
That is all it takes to install sysPass on Rocky Linux. You can now create different account, add users and access privileges.
Learn how to integrate sysPass with OpenLDAP for authentication by following the link below;
Integrate sysPass with OpenLDAP for Authentication
Other Related Tutorials;


