Follow through this tutorial to learn how to install Sensu Go on Debian 11. Sensu is an opensource infrastructure and application monitoring tool.
Install Sensu Go on Debian 11
- Minimum System Hardware Requirements
Before you can proceed, check the recommended system hardware requirements.
- Deployment Architecture
There are different deployment architectures for Sensu Go. We will use standalone deployment in this guide.
- Install Sensu Go on Debian;
Sensu Go works in a client-server architecture with the Sensu Backend serving as the server while Sensu agent serving as the client.
According to Sensu component reference page;
Sensu Backend is a service that manages check requests and observability data. Every Sensu backend includes an integrated structure for scheduling checks using subscriptions, an event processing pipeline that applies event filters, mutators, and handlers, an embedded etcd datastore for storing configuration and state, and the Sensu API, Sensu web UI, and sensuctl command line tool.
The Sensu agent is a lightweight client that runs on the infrastructure components you want to monitor. Agents register with the Sensu backend as monitoring entities with type: "agent". Agent entities are responsible for creating check and metrics events to send to the backend event pipeline.
Install Sensu Go Backend on Debian 11
Install Sensu Go APT repositories on Debian 11;
sudo apt install curl -ycurl -s https://packagecloud.io/install/repositories/sensu/stable/script.deb.sh | sudo bashInstall Sensu Go backend;
sudo apt install sensu-go-backendInstall Sensu Go Command Line tool;
Run the command below to install Sensu Go command line tool that helps you to control Sensu Go resources.
sudo apt install sensu-go-cliThe binary that sensu-go-cli installs is called sensuctl.
Configure and Start Sensu Go Backend on Debian 11
You can start Sensu and run it on the foreground or run it as a service.
To run it on the foreground, just execute the command below;
sudo -u sensu sensu-backend startPress Ctrl+c to stop.
You can learn about the usage of the command sensu-backend from the help page.
sensu-backend --helpTo run Sensu as a service, download the sample configuration by running the command below;
curl -sL https://docs.sensu.io/sensu-go/latest/files/backend.yml -o /etc/sensu/backend.ymlThe sample configuration is highly commented;
cat /etc/sensu/backend.yml---
# Sensu backend configuration
##
# backend configuration
##
#labels:
# example_key: "example value"
#annotations:
# example/key: "example value"
#assets-burst-limit: 100
#assets-rate-limit: 1.39
#agent-rate-limit: 100
#cache-dir: "/var/cache/sensu/sensu-backend"
#config-file: "/etc/sensu/backend.yml"
#debug: false
#deregistration-handler: "example_handler"
log-level: "debug" #available log levels: panic, fatal, error, warn, info, debug, trace
#state-dir: "/var/lib/sensu/sensu-backend"
#require-fips: false
#require-openssl: false
#eventd-buffer-size: 100
#eventd-workers: 100
#keepalived-buffer-size: 100
#keepalived-workers: 100
#pipelined-buffer-size: 100
#pipelined-workers: 100
##
# api configuration
##
#api-listen-address: "[::]:8080" #listen on all IPv4 and IPv6 addresses
#api-request-limit: 512000
#api-url: "http://localhost:8080"
##
# tls configuration
##
#agent-auth-cert-file: /path/to/tls/backend-1.pem
#agent-auth-crl-urls: http://localhost/CARoot.crl
#agent-auth-key-file: /path/to/tls/backend-1-key.pem
#agent-auth-trusted-ca-file: /path/to/tls/ca.pem
#agent-burst-limit: null
#agent-host: "[::]" #listen on all IPv4 and IPv6 addresses
#agent-port: 8081
#agent-rate-limit: null
#cert-file: "/path/to/tls/backend-1.pem"
#insecure-skip-tls-verify: false
#jwt-private-key-file: /path/to/key/private.pem
#jwt-public-key-file: /path/to/key/public.pem
#key-file: "/path/to/tls/backend-1-key.pem"
#trusted-ca-file: "/path/to/tls/ca.pem"
#dashboard-cert-file: "/path/to/tls/separate-webui-cert.pem"
#dashboard-host: "[::]"
#dashboard-key-file: "/path/to/tls/separate-webui-key.pem"
#dashboard-port: 3000
##
# etcd datastore configuration
##
#etcd-advertise-client-urls:
# - http://localhost:2378
# - http://localhost:2379
#etcd-cert-file: "/path/to/tls/backend-1.pem"
#etcd-cipher-suites:
# - TLS_ECDHE_ECDSA_WITH_AES_256_GCM_SHA384
# - TLS_ECDHE_RSA_WITH_AES_256_GCM_SHA384
# - TLS_ECDHE_ECDSA_WITH_AES_128_GCM_SHA256
# - TLS_ECDHE_RSA_WITH_AES_128_GCM_SHA256
# - TLS_ECDHE_ECDSA_WITH_CHACHA20_POLY1305
# - TLS_ECDHE_RSA_WITH_CHACHA20_POLY1305
#etcd-client-cert-auth: false
#etcd-client-urls:
# - https://10.0.0.1:2379
# - https://10.1.0.1:2379
#etcd-discovery:
# - https://discovery.etcd.io/3e86b59982e49066c5d813af1c2e2579cbf573de
#etcd-discovery-srv:
# - example.org
#etcd-initial-advertise-peer-urls:
# - https://10.0.0.1:2380
# - https://10.1.0.1:2380
#etcd-initial-cluster: "backend-0=https://10.0.0.1:2380,backend-1=https://10.1.0.1:2380,backend-2=https://10.2.0.1:2380"
#etcd-initial-cluster-state: "new"
#etcd-initial-cluster-token: "unique_token_for_this_cluster"
#etcd-key-file: "/path/to/tls/backend-1-key.pem"
#etcd-listen-client-urls:
# - https://10.0.0.1:2379
# - https://10.1.0.1:2379
#etcd-listen-peer-urls:
# - https://10.0.0.1:2380
# - https://10.1.0.1:2380
#etcd-name: "backend-0"
#etcd-peer-cert-file: "/path/to/tls/backend-1.pem"
#etcd-peer-client-cert-auth: false
#etcd-peer-key-file: "/path/to/tls/backend-1-key.pem"
#etcd-peer-trusted-ca-file: "./ca.pem"
#etcd-trusted-ca-file: "./ca.pem"
#no-embed-etcd: false
#etcd-election-timeout: 3000
#etcd-heartbeat-interval: 300
#etcd-max-request-bytes: 1572864
#etcd-quota-backend-bytes: 4294967296
You can then start and enable Sensu Go backend to run on system boot with the default configuration settings;
sudo systemctl enable --now sensu-backendCheck the status of the Sensu Go backend command;
systemctl status sensu-backendSample output;
● sensu-backend.service - The Sensu Backend service.
     Loaded: loaded (/lib/systemd/system/sensu-backend.service; enabled; vendor preset: enabled)
     Active: active (running) since Fri 2022-05-06 22:26:58 EAT; 8s ago
   Main PID: 3462 (sensu-backend)
      Tasks: 8 (limit: 1133)
     Memory: 30.8M
        CPU: 358ms
     CGroup: /system.slice/sensu-backend.service
             └─3462 /usr/sbin/sensu-backend start -c /etc/sensu/backend.yml

May 06 22:27:04 debian11 sensu-backend[3462]: {"component":"tessend","key":"a8e65cb0-0a5f-41da-84d0-8c73cdef80c1","level":"debug","msg":"added a key to the ring","time":"2>
May 06 22:27:04 debian11 sensu-backend[3462]: {"component":"tessend","level":"debug","metric_name":"backend_count","metric_value":1,"msg":"collected a metric for tessen",">
May 06 22:27:04 debian11 sensu-backend[3462]: {"component":"tessend","level":"debug","metric_name":"entity_class_backend_count","metric_value":1,"msg":"collected a metric >
May 06 22:27:04 debian11 sensu-backend[3462]: {"component":"etcd","level":"debug","caller":"v3rpc/interceptor.go:182","msg":"request stats","start time":"2022-05-06T22:27:>
May 06 22:27:04 debian11 sensu-backend[3462]: {"component":"etcd","level":"debug","caller":"v3rpc/interceptor.go:182","msg":"request stats","start time":"2022-05-06T22:27:>
May 06 22:27:04 debian11 sensu-backend[3462]: {"component":"tessend","level":"debug","msg":"added a backend to tessen","time":"2022-05-06T22:27:04+03:00","values":["a8e65c>
May 06 22:27:04 debian11 sensu-backend[3462]: {"component":"etcd","level":"debug","caller":"v3rpc/interceptor.go:182","msg":"request stats","start time":"2022-05-06T22:27:>
May 06 22:27:04 debian11 sensu-backend[3462]: {"component":"etcd","level":"debug","caller":"v3rpc/interceptor.go:182","msg":"request stats","start time":"2022-05-06T22:27:>
May 06 22:27:05 debian11 sensu-backend[3462]: {"component":"etcd","level":"debug","caller":"v3rpc/interceptor.go:182","msg":"request stats","start time":"2022-05-06T22:27:>
May 06 22:27:06 debian11 sensu-backend[3462]: {"component":"etcd","level":"debug","caller":"v3rpc/interceptor.go:182","msg":"request stats","start time":"2022-05-06T22:27
Create Sensu Administrator Account
Next, run the Sensu initialization command (sensu-backend init) below to create Sensu administrator account username and password.
The basic usage of the sensu-backend init command can be checked on the help information;
sensu-backend init --helpinitialize a new sensu installation
Usage:
sensu-backend init [flags]
General Flags:
--cluster-admin-api-key string cluster admin API key
--cluster-admin-password string cluster admin password
--cluster-admin-username string cluster admin username
-c, --config-file string path to sensu-backend config file (default "/etc/sensu/backend.yml")
-h, --help help for init
--ignore-already-initialized exit 0 if the cluster has already been initialized
--interactive interactive mode
--timeout string duration to wait before a connection attempt to etcd is considered failed (must be >= 1s) (default "5s")
--wait continuously retry to establish a connection to etcd until it is successful
Store Flags:
--etcd-advertise-client-urls strings list of this member's client URLs to advertise to clients (default [http://localhost:2379])
--etcd-cert-file string path to the client server TLS cert file
--etcd-cipher-suites strings list of ciphers to use for etcd TLS configuration
--etcd-client-cert-auth enable client cert authentication
--etcd-client-log-level string etcd client logging level [panic, fatal, error, warn, info, debug] (default "error")
--etcd-client-urls string client URLs to use when operating as an etcd client
--etcd-key-file string path to the client server TLS key file
--etcd-max-request-bytes uint maximum etcd request size in bytes (use with caution) (default 1572864)
--etcd-trusted-ca-file string path to the client server TLS trusted CA cert file
Thus, to create Sensu admin account username and password, you have to pass the following options to the sensu-backend init command.
--cluster-admin-username <username> --cluster-admin-password <password>You can also use the following variables for both username and password respectively;
SENSU_BACKEND_CLUSTER_ADMIN_USERNAME=<username>
SENSU_BACKEND_CLUSTER_ADMIN_PASSWORD=<password>
For example, to create the account using the variables, first disable bash history;
set +o historySet the username/password variables;
export SENSU_BACKEND_CLUSTER_ADMIN_USERNAME=sensuadmin
export SENSU_BACKEND_CLUSTER_ADMIN_PASSWORD=password
Initialize Sensu instance
sensu-backend initSample output;
{"component":"cmd","level":"info","msg":"attempting to connect to etcd server: http://localhost:2379","time":"2022-05-06T22:38:13+03:00"}
{"component":"backend.seeds","level":"info","msg":"seeding etcd store with initial data","time":"2022-05-06T22:38:14+03:00"}
{"component":"store","level":"warning","msg":"migrating etcd database to a new version","time":"2022-05-06T22:38:15+03:00"}
{"component":"store","database_version":1,"level":"info","msg":"successfully upgraded database","time":"2022-05-06T22:38:15+03:00"}
{"component":"store","database_version":2,"level":"info","msg":"successfully upgraded database","time":"2022-05-06T22:38:16+03:00"}
{"component":"store","level":"warning","msg":"migrating enterprise etcd database to a new version","time":"2022-05-06T22:38:16+03:00"}
{"component":"store","database_version":1,"level":"info","msg":"successfully upgraded database","time":"2022-05-06T22:38:16+03:00"}
{"component":"store","database_version":2,"level":"info","msg":"successfully upgraded database","time":"2022-05-06T22:38:17+03:00"}
Enable the bash history;
set -o historyYou can always verify the user credentials or reset the user password using the sensuctl command.
Before you can use Sensu CLI command, you need to initialize sensuctl configuration
sensuctl configureGo through the prompts accordingly.
Sample output;
? Authentication method: username/password
? Sensu Backend API URL: http://127.0.0.1:8080
? Namespace: default
? Preferred output format: tabular
? Username: sensuadmin
? Password: ********
You can also run the command in non-interactive mode;
sensuctl configure -n \
--username 'YOUR_USERNAME' \
--password 'YOUR_PASSWORD' \
--namespace default \
--url 'http://127.0.0.1:8080'
Change admin password;
sensuctl user change-password --interactiveReset user’s forgotten password;
sensuctl user reset-password USERNAME --interactiveAccessing Sensu Go Web UI
The Sensu Go web UI service listens on port 3000/tcp by default.
sudo ss -altnp | grep sensuLISTEN 0 4096 127.0.0.1:2379 0.0.0.0:* users:(("sensu-backend",pid=3462,fd=8))
LISTEN 0 4096 127.0.0.1:2380 0.0.0.0:* users:(("sensu-backend",pid=3462,fd=7))
LISTEN 0 4096 *:8080 *:* users:(("sensu-backend",pid=3462,fd=18))
LISTEN 0 4096 *:8081 *:* users:(("sensu-backend",pid=3462,fd=19))
LISTEN 0 4096 *:3000 *:* users:(("sensu-backend",pid=3462,fd=20))
If the Firewall is running, open this port to allow external access.
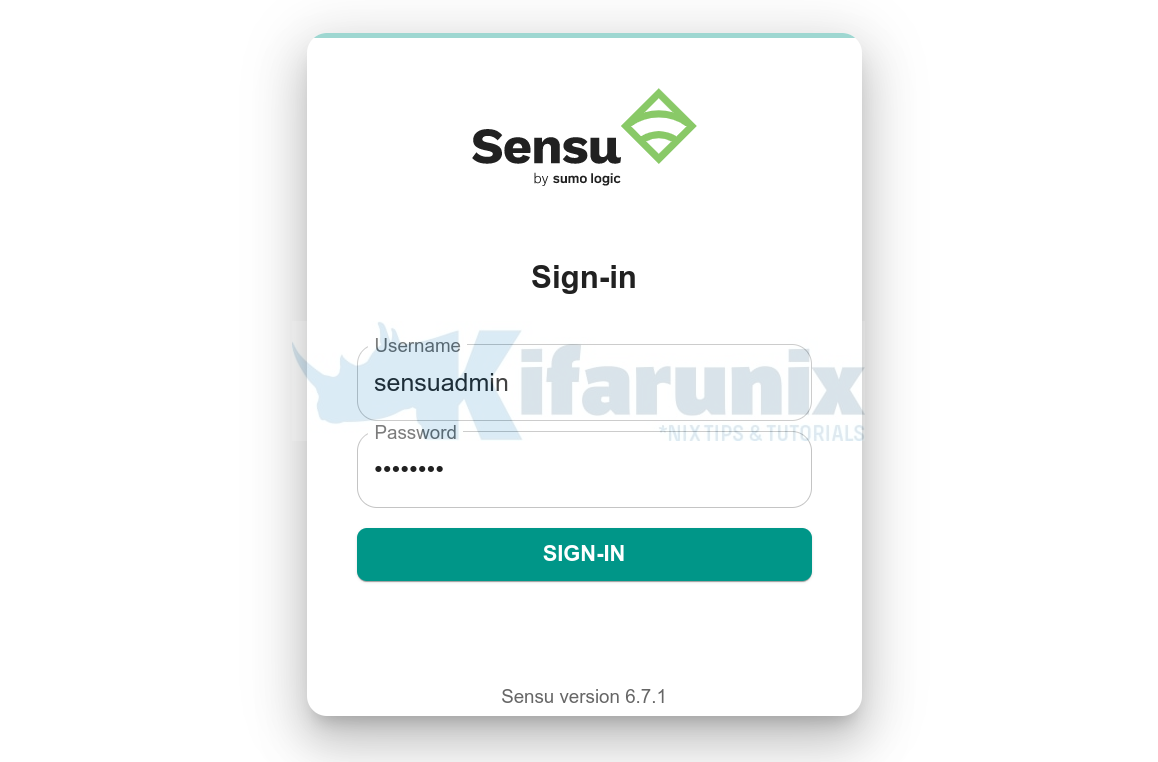
sudo ufw allow 3000/tcpThe access your Sensu Go Web UI using the address http://server-address-or-IP:3000.
Login using the credentials created above.
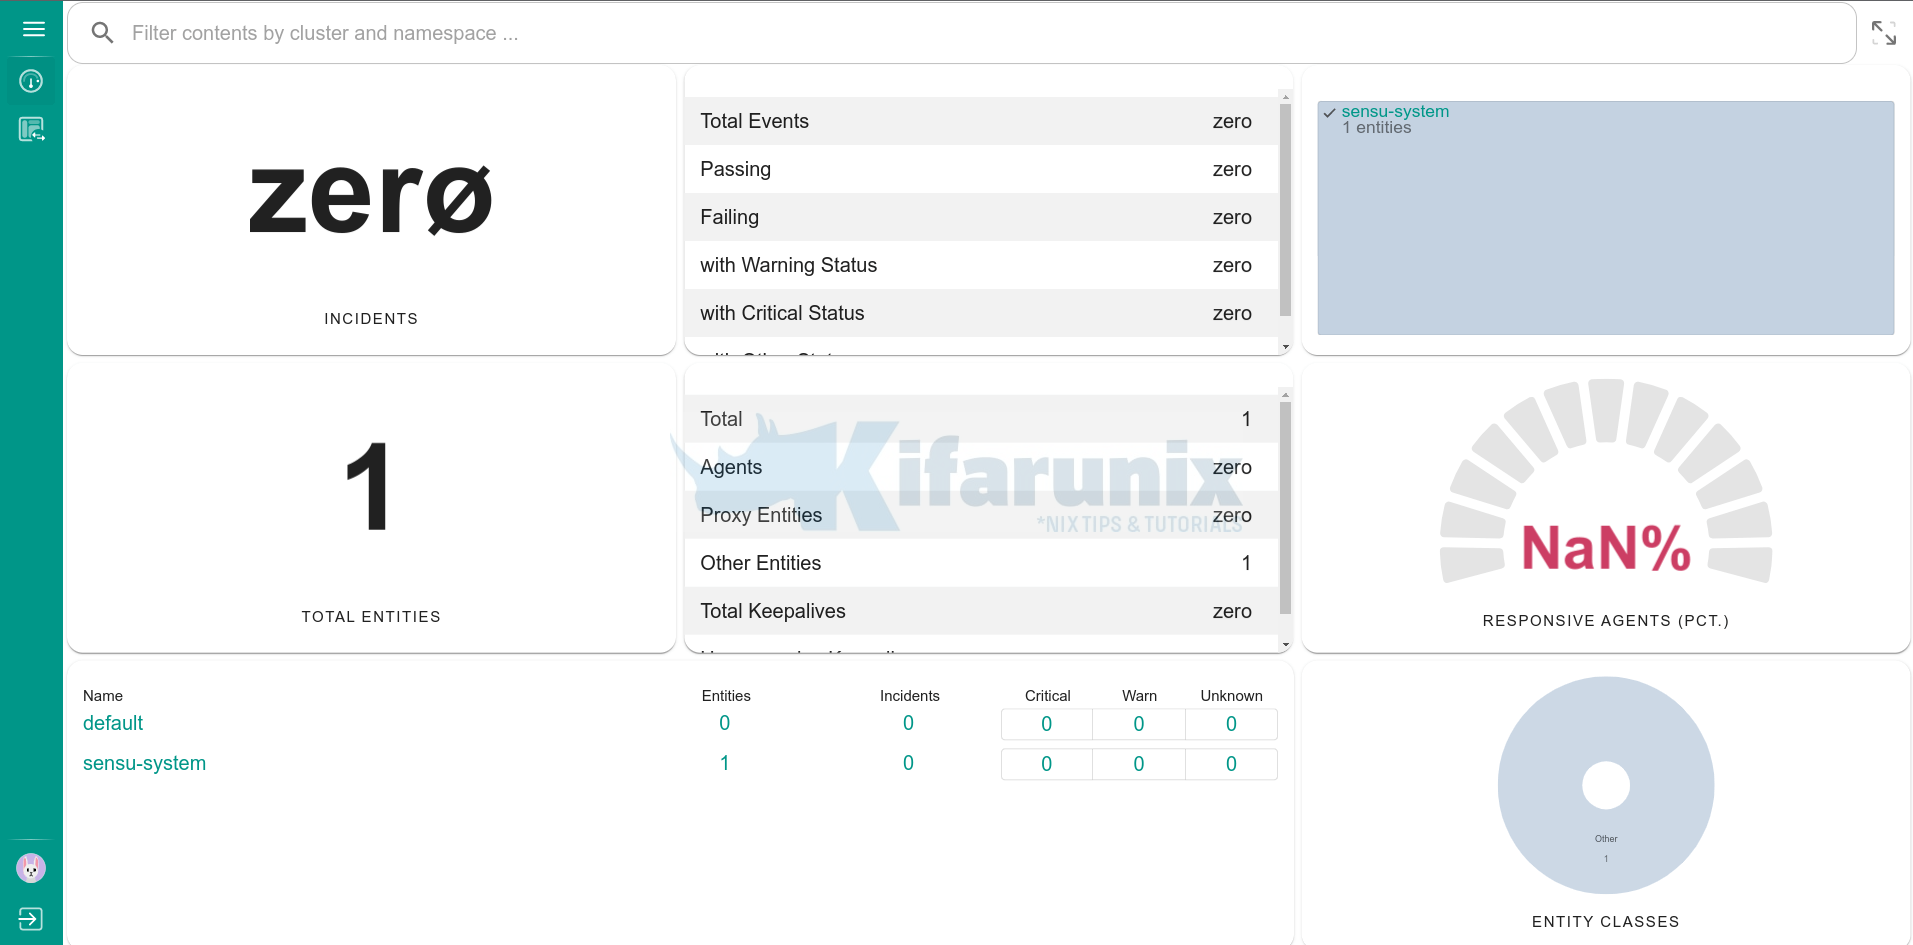
Sensu Dashboard
And that is all.
In our next guide, we will learn how to install Sensu agents and start monitoring your end points.
Install Sensu Agent on Ubuntu/Debian
Install Sensu Agent on Windows systems


