In this guide, we are going to learn how to install pfSense firewall on KVM. pfSense is a free and open source firewall and router that also features unified threat management, load balancing, multi WAN and many more features that are comprehensively described on pfSense features page.
Table of Contents
Installing pfSense Firewall on KVM
Download pfSense installation ISO file
Navigate to pfSense iso downloads page and grab the latest installation iso file. Obtain the download link and pull the iso archive using wget command or any other download tool of your choice.
Replace the value of VER variable below with the current version of pfSense;
VER=2.7.0wget -c https://atxfiles.netgate.com/mirror/downloads/pfSense-CE-${VER}-RELEASE-amd64.iso.gz
Also download the checksum file to verify the integrity of the downloaded iso file above.
wget https://atxfiles.netgate.com/mirror/downloads/pfSense-CE-${VER}-RELEASE-amd64.iso.gz.sha256
Verify Integrity of downloaded pfSense ISO file
To ensure that the downloaded ISO file is not broken/damaged in some way, calculate the SHA256 hash of the file and compare the resulting hash with value contained in the checksum file downloaded.
sha256sum pfSense-CE-${VER}-RELEASE-amd64.iso.gz
98a14db2746327ab4665610679c9ed7a78091687ee3097036ee9090ee8e33470 pfSense-CE-2.7.0-RELEASE-amd64.iso.gz
To display the contents of the hash file;
cat pfSense-CE-2.7.0-RELEASE-amd64.iso.gz.sha256
SHA256 (pfSense-CE-2.7.0-RELEASE-amd64.iso.gz) = 98a14db2746327ab4665610679c9ed7a78091687ee3097036ee9090ee8e33470
Once you have verified that the integrity of the archive file is okay, proceed to extract the iso file. pfSense iso archive file is created using the gzip tool and can be extracted using the gunzip command;
gunzip pfSense-CE-${VER}-RELEASE-amd64.iso.gz
Install pfSense on KVM
You can choose to create the virtual machine using the virt-manager or simply create and start the vm install from the command line. In this demo, we chose the later.
Therefore, create pfSense virtual disk, say of 10G. Replace the paths accordingly.
qemu-img create -f qcow2 /media/kifarunix/vol01/kvm/pfsense.qcow2 10G
Launch the installation of pfSense on KVM. Change the vm settings to suite your needs.
List OS variants;
virt-install --os-variant listvirt-install --virt-type kvm \ --name pfsense --ram 2048 --vcpus 2 \ --cdrom=/media/kifarunix/vol02/iso/pfSense-CE-2.7.0-RELEASE-amd64.iso \ --disk /media/kifarunix/vol01/kvm/pfsense.qcow2,bus=virtio,size=10,format=qcow2 \ --network default \ --network bridge=virbr1 \ --graphics vnc,listen=0.0.0.0 --noautoconsole \ --os-variant=freebsd13.1
Note that you need to have the bridge interface created prior to assigning it to a vm.
Press ENTER to launch the installation of pfSense on KVM.
After that, connect to the virt-manager console to complete the installation.
To connect to virt-manager, simply run;
virt-managerOtherwise, you can connect to pfSense domain console by running;
virt-viewer -c qemu:///system pfsenseOnce the pfSense installer runs, it will prompt you to accept the copyright and distribution notice. Accept the notice to proceed with installation.
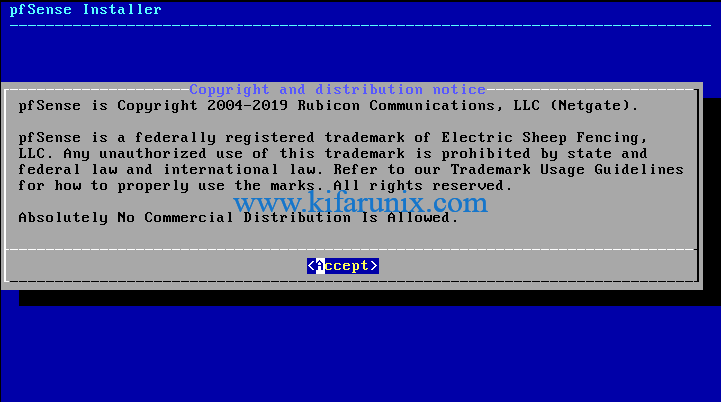
Select Install to install pfSense to KVM

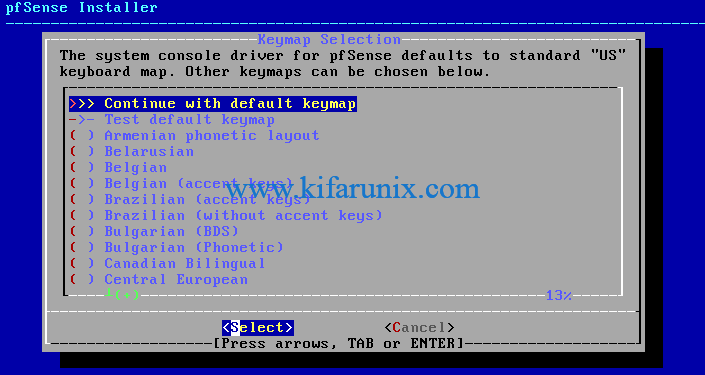
Click Ok to continue. Accept the default keymap settings
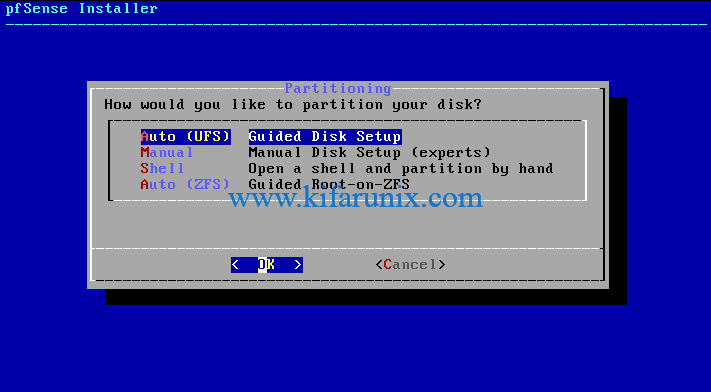
On disk partitioning, select Auto (UFS) Guided Disk Setup or any option of your choice.
The installation then begins and when it completes, you should see such a screen;
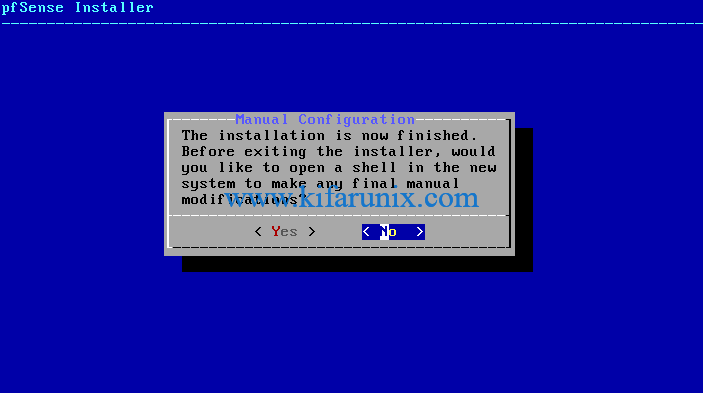
If you need to do any further manual configs, select Yes. Otherwise select No and proceed.
Reboot the pfSense virtual machine.
When it reboots, you are prompted configure VLANs, set the WAN and LAN interface. Enter your appropriate settings.
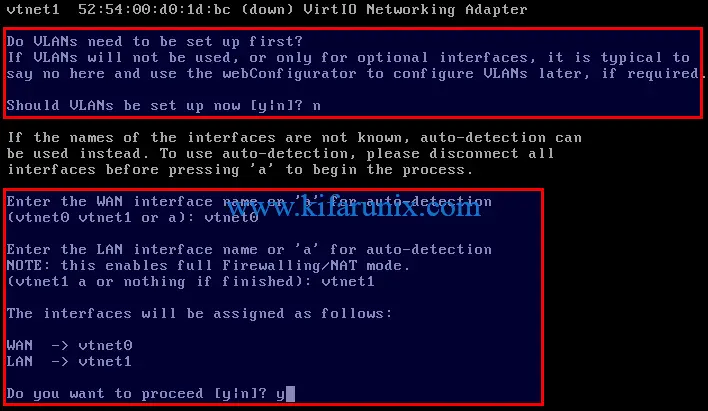
When the pfSense virtual machine boots completely, such a screen welcomes you;
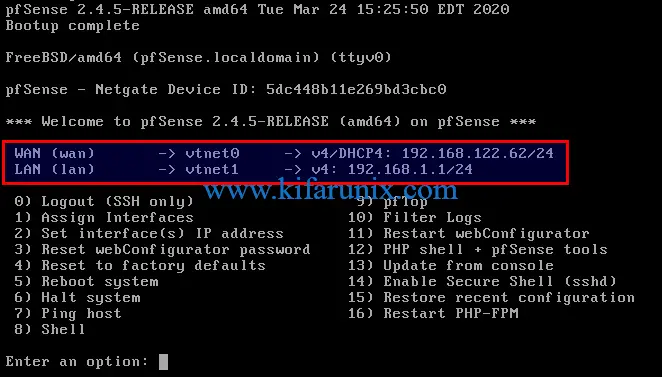
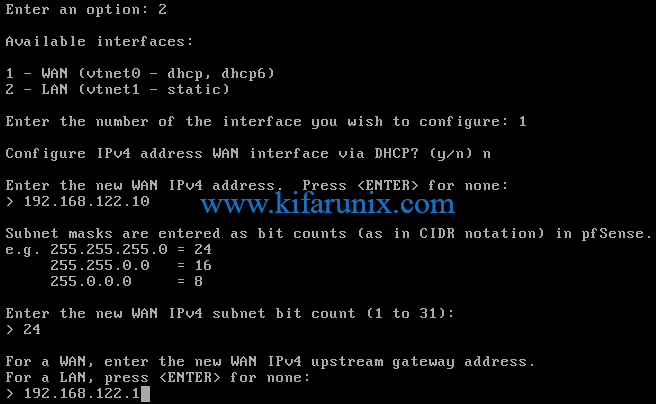
If you noticed, the WAN interface is assigned dynamic IP addresses. If you need to set static IP addresses, simply select option 2, Set Interface(s) IP Addresses. For example, to set static IP address for WAN interface;
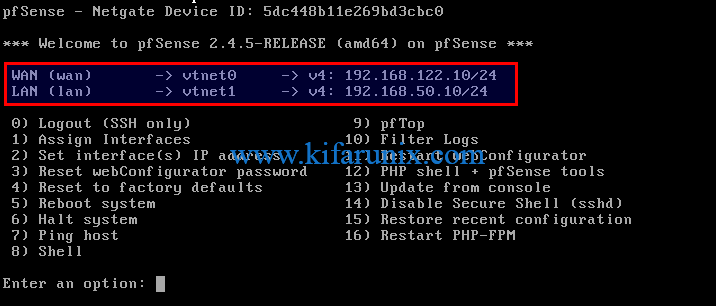
You should now have a static WAN interface IP address.
Similarly, set the appropriate IP address for your LAN interface. This is the IP addresses with which you access pfSense from web.
Access pfSense via SSH
By default, SSH is disabled on pfSense. To enable SSH logins, select option 14, Enable Secure Shell (sshd).
You can then access it using the assigned LAN IP address. Use the default credentials:
username: admin
password: pfsense
ssh admin@LAN_IPAccess pfSense Web Interface
You can now access pfSense from web using the LAN IP address. pfSense uses self signed SSL certs and hence, you can access using the address, https://LAN_IP.
Note that pfSense uses same credentials to access the WebGUI and also SSH services Hence, login using the same credentials above.
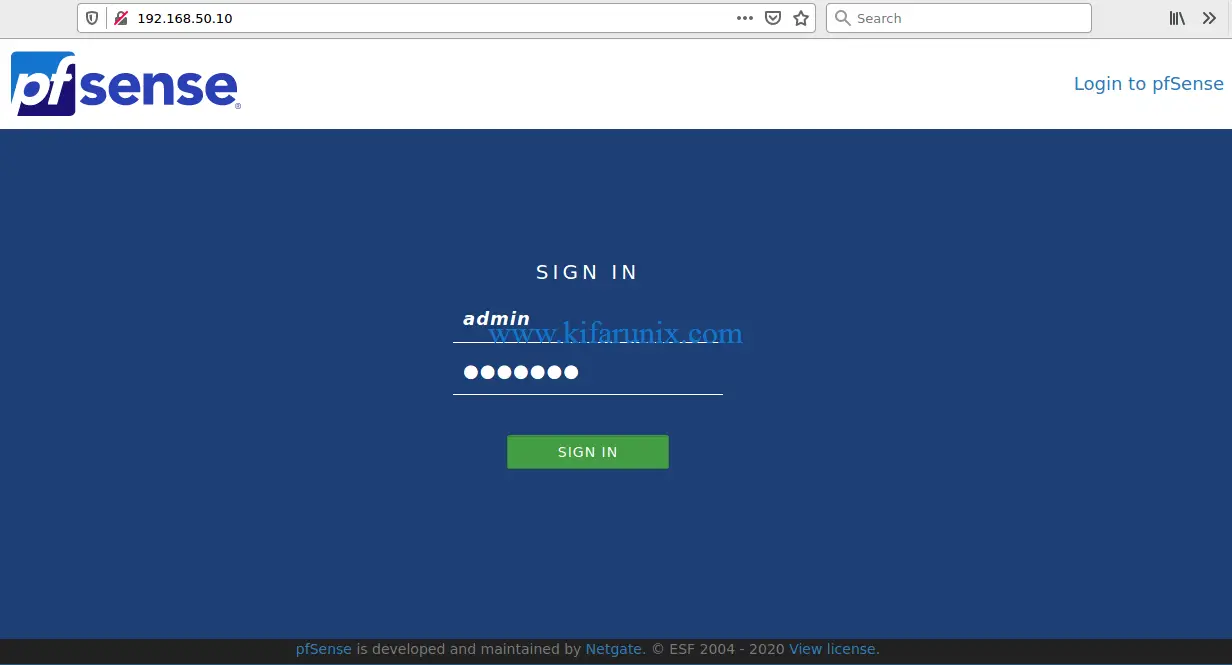
Upon successful authentication, you are welcomed by pfSense setup wizard.
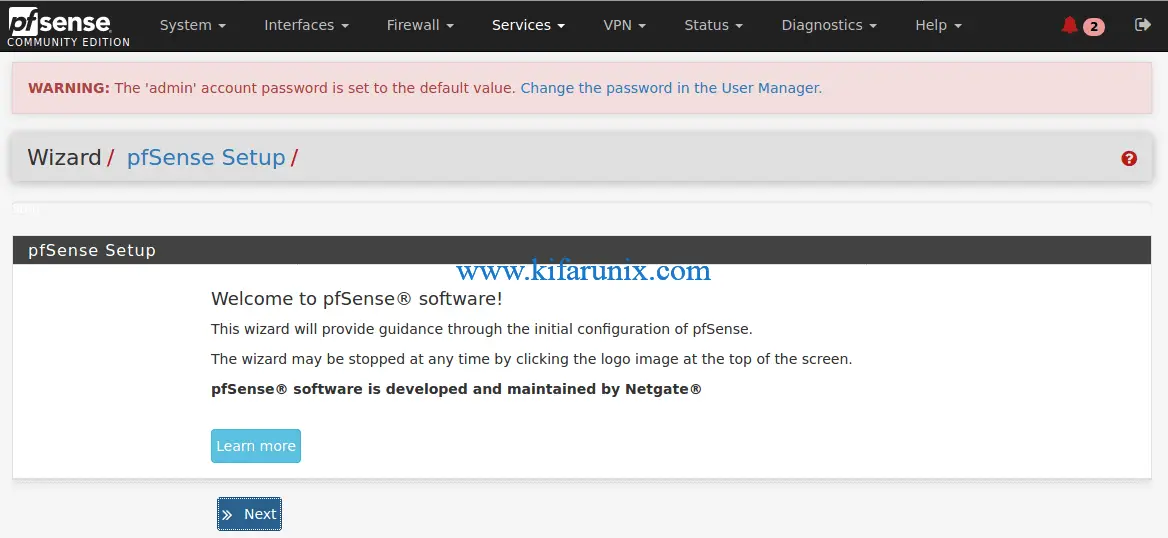
You can reset the admin password by clicking, Change the password in the User Manager or you can do the reset from the backend shell by selecting option 3, Reset webConfigurator password.
Go through the setup wizard to setup your pfSense firewall.
Related Tutorials
How to Install OPNsense on VirtualBox
How To Reset Or Recover Root Password On OPNsense


Hello good afternoon
I would like to know if you can help me, I test this confid with ubuntu server 18.04 and 20.04 in both cases replicated the configuration you present but at the time of running the commands virt-manager and virt-viewer -c qemu:///system pfsense i have this response:
virt-manager
Unable to init server: Could not connect: Connection refused
Unable to init server: Could not connect: Connection refused
Unable to init server: Could not connect: Connection refused
(virt-manager:6241): Gtk-WARNING **: 22:28:39.443: cannot open display
If i execute the command virsh console pfsense my Virtual Machine freeze in this:
virsh console pfsense
Connected to domain pfsense
Escape character is ^]
Can you help me??
Thanks
Thanks for the top guide! Also, this was the only place I could find where to get to the old versions to download. Upgrading to 2.7.2 broke something with PHP-FPM but had 2.7.0 stable uptime of more than 200 days. So if anyone else is looking for old versions go to here:
https://atxfiles.netgate.com/mirror/downloads