In this guide, we are going to learn how to install Nagios Core on Debian 10 Buster from the source. Nagios is an opensource tool that provides an enterprise-class central monitoring engine for IT monitoring, network monitoring, server and applications monitoring. It also provides a web interface for viewing current status, historical logs, and basic reports.
Install Nagios Core on Debian 10 Buster
Prerequisites
Since we are In this guide, we are going to build Nagios from the source. As such, there are some dependencies and build tools that are required. These include some components of LAMP/LEMP Stack, Apache/Nginx and PHP. Run the command below to install them.
apt install build-essential unzip openssl libssl-dev apache2 php libapache2-mod-php php-gd libgd-devIf you need to see how to install LEMP/LAMP stack on Debian 10 Buster, follow the links below;
Install LEMP Stack on Debian 10 Buster
Install LAMP Stack with MariaDB 10 on Debian 10 Buster
Download Nagios 4 Source code
Once the installation above completes, navigate to Nagios downloads page and download the latest stable release. Get the download link as download it as follows.
wget https://assets.nagios.com/downloads/nagioscore/releases/nagios-4.4.3.tar.gz -P /tmpExtract the Source code
Once the download is completes, navigate to download dir, /tmp in this guide and extract Nagios Core as follows.
cd /tmp
tar xzf nagios-4.4.3.tar.gz
Compile Nagios Core
Navigate to the Nagios source code directory and run configure script to adapt Nagios to your system. You can also configure Nagios to use Apache web server by specifying Apache configuration directory.
cd nagios-4.4.3/
./configure --with-httpd-conf=/etc/apache2/sites-enabled
Once the configure script completes, it should give you a summary as shown below;
...
*** Configuration summary for nagios 4.4.3 2019-01-15 ***:

 General Options:
 -------------------------
        Nagios executable:  nagios
        Nagios user/group:  nagios,nagios
       Command user/group:  nagios,nagios
             Event Broker:  yes
        Install ${prefix}:  /usr/local/nagios
    Install ${includedir}:  /usr/local/nagios/include/nagios
                Lock file:  /run/nagios.lock
   Check result directory:  /usr/local/nagios/var/spool/checkresults
           Init directory:  /lib/systemd/system
  Apache conf.d directory:  /etc/apache2/sites-enabled
             Mail program:  /bin/mail
                  Host OS:  linux-gnu
          IOBroker Method:  epoll

 Web Interface Options:
 ------------------------
                 HTML URL:  http://localhost/nagios/
                  CGI URL:  http://localhost/nagios/cgi-bin/
 Traceroute (used by WAP):  /usr/sbin/traceroute


Review the options above for accuracy.  If they look okay,
type 'make all' to compile the main program and CGIs.
To compile Nagios Core main program and CGIs, execute the command below;
make allIf the compilation is successful, proceed to setup Nagios as follows;
Create Nagios User and Group
TO create dedicated Nagios user and group, run the make command with install-groups-users option as shown below;
make install-groups-usersThe command above above simply executes, groupadd -r nagios and useradd -g nagios nagios commands.
Next, add the web server user, www-data to Nagios group just created.
usermod -aG nagios www-dataInstall Nagios
Run the make install command to install Nagios main program, CGIs and HTML files.
make installInstall Nagios Service
To install Nagios service configuration files and enable them to run on system boot.
make install-daemoninitInstall Command Mode
Run the command below install and configure permissions on the directory for holding external command file.
make install-commandmodeInstall Nagios Configuration Files
To setup Nagios configuration files, run the make command with install-config option.
make install-configThis installs sample config files in /usr/local/nagios/etc
Install Nagios Apache Config files
To install Apache configuration files for Nagios web interface, execute;
make install-webconfEnable Apache rewrite and CGI modules.
a2enmod rewrite cgiNagios with Apache web server is now configured.
Setup Nagios Apache Authentication
To setup Nagios Web authentication, you need to create an Apache user for authentication. This can be done using the htpasswd command.
htpasswd -c /usr/local/nagios/etc/htpasswd.users nagiosadminThe user, nagiosadmin, is used by default. If you need to use a different user, you need to replace all the occurences of nagiosadmin on the /usr/local/nagios/etc/cgi.cfg file with the user you created. For example, if you use like admin, replace nagiosadmin as shown below.
sed -i 's/nagiosadmin/admin/g' /usr/local/nagios/etc/cgi.cfgIf you also want to use a different authentication user file instead of, /usr/local/nagios/etc/htpasswd.users, ensure you edit the Nagios Apache configuration file, /etc/apache2/sites-enabled/nagios.conf and change the value of AuthUserFile.
Set the ownership of the Nagios Apache authentication configuration file to web-server user, www-data.
chown www-data.www-data /usr/local/nagios/etc/htpasswd.usersAdjust the file permissions appropriately such that the owner (www-data) have read write access, the group has read access.
chmod 640 /usr/local/nagios/etc/htpasswd.usersStart Apache Web server
Once you are done with configuration, restart Apache.
systemctl restart apache2If any firewall is running on your system, be sure to enable Apache through it.
ufw allow 80Start Nagios Core service
Start Nagios Core service by running the command below;
systemctl start nagios.serviceTo check the status
systemctl status nagios.service● nagios.service - Nagios Core 4.4.3
Loaded: loaded (/lib/systemd/system/nagios.service; enabled; vendor preset: enabled)
Active: active (running) since Thu 2019-07-25 03:56:52 EDT; 2s ago
Docs: https://www.nagios.org/documentation
Process: 5238 ExecStartPre=/usr/local/nagios/bin/nagios -v /usr/local/nagios/etc/nagios.cfg (code=exited, status=0/SUCCESS)
Process: 5239 ExecStart=/usr/local/nagios/bin/nagios -d /usr/local/nagios/etc/nagios.cfg (code=exited, status=0/SUCCESS)
Main PID: 5240 (nagios)
Tasks: 5 (limit: 4701)
Memory: 1.9M
CGroup: /system.slice/nagios.service
├─5240 /usr/local/nagios/bin/nagios -d /usr/local/nagios/etc/nagios.cfg
├─5241 /usr/local/nagios/bin/nagios --worker /usr/local/nagios/var/rw/nagios.qh
├─5242 /usr/local/nagios/bin/nagios --worker /usr/local/nagios/var/rw/nagios.qh
├─5243 /usr/local/nagios/bin/nagios --worker /usr/local/nagios/var/rw/nagios.qh
└─5244 /usr/local/nagios/bin/nagios --worker /usr/local/nagios/var/rw/nagios.qhIf you need to go through the Nagios logs, the log file is;
/usr/local/nagios/var/nagios.logAccessing Nagios on Debian 10 Buster
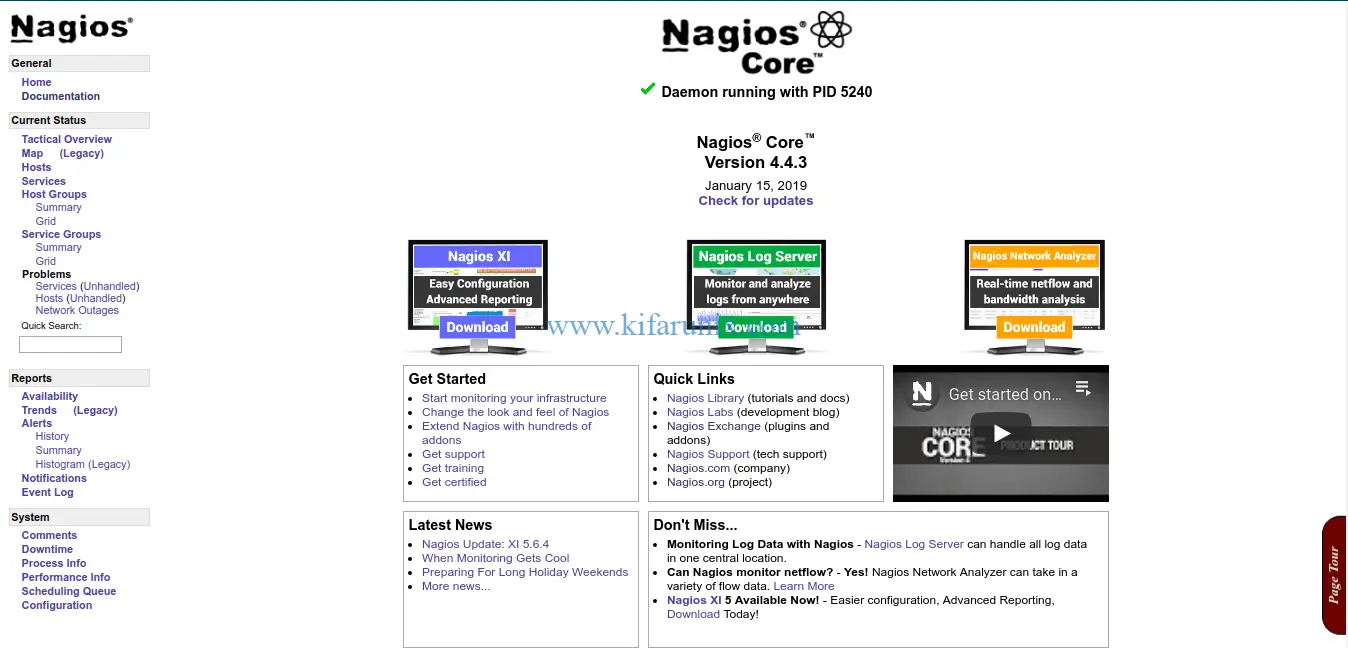
Once you are done with the configuration, navigate to the browser and access your Nagios with the address http://<server-IP>/nagios. You will be prompted to enter username and password created above to login.

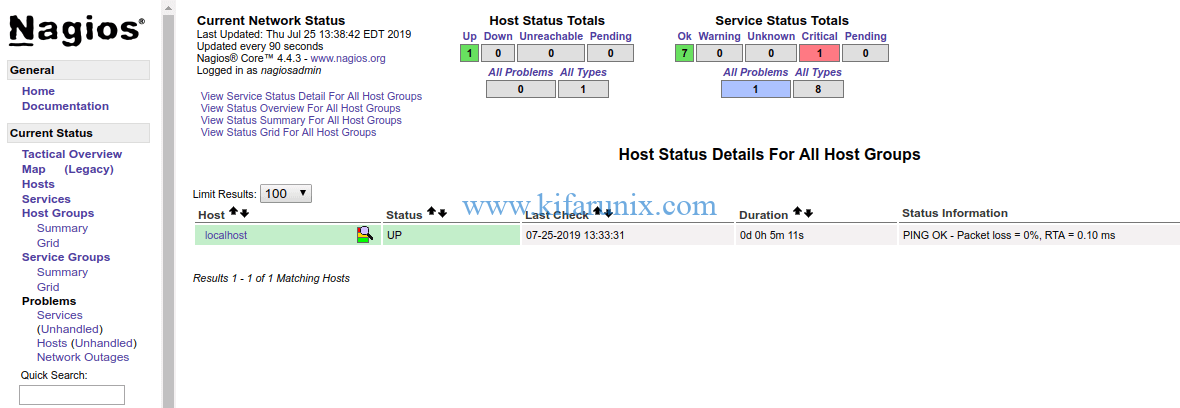
By default, Nagios doesn’t monitor the status of hosts and services without Nagios plugins, which are not installed by default. If you check the current status of the hosts, localhost server shows state as DOWN.

If you need to monitor your endpoints or even including your nagios server itself you need to install Nagios plugins.
Install Nagios Plugins
To monitor your local system (Nagios server), just install the plugins as shown below;
Download the Nagios Plugins
wget https://nagios-plugins.org/download/nagios-plugins-2.2.1.tar.gz -P /tmp/Extract and install the plugins.
cd /tmp
tar xzf nagios-plugins-2.2.1.tar.gz
Compile and install the plugins. Add
cd nagios-plugins-2.2.1/
./configure --with-nagios-user=nagios --with-nagios-group=nagios
make && make installIf the installation is successful, the plugins are installed under /usr/local/nagios/libexec.
Restart Nagios.
systemctl restart nagiosIf you login to your Nagios web UI, you should now be able to check the status of the host and services being monitored.
Host Status

Host Services

There you go. You have successfully install and configured Nagios on Debian 10 Buster. If you need to monitor you Linux/Windows Hosts or any other device, see out links below;
Monitor Linux Hosts using Nagios check_by_ssh Plugin
How to Install Nagios Plugins and NRPE agents on CentOS 7/RHEL 7/Fedora 29
How to Install Nagios Plugins From Source RHEL/CentOS/Oracle Linux
How to Install and Configure NSClient++ Nagios Agent on Windows System
How to Install and Configure Nagios Core From the Source Ubuntu 18.04


Excellent instructions! Its pretty rare that I find a tutorial that completely works!
We appreciate your feedback Leah. Enjoy
Worked like a charm, thx for this guide
Thank you for one of the most comprehensive, easiest checklists I’ve experienced. I was upgrading my NAS (which was running Nagios 3) to a newer box, and I thought I’d need the usual jiggery-pokery to get it running on a newer Debian / Apache configuration.
This just worked on the first shot. As one who had previously built and configured Nagios 2 and 3 from scratch, this was an awesome timesaver. Thank you for taking the time to document it.