Welcome to our tutorial on how to install Mantis Bug Tracker on Ubuntu 20.04. Mantis Bug Tracker (MantisBT), is a popular free web-based bug tracking system. It is written in PHP and supports to multiple database backends including MySQL, MS SQL and PostgreSQL.
Installing Mantis BT on Ubuntu 20.04
MantisBT is PHP based and supports a variety of database backends as mentioned above. In this guide, however, we will install Mantis bug tracker with MySQL 8 as the database backend. This therefore means that you need to a LAMP stack up and running for you to run Mantis bug tracker.
Install LAMP Stack on Ubuntu 20.04
As already mentioned above, in this guide, we will setup MantisBT to use MySQL 8 database backend. As such, begin by installing LAMP stack on Ubuntu 20.04.
We have already covered the installation of LAMP Stack on Ubuntu 20.04 in a separate tutorial whose link is provided below;
Install LAMP Stack on Ubuntu 20.04
Install other PHP extensions and other packages;
apt install php-{mysql,date,json,mbstring,curl,gd,fileinfo,ldap,cli,intl,xml,zip,bcmath,pear} libpcre3 libpcre3-dev zipCreate MantisBT Database and Database User
Login to MySQL and create MantisBT database and database user. Be sure to replace the names of the database, database user and the password.
mysqlcreate database mantisbt;create user mantisadmin@localhost identified by 'changeme';grant all on mantisbt.* to mantisadmin@localhost;Note that the Database root account is required to setup MantisBT. By default, MySQL 8 root account uses auth_socket authentication plugin and it doesn’t have any password set. Hence, change the authentication plugin to the mysql native plugin and set the password for MySQL root account.
UPDATE mysql.user SET plugin = 'mysql_native_password' WHERE user = 'root' AND plugin = 'auth_socket';
ALTER USER root@localhost identified by 'changeme';
Reload privileges tables and exit the database connection.
flush privileges;
quit
Restart MySQL database service.
systemctl restart mysqlInstall Mantis BT
Download MantisBT archive
Download the latest stable MantisBT release from the downloads page.
You can simply obtain the url and pull it using wget. For example, to download the current stable release (v2.24.3) as of this writing, simply run the command below;
wget https://tenet.dl.sourceforge.net/project/mantisbt/mantis-stable/2.24.3/mantisbt-2.24.3.zipExtract MantisBT Archive
Extract MantisBT and move it to your default web root directory.
unzip mantisbt-2.24.3.zipmv mantisbt-2.24.3 /var/www/html/mantisbtCreate Apache MantisBT Site Configuration
Next, create Apache MantisBT site configuration.
vim /etc/apache2/sites-available/mantisbt.conf<VirtualHost *:80>
DocumentRoot "/var/www/html/mantisbt"
ServerName mantisbt.kifarunix-demo.com
ErrorLog "/var/log/apache2/mantisbt_error_log"
CustomLog "/var/log/apache2/mantisbt_access_log" combined
<Directory "/var/www/html/mantisbt/">
DirectoryIndex index.php
Options -Indexes +FollowSymLinks
AllowOverride All
Require all granted
</Directory>
</VirtualHost>Save and exit the configuration file. Be sure to set the proper settings as per your setup.
Check Apache Syntax configuration;
apachectl -tDisable the default Apache site;
a2dissite 000-default.confEnable MantisBT site;
a2ensite mantisbt.confChange the ownership of the MantisBT web root directory;
chown -R www-data: /var/www/html/mantisbtRestart Apache;
systemctl restart apache2Accessing MantisBT Web Interface
To allow external access, you need to open port 80/tcp on UFW if it is running.
ufw allow ApacheNow access MantisBT using the URL http://server-IP-or-domain.
Go through the Pre-Installation Check and ensure everything is good.

Configure MantisBT database connections;
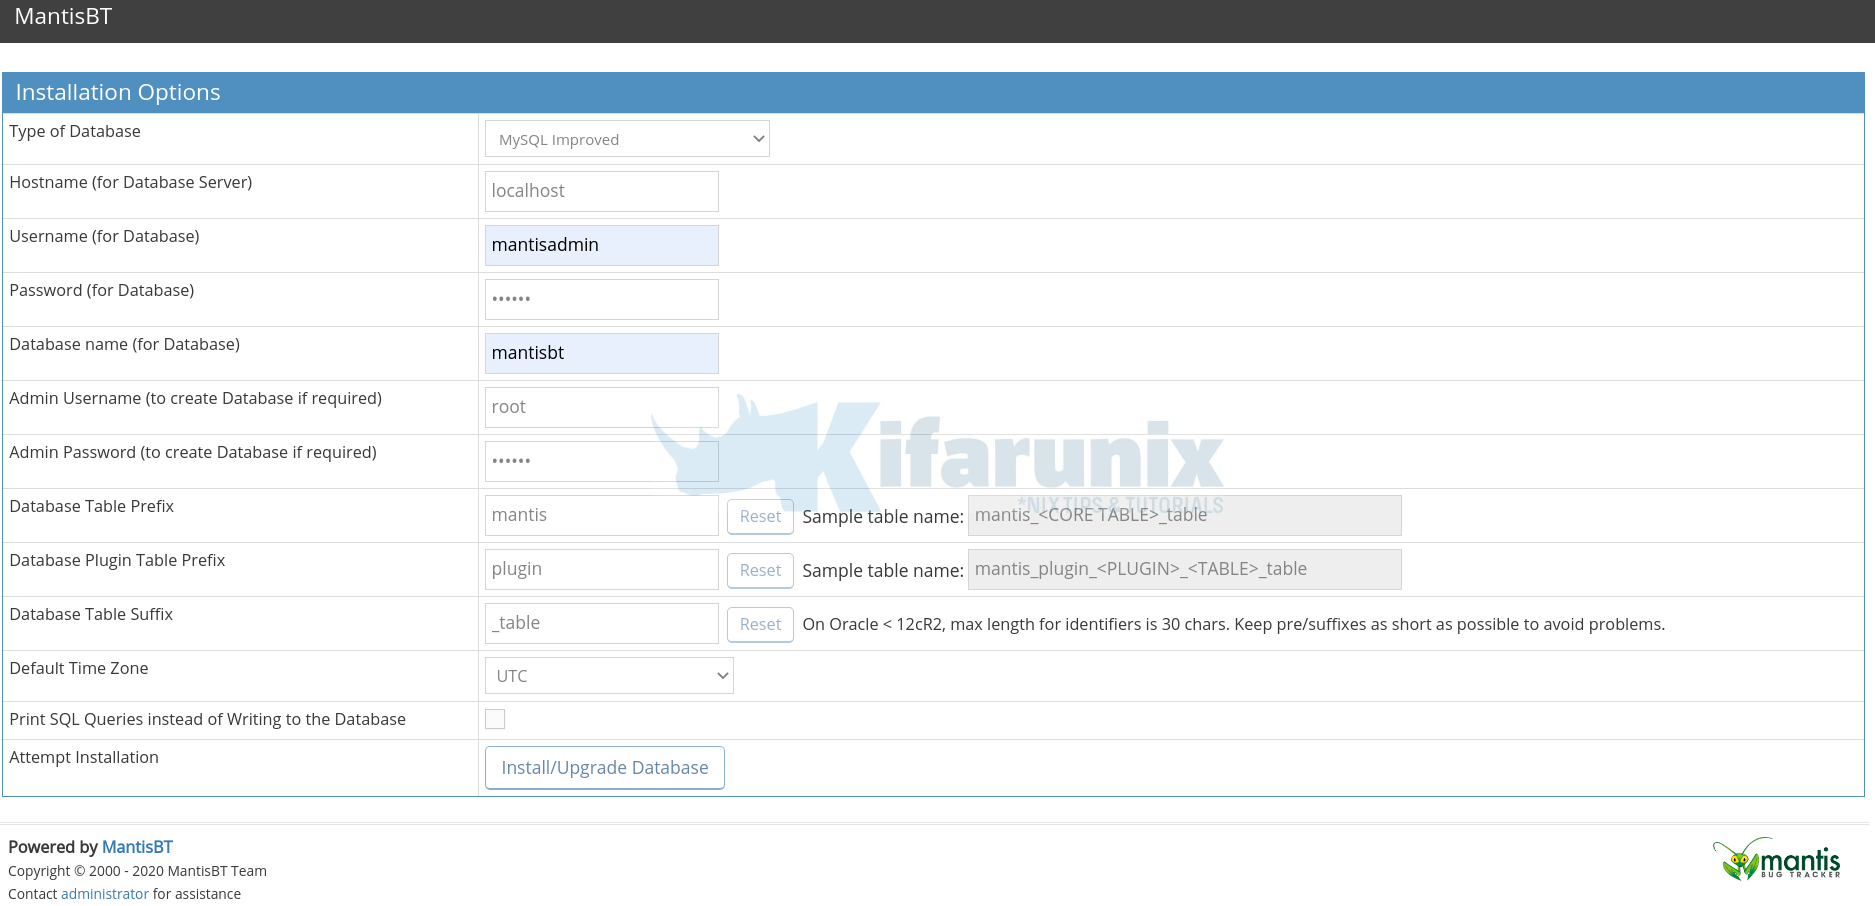
Click Install/Upgrade Database button to install setup MantisBT DB.
Once the installation completes, you should see such an interface.
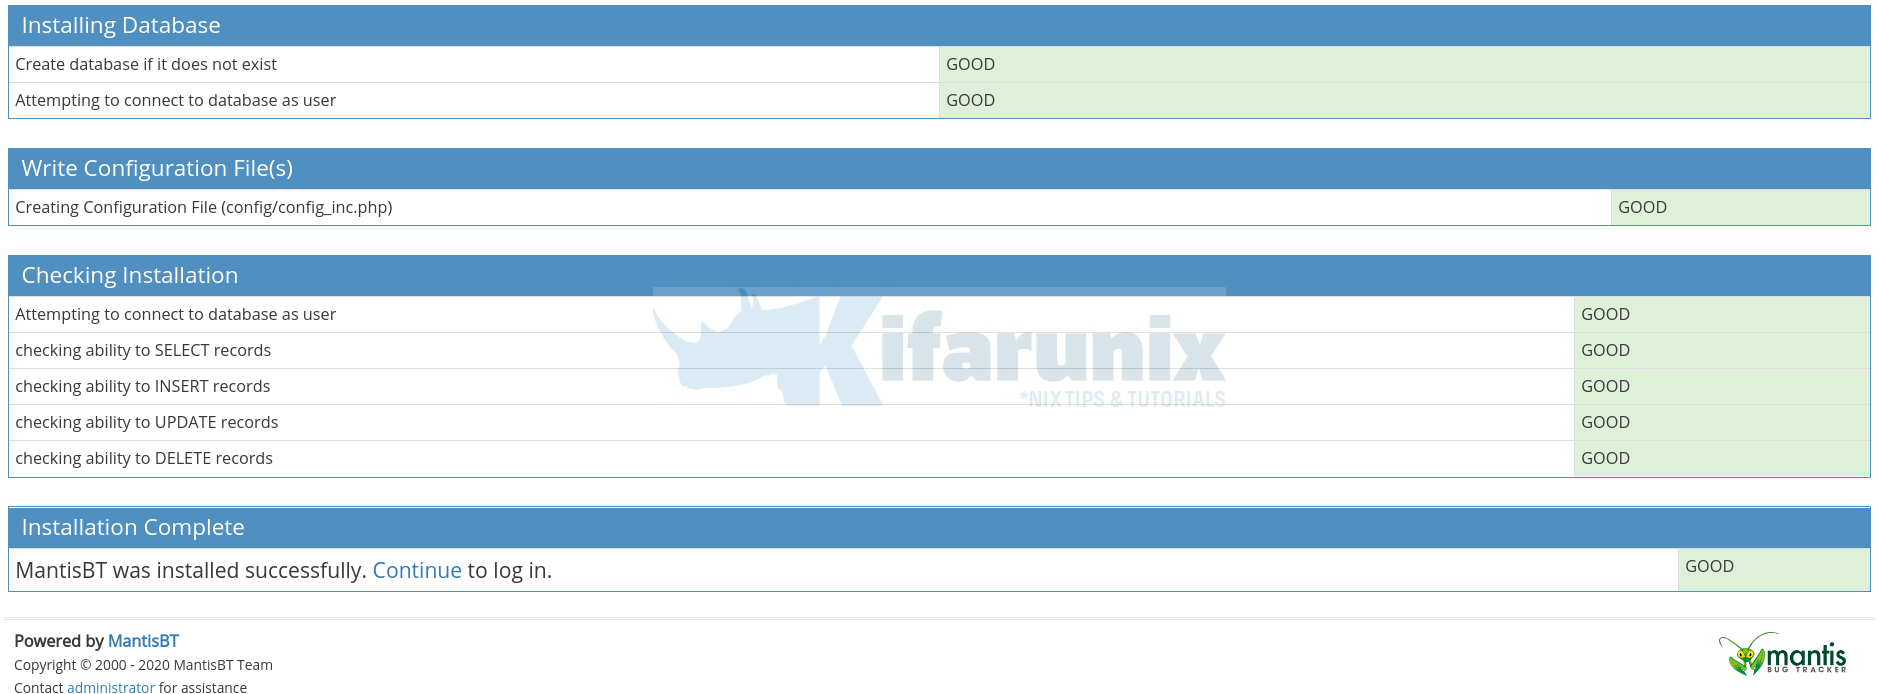
Rename the admin directory and click Continue to proceed to the login page.
mv /var/www/html/mantisbt/admin{,-old}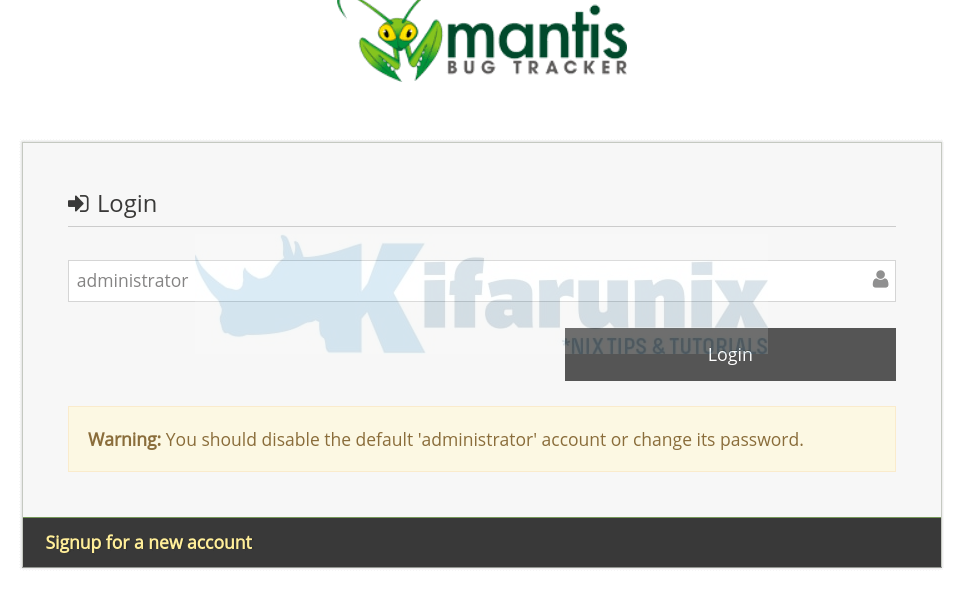
The default login credentials are:
- Username:
administrator - Password:
root
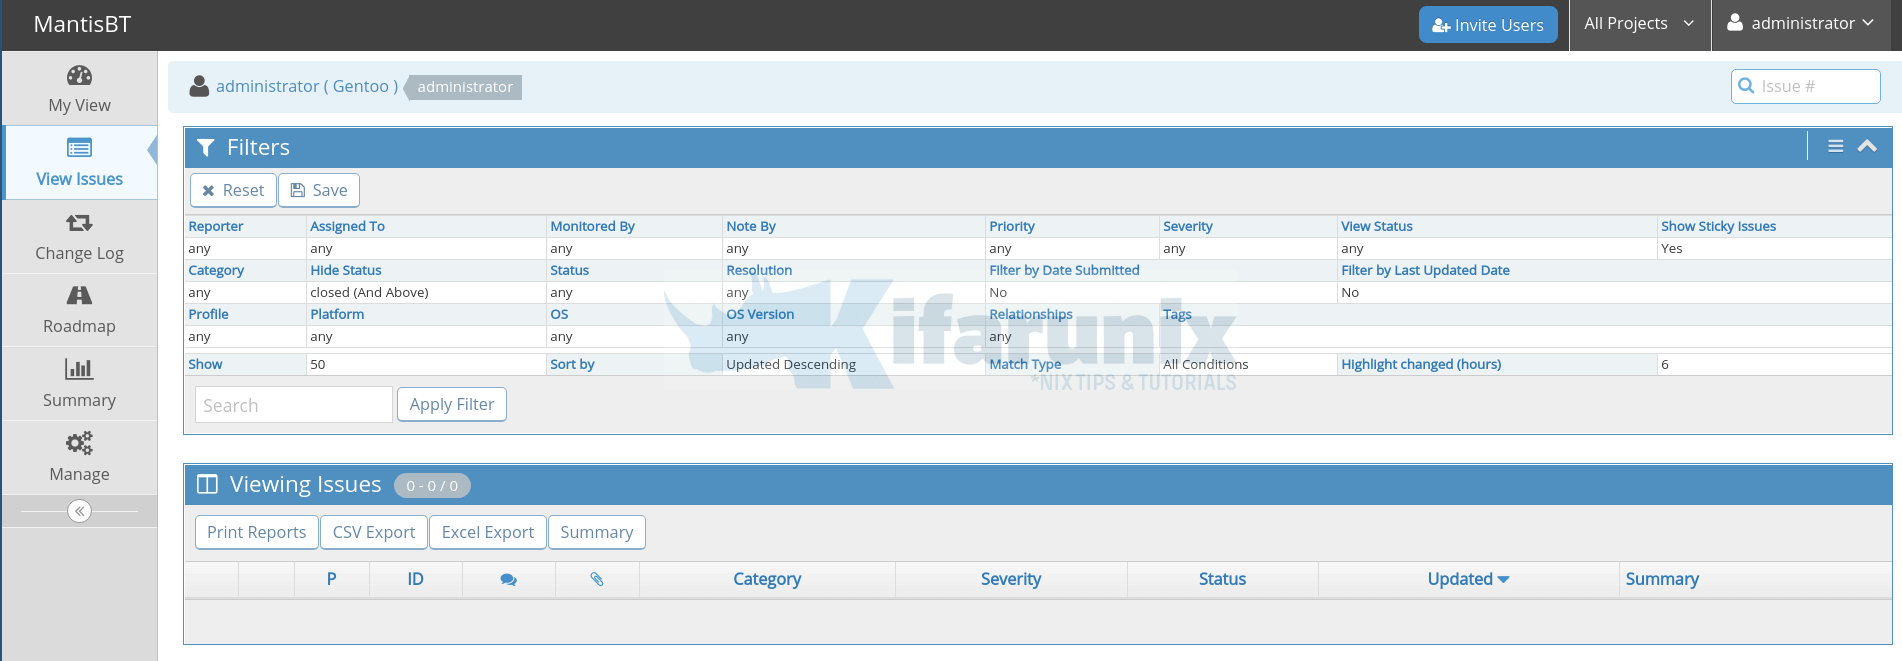
Upon successful login, you land on MantisBT dashboard.
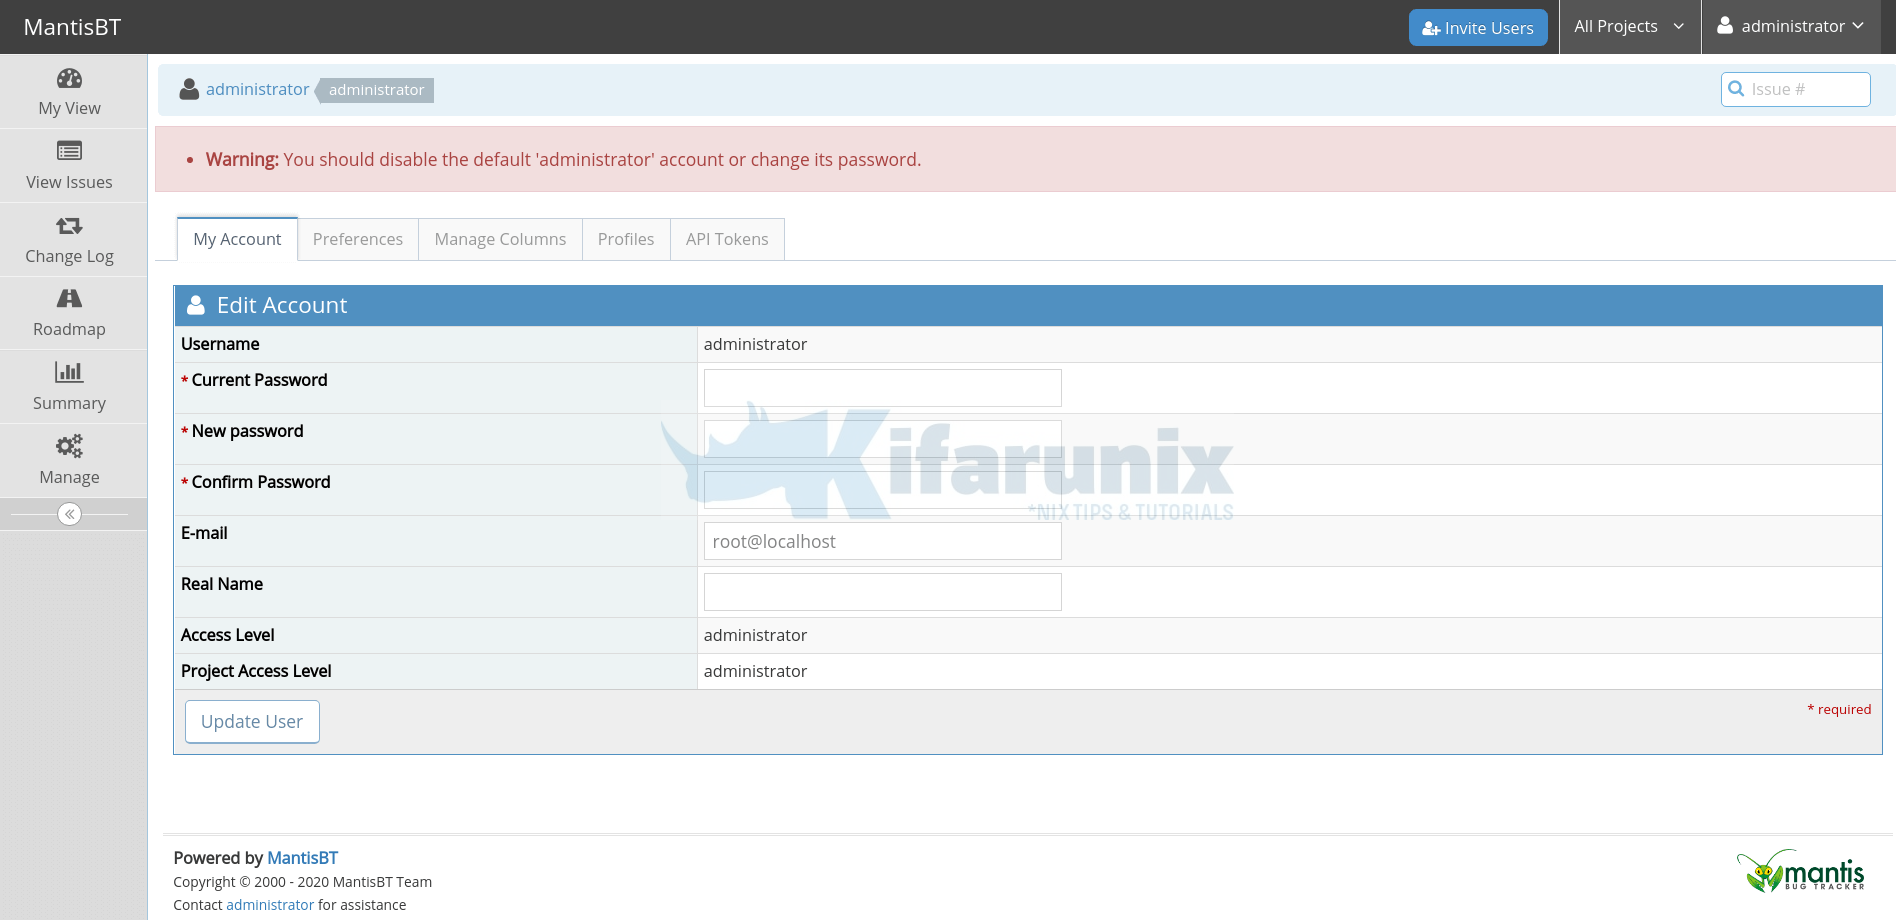
Reset your admin password.
MantisBT issues Dashboard.
You can now continue to explore MantisBT.
Reference
Other Guides
Install Bugzilla Bug Tracker on Ubuntu 20.04

