Welcome to our tutorial on how to install and setup AWStats Log Analyzer on CentOS 8. AWStats is an acronym for Advanced Web Statistics and “is a free powerful and featureful tool that generates advanced web, streaming, ftp or mail server statistics, graphically. This log analyzer works as a CGI or from command line and shows you all possible information your log contains, in few graphical web pages. It uses a partial information file to be able to process large log files, often and quickly. It can analyze log files from all major server tools like Apache log files (NCSA combined/XLF/ELF log format or common/CLF log format), WebStar, IIS (W3C log format) and a lot of other web, proxy, wap, streaming servers, mail servers and some ftp servers“.
Below are the features that AWStats Log Reporting tool is able to show upon a full log analysis;
- Number of visits, and number of unique visitors,
- Visits duration and last visits,
- Authenticated users, and last authenticated visits,
- Days of week and rush hours (pages, hits, KB for each hour and day of week),
- Domains/countries of hosts visitors (pages, hits, KB, 269 domains/countries detected, GeoIp detection),
- Hosts list, last visits and unresolved IP addresses list,
- Most viewed, entry and exit pages,
- Files type,
- Web compression statistics (for mod_gzip or mod_deflate),
- OS used (pages, hits, KB for each OS, 35 OS detected),
- Browsers used (pages, hits, KB for each browser, each version (Web, Wap, Media browsers: 97 browsers, more than 450 if using browsers_phone.pm library file),
- Visits of robots (319 robots detected),
- Worms attacks (5 worm’s families),
- Search engines, key phrases and keywords used to find your site
- HTTP errors
- Other personalized reports based on url, url parameters, referer field for miscellaneous/marketing purpose,
- Number of times your site is “added to favourites bookmarks”.
- Screen size (need to add some HTML tags in index page).
- Ratio of Browsers with support of: Java, Flash, RealG2 reader, Quicktime reader, WMA reader, PDF reader (need to add some HTML tags in index page).
- Cluster report for load balanced servers ratio
Install AWStats Log Analyzer on CentOS 8
Run system update
dnf updateInstall a WebServer on CentOS 8
We assume that you are installing AWStats on server with a web server setup and running already. For the demo purposes, we will use Apache HTTP server.
dnf install httpdStart and enable Web Server to run on system boot.
systemctl enable --now httpdOpen HTTP Server on Firewall;
firewall-cmd --add-port={80,443}/tcp --permanent
firewall-cmd --reload
Install AWStats on CentOS 8
EPEL repos provide AWStats package on CentOS systems.
dnf provides awstatsExtra Packages for Enterprise Linux Modular 8 - x86_64 46 kB/s | 82 kB 00:01
awstats-7.7-5.el8.noarch : Advanced Web Statistics
Repo : epel
Matched from:
Provide : awstats = 7.7-5.el8However, the AWStats 7.8.1 is current stable release version as of this writing.
Download AWStats RPM Package Installer
To ensure that we install the latest stable release version of AWStats, head over to AWStats at SourceForge.net and grab the RPM installer. You can grab the link to the binary and pull it using wget as shown below;
dnf install wget -ywget https://tenet.dl.sourceforge.net/project/awstats/AWStats/7.8/awstats-7.8-1.noarch.rpmInstall AWStats
Once the download completes, you can run the installation of AWStats on CentOS 8.
dnf localinstall awstats-7.8-1.noarch.rpmSetup AWStats Log Analyzer on CentOS 8
Once the installation is done, proceed to set it up to analyze your web logs. Upon installation, AWStats files are placed in /usr/local/awstats directory.
A default configuration file for AWStats is installed as /etc/awstats/awstats.model.conf.
Create a copy of this configuration file and modify it for the analysis of your domain logs.
cp /etc/awstats/awstats{.model,.`hostname`}.confThis creates a copy of the main configuration file with the FQDN of your server;
ls /etc/awstats/awstats.centos8.kifarunix-demo.com.conf awstats.model.confNext, open your configuration file for editing.
vim /etc/awstats/awstats.centos8.kifarunix-demo.com.confDefine the path to the Web server log file to analyze. In this case, we will be using the default Apache access log file.
LogFile="/var/log/httpd/centos8.kifarunix-demo.com.access_log"Enter the log file type you want to analyze. See the possible options on the configuration file. We use the web logs in this setup.
LogType=WDefine the log format. This must match the log format defined on the web server configuration file. For Apache logs;
LogFormat=1Define the domain name on which your web server is reached on;
SiteDomain="centos8.kifarunix-demo.com"Set all other possible domain names, addresses or virtual host aliases someone can use to access your site.
HostAliases="localhost 127.0.0.1 REGEX[kifarunix-demo.com$]"The configuration is highly commented and you can proceed to make othe configuration changes. For the basic setup, that is just enough.
Generate Web Statistics from Apache Logs
You can now generate your initial statistics from the current Apache logs on your Web server;
/usr/local/awstats/wwwroot/cgi-bin/awstats.pl -config=centos8.kifarunix-demo.com -updateCreate/Update database for config "/etc/awstats/awstats.centos8.kifarunix-demo.com.conf" by AWStats version 7.8 (build 20200416)
From data in log file "/var/log/httpd/centos8.kifarunix-demo.com.access_log"...
Phase 1 : First bypass old records, searching new record...
Searching new records from beginning of log file...
Phase 2 : Now process new records (Flush history on disk after 20000 hosts)...
Jumped lines in file: 0
Parsed lines in file: 10000
Found 0 dropped records,
Found 0 comments,
Found 0 blank records,
Found 2579 corrupted records,
Found 0 old records,
Found 7421 new qualified records.Configure Apache to Display AWStats
In order to be able to view the statistics generated above on the browser, you need to create an Apache configuration file to define how to process and server the AWStats.
Create AWStats configuration file;
vim /etc/httpd/conf.d/kifarunix-demo-awstats.confWithin the configuration file, you need to define the location of the AWStats CGI/perf configuration files as the root directory.
Alias /awstatsclasses "/usr/local/awstats/wwwroot/classes/"
Alias /awstatscss "/usr/local/awstats/wwwroot/css/"
Alias /awstatsicons "/usr/local/awstats/wwwroot/icon/"
ScriptAlias /awstats/ "/usr/local/awstats/wwwroot/cgi-bin/"
#
<Directory "/usr/local/awstats/wwwroot">
    Options None
    AllowOverride None
    Require ip 192.168.56.0/24
</Directory>
Be sure to replace the paths to the AWStats CGI scripts and files accordingly.
Save and exit the file once done.
Ensure that the CGI modules are enabled.
httpd -M | grep cgi proxy_fcgi_module (shared)
proxy_scgi_module (shared)
cgid_module (shared)Set the ownership of the AWStats path to files to Apache user and group.
chown -R apache: /usr/local/awstats/wwwroot/Check Apache syntax.
httpd -tSyntax OKRestart Apache;
systemctl restart httpdUpdate your statistics;
/usr/local/awstats/wwwroot/cgi-bin/awstats.pl -config=centos8.kifarunix-demo.com -updateView Apache Access Log Statistics on Browser
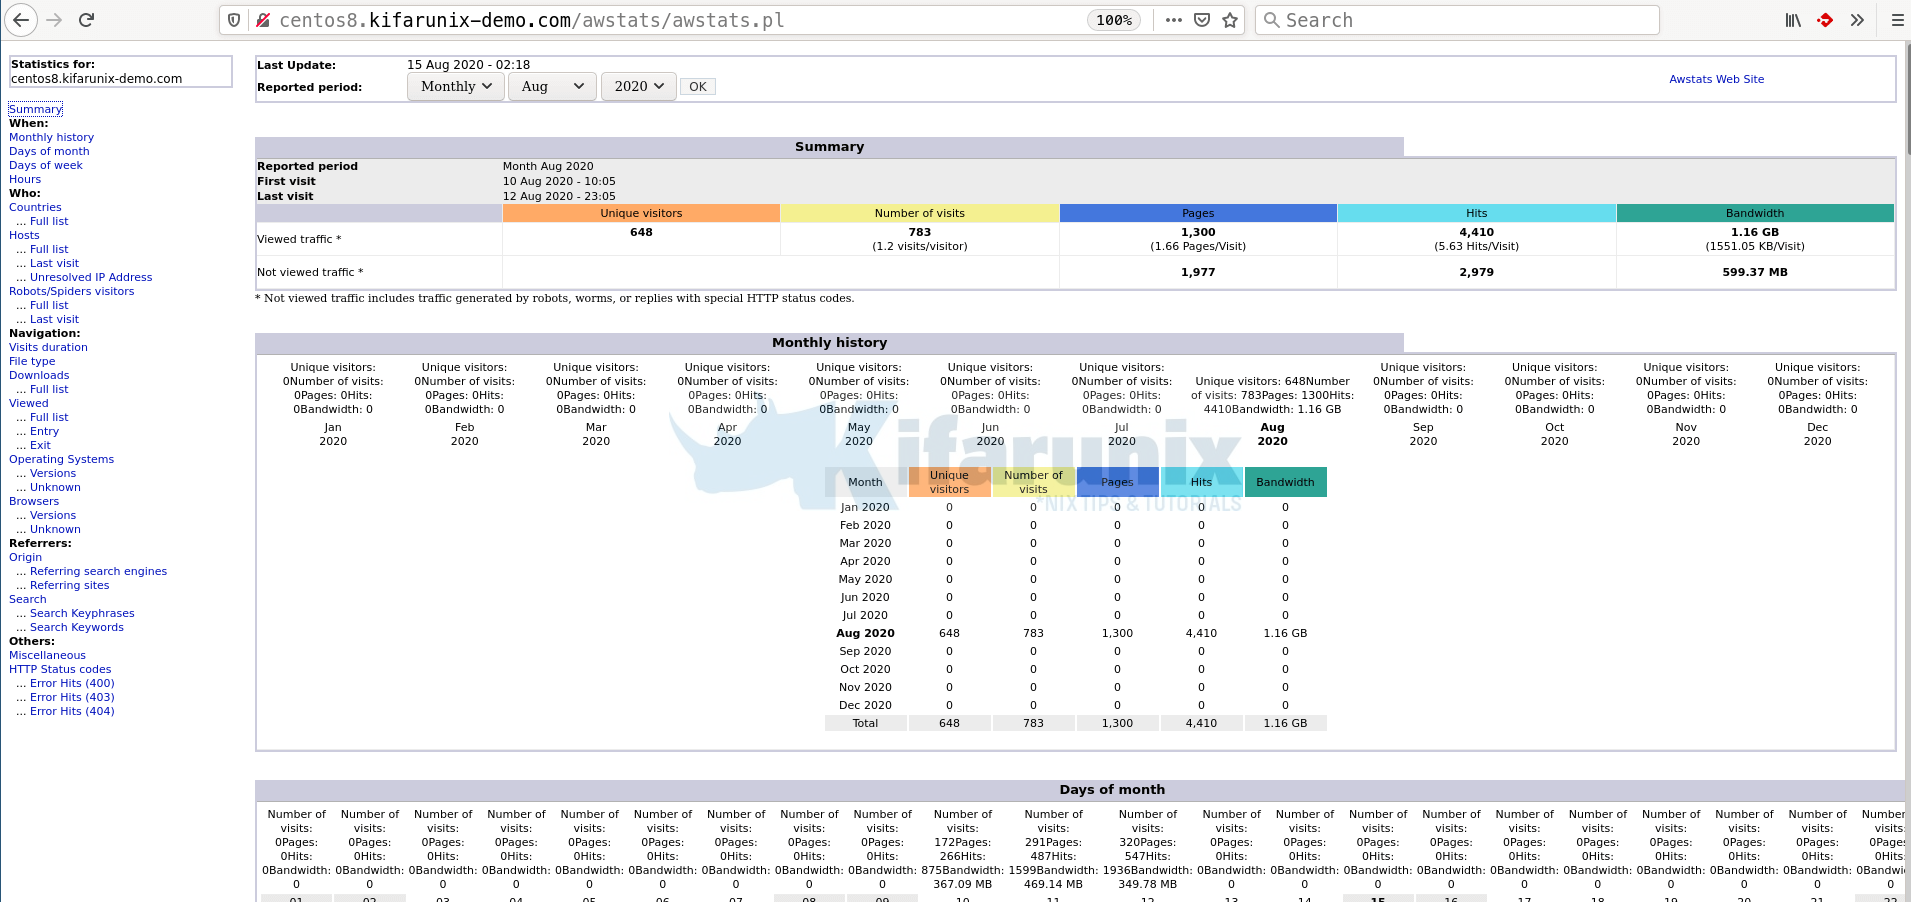
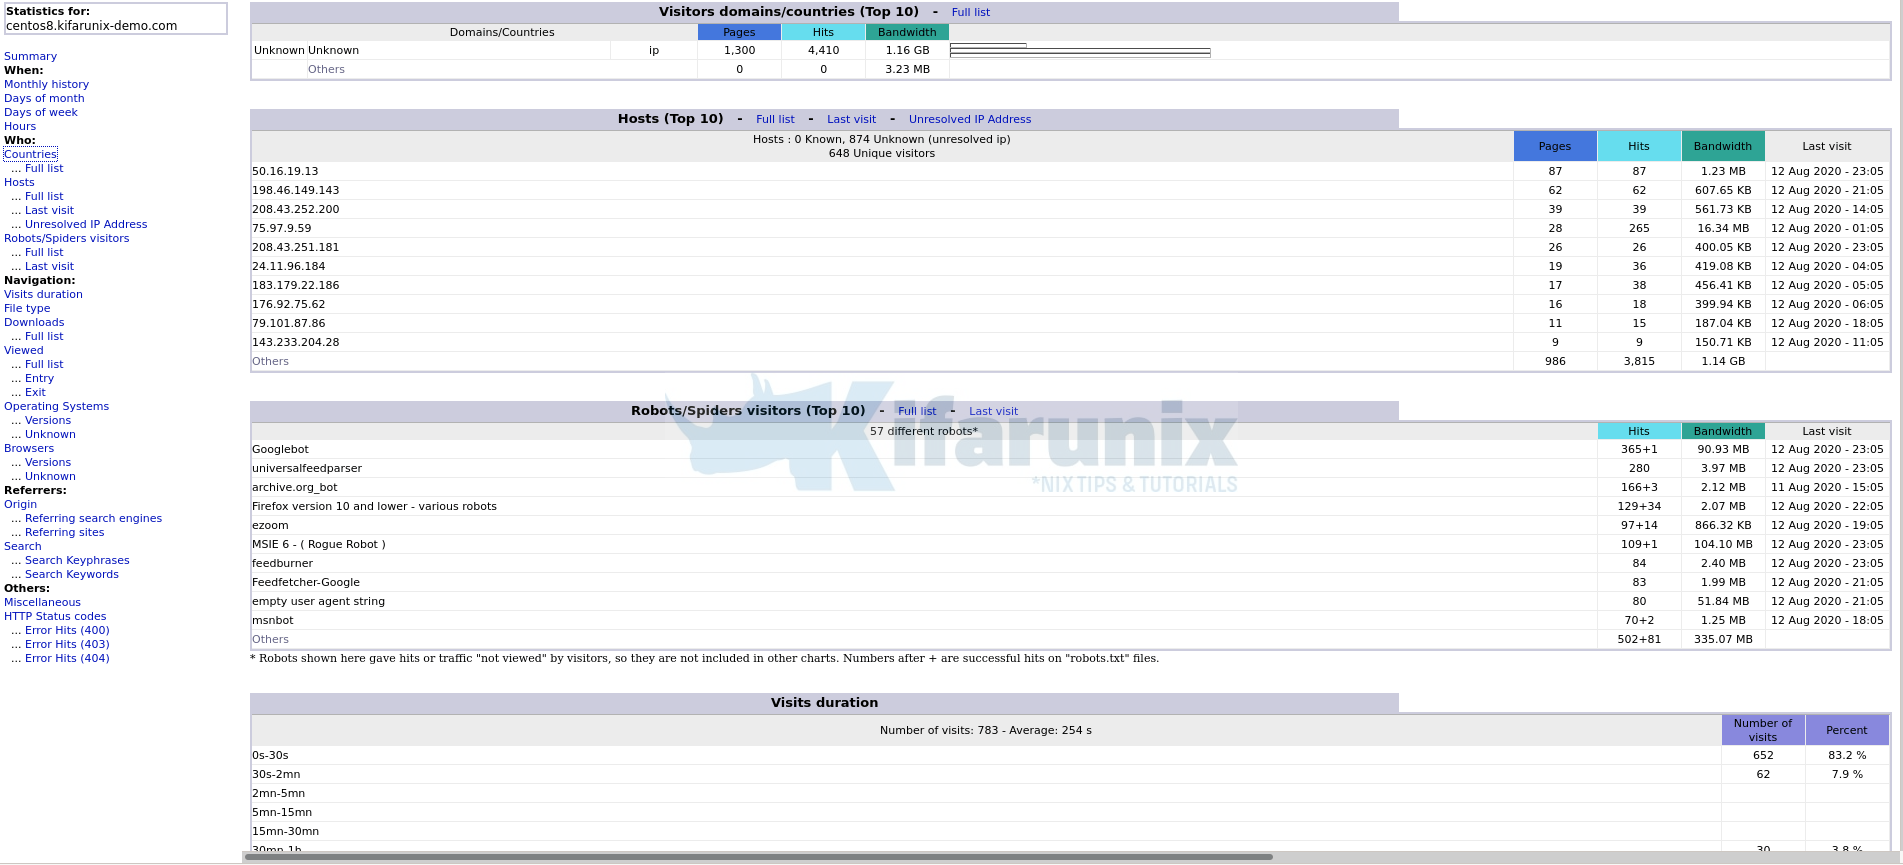
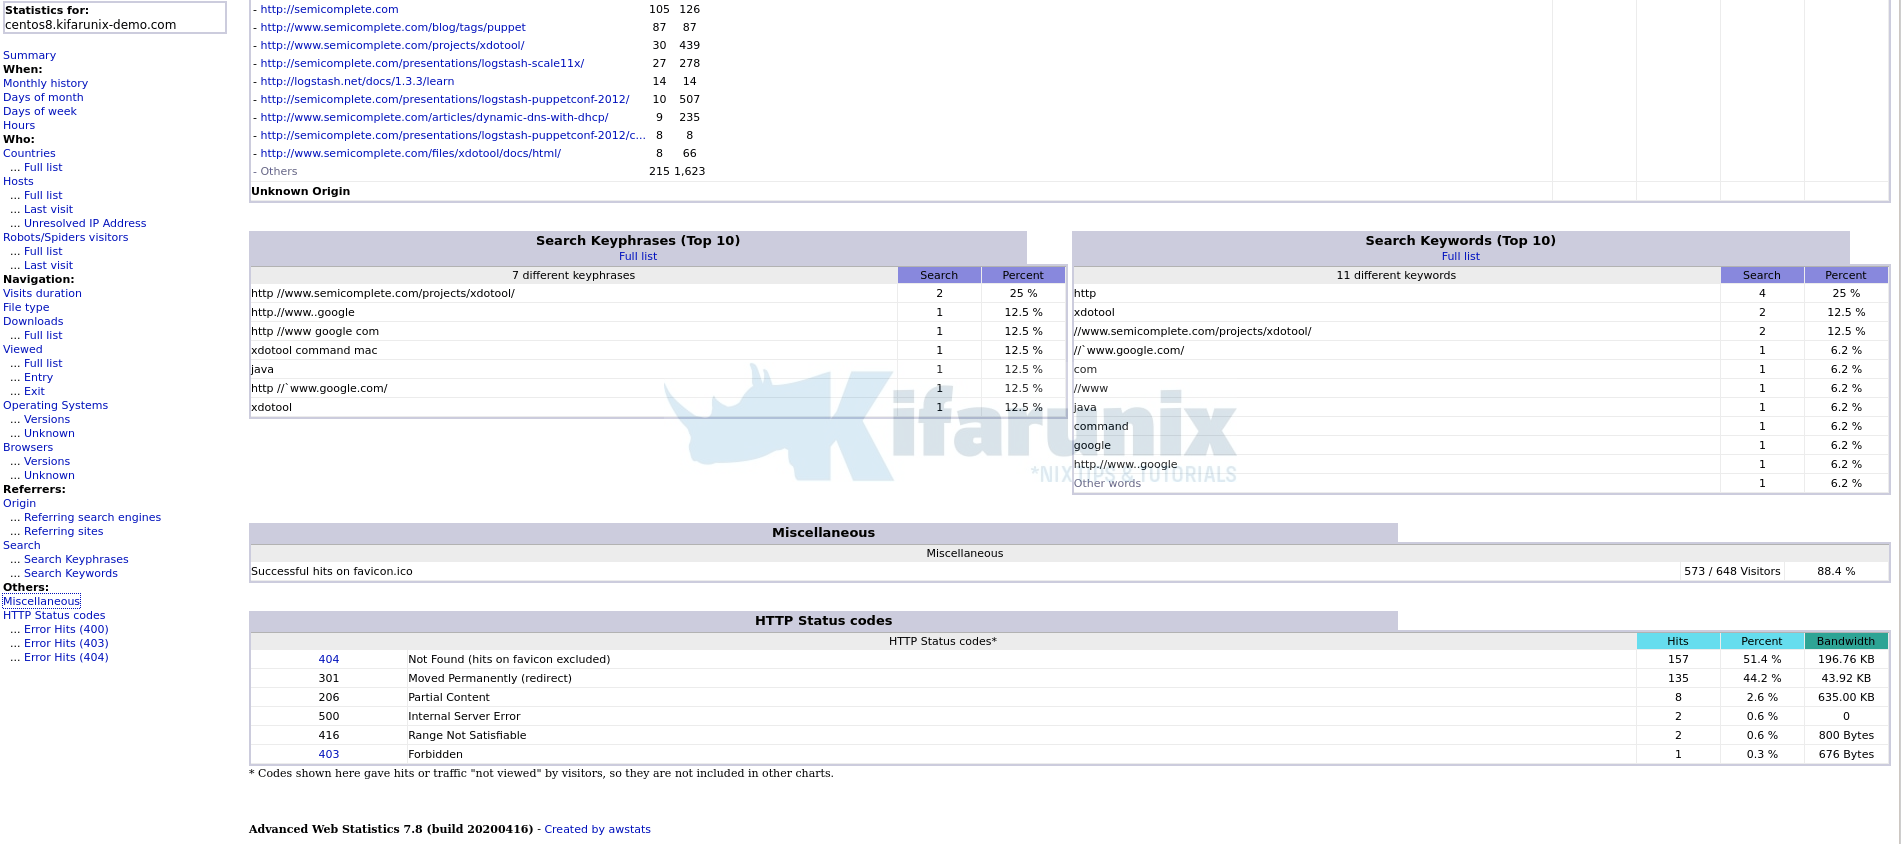
You can now view your AWStasts on browser via the URL http://<server-hostname-or-IP>/awstats/awstats.pl.
If you created the AWStats config file with the hostname, e.g, /etc/awstats/awstats.centos8.kifarunix-demo.com.conf, then you need to use the same hostname on the url as in http://centos8.kifarunix-demo.com/awstats/awstats.pl. If you used IP address, then ensure your url is using an IP address. Otherwise, specify the configuration file using http://<server-hostname-or-IP>/awstats/awstats.pl?config=config-name, where config-name can be the hostname or IP address specified on the AWStats configuration file.
And there you go. You can now create a cron job to keep updating your site statistics at a specific interval. For example, to have your site stats updated every 30 mins, install a cron job like as shown below;
sudo crontab -e*/30 * * * * /usr/local/awstats/wwwroot/cgi-bin/awstats.pl -config=centos8.kifarunix-demo.com -updateSave and install the cron job. You should now have your site stats updated every 30 mins.
Further Reading
Related Tutorials
Install GoAccess On Fedora 30/Fedora 29
Install GoAccess on Ubuntu 18.04/Debian 10 Buster


