In this guide, we are going to learn how to install FreeRADIUS with daloRADIUS on Debian 11/Debian 10. FreeRADIUS is a high-performance RADIUS server with support for:
- Authentication by local files, SQL, Kerberos, LDAP, PAM, and more.
- Powerful policy configuration language.
- Proxying and replicating requests by any criteria.
- Support for many EAP types; TLS, PEAP, TTLS, etc.
- Many vendor-specific attributes.
- Regexp matching in string attributes.
daloRADIUS on the other hand is an advanced web application for managing FreeRADIUS server. It supports various database backends such as MySQL, Sqlite, PostgreSQL, MsSQL, MySQL. It provides features such as Access Control Lists, support integration with Google Maps for geo-location of hotspots/access points, graphical reporting…
Table of Contents
Installing FreeRADIUS with daloRADIUS on Debian 11/10
Prerequisites
- As a prerequisite, ensure that you have LAMP installed on your Debian 11/Debian 10 server.
Install LAMP Stack on Debian 11
Same guide can used for Debian 10.
- Install other required PHP extensions:
apt install php-mail php-mail-mime php-pear php-xml- Install PHP Pear DB library (you can, for now, ignore the warnings):
pear install DBInstall and Configure FreeRADIUS on Debian 11/Debian 10
Install FreeRADIUS
Update and upgrade your system packages;
apt updateFreeRADIUS packages are available on the default Debian 11/Debian 10 default repositories and thus can be installed by running the command below;
apt-get install freeradius freeradius-mysql freeradius-utilsOnce the installation is done, FreeRADIUS is running by default. It is also enabled to run on system restart.
systemctl status freeradius
● freeradius.service - FreeRADIUS multi-protocol policy server
     Loaded: loaded (/lib/systemd/system/freeradius.service; enabled; vendor preset: enabled)
     Active: active (running) since Thu 2023-05-04 19:07:45 EAT; 3s ago
       Docs: man:radiusd(8)
             man:radiusd.conf(5)
             http://wiki.freeradius.org/
             http://networkradius.com/doc/
    Process: 14103 ExecReload=/usr/sbin/freeradius $FREERADIUS_OPTIONS -Cxm -lstdout (code=exited, status=0/SUCCESS)
    Process: 14104 ExecReload=/bin/kill -HUP $MAINPID (code=exited, status=0/SUCCESS)
   Main PID: 13727 (freeradius)
     Status: "Processing requests"
      Tasks: 6 (limit: 1133)
     Memory: 79.8M (limit: 2.0G)
        CPU: 183ms
     CGroup: /system.slice/freeradius.service
             └─13727 /usr/sbin/freeradius -f

May 04 19:07:46 debian11 freeradius[14103]: Please use tls_min_version and tls_max_version instead of disable_tlsv1_2
May 04 19:07:46 debian11 freeradius[14103]: tls: Using cached TLS configuration from previous invocation
May 04 19:07:46 debian11 freeradius[14103]: tls: Using cached TLS configuration from previous invocation
May 04 19:07:46 debian11 freeradius[14103]: rlm_mschap (mschap): using internal authentication
May 04 19:07:46 debian11 freeradius[14103]: Ignoring "sql" (see raddb/mods-available/README.rst)
May 04 19:07:46 debian11 freeradius[14103]: Ignoring "ldap" (see raddb/mods-available/README.rst)
May 04 19:07:46 debian11 freeradius[14103]:  # Skipping contents of 'if' as it is always 'false' -- /etc/freeradius/3.0/sites-enabled/inner-tunnel:336
May 04 19:07:46 debian11 freeradius[14103]: radiusd: #### Skipping IP addresses and Ports ####
May 04 19:07:46 debian11 freeradius[14103]: Configuration appears to be OK
May 04 19:07:46 debian11 systemd[1]: Reloaded FreeRADIUS multi-protocol policy server.
Open FreeRADIUS UDP port2 1812 and 1813 on UFW.
ufw allow to any port 1812:1813 proto udpYou can confirm port opening by running the command below;
ss -alun4 | grep -E '1812|1813'UNCONN 0 0 127.0.0.1:18120 0.0.0.0:*
UNCONN 0 0 0.0.0.0:1812 0.0.0.0:*
UNCONN 0 0 0.0.0.0:1813 0.0.0.0:*Stop FreeRADIUS and run it on debugging mode to confirm that it is ready to process the requests.
systemctl stop freeradiusfreeradius -XIf all is well, you should be able to see the sample output below (Ready to process requests);
...
listen {
  	type = "acct"
  	ipv6addr = ::
  	port = 0
   limit {
   	max_connections = 16
   	lifetime = 0
   	idle_timeout = 30
   }
}
listen {
  	type = "auth"
  	ipaddr = 127.0.0.1
  	port = 18120
}
Listening on auth address * port 1812 bound to server default
Listening on acct address * port 1813 bound to server default
Listening on auth address :: port 1812 bound to server default
Listening on acct address :: port 1813 bound to server default
Listening on auth address 127.0.0.1 port 18120 bound to server inner-tunnel
Listening on proxy address * port 57303
Listening on proxy address :: port 59574
Ready to process requests
Press Ctrl+C to cancel the above.
Create FreeRADIUS database and database user
Login to MySQL as root user.
mysql -u root -pCreate the database and database user.
create database radius;grant all privileges on radius.* to radius@localhost identified by 'P@ssWORD';Reload the privileges tables to affect the changes.
flush privileges;
quit
Import the FreeRADIUS default database schema
Once you create the database, import the FreeRADIUS default database schema located under /etc/freeradius/3.0/mods-config/sql/main/mysql/schema.sql to the RADIUS database we created above.
mysql -u root -p radius < /etc/freeradius/3.0/mods-config/sql/main/mysql/schema.sqlEnable FreeRADIUS SQL module by creating a symbolic link of the sql module under /etc/freeradius/3.0/mods-available/ to mods-enabled.
ln -s /etc/freeradius/3.0/mods-available/sql /etc/freeradius/3.0/mods-enabled/Set FreeRADIUS Database Connection Details
Open the enabled SQL module and configure the radius MySQL database connection details as shown below;
vim /etc/freeradius/3.0/mods-enabled/sqlNote that the connection details must match those created for the database above.
Similarly, enable FreeRADIUS server read clients from database. Thus, locate the line, # read_clients = yes and uncomment by removing the # at the beginning of the line.
...
sql {
...
        #dialect = "sqlite"
        dialect = "mysql"
...

        # Connection info:
        #
        server = "localhost"
        port = 3306
        login = "radius"
        password = "P@ssWORD"

        # Database table configuration for everything except Oracle
        radius_db = "radius"
...
        # Set to 'yes' to read radius clients from the database ('nas' table)
        # Clients will ONLY be read on server startup.
        read_clients = yes
...
Save and exit the configuration file.
Change the ownership user and group of the enabled SQL module (symbolic link) to freerad as shown below.
chown -h freerad: /etc/freeradius/3.0/mods-enabled/sqlOnce that is done, restart the FreeRADIUS service,
systemctl restart freeradiusInstall and Configure daloRADIUS on Debian 11/Debian 10
Install daloRADIUS
To get the latest version of daloRADIUS, you would have to download the archive from the Github repository releases page.
Version 1.3 is the current release as of this guide update.
wget https://github.com/lirantal/daloradius/archive/refs/tags/1.3.tar.gzOnce you have downloaded the archive, run the command below to extract it.
mkdir /var/www/html/daloradiustar xzf 1.3.tar.gz -C /var/www/html/daloradius --strip-components=1Import daloRADIUS Database Schema
daloRADIUS ships with its default MySQL tables.
You need to import these tables to the FreeRADIUS database we created above.
mysql -u root -p radius < /var/www/html/daloradius/contrib/db/fr2-mysql-daloradius-and-freeradius.sqlmysql -u root -p radius < /var/www/html/daloradius/contrib/db/mysql-daloradius.sqlConfigure ownership of the daloRADIUS web configuration files to Apache web user as shown below;
chown -R www-data.www-data /var/www/html/daloradius/Configure the permissions of the daloRADIUS main configuration file to 664 as shown below;
cp /var/www/html/daloradius/library/daloradius.conf.php{.sample,}chmod 664 /var/www/html/daloradius/library/daloradius.conf.phpConfigure daloRADIUS Database connection settings
Open the daloRADIUS configuration file for editing and set the database connection parameters.
vim /var/www/html/daloradius/library/daloradius.conf.php
...
$configValues['FREERADIUS_VERSION'] = '2';
$configValues['CONFIG_DB_ENGINE'] = 'mysqli';
$configValues['CONFIG_DB_HOST'] = 'localhost';
$configValues['CONFIG_DB_PORT'] = '3306';
$configValues['CONFIG_DB_USER'] = 'radius';
$configValues['CONFIG_DB_PASS'] = 'P@ssWORD';
$configValues['CONFIG_DB_NAME'] = 'radius';
...
Save the configuration file and restart FreeRADIUS.
systemctl restart freeradiusdaloRADIUS configuration is done.
Accessing daloRADIUS Web Interface
Now, navigate to the browser and access daloRADIUS using the address http://server_IP/daloradius.
If ufw is running, open the ports;
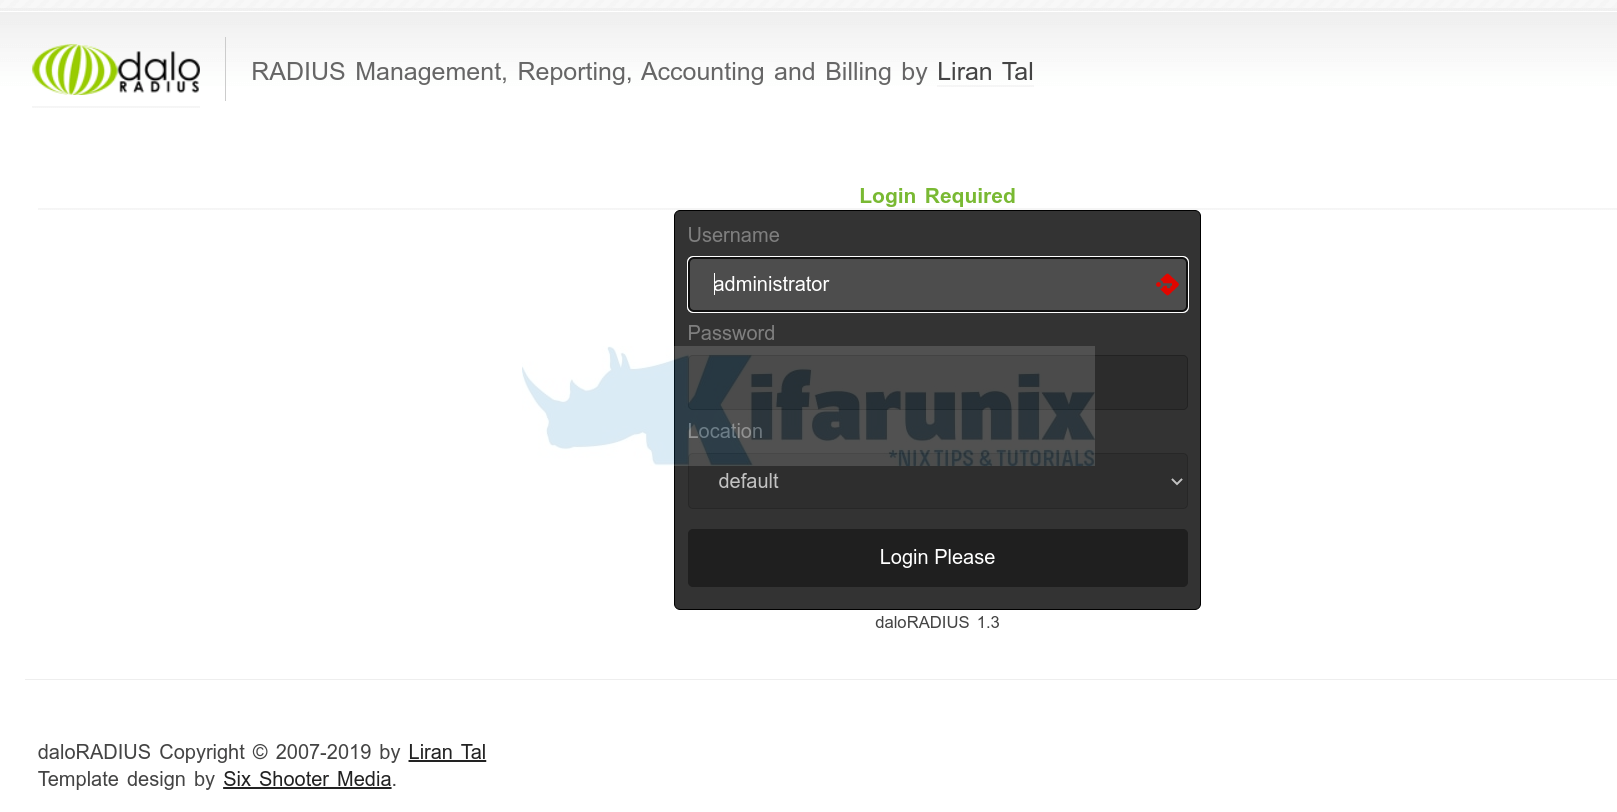
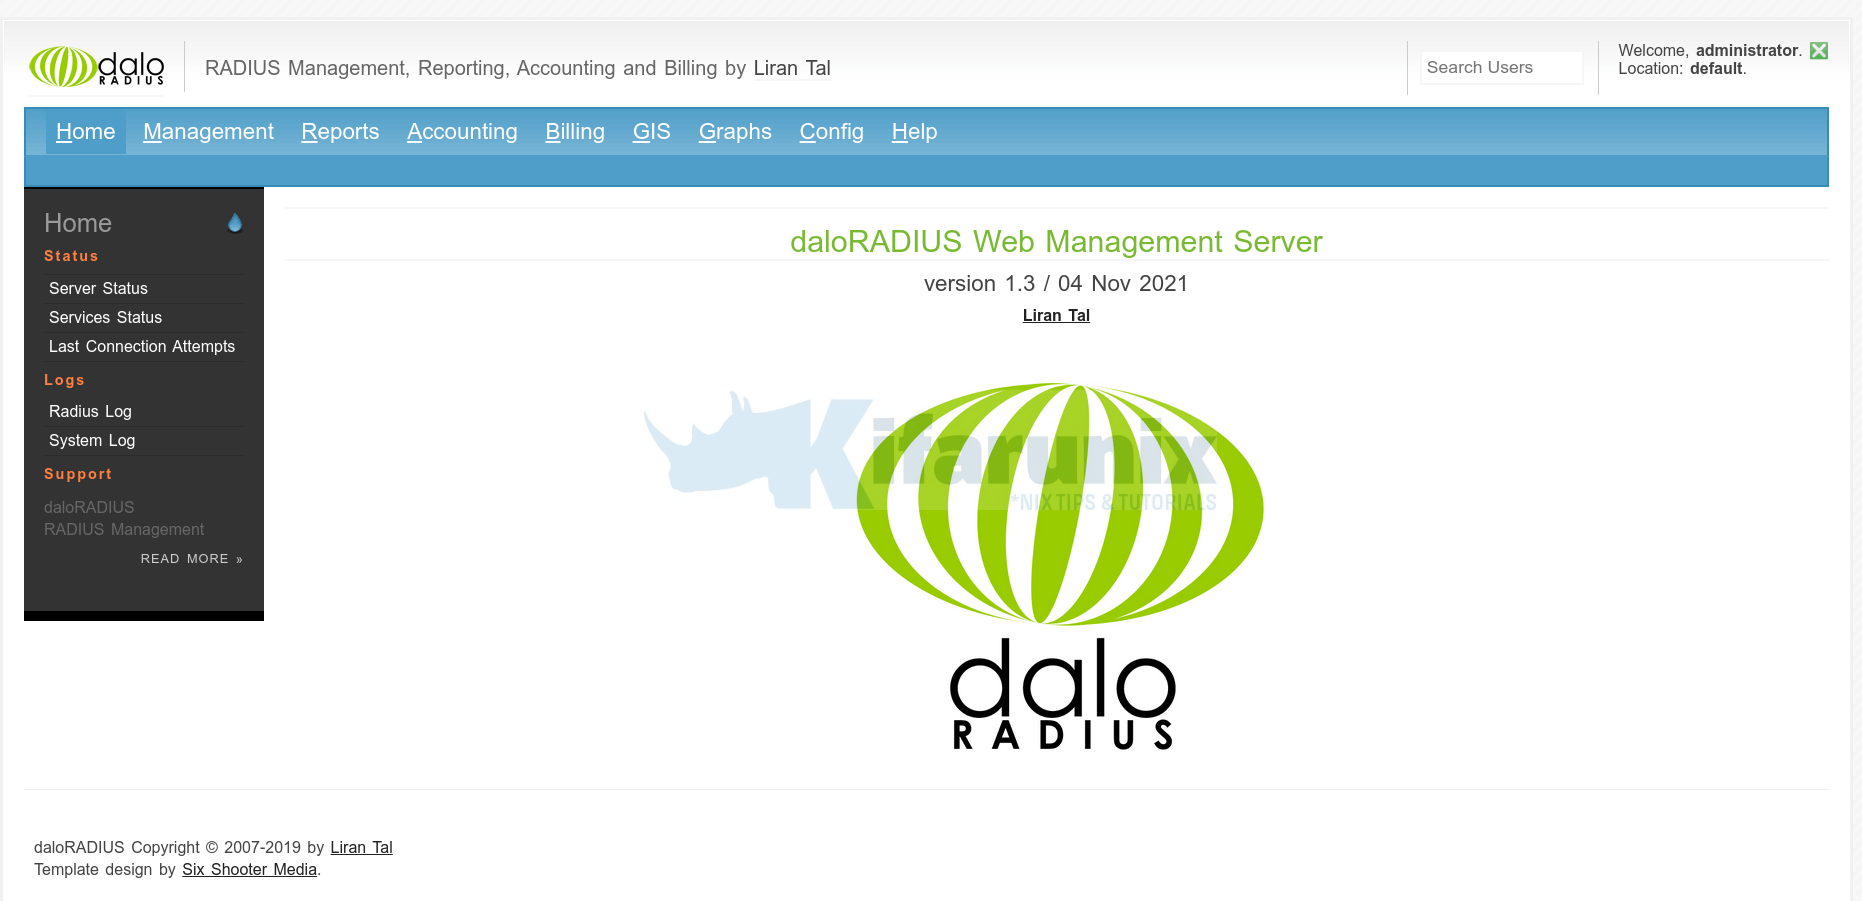
ufw allow 80/tcpYou should land on a login page.

The default login password for the default Administrator user is radius.

To reset daloRADIUS administrator password, navigate to Config > Operators > List Operators > Operator Info > Reset the password > Apply.

Other Tutorials


I got this error, freeradius saids is runing ok, loooks like is daloradius error.
dologin.php might have a temporary problem or it could have moved.
Error code: 500 Internal Server Error