Welcome to our guide on how to install and configure Endian Firewall on VirtualBox. Endian Firewall Community (EFW) is an open-source Red Har Enterprise Linux (RHEL) based security software offering a stateful packet firewall, basic web and email security, open-source antivirus and powerful VPN (IPsec and SSL). It also provides a live network monitoring and reporting that allows you to visualize and monitor traffic on your network in real-time.
Table of Contents
Install and Configure Endian Firewall on VirtualBox
This guide focuses on the installation and configuration of the open-source version of Endian Firewall on VirtualBox.
Download Endian Firewall Installation ISO File
In this guide, we will be running Endian Firewall community edition.
Navigate to the Endian Firewall community downloads page and grab the latest installation ISO.
Feel free to choose the edition that works for you.
Create New Endian Firewall Virtual Machine
Once you have the Endian Firewall ISO downloaded, launch VirtualBox Manager and create a new virtual machine.
In this guide, we are going to setup EFW with the following minimum requirements;
- 20GB storage disk
- 2GB RAM
- 2 CPU cores
- At least two network interface cards. This guide uses 4 interfaces (LAN, WAN, DMZ, WiFi). (Arrangement may vary for your case)
- First Interface: RED Zone (WAN) – NAT Interface
- Second Interface: GREEN Zone (LAN) – Internal network- HostOnly Interface (192.168.10.0/24)
- Third Interface: ORANGE Zone (DMZ) – Internal network- intnet2
- Fourth Interface: BLUE Zone (WiFi) – Internal network- intnet3
Once you have created a new virtual machine, mount the Endian Firewall ISO file and boot the new virtual machine with it.
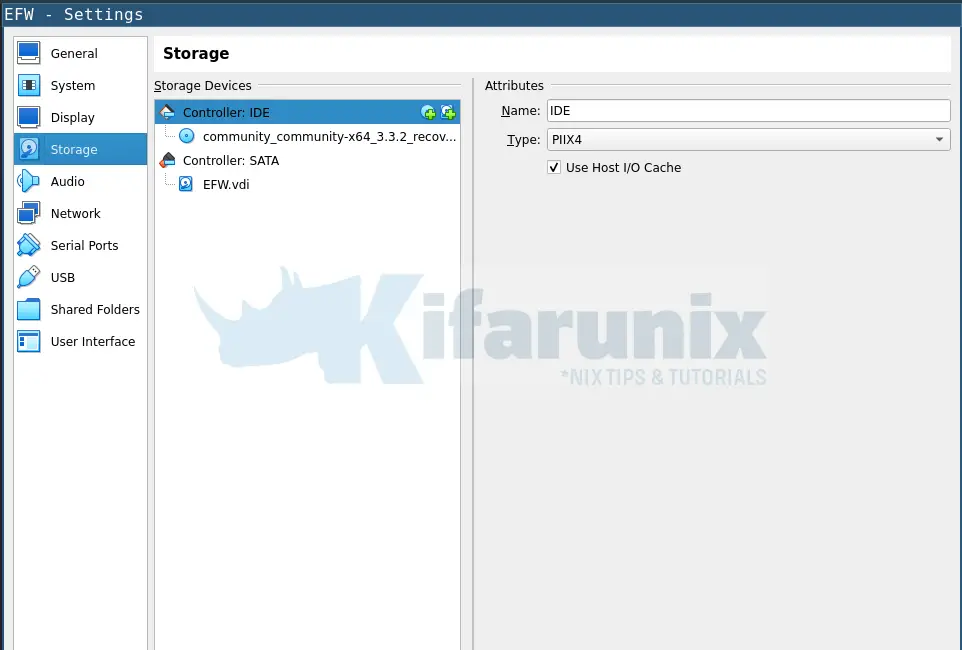
Install and Configure Endian Firewall on VirtualBox
Once you are done setting up the virtual machine, click Start to launch the installation of Endian Firewall on VirtualBox.
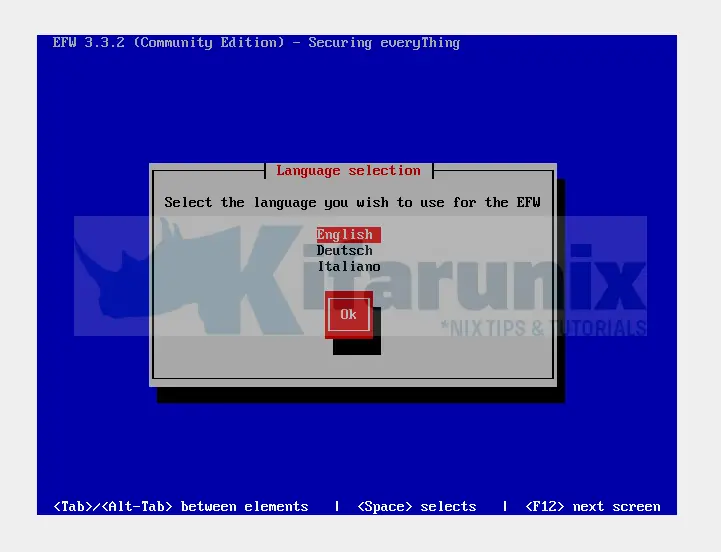
Once the virtual machine boots, you are prompted to choose the installation language.
Choose your language and press Enter.
On the welcome screen, press Ok to proceed.
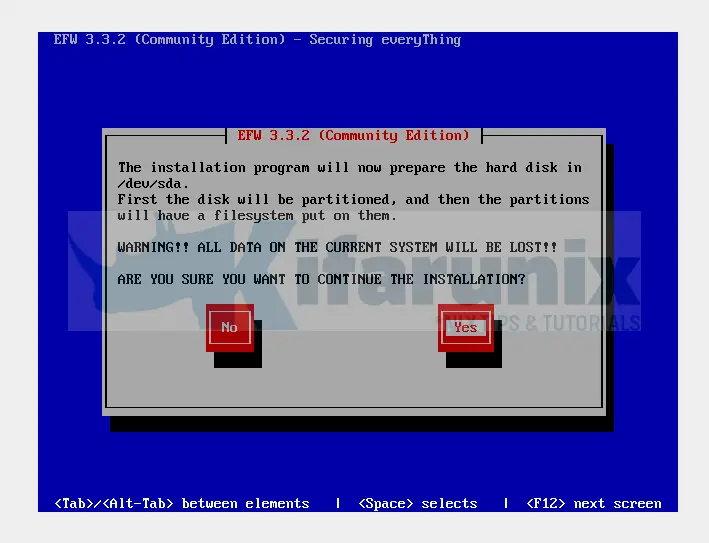
Next, Select Yes and press Enter to start partitioning the disk in preparation for installation of EFW.
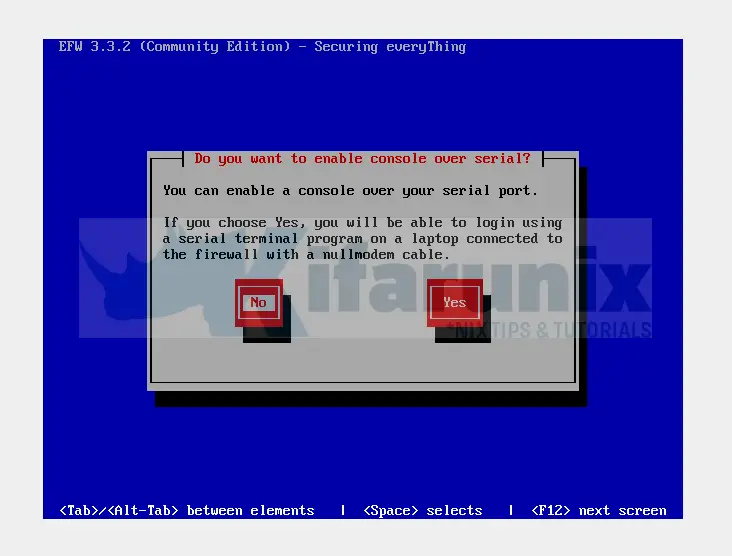
Next, you are prompted to enable connection over serial cable. This is optional and thus it is disabled in this guide.
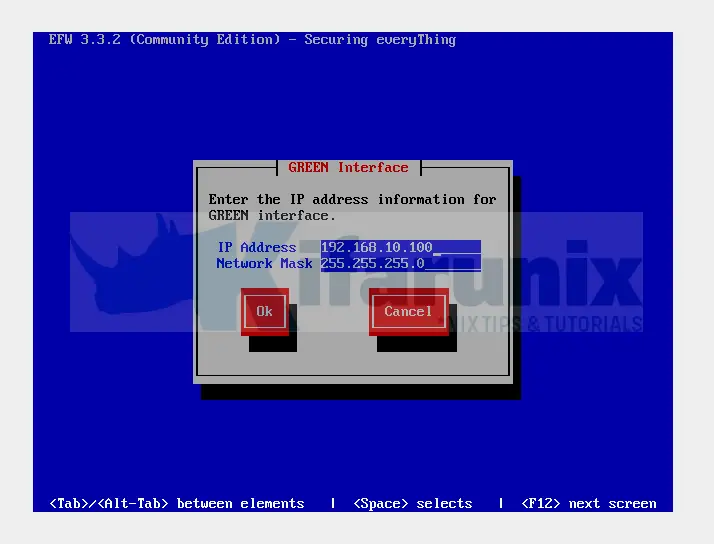
Next, you need to configure Endian Firewall GREEN interface IP. GREEN interface IP is the LAN interface IP for EFW. The default IP for the GREEN interface is 192.168.0.15/24. Be sure to change this based on your network.
Remember this is the internal network LAN interface we assigned while setting up virtual machine.
Press Ok to proceed.
Once you are done with network settings, press Enter to run post installation tasks and install EFW on VirtualBox.
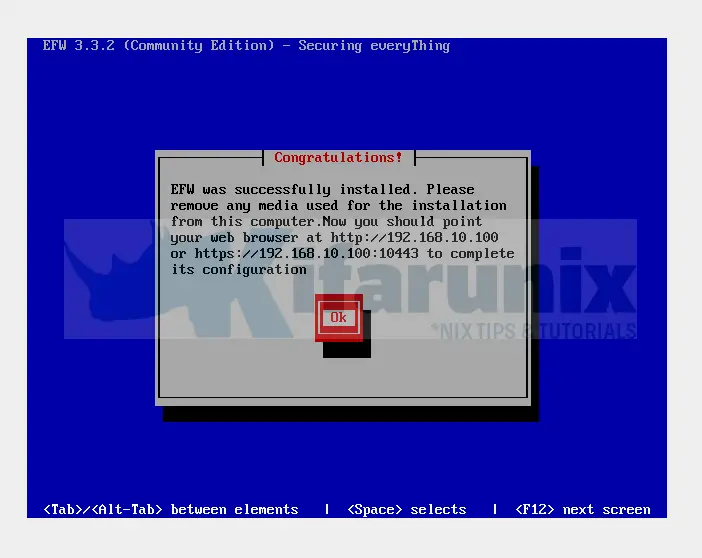
Once the installation is done, press Enter to reboot the EFW virtual machine.
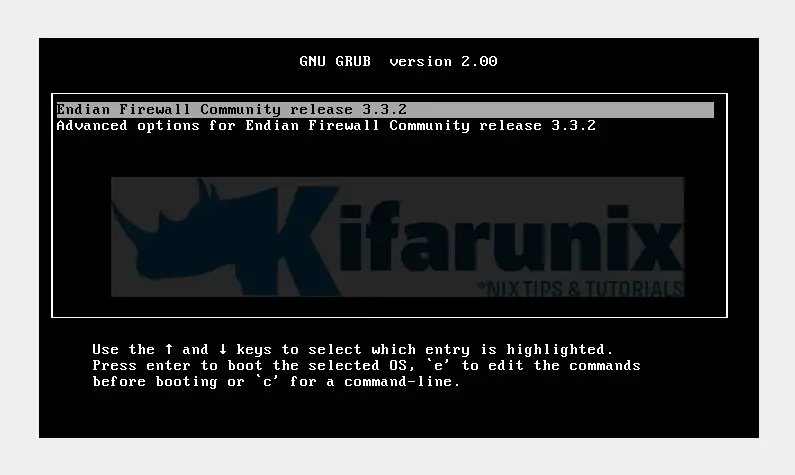
When it boots up, it presents to the GRUB menu. You can press Enter to boot the default EFW OS.
Once EFW boot is complete, you should be able to see the screen presenting you with different menus as shown below.
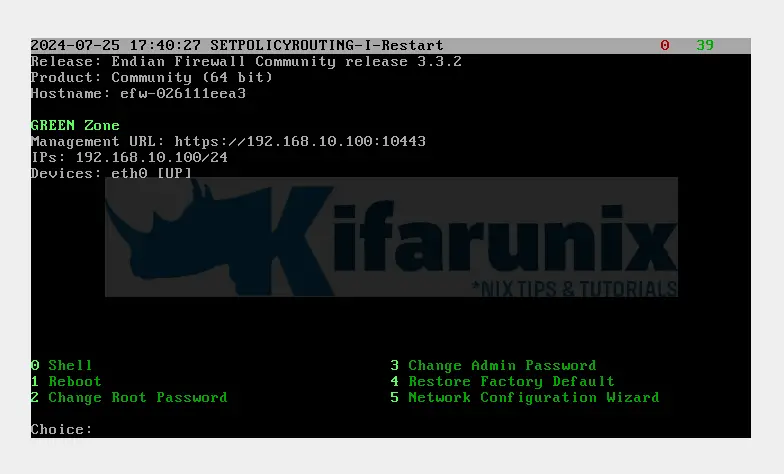
You can select any option to perform a specific task as indicated. Proceed to the Next page to complete the installation and configuration of EFW.
Endian FW Network Configuration from Console
Next, configure your network interface with proper IP addresses and routes from the console by choosing option 5, Network Configuration Wizard.
When ask for the root password, use the default one, endian. You will be asked to set your new password. Thus, set it and proceed.
Set the hostname and domain:
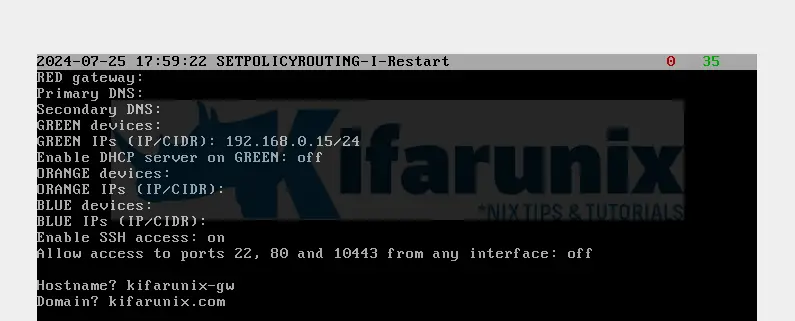
Configure Endian FW interface settings:
- WAN/RED interface – the NAT-ed interface:
- Device: eth0
- DHCP: yes
- Primary DNS: 8.8.8.8
- Secondary DNS: 9.9.9.9
- LAN/GREEN interface (HostOnly type):
- Device: eth1
- IP: 192.168.10.100/24
- DHCP: off
- ORANGE Interface:
- Device: eth2
- IP: 192.168.20.100/24
- BLUE Interface
- Device: eth3
- IP: 192.168.30.100/24
Also, allow SSH (Port 22) and Web Access (Port 80,443) from any interface for now:
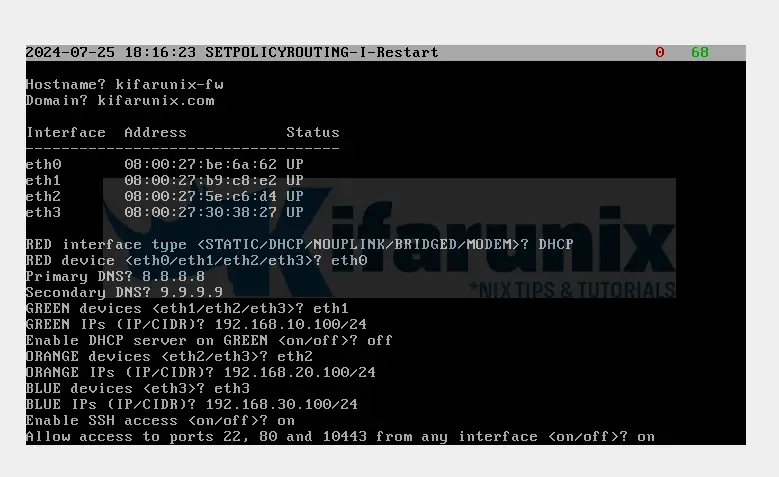
Review the settings and write them.
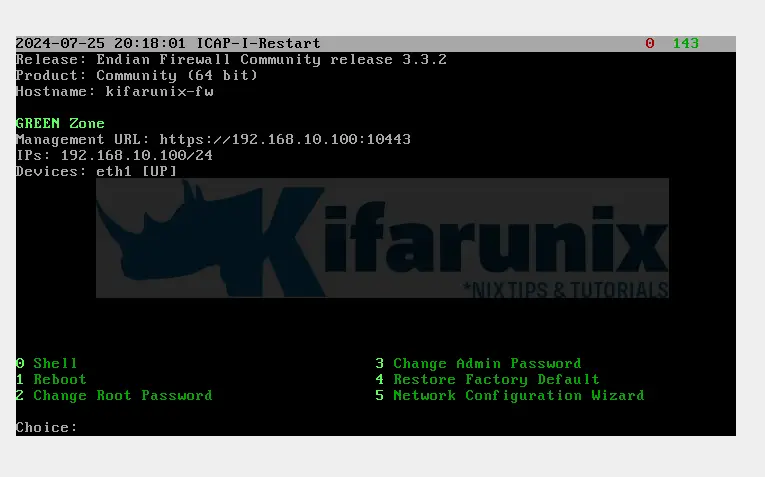
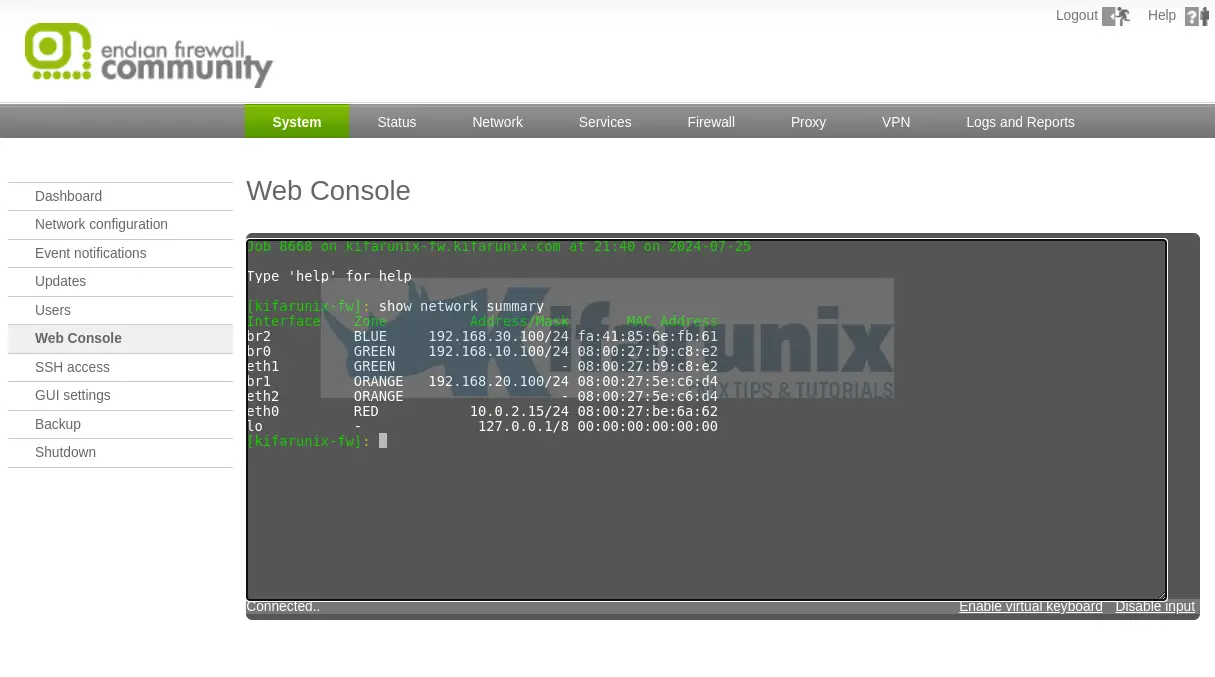
Go to shell and check the network IP address assignment.
show network summary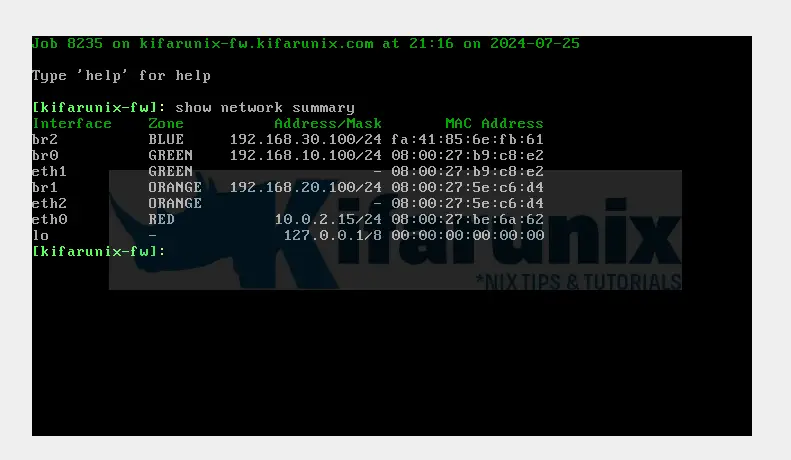
You should now be able to access your Endian Firewall via web from your host (if at all your network settings somehow resemble what we have here.
Access EFW Web Interface
For further EFW configuration, login via the web management interface, using the address https://<your-efw-ip>:10443 from a server that is connected to the same LAN network. Since we are using HostOnly interface for LAN, then we will access the EFW interface from my host machine.
Ignore the browser SSL warning and proceed to EFW dashboard to complete the installation.
At the beginning, you are prompted to choose whether you need to register your Endian Firewall Community to get Free Updates. If you do not need them, just skip by clicking, I don’t want any updates. Otherwise, enter your email and register.
EFW Basic Authentication
To login to EFW web interface, use the credentials:
- Username: admin
- Password: <password set for the root user via console>
Default dashboard;
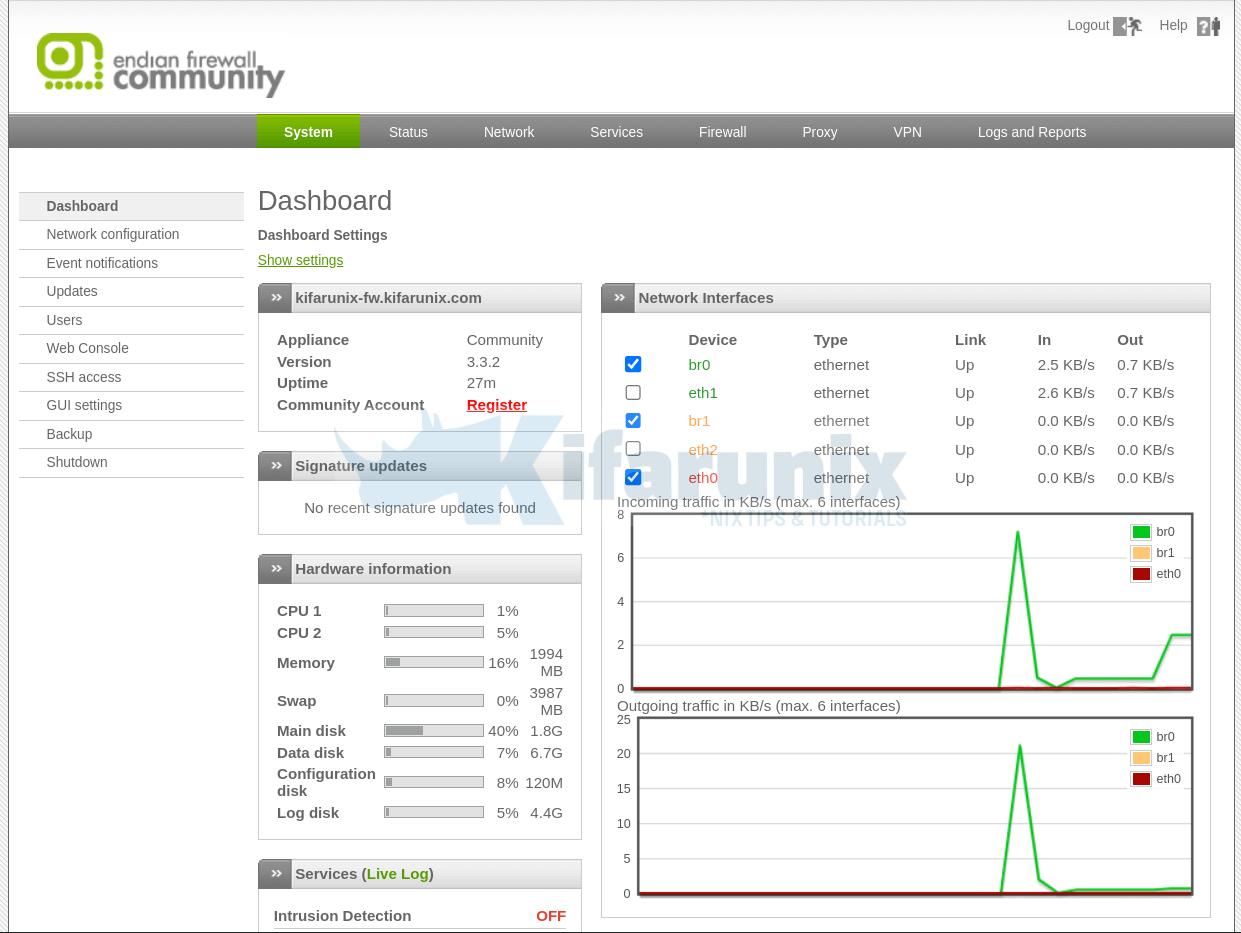
Administering Endian Firewall from Web Interface
You can now navigate through various configuration settings from the web interface to administer your firewall.
You can even access the console from web.
That is all about how to install and cofigure Endian Firewall on VirtualBox.
You can now go through the Status, Network, Services, Firewall, Proxy, VPN, Logs and Reports tabs for various EFW settings.
Other Tutorials
You can check other similar tutorials:


Hello,
Thank you for your detailed guide on installing and configuring Endian Firewall. Unfortunately, I am experiencing an issue that I cannot resolve.
After following all the steps in the guide, when I try to connect to the Endian Firewall web interface at 192.168.0.15:10443, I receive an error message stating “The connection has timed out.” I have checked the following points without success:
Network connectivity with the ping command shows that the IP address is reachable.
The network interfaces are correctly configured in VirtualBox.
I have restarted the virtual machine and the Endian Firewall services multiple times.
Do you have any suggestions or solutions to resolve this issue?
Thank you in advance for your help
Hi,
We updated the guide. Please check if the steps can help you.