In this tutorial, we are going to learn how to install and configure AlienVault OSSIM on VirtualBox. If you are a Blue Team security analyst, in one way or another you must have heard of or interact with not one, not two SIEM (Security Information and Event Management) solutions. Well, AlienVault is one of the leading SIEM solutions. AlienVault OSSIM is the open source version of AlienVault SIEM. It comes enriched with features like event collection, normalization and correlation. What crosses your mind when we talk about event collection, normalization and correlation? Let us put this in black and white:
- Event collection: AlienVault has the ability to collect logs from various sources in your environment, host servers and systems, applications running on servers, network devices, such as firewalls and routers, name them endpoints in your environment.
- Event normalization: The attributes of the collected logs are extracted and stored in the common data fields hat define an event such as IP addresses, hostnames, usernames, interfac- names, ports, programs etc. This allows analysts to run queries across collected events for better and quicker analysis.
- Event correlation: This involves analyzing relationships between the collected events to identify the pattern of events.
OSSIM provides a unified platform that bundles together security capabilities such as Asset discovery, Host Intrusion Detection, Network Intrusion Detection, Behavioral monitoring, Asset Discovery, Vulnerability Assessment, Log management. It also leverages the power of the AlienVault Open Threat Exchange (OTX), the open threat intelligence community delivers community-generated threat data, enables collaborative research, and automates the process of updating your security infrastructure with threat data from any source.
Installing AlienVault OSSIM on VirtualBox
System Requirements
Since this is just a demonstration, the minimum system requirements are:
- 2 CPU cores
- 8GB RAM
- 32GB Disk Space
- Two NICs (You can have multiple NICs for Management, Network Monitoring or Log Collection and Scanning)
Download OSSIM Installation ISO File
You can download the OSSIM installation iso from here.
You can get the ISO url and pull it using wget or curl;
wget https://cdn-cybersecurity.att.com/downloads/AlienVault_OSSIM_64bits.isoCreate AlienVault OSSIM Virtual Machine on VirtualBox
On VirtualBOX;
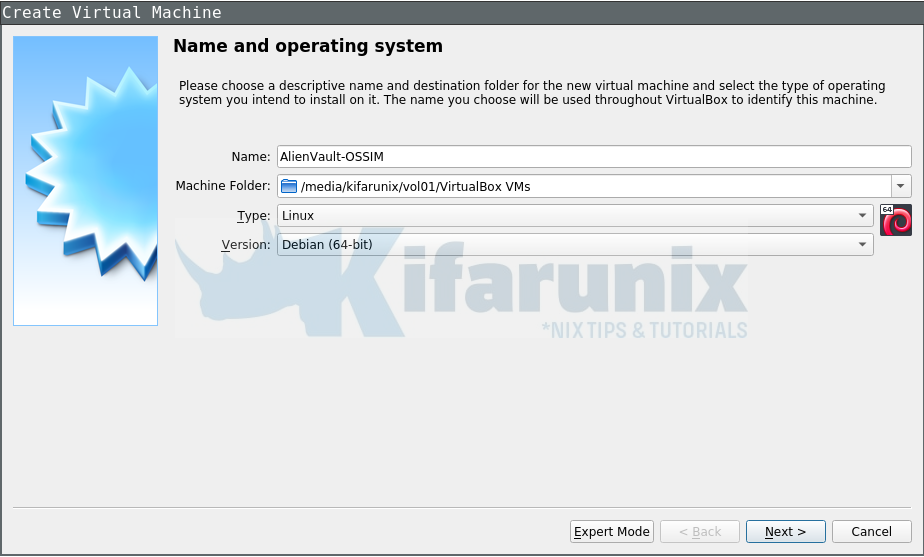
1.Create new vm
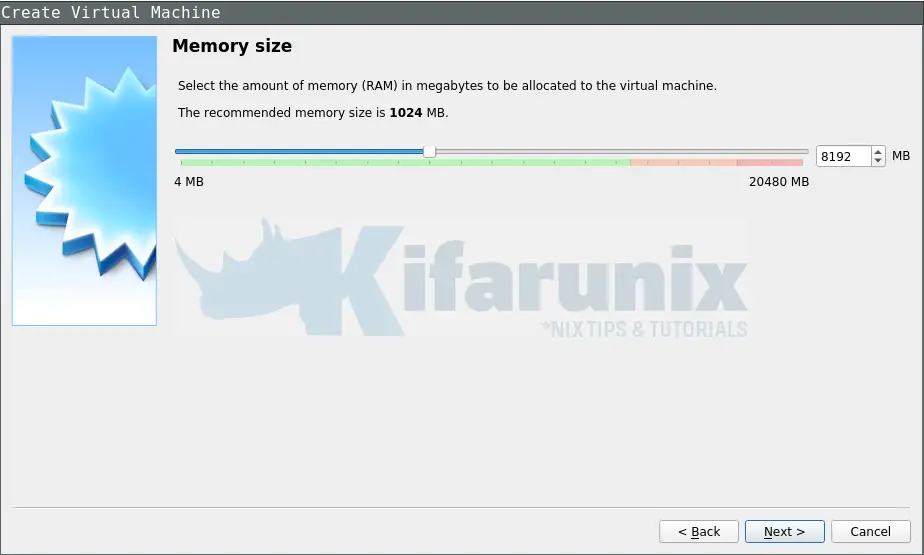
2.Assign a memory of 8GB
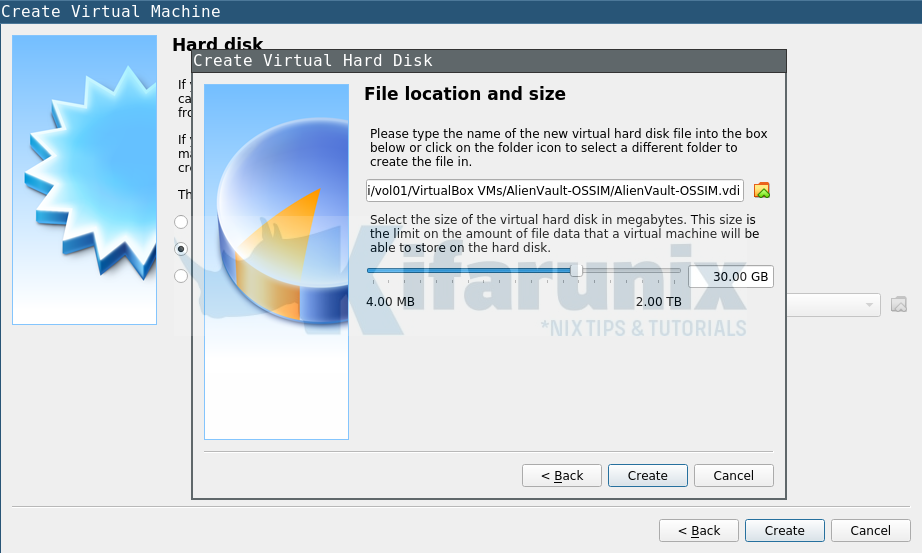
3.Create a virtual hard disk for AlienVault OSSIM vm. Choose file type VDI, dynamically allocated, and assign a storage of 30GB and click create button to create a VM.
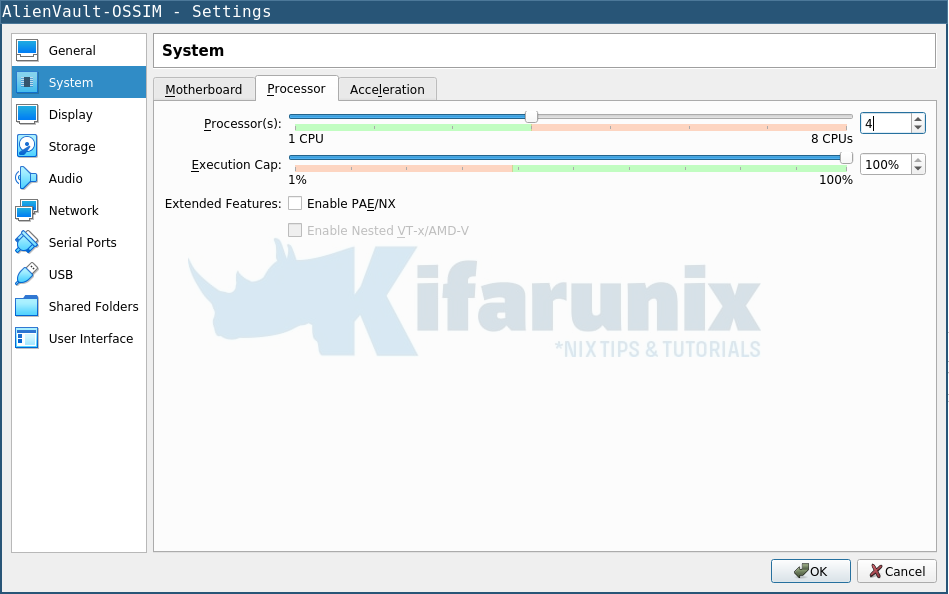
4.Once a VM is created, open settings and adjust the number of CPU cores (we used 4 vcpus)
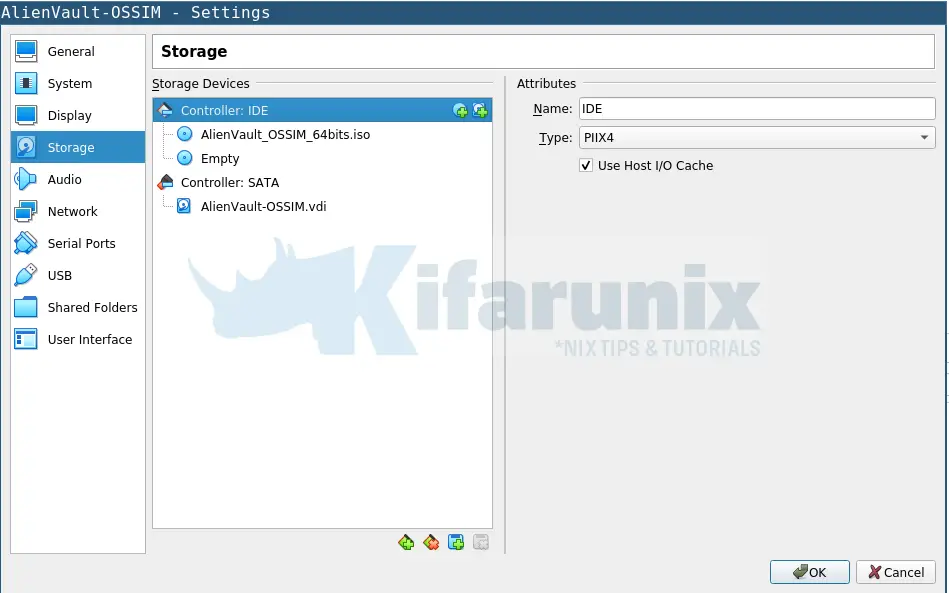
5.On storage settings, attach OSSIM installation ISO to IDE controller.
6.On Networks, add a second NIC as Host-Only adapter. Our first NIC is NAT, for internet access required for installation of various setup tools.
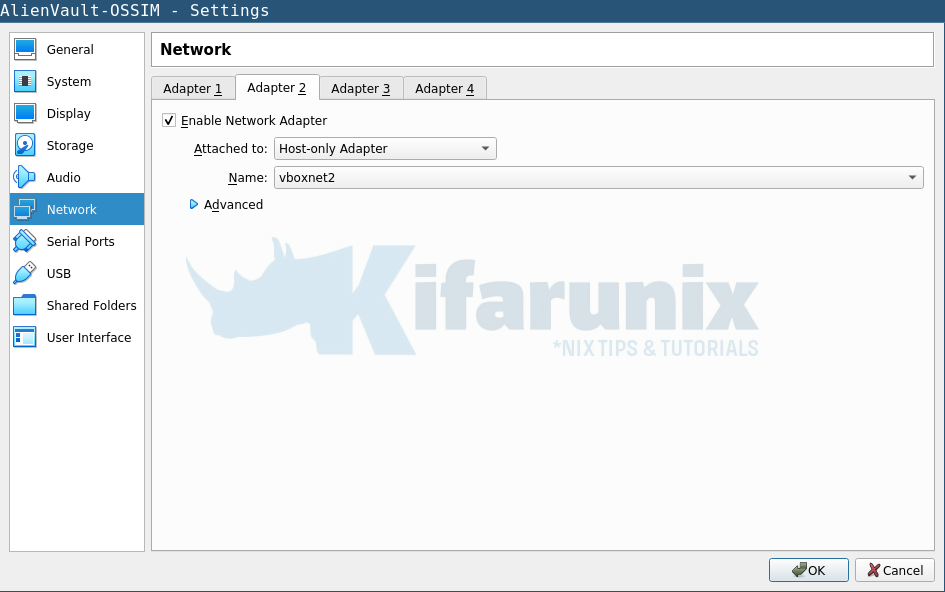
Click Ok to save the settings made.
Install AlienVault OSSIM on VirtualBox
7.Click Start button to launch the installation.
When OSSIM VM boots with iso image, an installation wizard as shown below welcomes you.
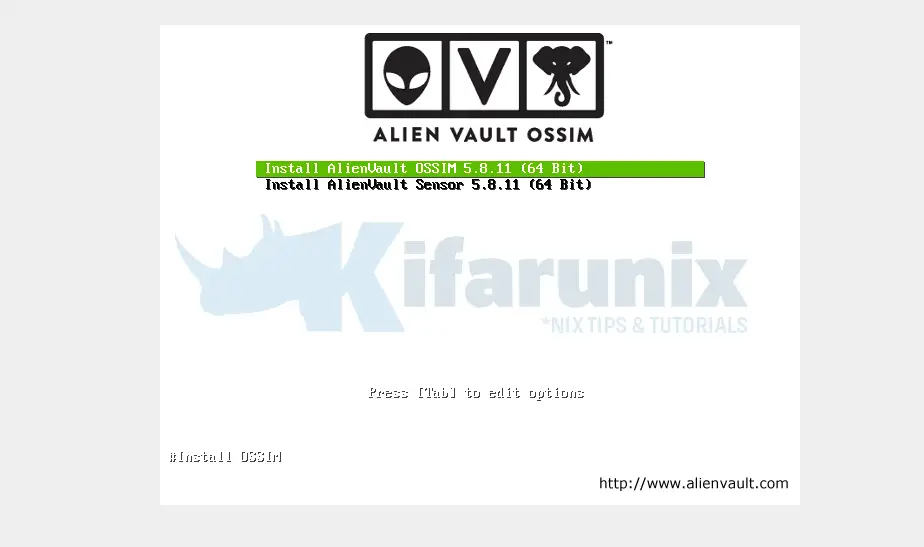
Choose the first option Install AlienVault OSSIM … to install OSSIM server.
8.On the next steps, choose the appropriate language, location and keyboard settings.
9.On configure Network, select the first interface as the primary network interface (the NATed interface).
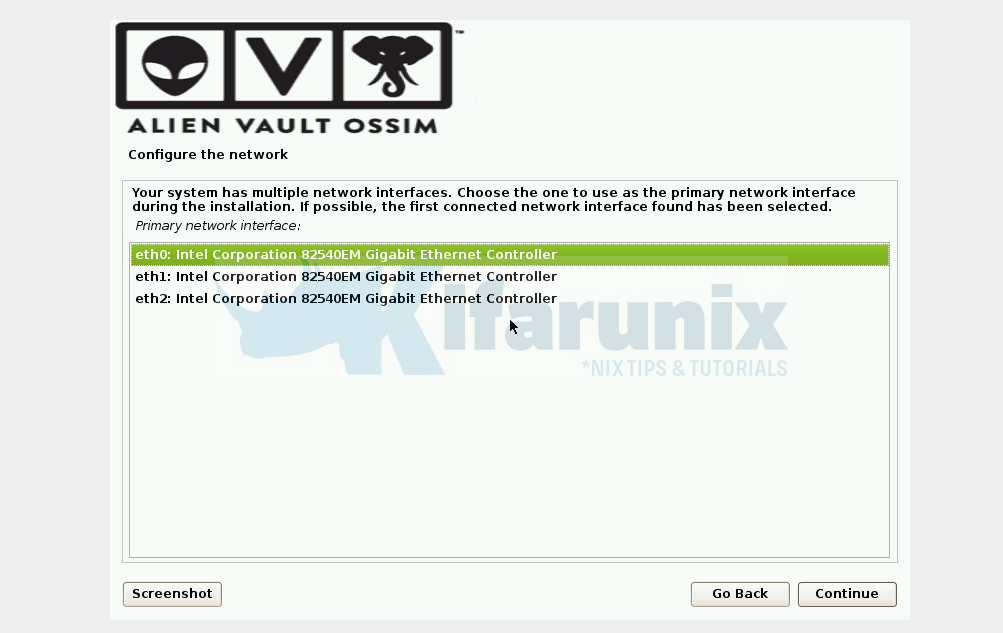
On the sub-subsequent configurations, assign appropriate IPv4 address, the netmask, the gateway, and the DNS. In this case, assign the default NAT network details as 10.0.2.15, 255.255.255.0, 10.0.2.2, 10.0.2.3 respectively.
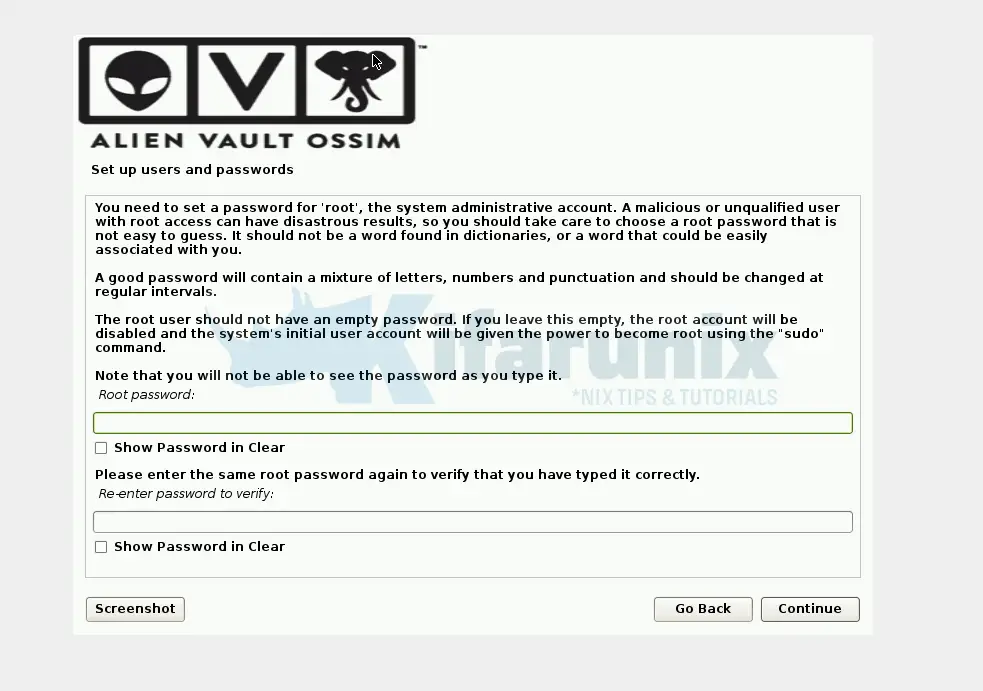
10.Once the network is set up, configure users and passwords. Set the root password and keep it as it will be required for the root login account in the AlienVault OSSIM console.
11. Configure the clock.
12.Click continue to proceed with OSSIM installation.
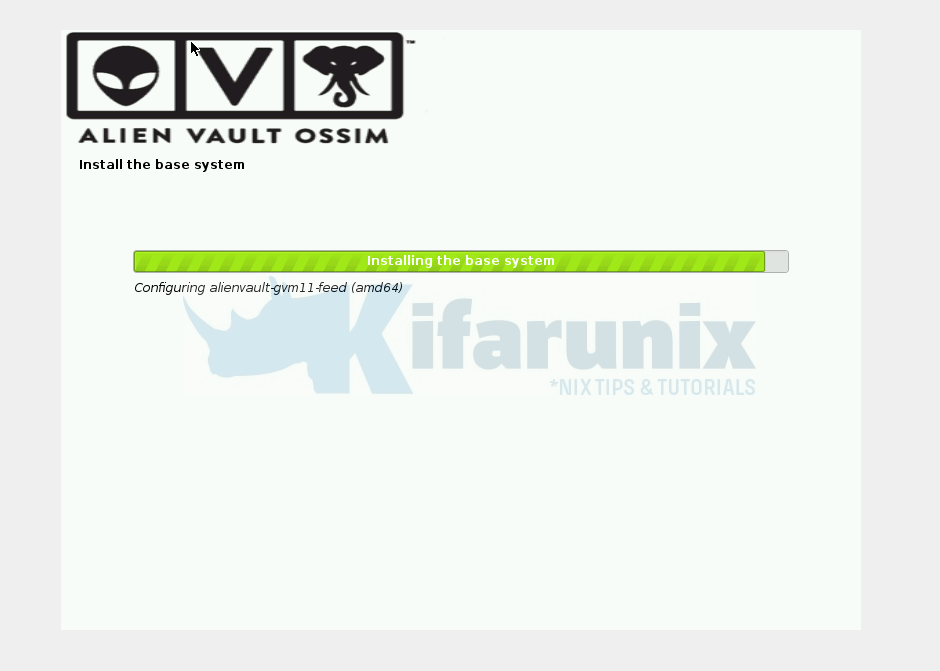
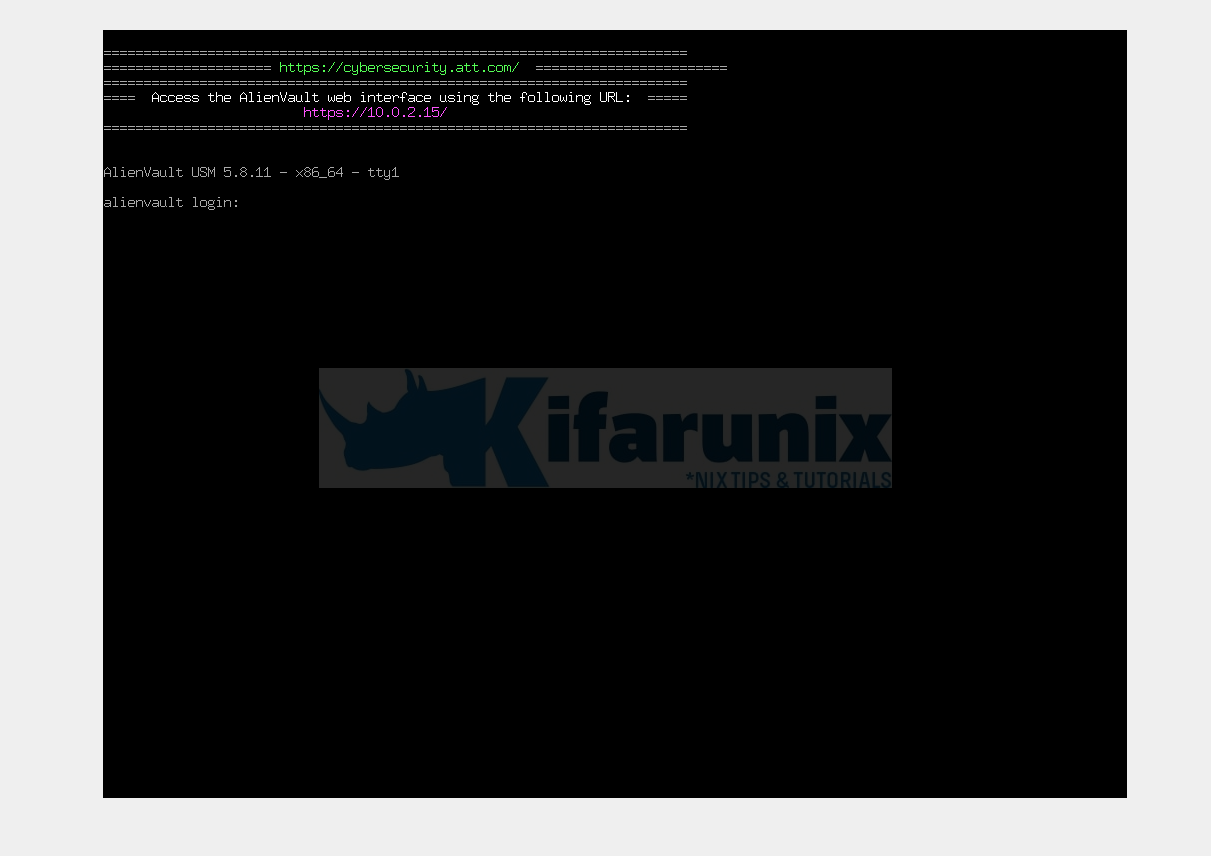
Once the Installation done, your AlienVault vm will reboot you should be able to see a screen similar to the one shown below when it starts up.
Update Network Settings
As seen on the screenshot above, we can access OSSIM web interface via the address. https://10.0.2.15/. However, since this is a NATed IP, we won’t be able to access our OSSIM via this address.
To access our OSSIM server via external host browser, we need to the management interface IP to an IP that can be accessed externally.
Thus, login to the SIEM as root with the password set previously.
Once you login, AlienVault Setup Menu welcomes you.
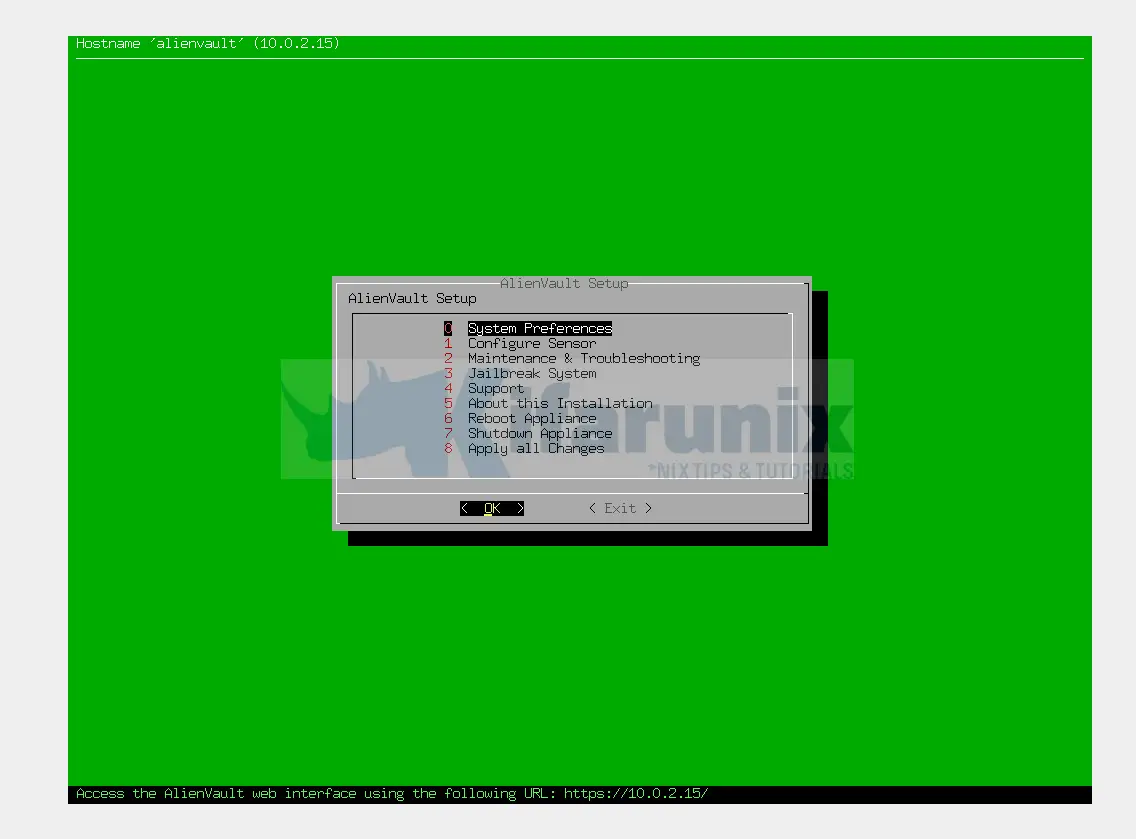
Navigate to System Preferences > Configure Network > Setup Management Network;
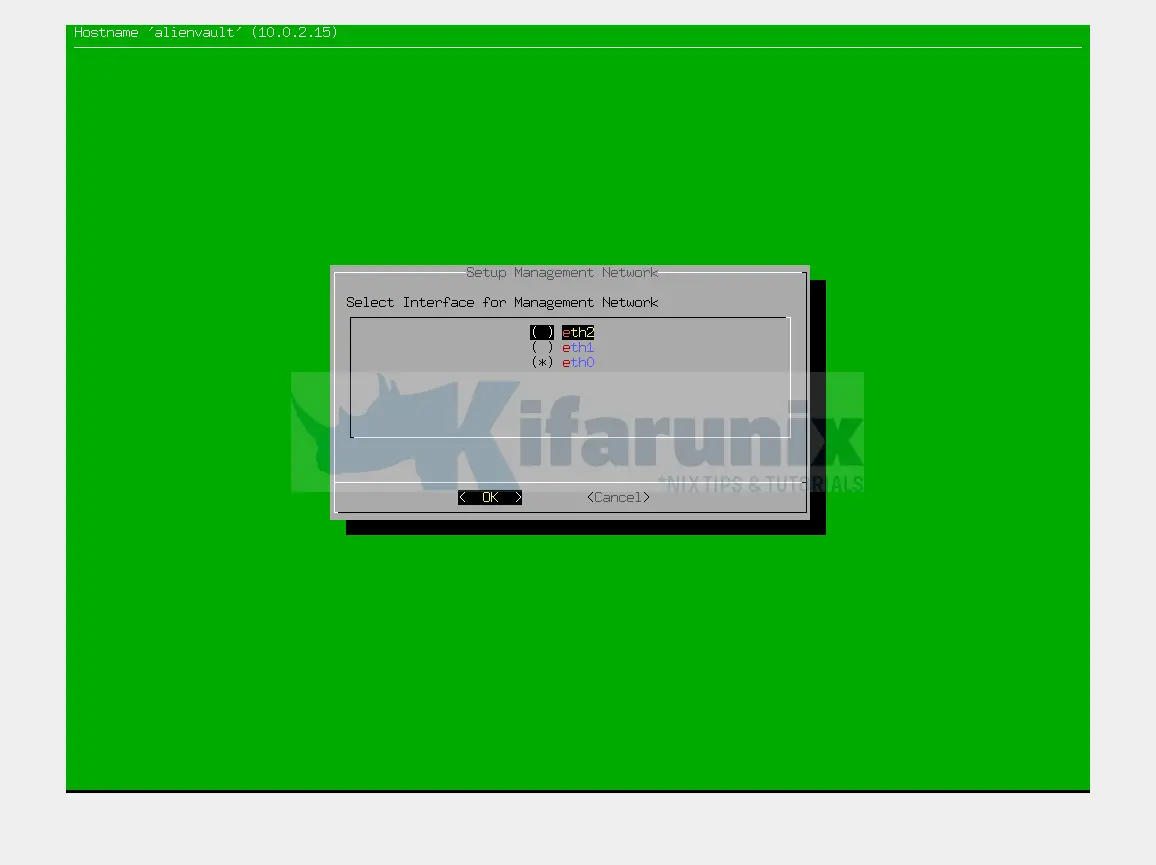
In our case, we want to use the second interface, eth1, which is attached to an HostOnly interface type as our management interface.
Hence;
- select eth1 and press space mark it.
- Set to IP address to match the network range of the attached HostOnly network
- Define the mask, 255.255.255.0 for /24.
- Set the gateway. We use the NAT gateway IP 10.0.2.2 as our gateway here.
Go back to AlienVault Setup Menu and click Apply all Changes.
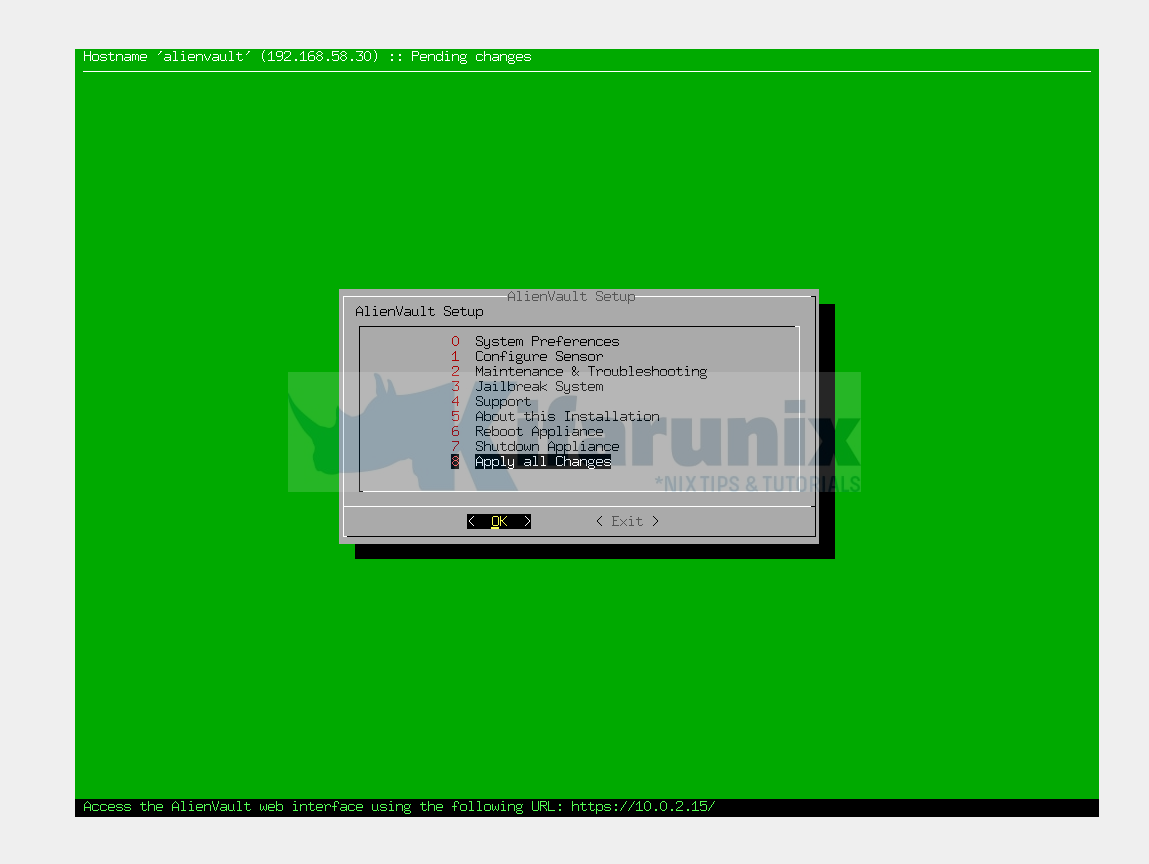
Once the changes are applied, we need to configure the NAT IP address on first interface, NAT interface, so we can be able to get to external network access (Internet) from AV.
Hence;
- Navigate to System Preferences > Configure Network > Setup Network Interface;
- Our NAT interface is eth0. Select the interface according and press space bar to choose it.
- Press Ok and set the IP address (Use 10.0.2.15 as IP) > Netmask (255.255.255.0)
Go back and Apply all Changes.
Next, go the terminal by selecting Jailbreak system > Yes.
Confirm IP address assignment;
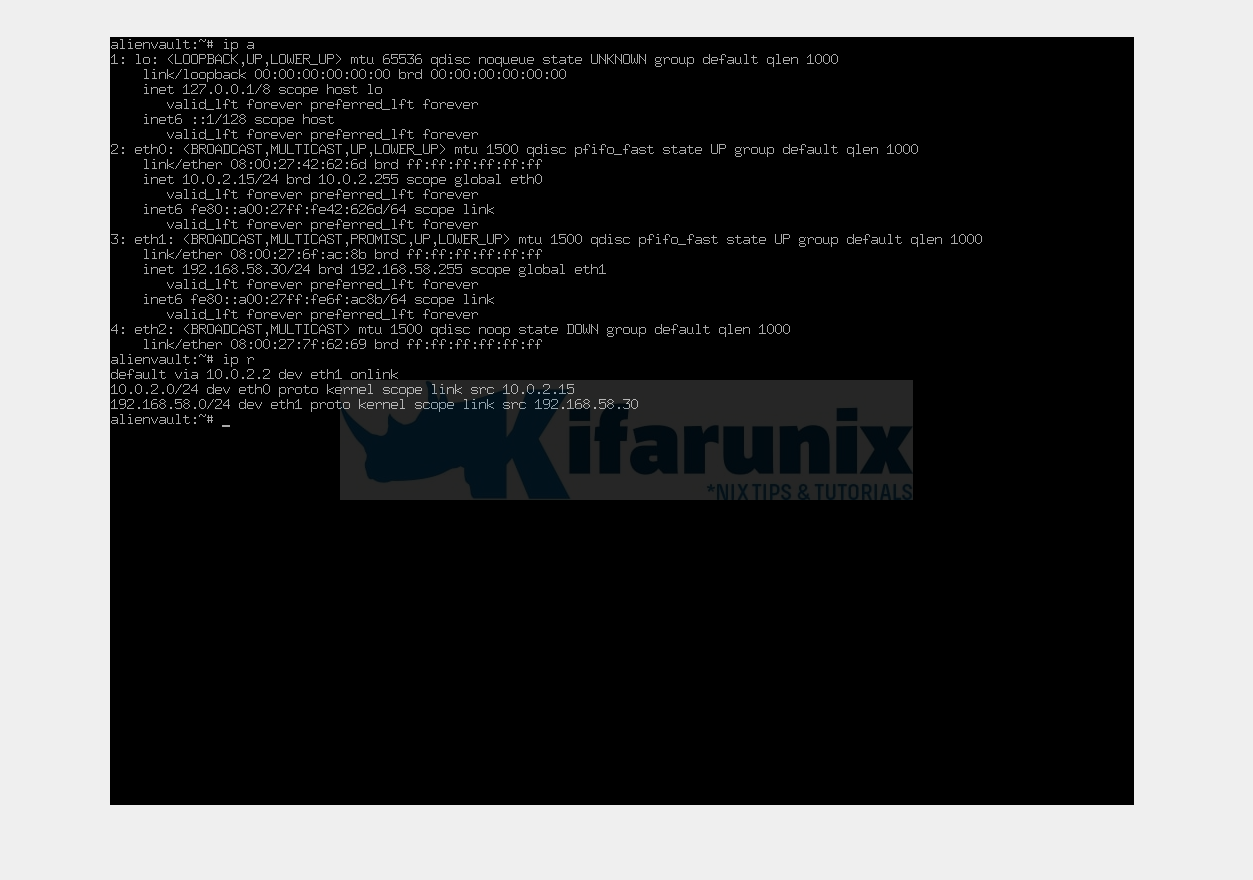
This is how the IP address is configured so far;
cat /etc/network/interfaces
# This file describes the network interfaces available on your system
# and how to activate them. For more information, see interfaces(5).

source /etc/network/interfaces.d/*

# The loopback network interface
auto lo
iface lo inet loopback

# The primary network interface
auto eth0
iface eth0 inet static
   address 10.0.2.15
   netmask 255.255.255.0
   network 10.0.2.0
   broadcast 10.0.2.255
auto eth1
iface eth1 inet static
   address 192.168.58.30
   netmask 255.255.255.0
   network 192.168.58.0
   broadcast 192.168.58.255
   gateway 10.0.2.2
   dns-nameservers 10.0.2.3
   dns-search alienvault
   up ip link set $IFACE promisc on
   down ip link set $IFACE promisc off
As you can see, the default GW is via eth1. we need to change this to make the NAT interface as gateway.
Hence, edit the network interfaces and specify the gateway for eth0 such that your configuration looks like;
vim /etc/network/interfacesSee the changes i have made;
# This file describes the network interfaces available on your system
# and how to activate them. For more information, see interfaces(5).

source /etc/network/interfaces.d/*

# The loopback network interface
auto lo
iface lo inet loopback

# The primary network interface
auto eth0
iface eth0 inet static
   address 10.0.2.15
   netmask 255.255.255.0
   network 10.0.2.0
   broadcast 10.0.2.255
   gateway 10.0.2.2
   dns-nameservers 10.0.2.3
   dns-search kifarunix-demo.com
auto eth1
iface eth1 inet static
   address 192.168.58.30
   netmask 255.255.255.0
   network 192.168.58.0
   broadcast 192.168.58.255
   up ip link set $IFACE promisc on
   down ip link set $IFACE promisc off
Once the IP is set, restart networking service;
service networking restartAccessing AlienVault OSSIM Web Interface
You can now access you AV on browser via your IP, e.g https://192.168.58.30 in our case;
If you receive browser warnings of insecure connection, add the exceptions and proceed to AlienVault OSSIM web interface.
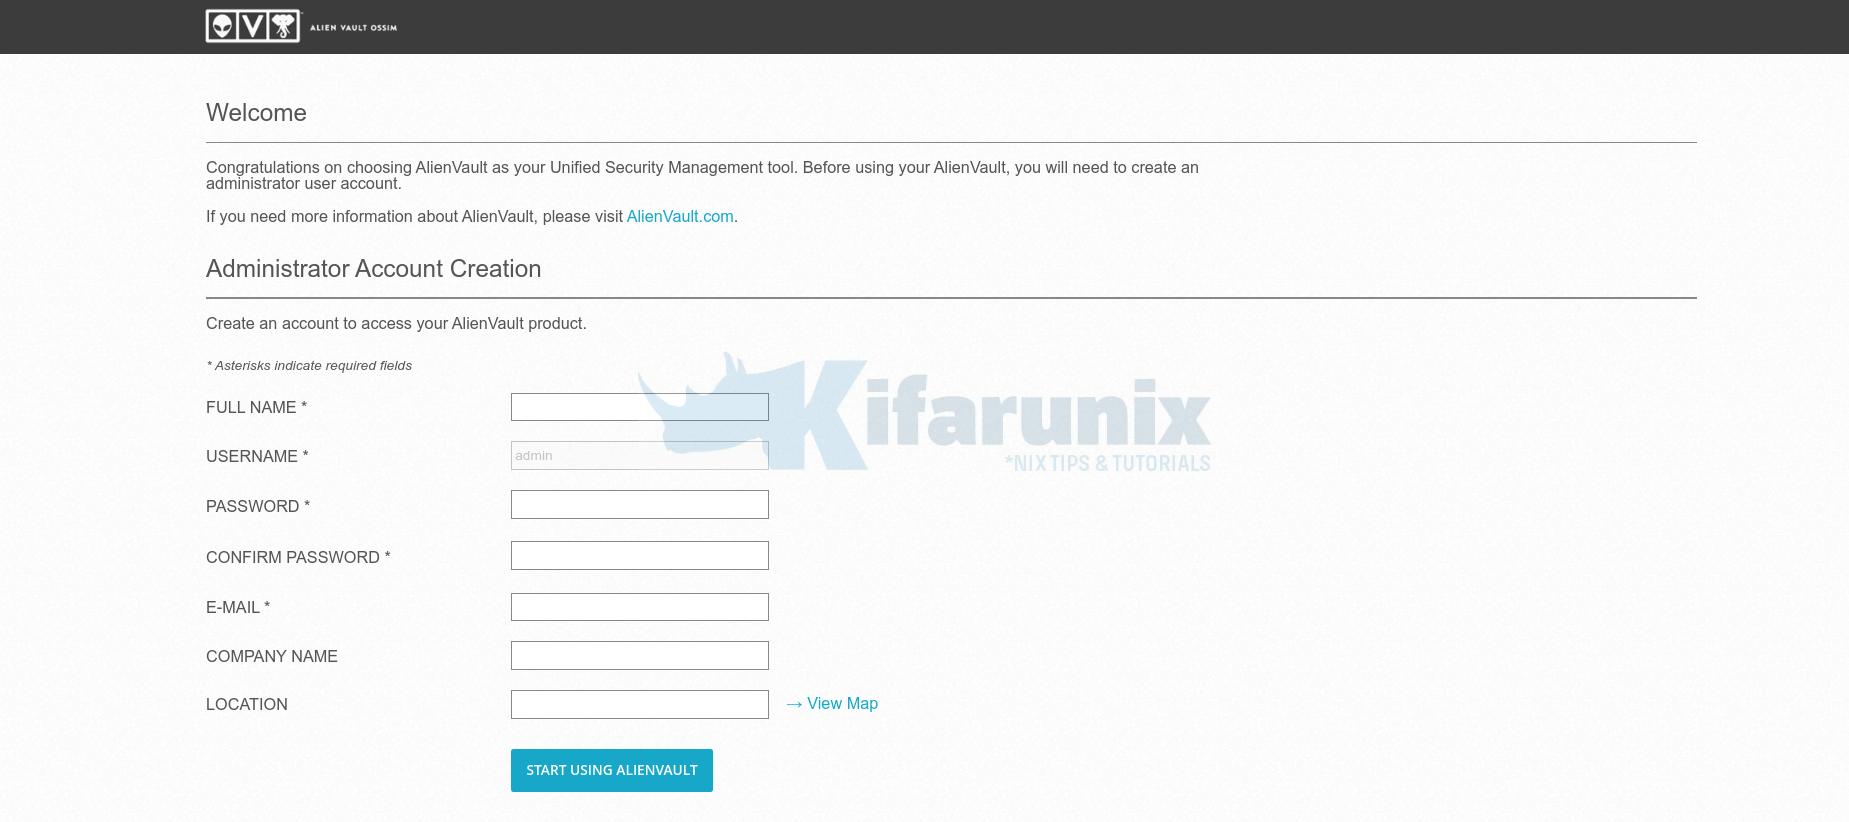
Create an admin account on the Welcome page by filling in all the fields.
Click Start Using AlienVault. This takes you to login screen as shown below.

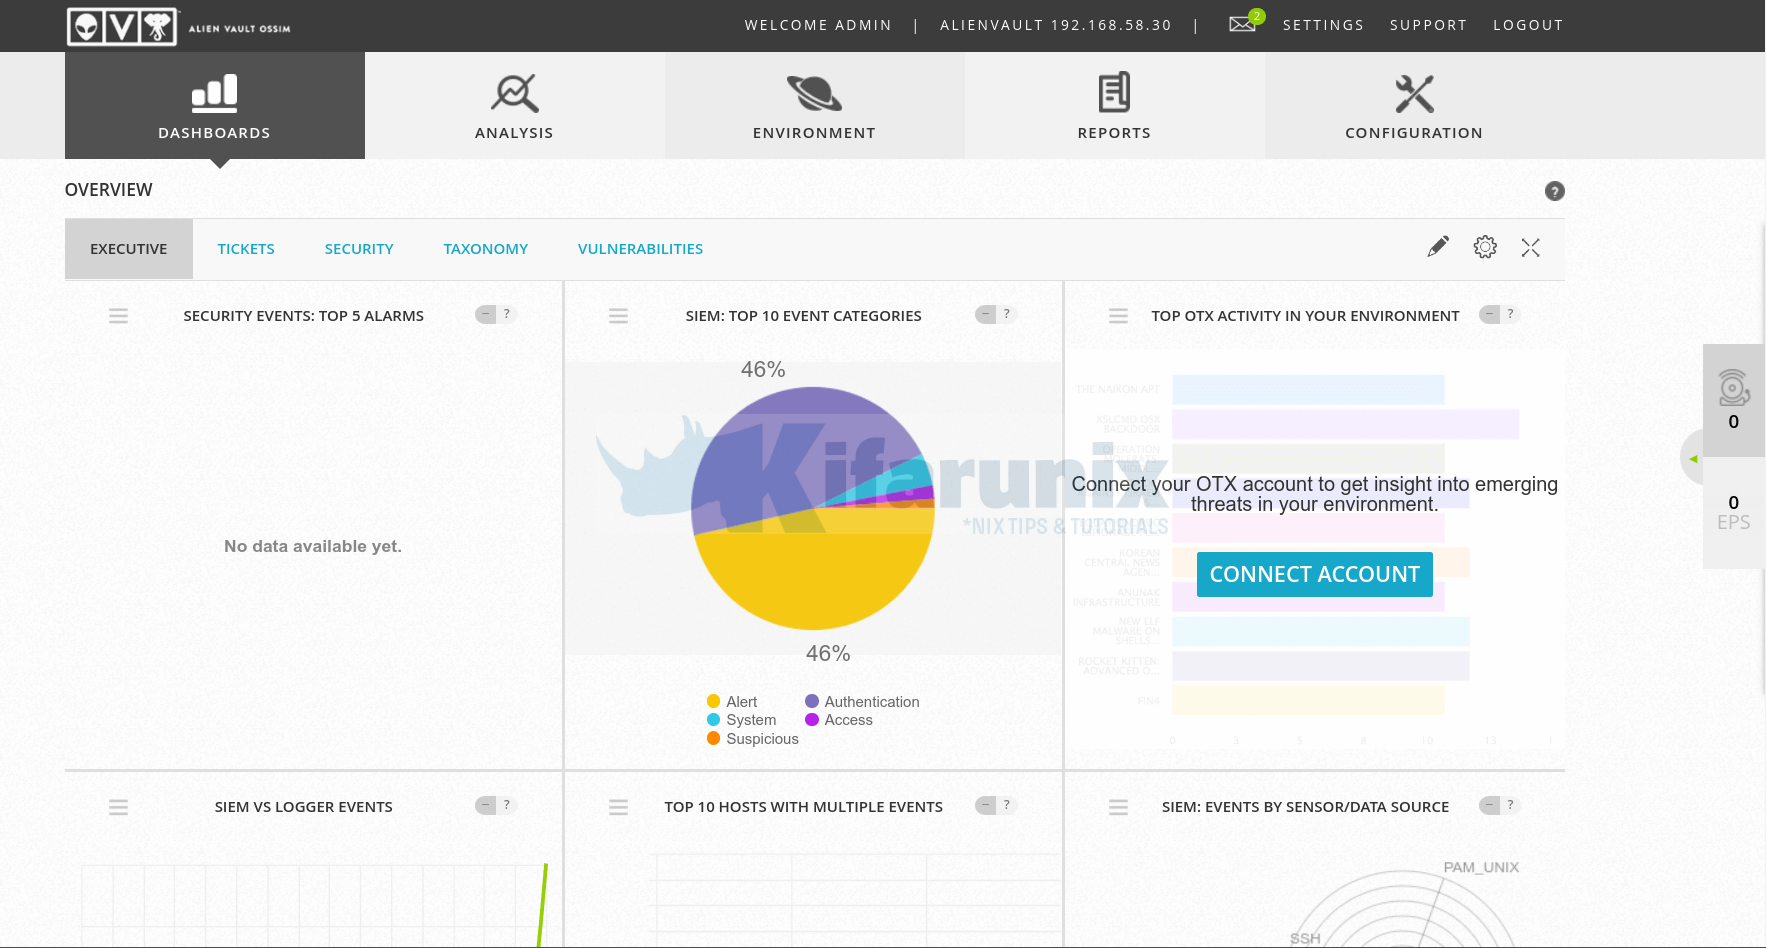
AlienVault OSSIM Dashboard
Login to your AlienVault SIEM and begin your Initial Setup. Once you are done with initial setup, you should the main dashboard of OSSIM server.
You can skip alienvault setup wizard and go direct to dashboard.
Reference:
AlienVault OSSIM® Installation Process
Other Tutorials
How to import Assets to OSSIM server.
Configure Nagios Availability Monitoring on AlienVault USM/OSSIM


Can you please put the commands you used to save inside the VIM? None of the normals seem to be working
Inside VIM, once you enter your contents, press esc button, and type
:wq!or simply:xor just upercase zz (ZZ)Hi. I am trying to install Alienvault OSSIM with oracle virtual box with Bridge network.
But, the installation is failing at the “Select and Install Software” step repeatedly.
I read that OSSIM doesn´t support disk drivers of Virtl0
If you followed the guide well, it should work fine. Any issue with any step on the guide?
I am also having issues installing the latest OSSIM on either VMware or virutalbox.
My installation fails on installing the base system and will not write a grup boot nor a lilo boot.
Syas configurling linux then starts updating from the gvm-11-feed
then both grub and lilo boot loaders fail to insatll
Hello Kenneth.Will try this and see if we can help. Cheers
Hy!
i have followed all the steps as mentioned here and installed the alien vault but neither ping is successful nor opening in browser i have also disabled firewall but nothing happened. so what can i do now ?
check your network configuration