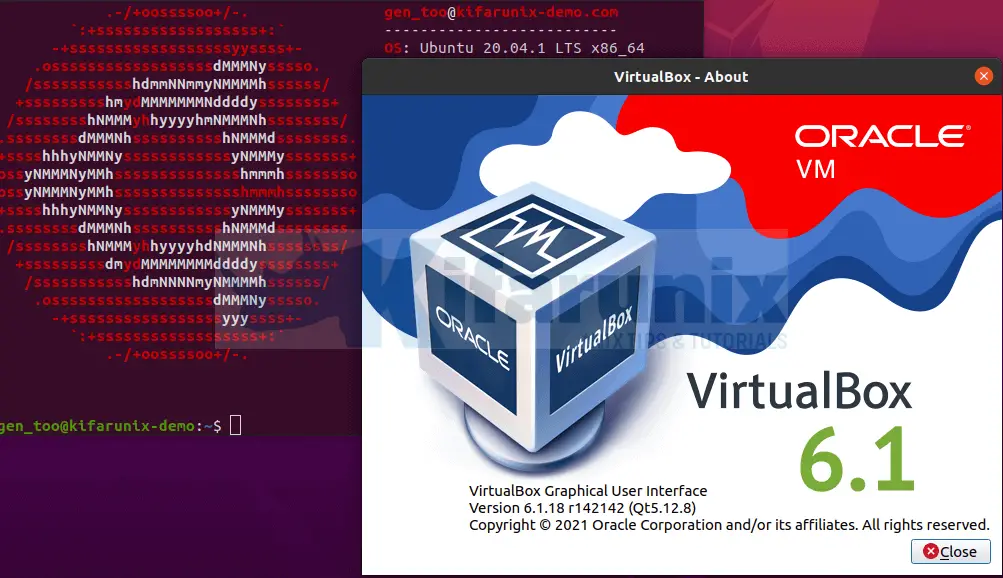
In this tutorial, you will learn how to install latest VirtualBox on Ubuntu 20.04. As of this writing, VirtualBox 6.1 is the current major release with version 6.1.18 being the current maintenance release.
As of the release of this major upgrade, quite a number of improvements and fixes were put in place. To see a complete list of improvements and fixes, please refer to VirtualBox changelog page, link provided below.
Changelog – Oracle VM VirtualBox
Installing VirtualBox on Ubuntu 20.04
Remove Old Versions of VirtualBox
To begin with, kill any VirtualBox process that is running;
ps aux | grep -i virtualbox | grep -v grep | awk '{print$2}' | xargs -I {} sudo kill -9 {}Next, remove any package related to the VirtualBox 6.0 on your system along with packages that are no longer required.
Note: When you remove VirtualBox, you existing VMs will remain intact under the installation directory, in my case, it is $HOME/VirtualBox VMs directory.
sudo apt remove --purge --auto-remove virtualboxReboot your system to reload the kernel modules.
systemctl rebootInstalling VirtualBox on Ubuntu 20.04
You can install VirtualBox either using the DEB binary package or from the APT repos.
Run System Update
Update your system package cache;
apt update -yAs of this writing, the latest maintenance release version of VirtualBox is VirtualBox 6.1.18.
Install VirtualBox on Ubuntu from APT Repos
To install VirtualBox from APT repos, simply install the VirtualBox APT sources list.
echo "deb [arch=amd64] https://download.virtualbox.org/virtualbox/debian $(lsb_release -sc) contrib" | sudo tee /etc/apt/sources.list.d/virtualbox.listInstall the repository signing keys.
wget -q https://www.virtualbox.org/download/oracle_vbox_2016.asc -O- | sudo apt-key add -wget -q https://www.virtualbox.org/download/oracle_vbox.asc -O- | sudo apt-key add -Update system package cache
sudo apt updateNOTE: As of this writing, as much as the APT repos provides the current latest and stable release version of VirtualBox (Version: 6.1.16-dfsg-6~ubuntu1.20.04.1), it do not provide the latest maintenance release version, 6.1.18.
sudo apt install virtualbox-6.1To install VIrtualBox 6.1.18 or later based on the current maintenance releases, follow the method below;
Install VirtualBox 6.1 using DEB Binary Package
To install latest VirtualBox using the .DEB binary package, simply download the LATEST binary from VirtualBox downloads page.
wget https://download.virtualbox.org/virtualbox/6.1.18/virtualbox-6.1_6.1.18-142142~Ubuntu~eoan_amd64.debUse either the dpkg tool or apt package manager to install VirtualBox
dpkg -i virtualbox-6.1_6.1.18-142142~Ubuntu~eoan_amd64.deb
apt install -f
or if you want to deal with the dependencies automatically;
apt install ./virtualbox-6.1_6.1.18-142142~Ubuntu~eoan_amd64.debInstall latest VirtualBox Extension Pack
Remove the old version of VirtualBox extension pack.
sudo VBoxManage extpack uninstall "Oracle VM VirtualBox Extension Pack"Download the latest VirtualBox 6.1 extension pack that matches the version of the installed virtualbox. You can get the link from the VirtualBox download page.
wget -P /tmp https://download.virtualbox.org/virtualbox/6.1.18/Oracle_VM_VirtualBox_Extension_Pack-6.1.18.vbox-extpackInstall VirtualBox 6.1 Extension Pack
sudo VBoxManage extpack install /tmp/Oracle_VM_VirtualBox_Extension_Pack-6.1.18.vbox-extpackAccept the VirtualBox Extension Pack Personal Use and Evaluation License (PUEL) and proceed with installation.
Running VirtualBox
Add your username to virtualbox group;
usermod -aG vboxusers <username>Replace <username> with your username.
You can then luanch VirtualBox from the applications menu or directly from the command line;
virtualbox
And there you go.
Other Tutorials
Install VirtualBox 6.1 on Fedora 33
List Running and Stopped VMS on KVM

