In this tutorial, you will learn how to install Fedora CoreOS on KVM using an ISO file. Fedora CoreOS is a minimal, container-optimized Linux distribution designed for running modern infrastructure and applications. It is particularly well-suited for clustered environments and cloud-native workloads, thanks to its lightweight design and built-in support for container orchestration tools like Kubernetes.
Table of Contents
Install Fedora CoreOS on KVM Using an ISO File
What is CoreOS?
CoreOS was a Linux distribution designed with a focus on simplicity, security, and scalability. Unlike traditional Linux distributions, CoreOS did not include a package manager like yum or apt. Instead, it embraced an immutable infrastructure model and relied on automatic updates to ensure consistency and security across large-scale deployments. Its primary use case was running and managing containerized workloads, making it a popular choice for modern, cloud-native environments.
Evolution of CoreOS: From CoreOS Container Linux to Fedora CoreOS and RHEL CoreOS
CoreOS Container Linux (Original CoreOS)
CoreOS was founded in 2013 and it gained popularity for its focus on containers, automatic updates, and lightweight security-focused design.
In January 2018, Red Hat acquired CoreOS. Following this acquisition, CoreOS Container Linux was integrated into Red Hat’s ecosystem, leading to the development of Fedora CoreOS and RHEL CoreOS.
Fedora CoreOS
After the acquisition, CoreOS was merged into the Fedora ecosystem as Fedora CoreOS (FCOS). This version combines the best of CoreOS Container Linux with Fedora’s innovations. FCOS is the upstream, community-driven version, suitable for general containerized workloads and standalone deployments securely and efficiently.
RHEL CoreOS
Built on Fedora CoreOS, RHEL CoreOS (RHCOS) is the downstream, enterprise-focused version. It provides the same benefits as Fedora CoreOS but with Red Hat’s enterprise support and long-term lifecycle management. RHEL CoreOS is specifically designed to be used as the operating system for OpenShift Kubernetes clusters.
Install KVM
Before you can proceed, of course, you need to ensure you have the following:
- A system with KVM and libvirt installed
- Virtual Machine Manager (virt-manager) for a graphical interface (optional).
Check the guides below;
Install KVM on Ubuntu, Debian, Oracle Linux…
Download Fedora CoreOS ISO
Download the latest Fedora CoreOS ISO DVD image from the download’s page.
wget https://builds.coreos.fedoraproject.org/prod/streams/stable/builds/41.20250117.3.0/x86_64/fedora-coreos-41.20250117.3.0-live.x86_64.isoCreate a New Fedora CoreOS Virtual Machine in Virt-Manager
- Open Virtual Machine Manager (virt-manager).
- Click Create a new virtual machine.
- Select Local install media (ISO image).
- Browse and select the downloaded Fedora CoreOS ISO.
- Choose Linux as the OS type and set the version to Fedora CoreOS (fedora-coreos-stable).
- Allocate memory (RAM) and CPU cores (e.g., 4GB RAM, 2 CPUs).
- Create a virtual disk (at least 8GB recommended).
- Set the name of the VM and click Finish to start the VM.
Boot Fedora CoreOS and Install
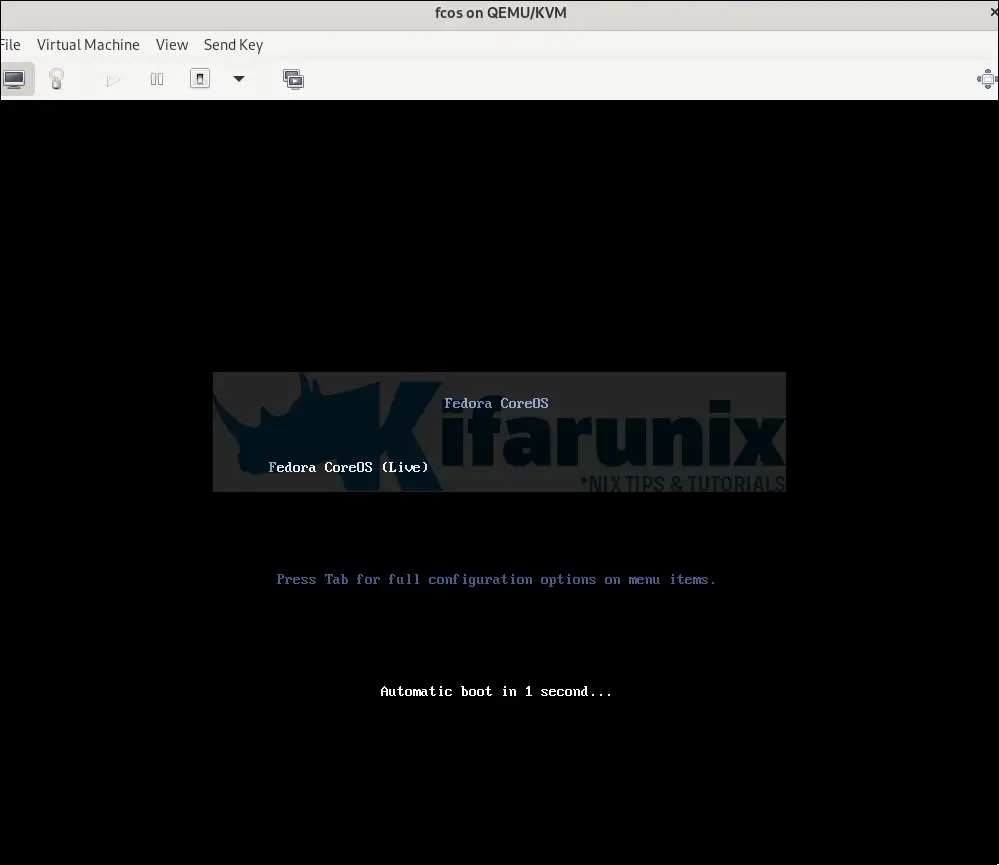
Once the VM starts, the Fedora CoreOS live environment will load.
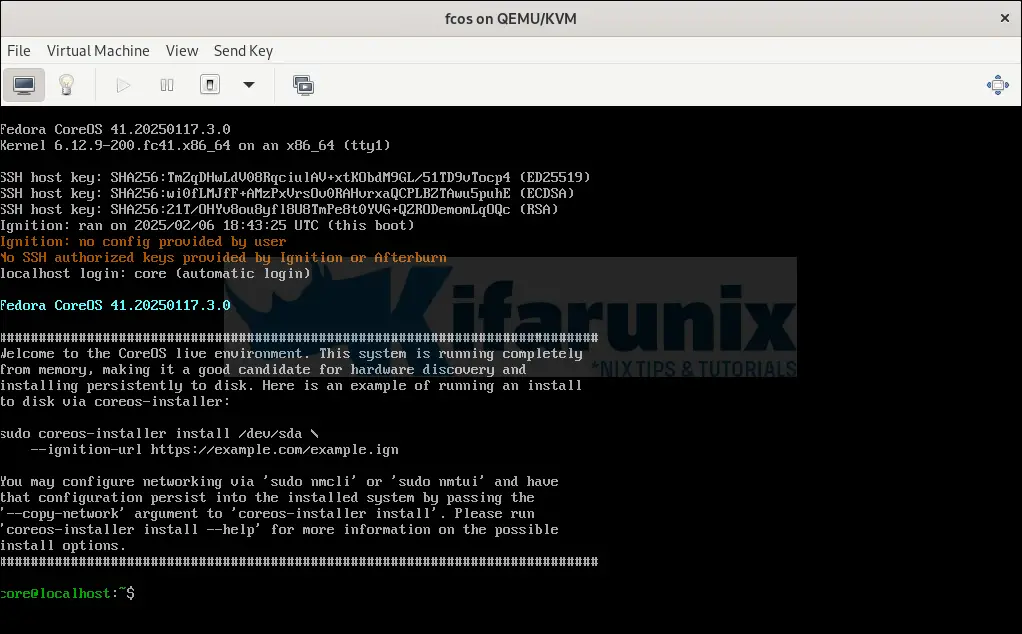
Once booted, you will have access to a shell command prompt.
Deploy Fedora CoreOS with Ignition
Fedora CoreOS uses Ignition instead of traditional cloud-init or Linux Anaconda Kickstart file for system configuration. In essence, an Ignition file is a JSON configuration file used by Fedora CoreOS to automate the initial setup and provisioning of a machine. It is processed only once during the first boot and is responsible for configuring storage, networking, users, systemd services, and more.
An Ignition file is typically generated from an FCC (Fedora CoreOS Config), aka Butane config file (.fcc). FCC files use YAML format, which is more human-readable than raw JSON.
Therefore, you have to:
- Write an FCC/Butane config file in YAML format on CoreOS.
- Convert the FCC file into an Ignition JSON file using Butane tool.
- Provide the Ignition JSON file to CoreOS during boot.
Write Butane Config for Customizing your CoreOS
Here is our sample Butane config file we have just created on the live CoreOS.
cat fcos.fccvariant: fcos
version: 1.6.0
passwd:
users:
- name: kifarunix
password_hash: $y$j9T$b09EFTrBqF7EQafNZht2j.$YfRpq754A1IFcod1py0lqHGZequ1bX.uLDiIKBvVRCC
groups:
- wheel
shell: /bin/bash
storage:
files:
- path: /etc/hostname
mode: 0644
contents:
inline: fcos
- path: /etc/ssh/sshd_config.d/20-enable-passwords.conf
mode: 0644
contents:
inline: |
PasswordAuthentication yes
- path: /etc/NetworkManager/system-connections/enp1s0.nmconnection
mode: 0600
contents:
inline: |
[connection]
id=enp1s0
type=ethernet
interface-name=enp1s0
[ipv4]
address1=192.168.122.67/24,192.168.122.1
dns=8.8.8.8;
dns-search=
may-fail=false
method=manual
In summary, this is what the config intents to do:
- This Butane configuration file is designed for Fedora CoreOS (variant:
fcos) and specifies version1.6.0 - User Configuration
- A new user named
kifarunixis created. - The user’s password hash is provided, enabling password-based authentication (You can use mkpasswd –method=yescrypt).
- The user is added to the
wheelgroup, granting administrative privileges. - The default shell for the user is set to
/bin/bash.
- A new user named
- File Storage Configuration: Three files are defined to be written to the filesystem during provisioning:
/etc/hostname- Sets the hostname of the system to
fcos. - File permissions are set to
0644.
- Sets the hostname of the system to
/etc/ssh/sshd_config.d/20-enable-passwords.conf- Enables password-based SSH authentication by setting
PasswordAuthentication yes. - File permissions are set to
0644.
- Enables password-based SSH authentication by setting
/etc/NetworkManager/system-connections/enp1s0.nmconnection- Configures the network interface
enp1s0with static IP settings:- IP Address:
192.168.122.67/24 - Gateway:
192.168.122.1 - DNS Server:
8.8.8.8 - Ensures the network connection does not fail (
may-fail=false) and uses manual configuration (method=manual).
- IP Address:
- File permissions are set to
0600.
- Configures the network interface
You can get more examples on the documentation page.
Generate Ignition file from Butane Config
Run Butane to transpile the YAML file into an Ignition JSON file. We will use the container version of Butane to generate Ignition file. Both Podman and Docker engines are available for your use! We are using Podman in this example.
podman run --interactive --rm quay.io/coreos/butane:release \
       --pretty --strict < fcos.fcc > fcos_config.ign
During transpilation, Butane verifies the syntax of your YAML configuration to catch any errors before it’s used.
Sample transpiled Ignition file configuration.
cat fcos_config.ign{
"ignition": {
"version": "3.5.0"
},
"passwd": {
"users": [
{
"groups": [
"wheel"
],
"name": "kifarunix",
"passwordHash": "$y$j9T$b09EFTrBqF7EQafNZht2j.$YfRpq754A1IFcod1py0lqHGZequ1bX.uLDiIKBvVRCC",
"shell": "/bin/bash"
}
]
},
"storage": {
"files": [
{
"path": "/etc/hostname",
"contents": {
"compression": "",
"source": "data:,fcos"
},
"mode": 420
},
{
"path": "/etc/ssh/sshd_config.d/20-enable-passwords.conf",
"contents": {
"compression": "",
"source": "data:,PasswordAuthentication%20yes%0A"
},
"mode": 420
},
{
"path": "/etc/NetworkManager/system-connections/enp1s0.nmconnection",
"contents": {
"compression": "gzip",
"source": "data:;base64,H4sIAAAAAAAC/0yKUcqDMBAG3/csv/mbINZS9iTiw5J8YsCskmwL3r60UCjzNMNMcVdFtLzrTDkx9PDtQnYeYNiKqjDKaqiLRHQqBd9nysezn0lSqmjNs78F54fR+RDccP0P/d9v8ZS08eg+3N/SNUiNK1ORs1skb7zI1kAFtu6Ji+hDNnoFAAD//+NLWuOhAAAA"
},
"mode": 384
}
]
}
}
Install Fedora CoreOS onto a Drive
Install Fedora CoreOS on to the disk and configure it to use an Ignition file.
You can install Fedora CoreOS using coreos-installer command.
Get devices list:
lsblkThen launch the installation.
sudo coreos-installer install /dev/vda --ignition-file fcos_config.ignOnce the installation is complete, reboot the system;
sudo rebootUpon reboot, the system initiates the first boot process. During this time, Ignition processes the configuration file and sets up the system based on the provided specifications.
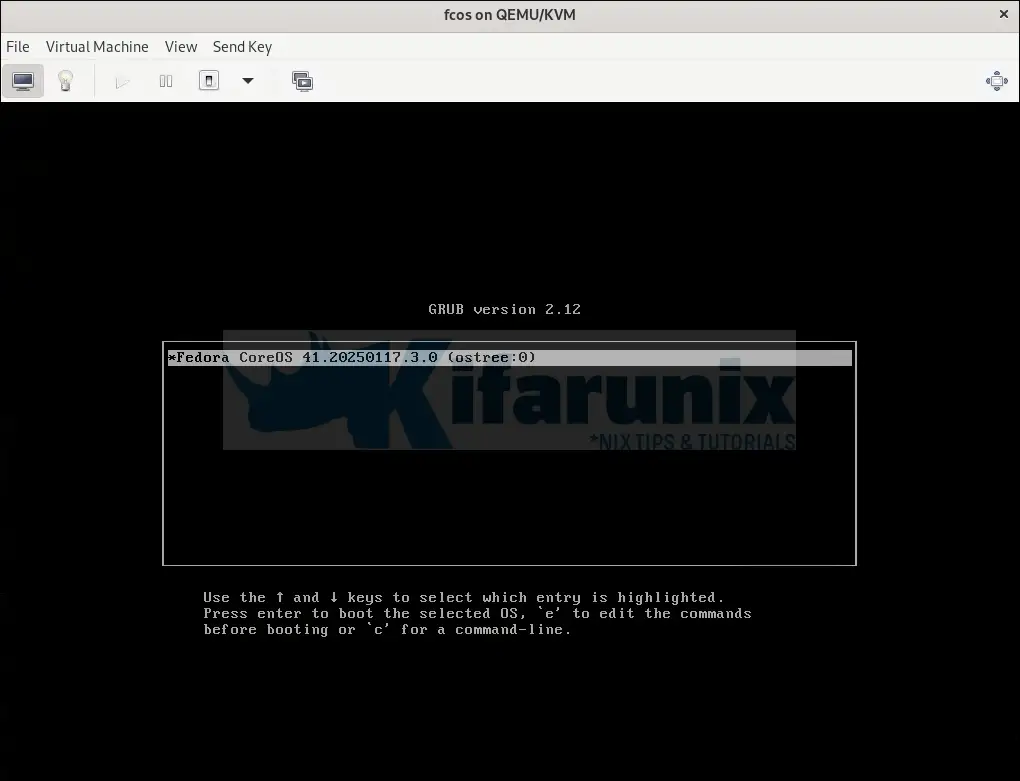
Fedora CoreOS grub entry;
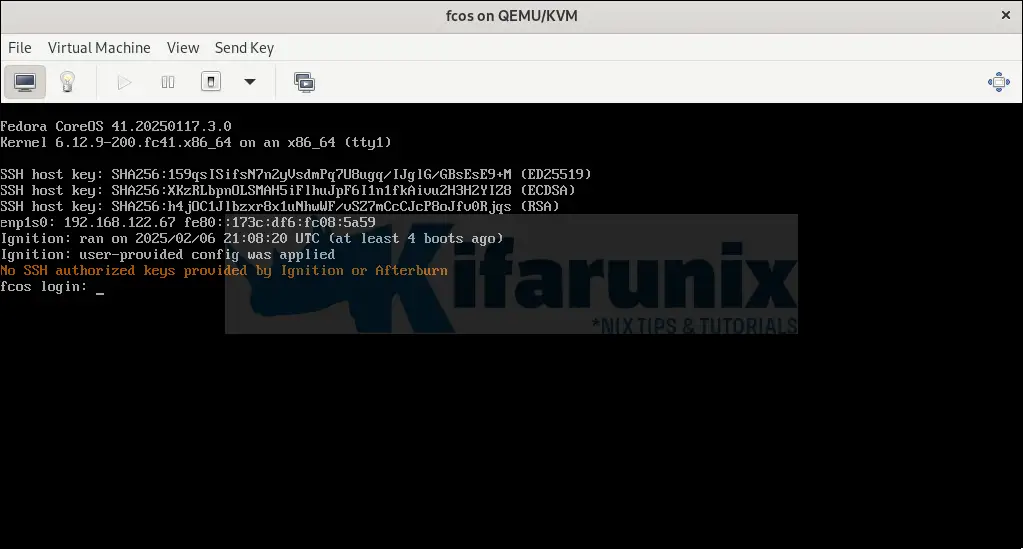
Login console;
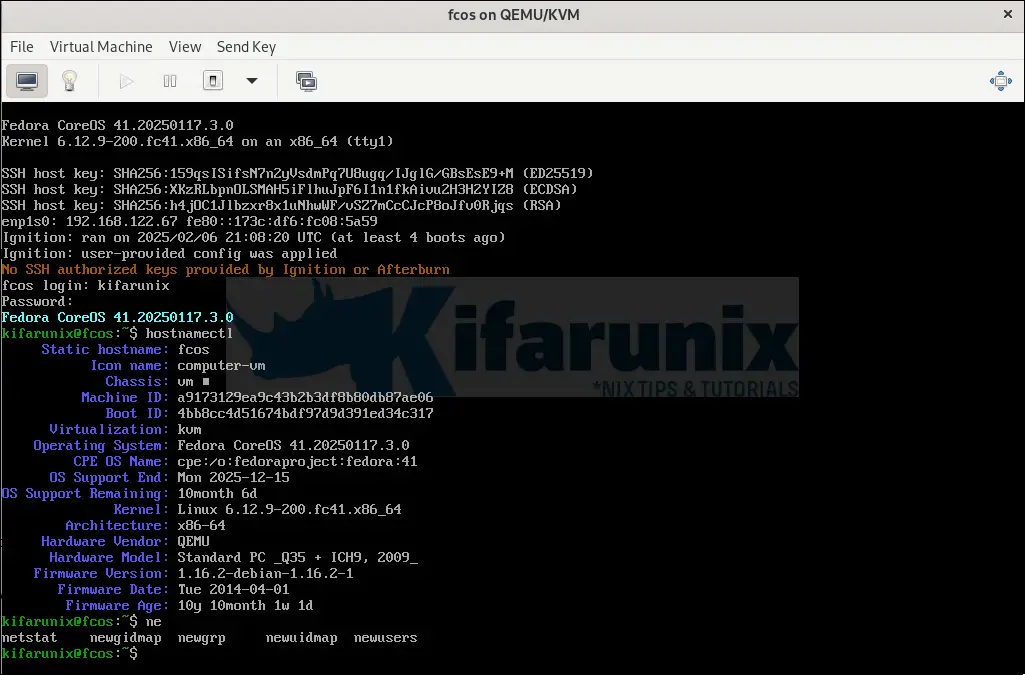
You can login with the credentials that you set before.
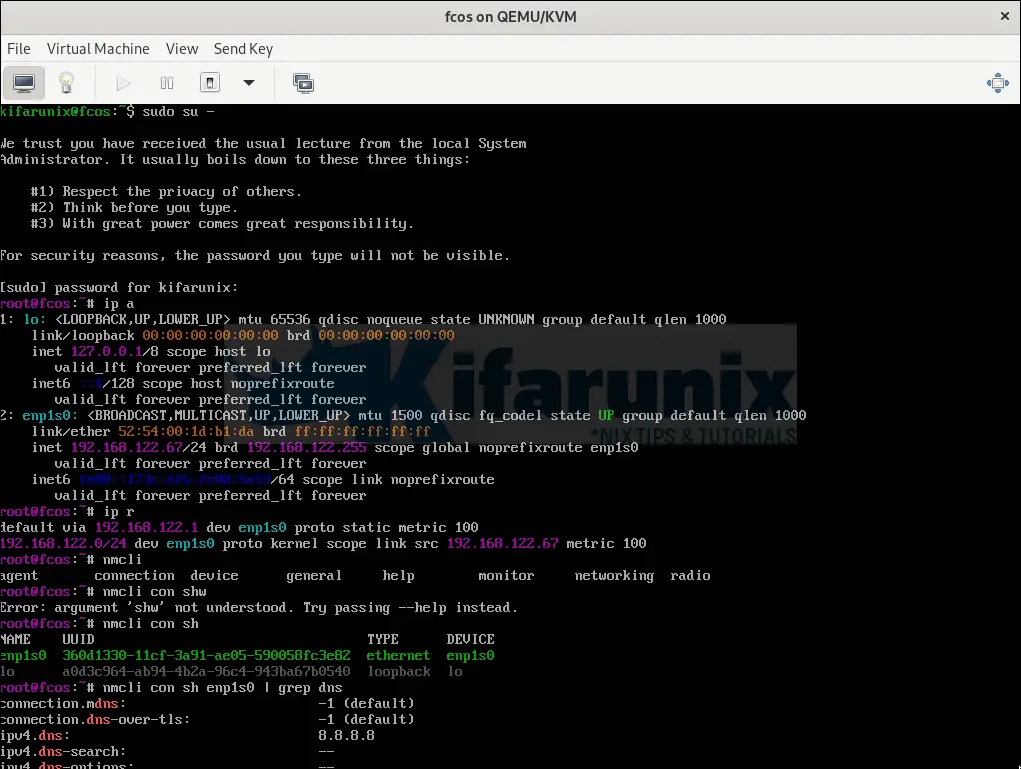
Ip addressing;
And that is all on how to install Fedora CoreOS on KVM.
Conclusion
Installing Fedora CoreOS on KVM using an ISO file is straightforward and provides a solid foundation for running containerized applications. Thanks to its immutable design and automatic updates, Fedora CoreOS ensures a secure and reliable environment for modern workloads.
Other KVM related tutorials:

