Follow through this tutorial to learn how to install Apache Tomcat on Rocky Linux 8. Apache Tomcat is an opensource java based HTTP web server that implements the Java Servlet, JavaServer Pages, Java Expression Language and Java WebSocket technologies.
Installing Apache Tomcat on Rocky Linux 8
Install OpenJDK on Rocky Linux 8
Apache Tomcat requires a Java Standard Edition Runtime Environment (JRE) version 8 or later. Since OpenJDK 11 Runtime Environment is available on the default Rocky Linux repos, we will install it. We install other packages including wget and tar that will be used later on in the guide.
dnf install java-11-openjdk wget tarOnce the installation completes, you can run the command below to verify the version.
java -versionopenjdk version "11.0.12" 2021-07-20 LTS
OpenJDK Runtime Environment 18.9 (build 11.0.12+7-LTS)
OpenJDK 64-Bit Server VM 18.9 (build 11.0.12+7-LTS, mixed mode, sharing)Download Apache Tomcat Binary Distribution
Navigate to Apache Tomcat download’s page and grab Apache Tomcat binary distribution tarball. As of this writing, Apache Tomcat 10.0.8 is the current stable release.
wget https://downloads.apache.org/tomcat/tomcat-10/v10.0.8/bin/apache-tomcat-10.0.8.tar.gzInstall Apache Tomcat
Once the download of the binary distribution is complete, installation of Apache Tomcat using the binary distribution is as easy as extracting it to some specific directory, which in this case, we used /opt/tomcat directory.
mkdir /opt/tomcattar xzf apache-tomcat-10.0.8.tar.gz -C /opt/tomcat --strip-components=1The command above extracts the contents of apache-tomcat-9.0.36.tar.gz tarball to the installation directory, /opt/tomcat.
ls -1 /opt/tomcat/bin
BUILDING.txt
conf
CONTRIBUTING.md
lib
LICENSE
logs
NOTICE
README.md
RELEASE-NOTES
RUNNING.txt
temp
webapps
work
Set Apache Tomcat Environment Variables
Various environment variables are used by the Tomcat startup scripts to prepare the command that runs Tomcat daemon.
Set CATALINA_HOME environment variable to point to the base path of the Tomcat installation, which in this case is, /opt/tomcat.
echo 'export CATALINA_HOME="/opt/tomcat"' > /etc/profile.d/tomcat.shDepending on the Java package installed, set JRE_HOME (if you installed JRE) or JAVA_HOME (if you installed JDK) environment variable for the Java version you have installed.
Since we installed JDK, create the JAVA_HOME environment as follows.
Locate the path to the installed Java version using alternatives command.
alternatives --list | grep javajava auto /usr/lib/jvm/java-11-openjdk-11.0.12.0.7-0.el8_4.x86_64/bin/java
jre_openjdk auto /usr/lib/jvm/java-11-openjdk-11.0.12.0.7-0.el8_4.x86_64
jre_11 auto /usr/lib/jvm/java-11-openjdk-11.0.12.0.7-0.el8_4.x86_64
From our output above, the path is /usr/lib/jvm/java-11-openjdk-11.0.12.0.7-0.el8_4.x86_64.
Once you have the path, create the environment variable.
echo 'export JAVA_HOME="/usr/lib/jvm/java-11-openjdk-11.0.12.0.7-0.el8_4.x86_64"' >> /etc/profile.d/tomcat.shReload the environment variables set above.
source /etc/profile.d/tomcat.shCreate Apache Tomcat System User
Just like any other web server, Apache Tomcat should not be run with a privileged user. Hence, create a system user for Apache Tomcat as follows;
useradd -r -d /opt/tomcat/ -s /bin/false -c "Apach Tomcat User" tomcatNext, you need to set the user and group ownership of Tomcat directory to tomcat user.
chown -R tomcat: /opt/tomcat/Configure Tomcat Web Management Accounts
Create Tomcat Web Management User
Define a user for the web management of Tomcat Admin/Manager User interfaces.
This can be done by editing the /opt/tomcat/conf/tomcat-users.xml file and adding the following highlighted lines below between the </tomcat-users> tag.
vim /opt/tomcat/conf/tomcat-users.xml<tomcat-users
...
<!--
<role rolename="tomcat"/>
<role rolename="role1"/>
<user username="tomcat" password="must-be-changed" roles="tomcat"/>
<user username="both" password="must-be-changed" roles="tomcat,role1"/>
<user username="role1" password="must-be-changed" roles="role1"/>
-->
<role rolename="admin-gui"/>
<role rolename="manager-gui"/>
<user username="admin" password="StrongP@SS" roles="admin-gui,manager-gui"/>
</tomcat-users>
Replace the password and usernames accordingly.
Configure Tomcat to allow remote connection to Manager and Host Manager apps.
Edit the configuration files below for Manager and Host Manager respectively and enter the IP addresses of the remote server you are accessing the Tomcat from. The IPs are separated by a pipe, |.
In this case, 192.168.60.1, is the IP address of the server to allow access of Tomcat from.
Update for Manager;
vim /opt/tomcat/webapps/manager/META-INF/context.xml...
<Context antiResourceLocking="false" privileged="true" >
<Valve className="org.apache.catalina.valves.RemoteAddrValve"
allow="127\.\d+\.\d+\.\d+|::1|0:0:0:0:0:0:0:1|192.168.60.1" />
...
</Context>Update for Host Manager;
vim /opt/tomcat/webapps/host-manager/META-INF/context.xml...
<Context antiResourceLocking="false" privileged="true" >
<Valve className="org.apache.catalina.valves.RemoteAddrValve"
allow="127\.\d+\.\d+\.\d+|::1|0:0:0:0:0:0:0:1|192.168.60.1" />
...
</Context>Save and exit the configuration file after changes are made.
Allow Tomcat Through Firewall
To allow external access to Tomcat, you need to open TCP port 8080 on Firewalld, if it is running;
firewall-cmd --add-port=8080/tcp --permanent
firewall-cmd --reload
Running Tomcat on Rocky Linux 8
To run Apache Tomcat in standalone mode, execute the /opt/tomcat/bin/startup.sh. script.
/opt/tomcat/bin/startup.shSample output;
Using CATALINA_BASE:   /opt/tomcat
Using CATALINA_HOME:   /opt/tomcat
Using CATALINA_TMPDIR: /opt/tomcat/temp
Using JRE_HOME:        /usr/lib/jvm/java-11-openjdk-11.0.12.0.7-0.el8_4.x86_64
Using CLASSPATH:       /opt/tomcat/bin/bootstrap.jar:/opt/tomcat/bin/tomcat-juli.jar
Using CATALINA_OPTS:
Tomcat started.
Check catalina.out log file or any other log file under /opt/tomcat/logs/*.
tail /opt/tomcat/logs/catalina.out
26-Jul-2021 18:16:57.225 INFO [main] org.apache.catalina.startup.HostConfig.deployDirectory Deploying web application directory [/opt/tomcat/webapps/docs]
26-Jul-2021 18:16:57.259 INFO [main] org.apache.catalina.startup.HostConfig.deployDirectory Deployment of web application directory [/opt/tomcat/webapps/docs] has finished in [34] ms
26-Jul-2021 18:16:57.259 INFO [main] org.apache.catalina.startup.HostConfig.deployDirectory Deploying web application directory [/opt/tomcat/webapps/examples]
26-Jul-2021 18:16:57.992 INFO [main] org.apache.catalina.startup.HostConfig.deployDirectory Deployment of web application directory [/opt/tomcat/webapps/examples] has finished in [733] ms
26-Jul-2021 18:16:57.993 INFO [main] org.apache.catalina.startup.HostConfig.deployDirectory Deploying web application directory [/opt/tomcat/webapps/host-manager]
26-Jul-2021 18:16:58.042 INFO [main] org.apache.catalina.startup.HostConfig.deployDirectory Deployment of web application directory [/opt/tomcat/webapps/host-manager] has finished in [49] ms
26-Jul-2021 18:16:58.043 INFO [main] org.apache.catalina.startup.HostConfig.deployDirectory Deploying web application directory [/opt/tomcat/webapps/manager]
26-Jul-2021 18:16:58.063 INFO [main] org.apache.catalina.startup.HostConfig.deployDirectory Deployment of web application directory [/opt/tomcat/webapps/manager] has finished in [21] ms
26-Jul-2021 18:16:58.084 INFO [main] org.apache.coyote.AbstractProtocol.start Starting ProtocolHandler ["http-nio-8080"]
26-Jul-2021 18:16:58.129 INFO [main] org.apache.catalina.startup.Catalina.start Server startup in [1865] milliseconds
Accessing Tomcat Web Interface
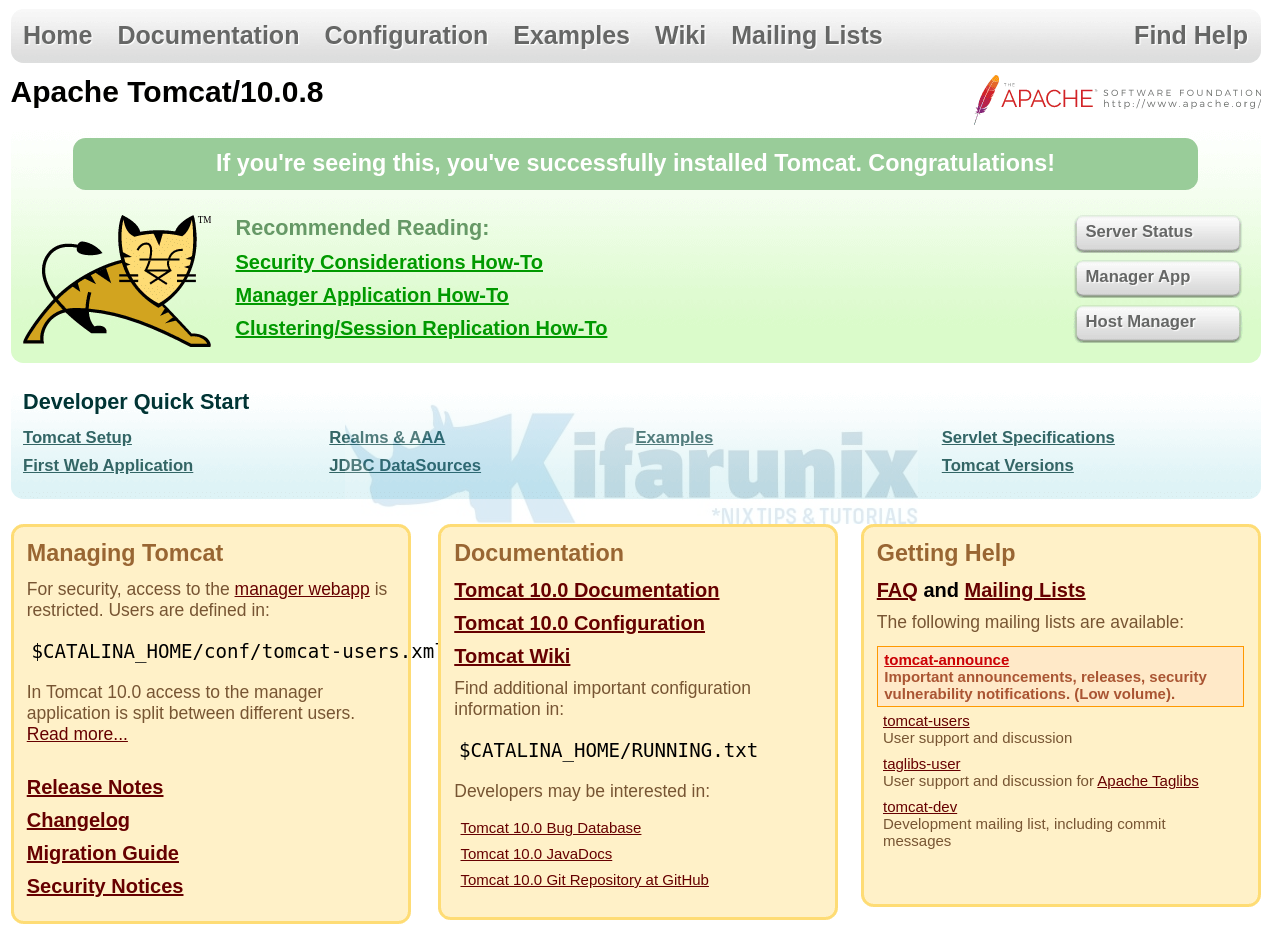
You can now access your Apache tomcat from the browser using the address, http://server-hostname-or-ip:8080.

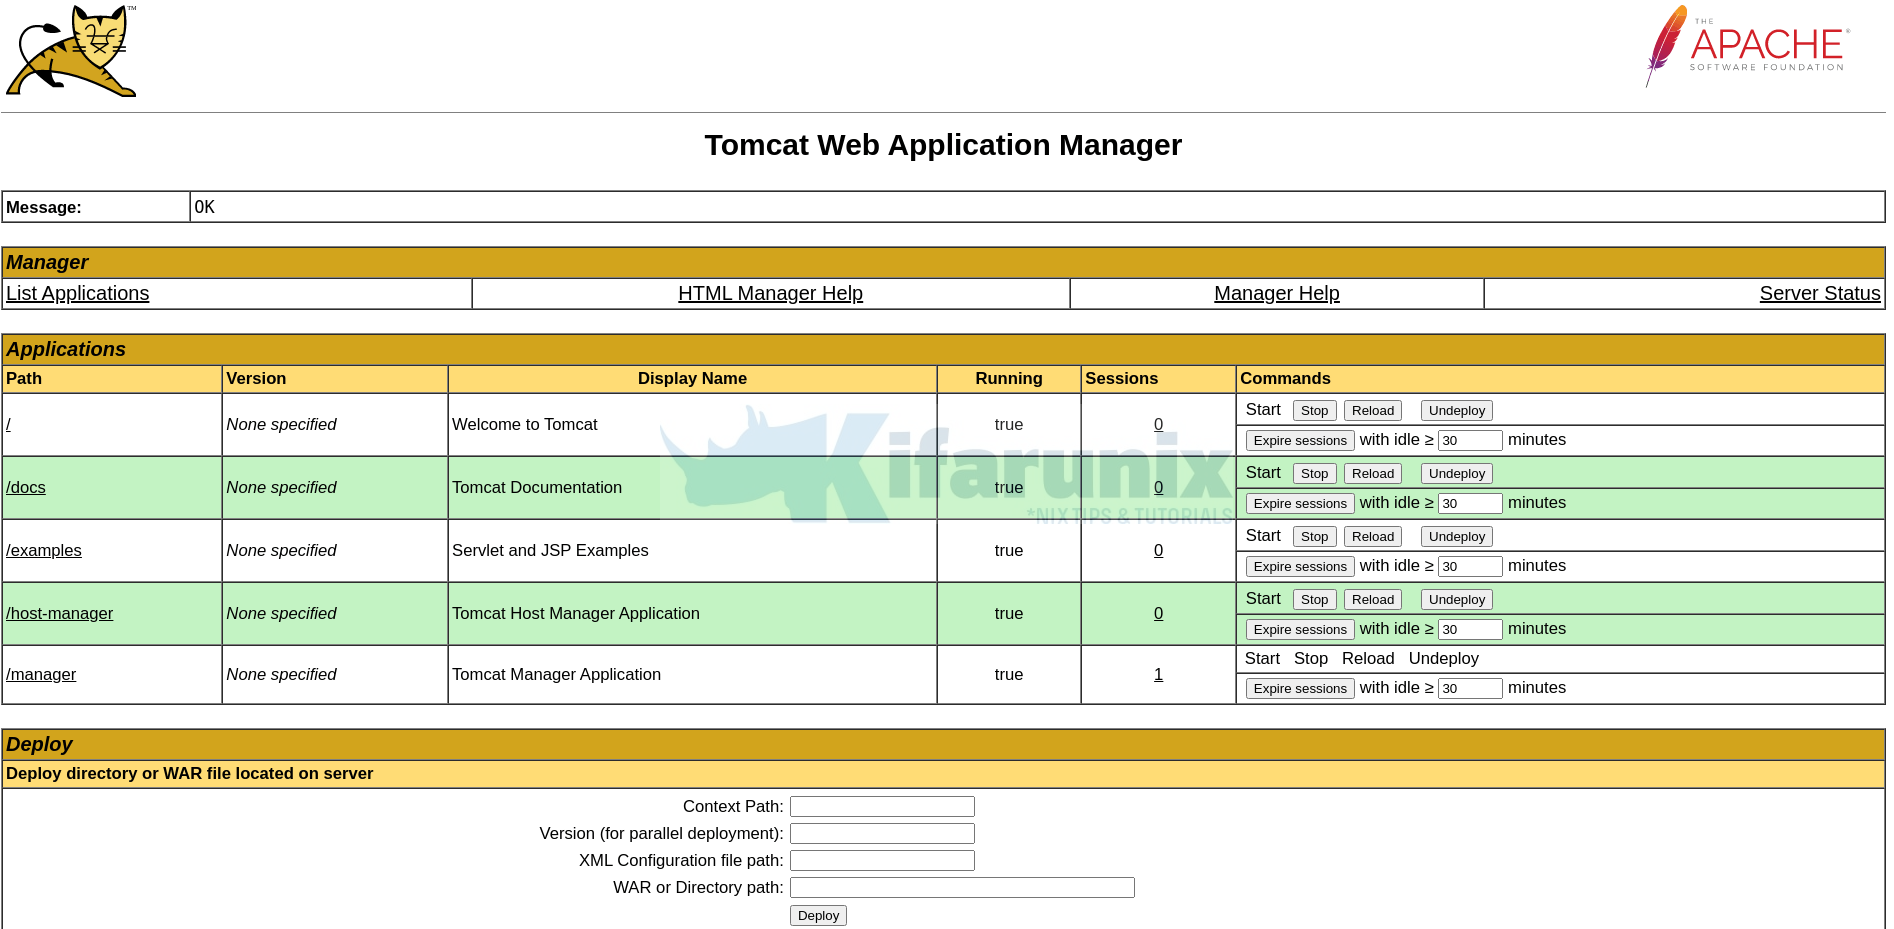
Click Manager App to access the Tomcat Web Application Manager. When prompted for credentials, use the ones you set above;

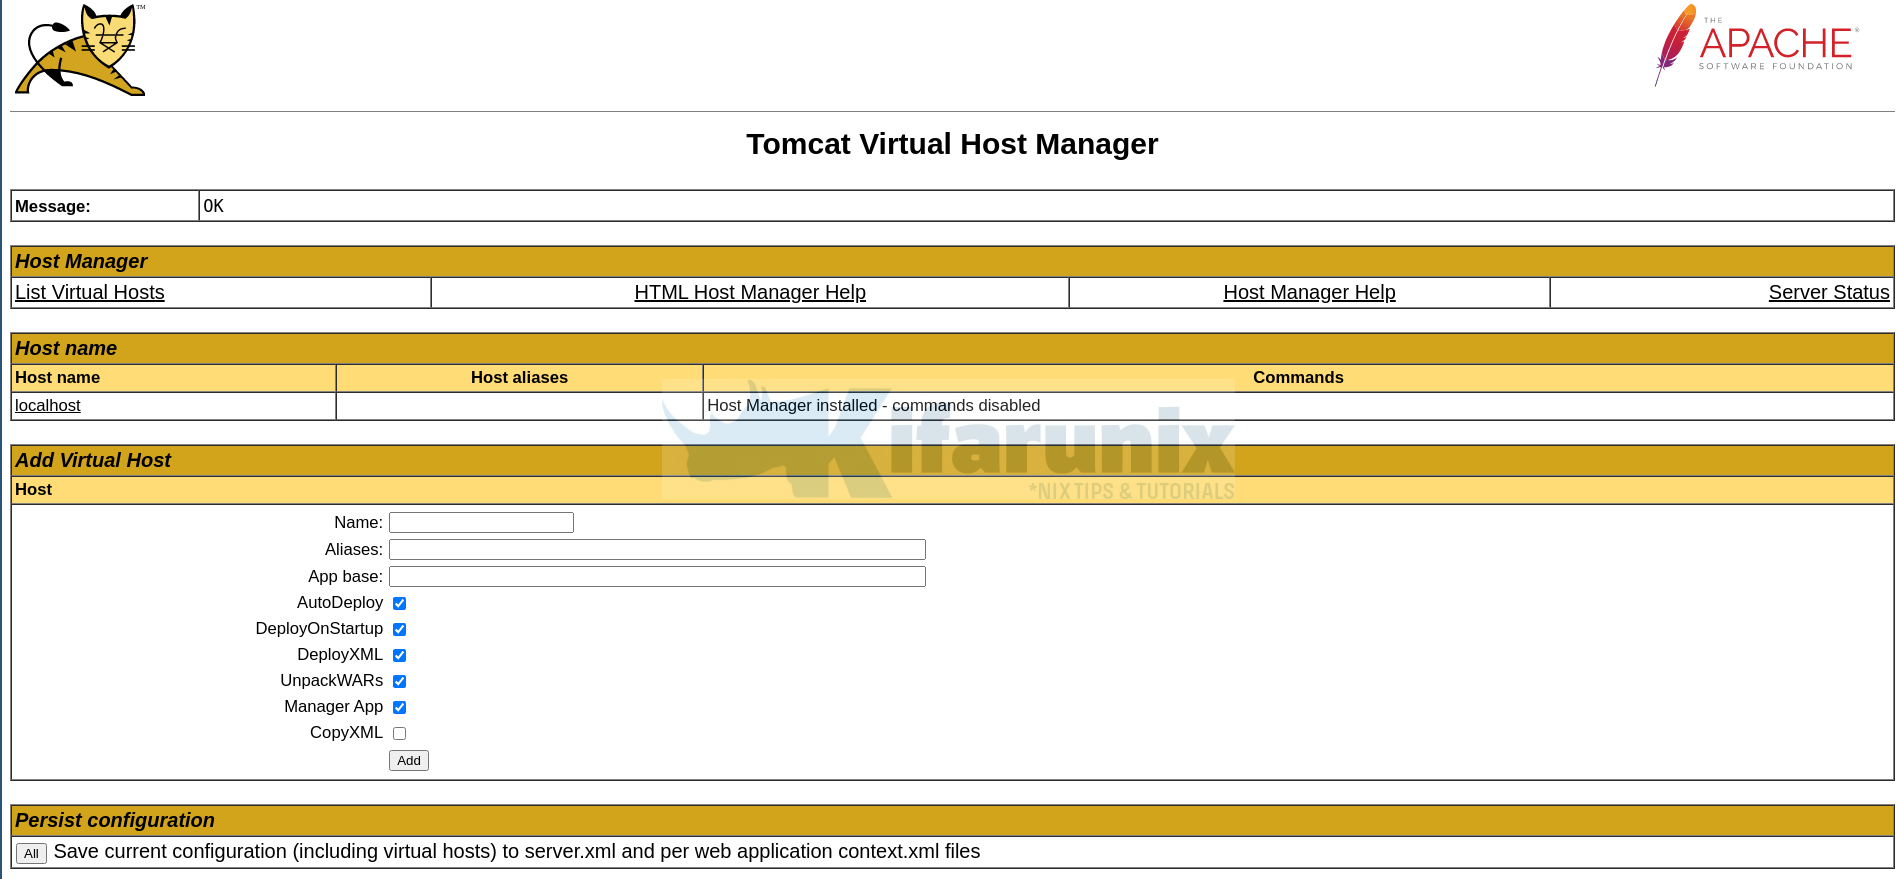
Click Host Manager, to access Tomcat virtual host manager.

Running Apache Tomcat as a service
To be able to run Apache tomcat as a service and ensure it runs on system reboots, you need to create a systemd service unit file it as follows.
cat > /etc/systemd/system/tomcat.service << 'EOL'
[Unit]
Description=Apache Tomcat Server
After=syslog.target network.target

[Service]
Type=forking
User=tomcat
Group=tomcat

Environment=CATALINA_PID=/opt/tomcat/temp/tomcat.pid
Environment=CATALINA_HOME=/opt/tomcat
Environment=CATALINA_BASE=/opt/tomcat

ExecStart=/opt/tomcat/bin/catalina.sh start
ExecStop=/opt/tomcat/bin/catalina.sh stop

RestartSec=10
Restart=always
[Install]
WantedBy=multi-user.target
EOL
Replace the paths accordingly as per your installation. Save and exit the file.
Reload systemd configurations
systemctl daemon-reloadStop the initial tomcat started with the script above, /opt/tomcat/bin/startup.sh.
ps aux | grep tomcat | grep -v grep | awk '{print $2}' | xargs -I {} kill -9 {}Reset the ownership of the logs directory;
chown -R tomcat: /opt/tomcat/logs/Start and enable Tomcat systemd service;
systemctl enable --now tomcatCheck the status;
systemctl status tomcat● tomcat.service - Apache Tomcat Server
Loaded: loaded (/etc/systemd/system/tomcat.service; enabled; vendor preset: disabled)
Active: active (running) since Mon 2021-07-26 18:37:15 EAT; 1s ago
Process: 4812 ExecStart=/opt/tomcat/bin/catalina.sh start (code=exited, status=0/SUCCESS)
Main PID: 4823 (java)
Tasks: 14 (limit: 4938)
Memory: 54.6M
CGroup: /system.slice/tomcat.service
└─4823 /usr/bin/java -Djava.util.logging.config.file=/opt/tomcat/conf/logging.properties -Djava.util.logging.manager=org.apache.juli.ClassLoaderLogManager -Djdk>
Jul 26 18:37:15 rocky8.kifarunix-demo.com systemd[1]: Starting Apache Tomcat Server...
Jul 26 18:37:15 rocky8.kifarunix-demo.com systemd[1]: Started Apache Tomcat Server.
And that marks the end of our guide on how to install Apache Tomcat.
Reference
Apache Tomcat.10 Doc -RUNNING.txt
Related Tutorials
Install Apache Guacamole on Rocky Linux 8

