Hello there, welcome to our guide on how to install FreeBSD 12 on VirtualBox. FreeBSD can run well in a VirtualBox. So if you are looking at creating virtual labs to play around with FreeBSD 12, fireup your VirtualBox and step through the following procedure to get the FreeBSD 12 up and running on VirtualBox.
Install FreeBSD 12 on VirtualBox
Download FreeBSD 12 Installer Image
Navigate to FreeBSD 12 downloads page and grab an installer image for your respective system architecture. If you are running x86_64 system, you can simply run the command below to download the ISO image;
wget https://download.freebsd.org/ftp/releases/amd64/amd64/ISO-IMAGES/12.0/FreeBSD-12.0-RELEASE-amd64-dvd1.iso
Create Virtual Machine
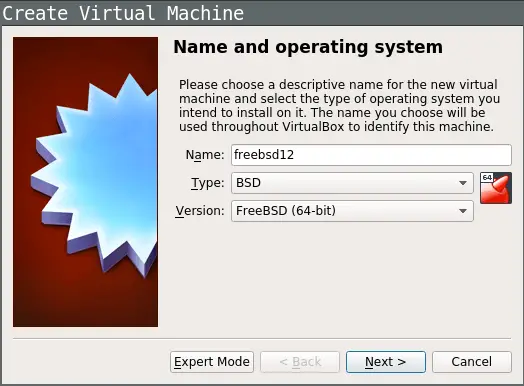
Launch VirtualBox and create a new virtual machine. Set the name of the VM, select the type and the version of Operating System.
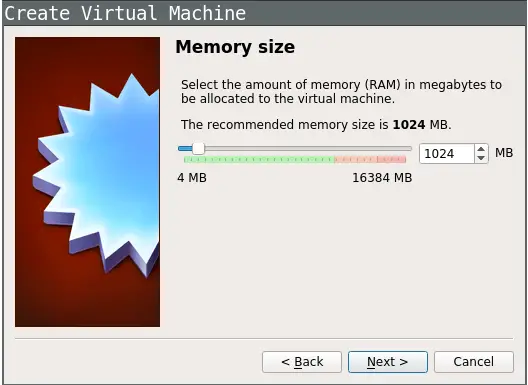
Click Next to select the amount of RAM in megabytes to be allocated to the VM.
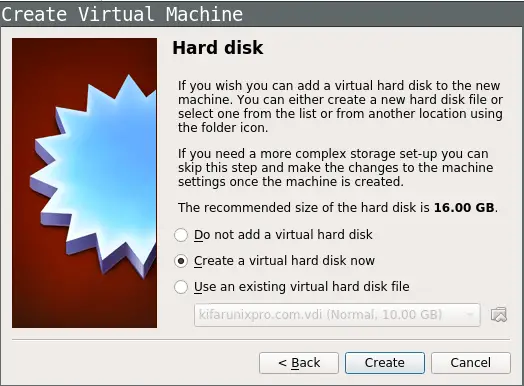
Create a virtual hard disk for the new machine.
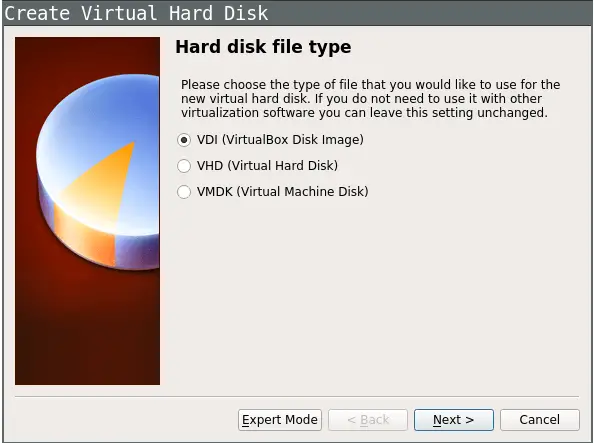
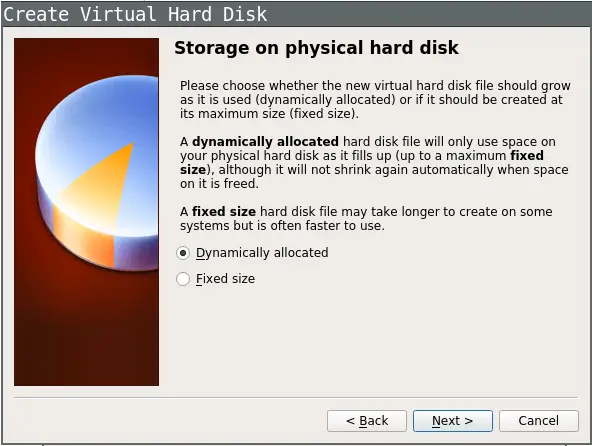
Next, choose the type of the disk to create.
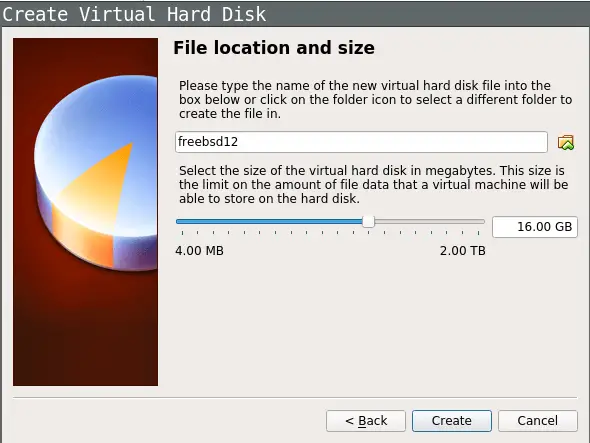
Define the name and the size of the disk. The default name and storage size is name of the VM and 16GB respectively
Click create to finish the initial setup
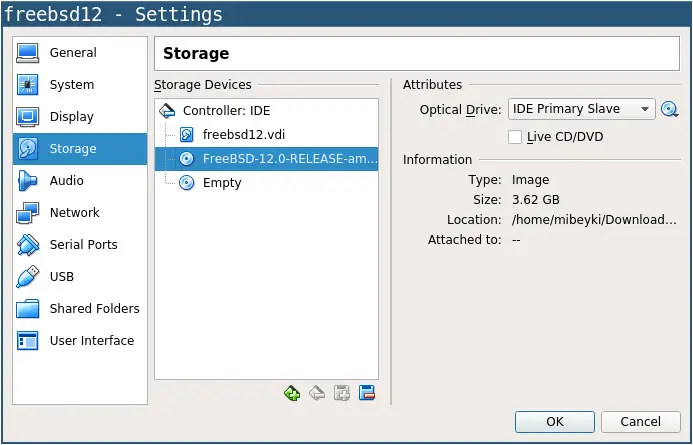
Next, Select the new VM and open the settings. Click on Storage settings and select the installation image.
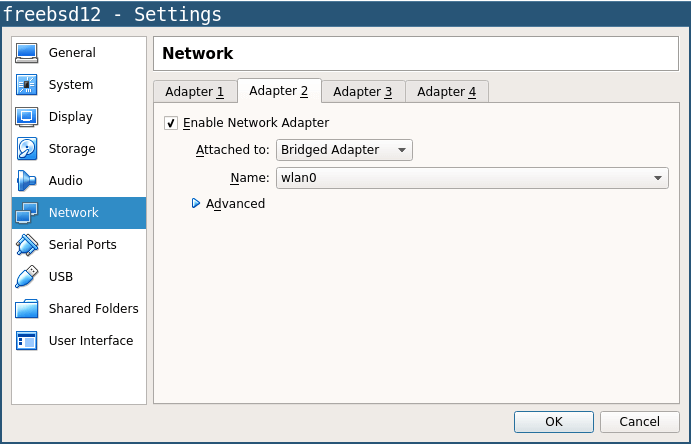
You can optionally disable settings like Audio, USB. Under Network, you can attach extra interfaces. NAT is enabled by default.
Once done with custom configurations, click Ok and then click Start to boot the VM for installation.
The installer prompts you to do the installation or use live CD. Press Enter to install FreeBSD 12 on VirtualBox.
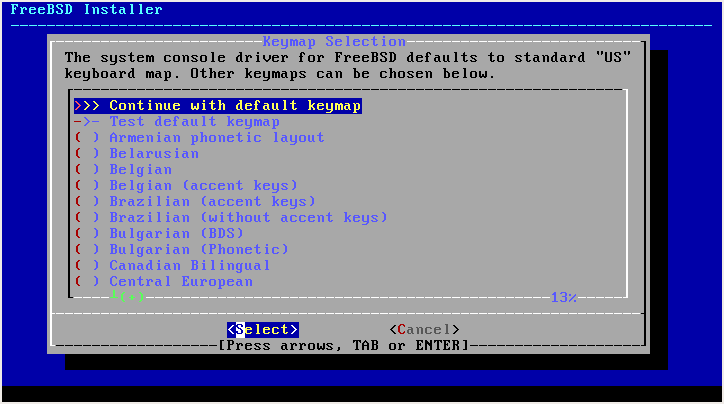
Under Keymap Selection, press Enter to continue with the defaults.
Set the host-name of your FreeBSD 12 server
On Optional system components to install, press Enter to accept the defaults.
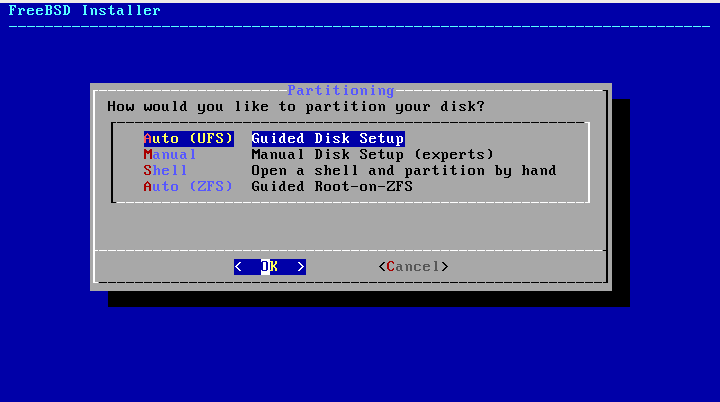
Partition your disk appropriately. For example, to use the guided disk partitioning method, select Auto (UFS) and proceed to create a partition using the entire disk.
Choose you preferred partitioning scheme. In this case, we are using MBR. Preview the disk setup, click Finish and commit the changes to create the partition.
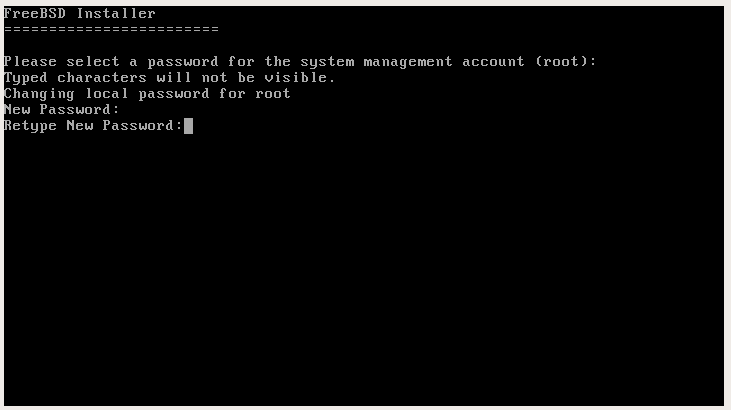
Set the root password.
Select the network interface to configure. Configure IPv4 and DHCP. You can optionally choose to configure IPv6 addresses.
Next, specify your timezone.
Select the services to be started at boot.
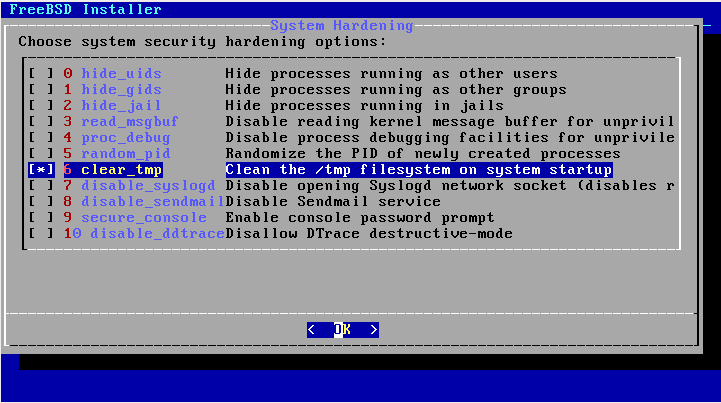
Choose the system hardening options.
You can also optionally choose to add more system users.
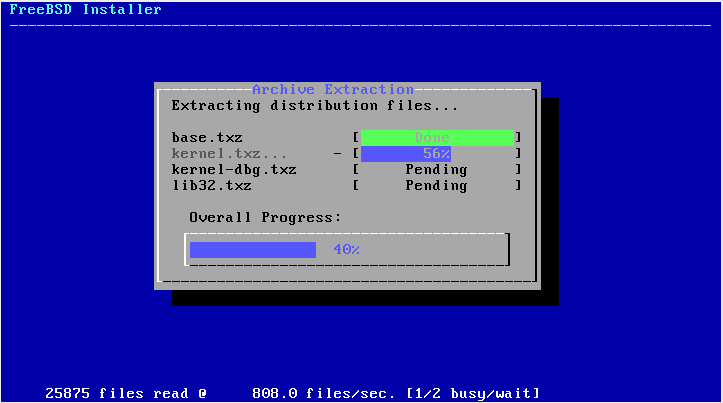
Press Enter to finish the installation. Remove the installer image and reboot your server. Once the VM runs, login as any of the users you created during the installation.
Congratulations! This is all about how to install FreeBSD 12 on VirtualBox.

