In this guide, we will provide a step-by-step tutorial on how to install and setup Nagios Core on Ubuntu 20.04. Nagios, now known as, Nagios Core, is an enterprise-class Open Source IT monitoring, network monitoring, server and applications monitoring solution.
Installing Nagios Core on Ubuntu 20.04
There are two ways in which you can install Nagios on Ubuntu 20.04.
- Install Nagios from default Ubuntu 20.04 repositories
- Build Nagios from Source Code on Ubuntu 20.04 (for latest and stable release versions)
In this guide, we will cover the installation of Nagios Core on Ubuntu 20.04 from the source code. We choose this method because it is the surest method to installing latest and stable release version of Nagios.
As much it is easier to install Nagios from Ubuntu repos, sometimes the repos do not provide the latest stable release versions of Nagios. Take for example, Nagios 4.x is the current versions of Nagios with Nagios 4.4.7 release being the latest stable version as per the releases page.
If you check the available versions on Ubuntu 20.04 repos, Nagios 4.3.4 is the latest stable release.
apt show nagios4
Package: nagios4
Version: 4.3.4-3
Priority: optional
Section: universe/net
Origin: Ubuntu
Maintainer: Ubuntu Developers [email protected]
Original-Maintainer: Russell Stuart [email protected]
Bugs: https://bugs.launchpad.net/ubuntu/+filebug
Hence, why we choose installation from the source code.
Run System Update
Ensure that your system packages are up-to-date.
apt updateInstall Required Nagios build tools and Development Libraries
Run the command below to install the required built tools and development libraries.
apt install autoconf gcc libc6 make wget unzip apache2 php libapache2-mod-php libgd-dev libssl-dev -yDownload Nagios Core Source Code
Navigate to Nagios Core download’s page and grab the latest and stable release Nagios source tarball. Simply grab the link and optionally pull it using wget command;
wget https://assets.nagios.com/downloads/nagioscore/releases/nagios-4.4.7.tar.gzExtract Nagios Core Source Code
Once the download completes, extract the source archive;
tar xzf nagios-4.4.7.tar.gzCompile and install Nagios Core
Navigate to Nagios core source directory and run the configure script to adapt Nagios Core to your system while checking for any missing required dependency before the installation;
cd nagios-4.4.7Configure Nagios Core to use Apache as the web server. Use the --with-httpd-conf to specify where to install Nagios Core Apache site configs. Be sure to use ./configure --help for more options.
./configure --with-httpd-conf=/etc/apache2/sites-enabledPay attention to the output of this command just in case there is any error that needs to be fixed before you can proceed.
If all is well, you should an output similar to;
*** Configuration summary for nagios 4.4.7 2022-04-14 ***:

 General Options:
 -------------------------
        Nagios executable:  nagios
        Nagios user/group:  nagios,nagios
       Command user/group:  nagios,nagios
             Event Broker:  yes
        Install ${prefix}:  /usr/local/nagios
    Install ${includedir}:  /usr/local/nagios/include/nagios
                Lock file:  /run/nagios.lock
   Check result directory:  /usr/local/nagios/var/spool/checkresults
           Init directory:  /lib/systemd/system
  Apache conf.d directory:  /etc/apache2/sites-enabled
             Mail program:  /bin/mail
                  Host OS:  linux-gnu
          IOBroker Method:  epoll

 Web Interface Options:
 ------------------------
                 HTML URL:  http://localhost/nagios/
                  CGI URL:  http://localhost/nagios/cgi-bin/
 Traceroute (used by WAP):


Review the options above for accuracy.  If they look okay,
type 'make all' to compile the main program and CGIs.
Next, compile the main Nagios program and CGIs.
make allCreate Nagios Core user and group. Add the user to the Apache web server group.
make install-groups-usersusermod -aG nagios www-dataInstall Nagios Core main program, CGIs, and HTML files.
make installInstall Nagios Core startup scripts;
make install-initInitialize the init scripts;
make install-daemoninitInstall and configure permissions on the directory for holding the Nagios Core external command file.
make install-commandmodeInstall Nagios Core sample configuration files in /usr/local/nagios/etc.
make install-configInstall Apache configuration file for the Nagios web interface
make install-webconfEnable Apache rewrite and CGI modules;
a2enmod rewrite cgiConfigure Nagios Core Web Interface basic authentication.
htpasswd -c /usr/local/nagios/etc/htpasswd.users nagiosadminWhere nagiosadmin – this user is the default admin user for accessing Nagios Core web interface (as specified in the nagios.cfg). You can create or use any other user name and be sure to specify it in the /usr/local/nagios/etc/nagios.cfg configuration file.
If you need to add more users, omit option -c in the command above.
We are almost done setting up Nagios Core on Ubuntu 20.04.
Running Nagios Core Service
The make install-init command, install systemd service units for Nagios Core. You can start and enable Nagios Core to run on system boot by running the command;
systemctl enable --now nagiosTo check the status;
systemctl status nagios
● nagios.service - Nagios Core 4.4.7
     Loaded: loaded (/lib/systemd/system/nagios.service; enabled; vendor preset: enabled)
     Active: active (running) since Wed 2022-05-04 17:17:27 UTC; 6s ago
       Docs: https://www.nagios.org/documentation
    Process: 22698 ExecStartPre=/usr/local/nagios/bin/nagios -v /usr/local/nagios/etc/nagios.cfg (code=exited, status=0/SUCCESS)
    Process: 22708 ExecStart=/usr/local/nagios/bin/nagios -d /usr/local/nagios/etc/nagios.cfg (code=exited, status=0/SUCCESS)
   Main PID: 22709 (nagios)
      Tasks: 6 (limit: 2281)
     Memory: 3.9M
     CGroup: /system.slice/nagios.service
             ├─22709 /usr/local/nagios/bin/nagios -d /usr/local/nagios/etc/nagios.cfg
             ├─22710 /usr/local/nagios/bin/nagios --worker /usr/local/nagios/var/rw/nagios.qh
             ├─22711 /usr/local/nagios/bin/nagios --worker /usr/local/nagios/var/rw/nagios.qh
             ├─22712 /usr/local/nagios/bin/nagios --worker /usr/local/nagios/var/rw/nagios.qh
             ├─22713 /usr/local/nagios/bin/nagios --worker /usr/local/nagios/var/rw/nagios.qh
             └─22720 /usr/local/nagios/bin/nagios -d /usr/local/nagios/etc/nagios.cfg

May 04 17:17:27 ubuntu20 nagios[22709]: qh: core query handler registered
May 04 17:17:27 ubuntu20 nagios[22709]: qh: echo service query handler registered
May 04 17:17:27 ubuntu20 nagios[22709]: qh: help for the query handler registered
May 04 17:17:27 ubuntu20 nagios[22709]: wproc: Successfully registered manager as @wproc with query handler
May 04 17:17:27 ubuntu20 nagios[22709]: wproc: Registry request: name=Core Worker 22712;pid=22712
May 04 17:17:27 ubuntu20 nagios[22709]: wproc: Registry request: name=Core Worker 22713;pid=22713
May 04 17:17:27 ubuntu20 nagios[22709]: wproc: Registry request: name=Core Worker 22711;pid=22711
May 04 17:17:27 ubuntu20 nagios[22709]: wproc: Registry request: name=Core Worker 22710;pid=22710
May 04 17:17:28 ubuntu20 nagios[22709]: Successfully launched command file worker with pid 22720
...
Accessing Nagios Core Web Interface
Restart and enable Apache to run on system reboot;
systemctl restart apache2systemctl enable --now apache2If firewall is running, allow Apache through.
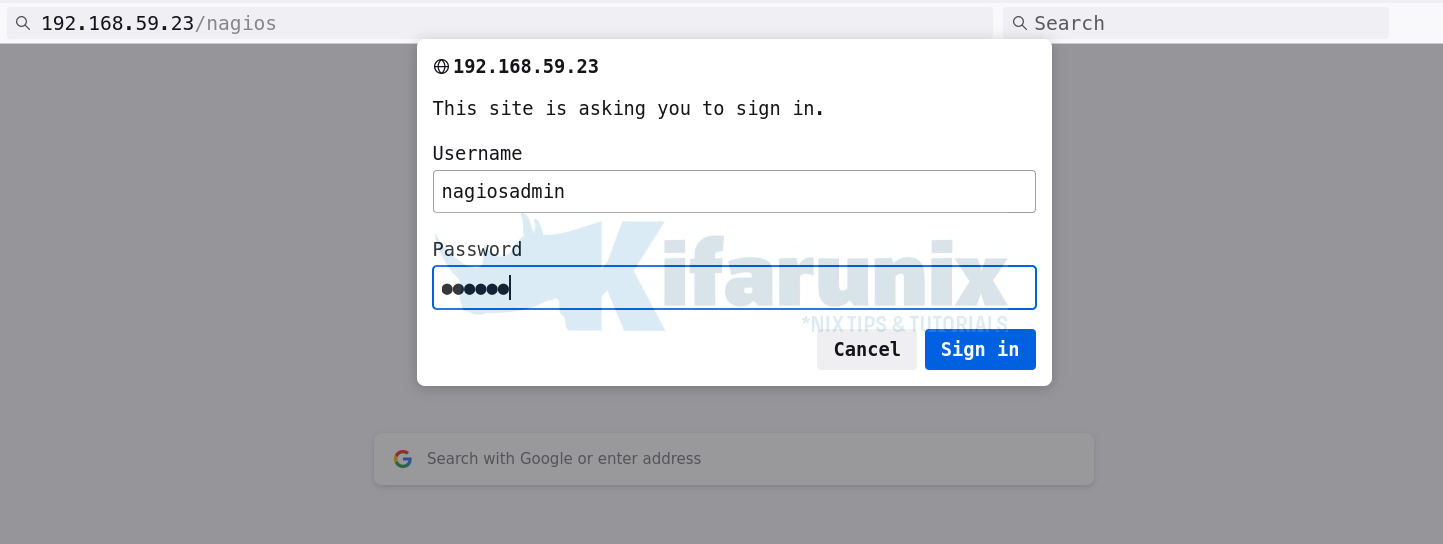
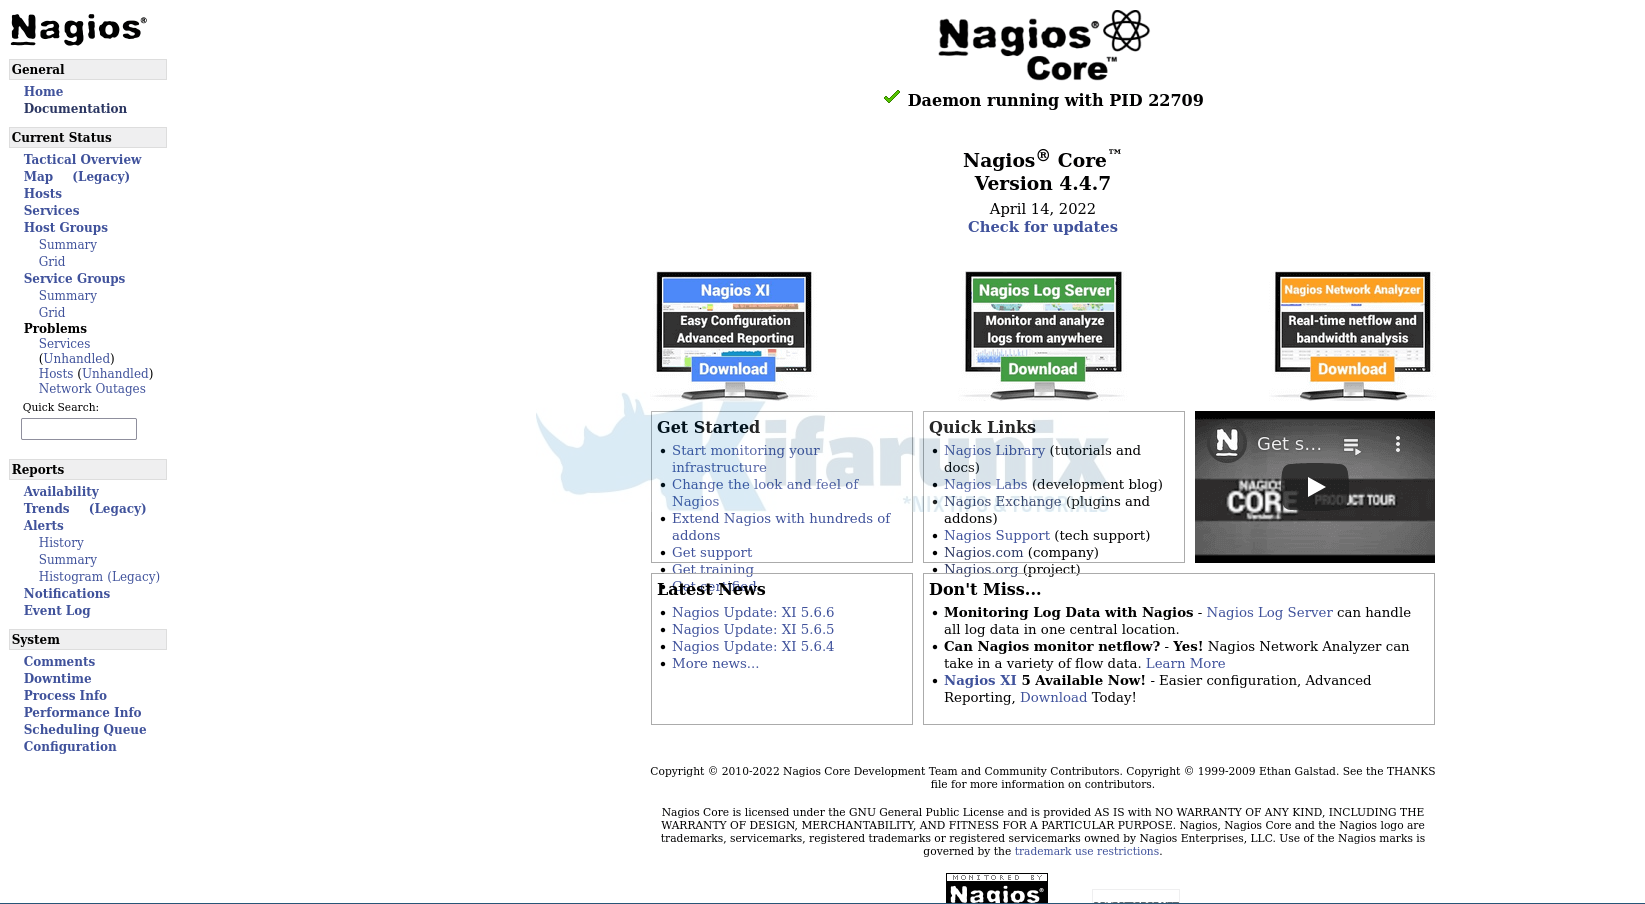
ufw allow ApacheYou can access Nagios Core from web interface via, http://Nagios-Server-IP-OR-Hostname/nagios.
Enter your basic authentication credentials;

Nagios Core default web interface

Install Nagios Plugins on Ubuntu 20.04
In order for Nagios to start monitoring hosts, you need to install Nagios plugins and NRPE agents. You can simply install plugins as follows;
apt install nagios-pluginsThis will install a number of plugins under the directory, /usr/lib/nagios/plugins/. By default, Nagios installed from the source expects the plugins to reside under, /usr/local/nagios/libexec directory.
So for Nagios use the current plugins directory, simply edit the Nagios resource config file and update as follows;
vim /usr/local/nagios/etc/resource.cfg...
#$USER1$=/usr/local/nagios/libexec
$USER1$=/usr/lib/nagios/plugins
...You can as well create a symbolic link instead of making the above changes as follows;
ln -s /usr/lib/nagios/plugins/* /usr/local/nagios/libexecBy this, you should have the plugins under the /usr/local/nagios/libexec directory.
Follow the links below to learn how to add hosts for monitoring as well as installing plugins and NRPE agents on other systems.
Related Tutorials
Monitor Linux Hosts using Nagios check_by_ssh Plugin
Add Hosts to Nagios Server For Monitoring
How to Install Nagios Plugins From Source RHEL/CentOS/Oracle Linux


Hi, thank you for the post. I’d be interested in installing Nagios from Ubuntu 20.04 repo. Do you know where I can find such guide? I’v tried the one below but there seems to be some missing permissions on apache folders.
https://linuxize.com/post/how-to-install-nagios-on-ubuntu-20-04/#disqus_thread
Best regards,
ioan