Welcome to our tutorial on how to install and setup Velociraptor on Rocky Linux 8. Velociraptor is an endpoint monitoring open source tool that allows collection of host based state information of various end points using Velocidex Query Language (VQL) queries for monitoring. It is based on GRR, OSQuery and Google’s Rekall tool.
Installing Velociraptor on Rocky Linux 8
There are different methods of deploying Velociraptor as outlined on getting started page.
In this tutorial, we will deploy Velociraptor using the standalone deployment method. This method employs server-client deployment model. Agents are installed on clients systems to be monitored.
Velociraptor has six main components:
- Frontend – Frontend receives connections from clients.
- Gui – Web UI for accessing velociraptor.
- Client – Velociraptor endpoint agents
- VQL Engine (VFilter) – Velociraptor Query Language used to query.
- Data store – locations where Velociraptor is going to save its files.
- File store – used by velociraptor for long term storage
Download Linux binary Installer
Get the latest Velociraptor Linux binary from the official Velociraptor Github releases page and save it to system binary directory.
Download the current release version of Velociraptor from the Github repository page above.
VER=0.6.0Replace the value of the VER variable above with the current release version number.
Then run the command below to download Velociraptor installer;
wget https://github.com/Velocidex/velociraptor/releases/download/v$VER/velociraptor-v$VER-linux-amd64 -O /usr/local/bin/velociraptorThis downloads the binary and save it as /usr/local/bin/velociraptor.
Make the Velociraptor Binary executable
Once the download of the binary installer is complete, make it executable by running the command below;
chmod +x /usr/local/bin/velociraptorThe binary should now be available on the current PATH.
which velociraptor/usr/local/bin/velociraptorGenerate Velociraptor Server Config File
Velociraptor uses a pair of configuration files to control the server and endpoints. To generate server configuration file, you can use the command velociraptor config generate.
To obtain help about this command, run;
velociraptor config generate --helpYou can run the command interactively or you can run it non-interactively and later customize the auto-generated configuration file.
Before we proceed, create a configuration directory for Velociraptor;
mkdir /etc/velociraptorTo run the Velociraptor configuration generation command interactively;
velociraptor config generate -iWhen run, you will be prompted to provides some required details.
Choose the operating system, which in this setup is Linux, press ENTER to proceed
?
Welcome to the Velociraptor configuration generator
---------------------------------------------------

I will be creating a new deployment configuration for you. I will
begin by identifying what type of deployment you need.


What OS will the server be deployed on?
  [Use arrows to move, type to filter]
> linux
  windows
  darwin
Choose data store directory. press enter to choose default path otherwise, enter your path;
? Path to the datastore directory. (/opt/velociraptor) /var/tmp/velociraptorChoose the kind of SSL/TLS certs to use, we use self signed in this setup.
> Self Signed SSL
  Automatically provision certificates with Lets Encrypt
  Authenticate users with SSO
Set the frontend domain name that you can use to access Velociraptor;
? What is the public DNS name of the Frontend (e.g. www.example.com): [? for help] (localhost) vraptor.kifarunix-demo.comEnsure the hostname is resolvable.
Set the Frontend and GUI ports;
? Enter the frontend port to listen on. 8000
? Enter the port for the GUI to listen on. 8889
? Are you using Google Domains DynDNS? No
Set the frontend login credentials. Press enter once you have set the users to end the user creation prompt;
? GUI Username or email address to authorize (empty to end): kifarunix-demo-admin
? Password ******
Sample output after user creation;
...
[INFO] 2021-07-30T20:45:20+03:00  _    __     __           _                  __
[INFO] 2021-07-30T20:45:20+03:00 | |  / /__  / /___  _____(_)________ _____  / /_____  _____
[INFO] 2021-07-30T20:45:20+03:00 | | / / _ \/ / __ \/ ___/ / ___/ __ `/ __ \/ __/ __ \/ ___/
[INFO] 2021-07-30T20:45:20+03:00 | |/ /  __/ / /_/ / /__/ / /  / /_/ / /_/ / /_/ /_/ / /
[INFO] 2021-07-30T20:45:20+03:00 |___/\___/_/\____/\___/_/_/   \__,_/ .___/\__/\____/_/
[INFO] 2021-07-30T20:45:20+03:00                                   /_/
[INFO] 2021-07-30T20:45:20+03:00 Digging deeper!                  https://www.velocidex.com
[INFO] 2021-07-30T20:45:20+03:00 This is Velociraptor 0.6.0 built on 2021-06-25T02:05:13+10:00 (5957468b)
[INFO] 2021-07-30T20:45:20+03:00 Generating keys please wait....
Set the logging directory;
? Path to the logs directory. (/var/tmp/velociraptor/logs) /var/log/velociraptorSet the path to write the configuration files to;
? Where should i write the server config file? (server.config.yaml) /etc/velociraptor/server.config.yamlClient configuration file;
? Where should i write the client config file? (client.config.yaml) /etc/velociraptor/client.config.yamlAnd that is it.
If you want to manually generate the configuration file for later customization, simply run
velociraptor config generateThis generates the config to the standard output.
To save to a file;
velociraptor config generate > /etc/velociraptor/server.config.yamlVelociraptor API, GUI, Monitoring bind addresses
Update the Velociraptor API, GUI, Monitoring bind addresses which is set to loopback address by default. Replace the IP: 192.168.59.12 with your server’s IP address.
sed -e '/bind_address:/{s/127.0.0.1/192.168.60.19/}' -i /etc/velociraptor/server.config.yamlOptionally you can change the server url, the Frontend bind address etc.
Additionally, you can open the configuration file, /etc/velociraptor/server.config.yaml, for editing to update the Datastore location, where Velociraptor is going to save its files.
Datastore:
  implementation: FileBaseDataStore
  location: /var/tmp/velociraptor
  filestore_directory: /var/tmp/velociraptor
Its important to note client – server communications are encrypted over HTTPS. The keys are embedded in the configuration file.
Create Additional GUI users
You can create additional user to access the GUI by running the command below;
velociraptor --config /etc/velociraptor/server.config.yaml user add admin --role administratorEnter a password for the user when prompted:
The above command adds the user admin with the administrator role.
Other available roles are:
- reader
- analyst
- investigator
- artifact_writer
Start Velociraptor Frontend
You can run Velociraptor in standalone mode or as a service.
Running Velociraptor in Standalone Mode
To run in standalone mode, use the frontend command as follows;
velociraptor -c /etc/velociraptor/server.config.yaml frontend -v-v flag is used to show verbose output on the terminal.
Sample output:
[INFO] 2021-07-30T20:47:18+03:00  _    __     __           _                  __
[INFO] 2021-07-30T20:47:18+03:00 | |  / /__  / /___  _____(_)________ _____  / /_____  _____
[INFO] 2021-07-30T20:47:18+03:00 | | / / _ \/ / __ \/ ___/ / ___/ __ `/ __ \/ __/ __ \/ ___/
[INFO] 2021-07-30T20:47:18+03:00 | |/ /  __/ / /_/ / /__/ / /  / /_/ / /_/ / /_/ /_/ / /
[INFO] 2021-07-30T20:47:18+03:00 |___/\___/_/\____/\___/_/_/   \__,_/ .___/\__/\____/_/
[INFO] 2021-07-30T20:47:18+03:00                                   /_/
[INFO] 2021-07-30T20:47:18+03:00 Digging deeper!                  https://www.velocidex.com
[INFO] 2021-07-30T20:47:18+03:00 This is Velociraptor 0.6.0 built on 2021-06-25T02:05:13+10:00 (5957468b)
[INFO] 2021-07-30T20:47:18+03:00 Loading config from file /etc/velociraptor/server.config.yaml
[INFO] 2021-07-30T20:47:18+03:00 Starting Frontend. {"build_time":"2021-06-25T02:05:13+10:00","commit":"5957468b","version":"0.6.0"}
....
....
[INFO] 2021-07-30T20:47:20+03:00 Starting Hunt Dispatcher Service.
[INFO] 2021-07-30T20:47:20+03:00 Compiled all artifacts.
[INFO] 2021-07-30T20:47:20+03:00 Starting the hunt manager service with rate limit 30/s.
[INFO] 2021-07-30T20:47:20+03:00 Watching for events from Server.Internal.HuntModification
[INFO] 2021-07-30T20:47:20+03:00 Watching for events from System.Hunt.Participation
[INFO] 2021-07-30T20:47:20+03:00 Watching for events from Server.Internal.Label
[INFO] 2021-07-30T20:47:20+03:00 Watching for events from System.Flow.Completion
[INFO] 2021-07-30T20:47:20+03:00 Starting Enrollment service.
[INFO] 2021-07-30T20:47:20+03:00 Watching for events from System.Flow.Completion
[INFO] 2021-07-30T20:47:20+03:00 Watching for events from Server.Internal.Enrollment
[INFO] 2021-07-30T20:47:20+03:00 server_monitoring: Starting Server Monitoring Service
[INFO] 2021-07-30T20:47:20+03:00 Closing Server Monitoring Event table
[INFO] 2021-07-30T20:47:20+03:00 server_monitoring: Updating monitoring table
[INFO] 2021-07-30T20:47:20+03:00 Starting VFS writing service.
[INFO] 2021-07-30T20:47:20+03:00 Watching for events from System.Flow.Completion
[INFO] 2021-07-30T20:47:20+03:00 Watching for events from System.Flow.Completion
[INFO] 2021-07-30T20:47:20+03:00 Starting Server Artifact Runner Service
[INFO] 2021-07-30T20:47:20+03:00 Watching for events from Server.Internal.ClientDelete
[INFO] 2021-07-30T20:47:20+03:00 Throttling connections to 100 QPS
[INFO] 2021-07-30T20:47:20+03:00 Starting gRPC API server on 192.168.60.19:8001
[INFO] 2021-07-30T20:47:20+03:00 Launched Prometheus monitoring server on 192.168.60.19:8003
[INFO] 2021-07-30T20:47:20+03:00 GUI is ready to handle TLS requests on https://192.168.60.19:8889/
[INFO] 2021-07-30T20:47:20+03:00 Frontend is ready to handle client TLS requests at https://vraptor.kifarunix-demo.com:8000/
The output indicates which port the GUI and Front-end are listening on.
Press Ctrl+c to stop.
Accessing Velociraptor Web Interface
Access the server on https://SERVER-IP:8889. Use the user and password created earlier.
GUI communications are authenticated with basic Auth.
Running Velociraptor as a service
You can create systemd service to run Velociraptor as a service.
Create the systemd service file:
cat > /etc/systemd/system/velociraptor.service << EOL
[Unit]
Description=Velociraptor linux amd64
After=syslog.target network.target

[Service]
Type=simple
Restart=always
RestartSec=120
LimitNOFILE=20000
Environment=LANG=en_US.UTF-8
ExecStart=/usr/local/bin/velociraptor -c /etc/velociraptor/server.config.yaml frontend -v

[Install]
WantedBy=multi-user.target
EOL
Reload systemd daemon:
systemctl daemon-reloadStart and enable velociraptor to start at boot time:
systemctl enable --now velociraptor Check the status of velociraptor.
systemctl status velociraptor
● velociraptor.service - Velociraptor linux amd64
   Loaded: loaded (/etc/systemd/system/velociraptor.service; enabled; vendor preset: disabled)
   Active: active (running) since Fri 2021-07-30 20:48:59 EAT; 6s ago
 Main PID: 1819 (velociraptor)
    Tasks: 6 (limit: 4938)
   Memory: 42.3M
   CGroup: /system.slice/velociraptor.service
           └─1819 /usr/local/bin/velociraptor -c /etc/velociraptor/server.config.yaml frontend -v

Jul 30 20:49:00 gitlab.kifarunix-demo.com velociraptor[1819]: [INFO] 2021-07-30T20:49:00+03:00 Starting VFS writing service.
Jul 30 20:49:00 gitlab.kifarunix-demo.com velociraptor[1819]: [INFO] 2021-07-30T20:49:00+03:00 Watching for events from System.Flow.Completion
Jul 30 20:49:00 gitlab.kifarunix-demo.com velociraptor[1819]: [INFO] 2021-07-30T20:49:00+03:00 Starting Server Artifact Runner Service
Jul 30 20:49:00 gitlab.kifarunix-demo.com velociraptor[1819]: [INFO] 2021-07-30T20:49:00+03:00 Watching for events from Server.Internal.ClientDelete
Jul 30 20:49:00 gitlab.kifarunix-demo.com velociraptor[1819]: [INFO] 2021-07-30T20:49:00+03:00 Throttling connections to 100 QPS
Jul 30 20:49:00 gitlab.kifarunix-demo.com velociraptor[1819]: [INFO] 2021-07-30T20:49:00+03:00 Starting gRPC API server on 192.168.60.19:8001
Jul 30 20:49:00 gitlab.kifarunix-demo.com velociraptor[1819]: [INFO] 2021-07-30T20:49:00+03:00 Launched Prometheus monitoring server on 192.168.60.19:8003
Jul 30 20:49:00 gitlab.kifarunix-demo.com velociraptor[1819]: [INFO] 2021-07-30T20:49:00+03:00 GUI is ready to handle TLS requests on https://192.168.60.19:8889/
Jul 30 20:49:00 gitlab.kifarunix-demo.com velociraptor[1819]: [INFO] 2021-07-30T20:49:00+03:00 Frontend is ready to handle client TLS requests at https://vraptor.kifarunix>
Jul 30 20:49:00 gitlab.kifarunix-demo.com velociraptor[1819]: [INFO] 2021-07-30T20:49:00+03:00 Compiled all artifacts.
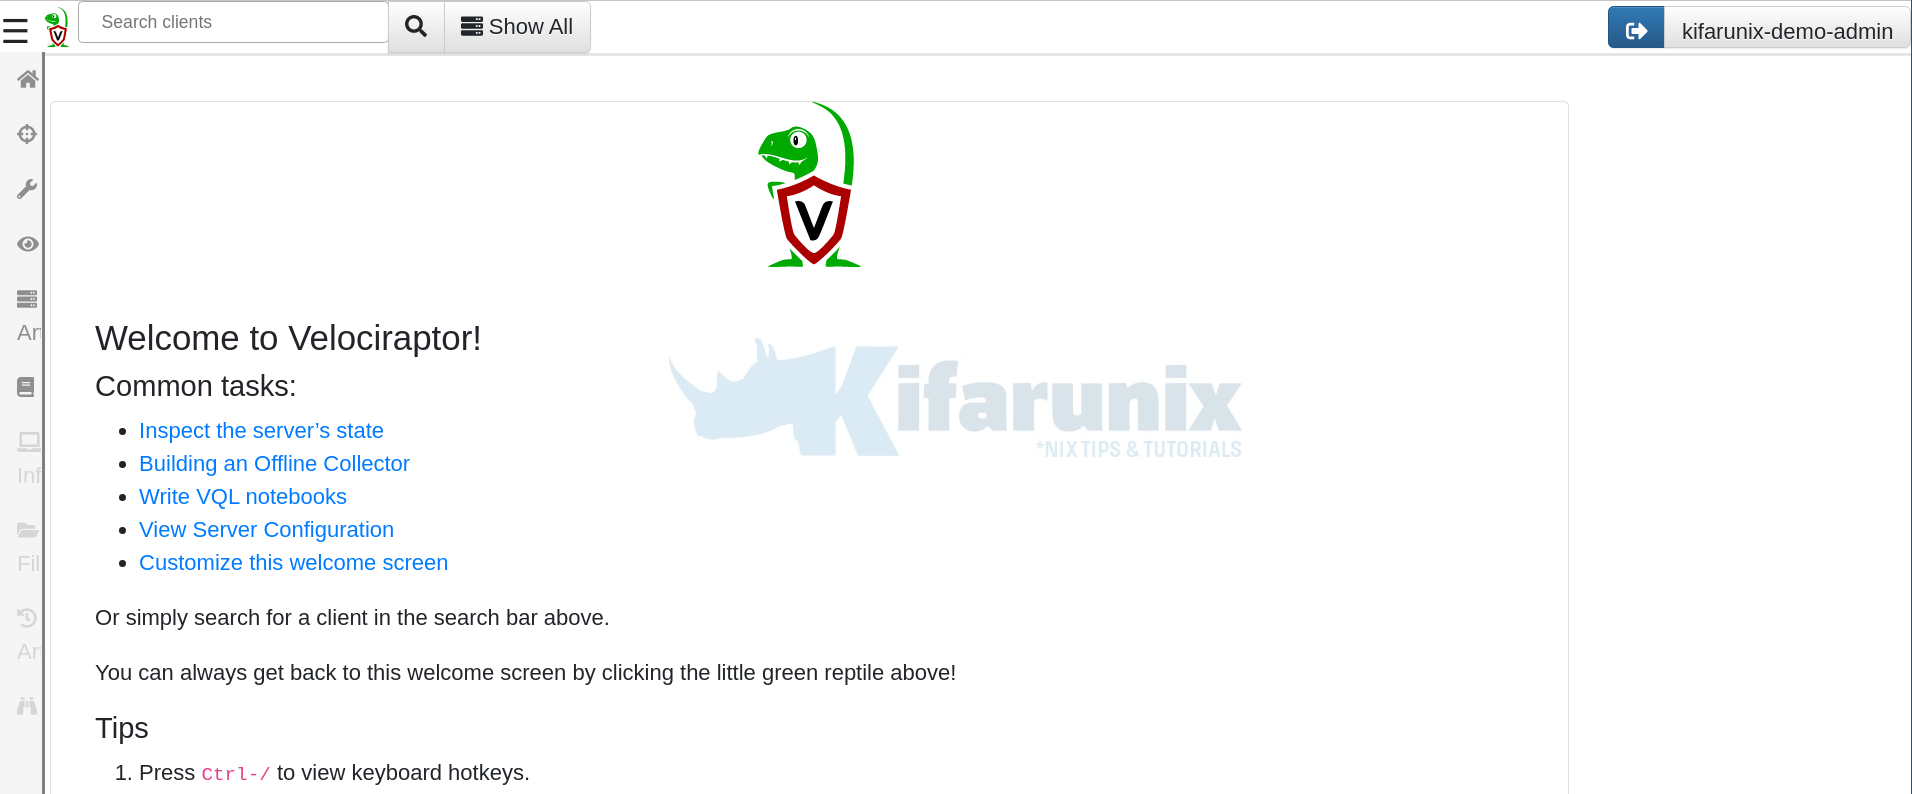
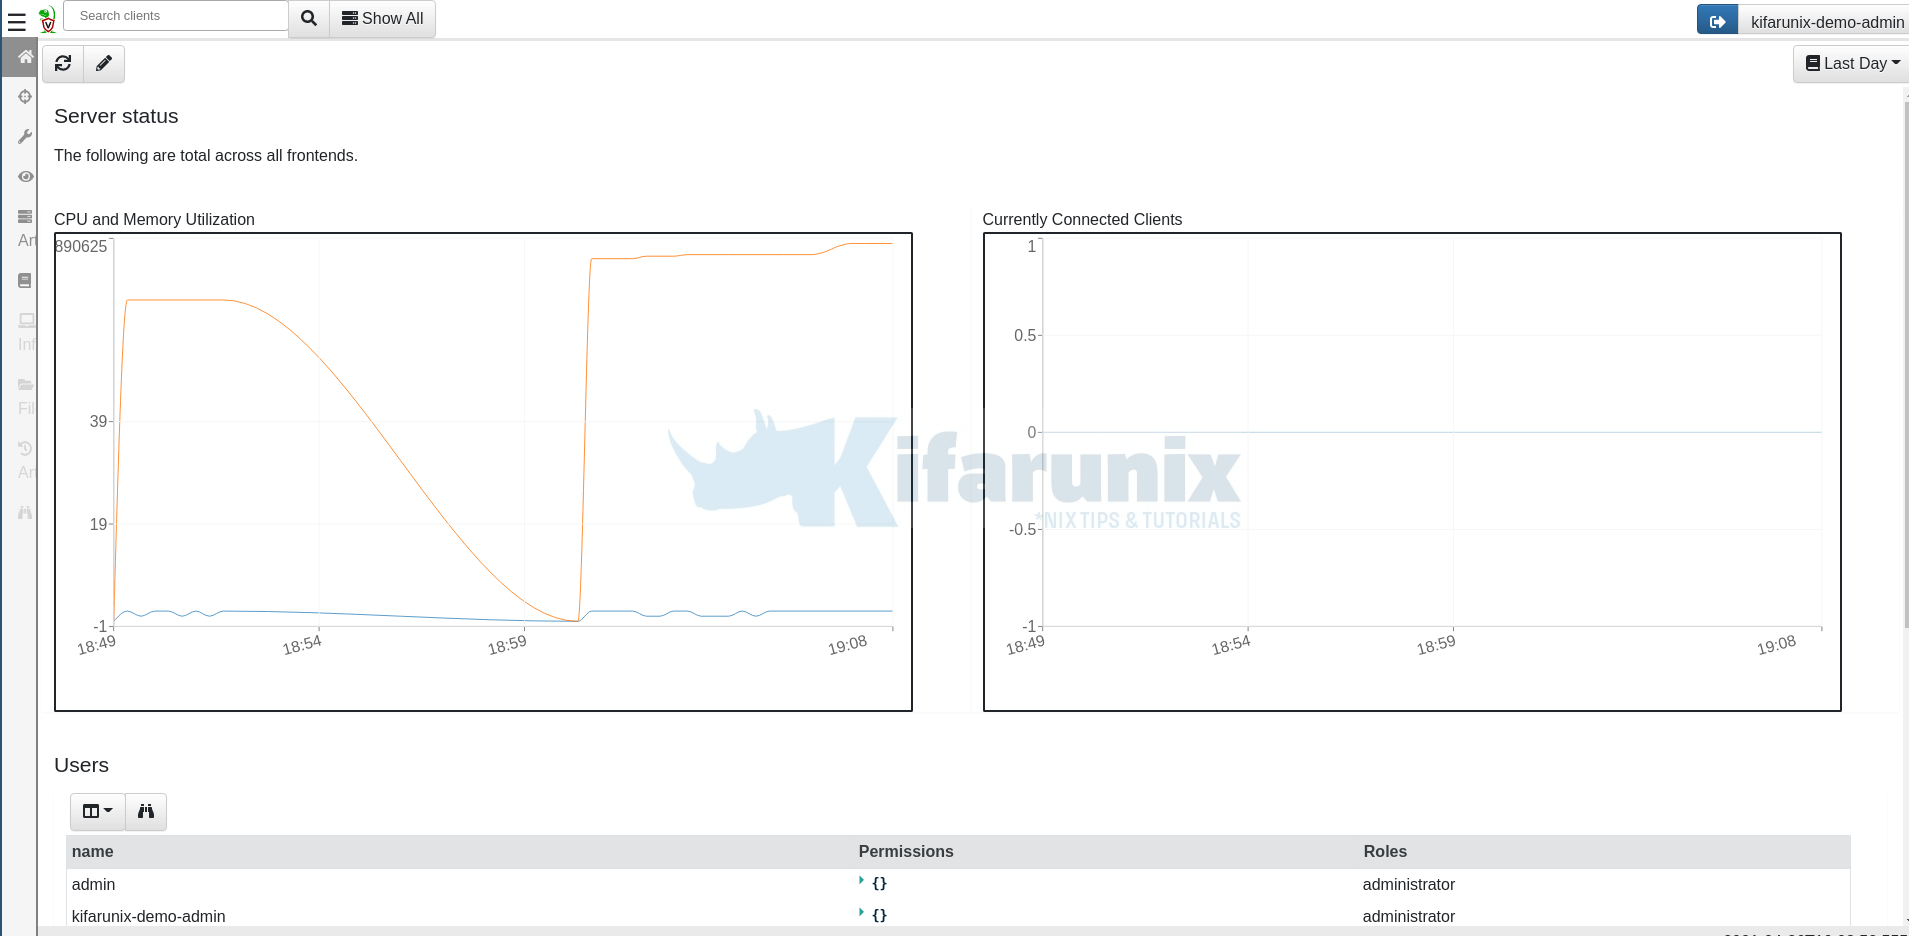
Access the GUI and login into the interface, you’ll see Velociraptor GUI dashboard.
If Firewalld is running, open the port in firewall;
firewall-cmd --add-port=8889/tcp --permanent
firewall-cmd --reload
Accept the self signed SSL warning and proceed to login to Velociraptor GUI.
Login with the user credentials created before.


Install and Configure Velociraptor Client
As stated before, Velociraptor server-client communication happens over an encrypted HTTPS channel. You can use self signed SSL or commercially trusted SSL certs.
If you had generated the velociraptor config file manually and you are using the signed SSL certs, then edit the /etc/velociraptor/server.config.yaml configuration file and append the directive use_self_signed_ssl: true in the block below the Frontentd URL CA certificate so as to use the self signed certificate.
vim /etc/velociraptor/server.config.yaml...
nonce: ERlmU1Ivj5w=
use_self_signed_ssl: true
writeback_darwin: /etc/velociraptor.writeback.yaml
writeback_linux: /etc/velociraptor.writeback.yaml
...Save and exit the file.
If you had generated the configuration file manually, then generate the client configuration file
velociraptor -c /etc/velociraptor/server.config.yaml config client > /etc/velociraptor/client.config.yamlNOTE:
Client configuration file contains CA certificate that is used for authentication between the client’s machine and the Velociraptor Server.
Install Velociraptor Clients on Linux and Windows Machines
Velociraptor clients can be configured in two ways;
Using Velociraptor Binary
This method involves using Velociraptor binary and client configuration file generated from the server. The client configuration file has to be copied to the client machine. This method is ideal for testing purposes, for large deployment the second method, below, is preferred.
Using Velociraptor client packages
This method packages the client configuration file on a Linux package or Windows installer which are then distributed to the clients target machines.
Follow the link below to learn how to install and configure Velociraptor clients on Linux and Windows machines.
Install Velociraptor Client on Linux and Windows Systems
Conclusion
That brings us to the end of our guide. Velociraptor is powerful open source tool that can be used to query hosts thus providing endpoint monitoring, digital forensic investigations and Threat Hunting.
Further Reading
Other Tutorials
Install GVM 21.04 on Rocky Linux 8

