Today, we are going to learn about how to install and setup Sentrifugo HRMS on Ubuntu 20.04. Sentrifugo HRMS is a free and open-source human resource management system (HRMS) software that allows easy management of human resource process in small to mid-sized business across a variety of industries. It offers a number of adaptable features to meet the needs of both managers and employees including;
- It comes bundled with appraisal modules that enables managers to access the performance of their employees.
- Enables employees to access and manage individual information
- Helps in making hiring decisions through its comprehensive job candidate background checks.
- Provides leave management option for a department or an entire business unit.
Sentrifugo has got a handful of features which you can read more about here.
Installing Sentrifugo HRMS on Ubuntu 20.04
Install LAMP/LEMP Stack
Sentrifugo requires a LEMP/LAMP Stack to run. We are using LAMP stack in this guide. Hence follow the link below to install LAMP on Ubuntu 20.04.
Install and Setup LAMP Stack on Ubuntu 20.04
Regarding PHP, ensure that the MySQL PDO as well as the GD libraries are installed. You can verify if these modules are already loaded by running the command below;
php -m | egrep 'pdo_|gd'gd
pdo_dblib
pdo_mysqlIf the modules listed above are not available, install them as shown below;
sudo apt install php-{mysql,gd}Create a Database for Sentrifugo HRMS
Create a database that can be used to store Sentrifugo application data.
sudo mysql -u root -pcreate database sentrifugo;After that, you need to create a database user account for exclusive management of Sentrifugo. Be sure to grant this user all privileges on the Sentrifugo database;
grant all privileges on sentrifugo.* to hradmin@localhost identified by "PASSWORD";Flush the database privileges to reload the database grant tables and exit the database;
flush privileges;
quit
Download Sentrifugo application
Once your server has met the above per-requisites, go ahead and download the Sentrifugo application from Sentrifugo download page to your web root directory.
sudo wget http://www.sentrifugo.com/home/downloadfile?file_name=Sentrifugo.zip -O /tmp/sentrifugo.zipOnce the download completes, unzip it to your web root directory as shown below.
apt install zip -y
unzip /tmp/Sentrifugo.zip -d /var/www/html/This will extract Sentrifugo application to Sentrifugo_3.2 directory.
Rename this directory to sentrifugo and set the proper ownership and permissions for the application.
sudo mv /var/www/html/{Sentrifugo_3.2,sentrifugo}sudo chown -R www-data.www-data /var/www/html/sentrifugo
sudo chmod -R 755 /var/www/html/sentrifugoCreate Sentrifugo Site Configuration
After you have installed Sentrifugo and set the proper permissions, create Apache site configuration for Sentrifugo application as shown below;
cat > /etc/apache2/sites-available/sentrifugo.conf << 'EOL'
<VirtualHost *:80>
     DocumentRoot /var/www/html/sentrifugo
     ServerName hr.kifarunix-demo.com


    <Directory /var/www/html/sentrifugo/>
        Options +FollowSymlinks
        AllowOverride All
        Require all granted
     </Directory>

     ErrorLog ${APACHE_LOG_DIR}/error.log
     CustomLog ${APACHE_LOG_DIR}/access.log combined

</VirtualHost>
EOL
Enable Sentrifugo site
a2ensite sentrifugo.confEnable rewrite module;
a2enmod rewriteSet the correct timezone. Edit the file /etc/php/7.4/fpm/php.ini such that your configuration looks like;
sed -i 's/;date.timezone =/date.timezone = Asia\/Kolkata/' /etc/php/7.4/fpm/php.iniBefore you can restart Apache, verify that the configuration has no syntax errors;
apachectl -t
Syntax OKIf all is well, restart Apache
systemctl restart apache2Configure Sentrifugo HRMS from Browser
Once you are done with the configuration above, it is time to configure Sentrifugo.
Most of the next configurations will be done from the web interface. Therefore, navigate to the browser and enter the IP/hostname address of your server in order to access Sentrifugo.
While loading Sentrifugo on browser, you may get such an error;
Deprecated: __autoload() is deprecated, use spl_autoload_register() instead in /var/www/html/sentrifugo/install/PHPMailer/PHPMailerAutoload.php on line 45Apply the suggested solution and restart Apache;
sed -i.bak '45s/__autoload/spl_autoload_register/' /var/www/html/sentrifugo/install/PHPMailer/PHPMailerAutoload.phpsystemctl restart apache2Confirm Sentrifugo Prereqs
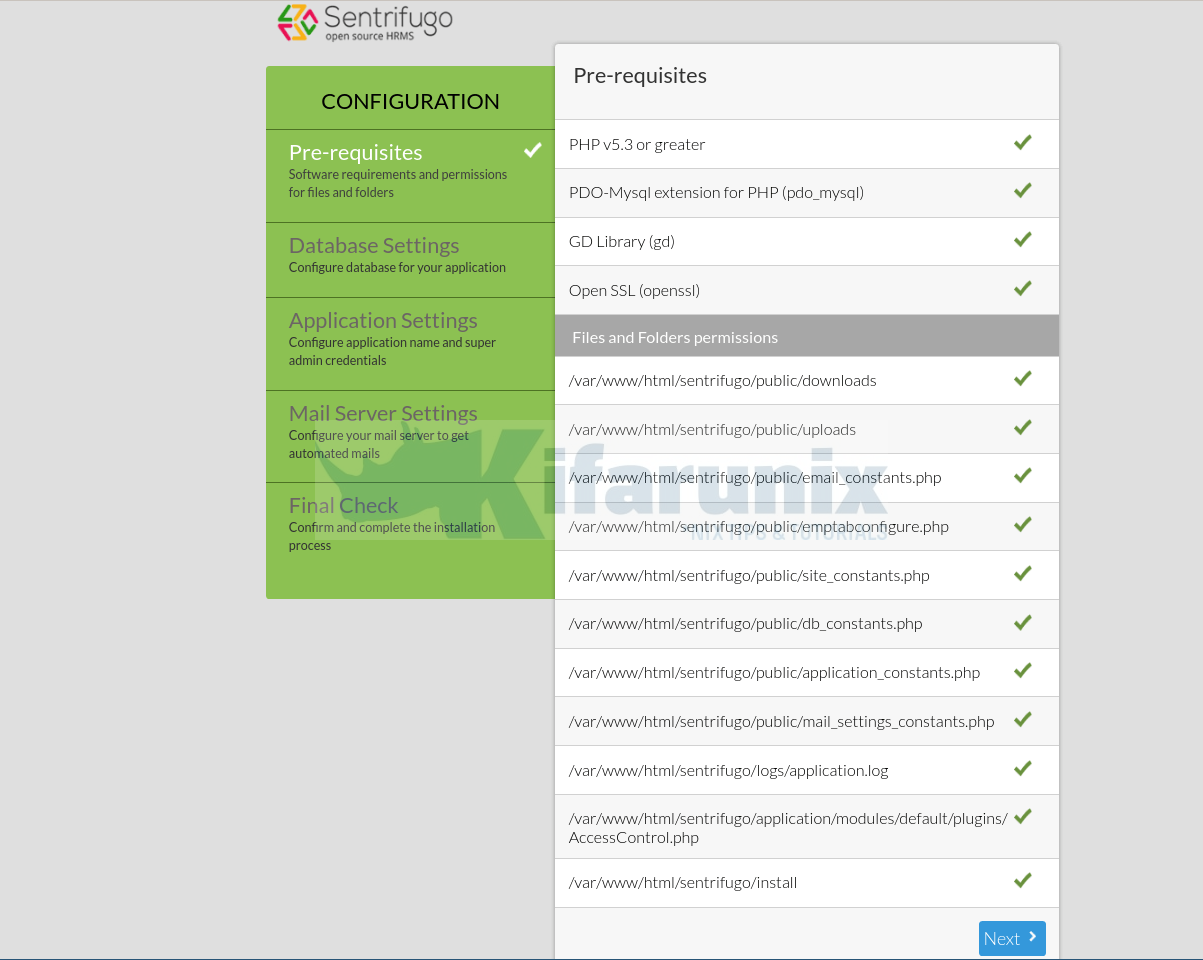
Ensure that all prereqs are met before you can proceed.
Configure Database Connection Settings
Since all the per-requisites are met, click Next to configure Sentrifugo database.
Be sure to enter the database connection details set above.
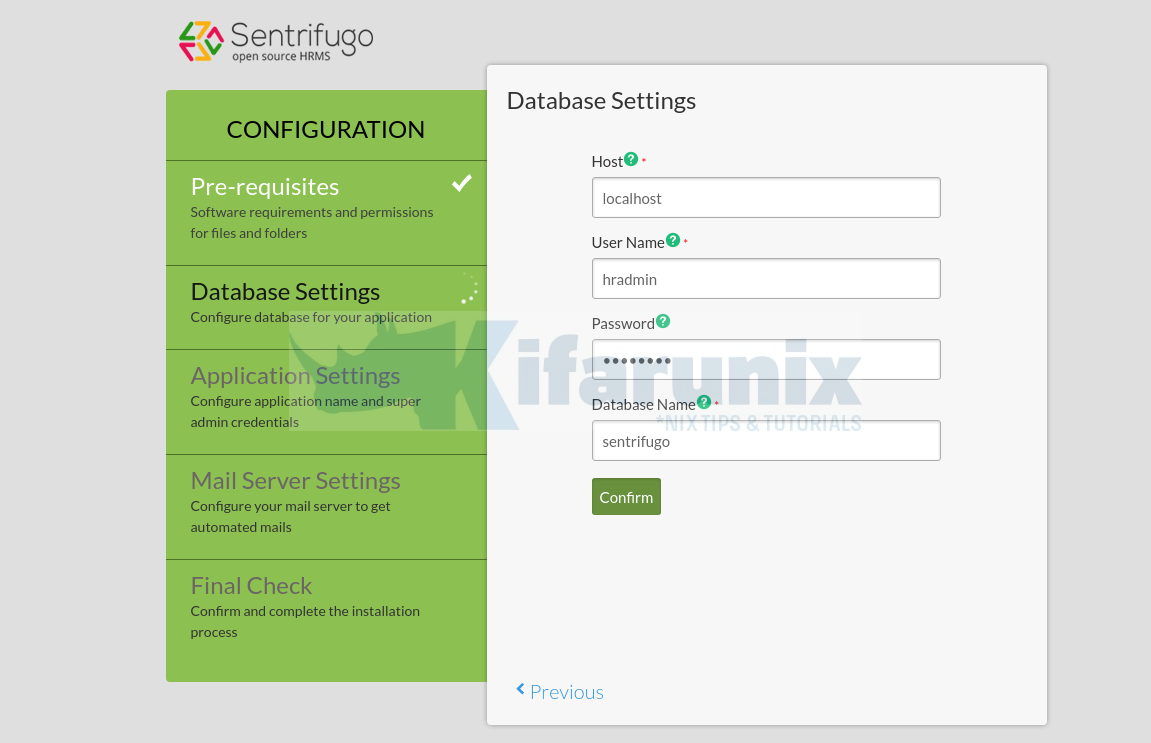
Click Confirm to proceed and then confirm that you want to proceed.
Application Settings
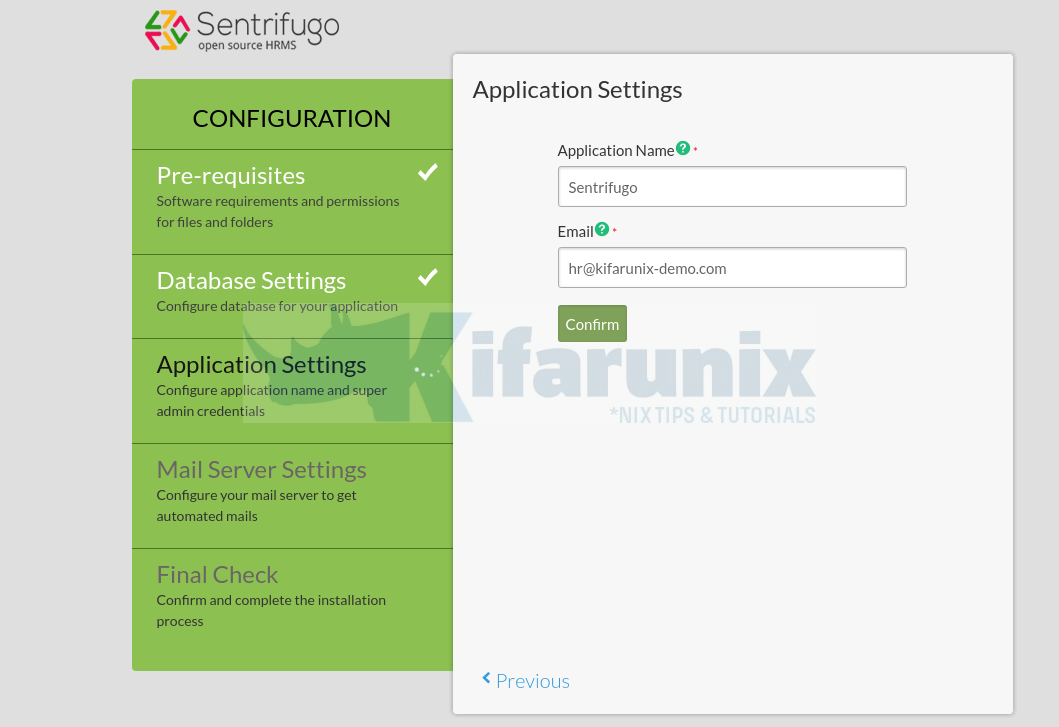
Next, you need to configure Sentrifugo Applications settings and an email ID for authenticating to Mail Server.
Email Settings
Configure Mail Server settings.

Configuration final checks.
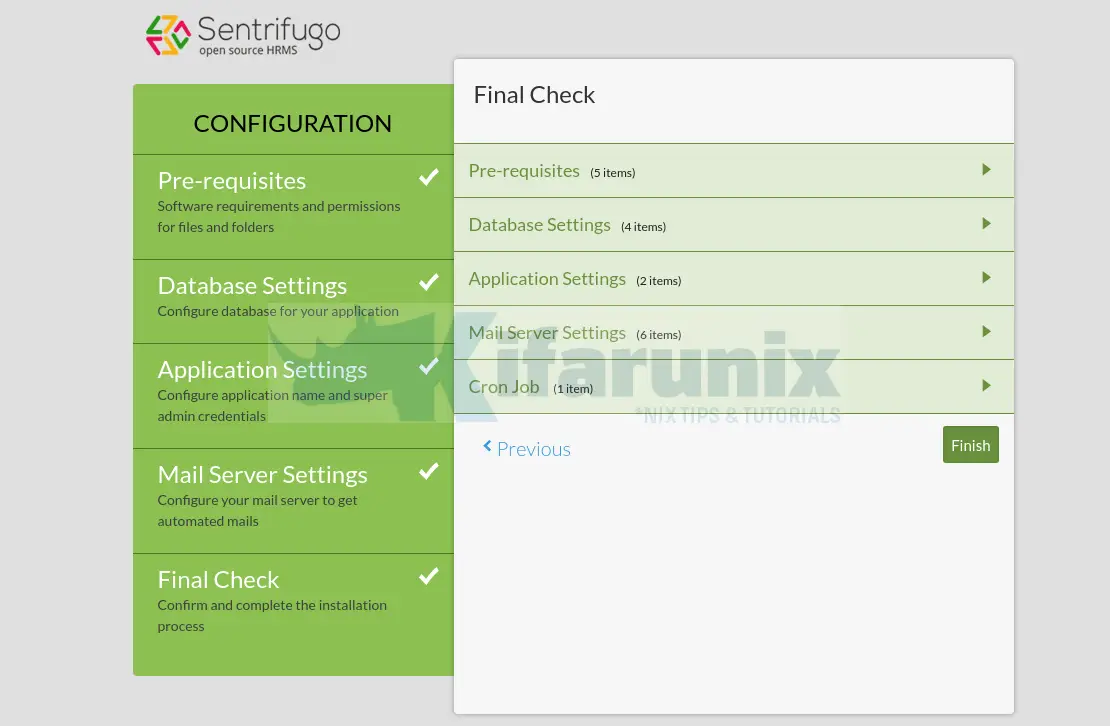
Click finish to finalize on the configurations.
This will take you to a page where you are given the link to access the application and the login credentials.

The Sentrifugo has been successfully installed. If you login to your email account, you will see an email confirming the successful installation. Now, click on the link to access the Sentrifugo web login user interface.
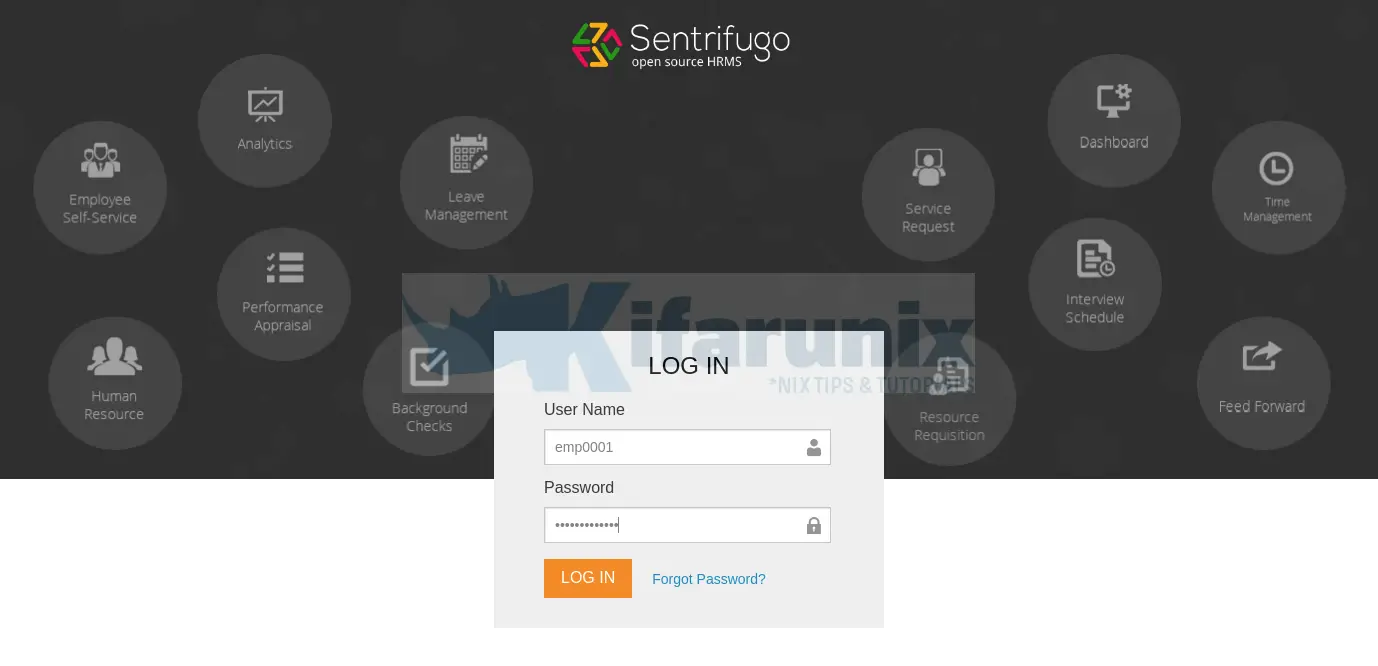
Login with the credentials shown on the Finish configuration page. Once you login for the first time, you are welcomed by Sentrifugo default dashboard as shown below;

The default dashboard introduces you to a configuration wizard where you can enable modules essential to your human resource processes, configure the standards used in your organization, provide your organization information, configure business unit and departments and configure service request settings used in your organization.

Well, feel free to configure this amazing HRMS tool as it best suits you.
Other tutorials


Can you help me fix a challenge: can’t seem to access sentrifugo via domain name using intranet with windows Server.
Can you help me fix a challenge. When I was configuring Database settings Some error occurred SQLSTATE[HY000] [2002] Connection refused.
Is the database service running?
what is the output of;
ss -altnp | grep 3306