One of the most upsetting and terrible situations a user may go through is data loss. Consumers worry and are helpless due to the concern of never being able to recover important data after it has been lost or destroyed. But don’t worry; there are programs and techniques that can assist you in recovering erased files on your Linux desktops. In this article on the Linux operating system, we’ll offer a better solution to this data loss issue.
The graphical user interface method of recovering it from the “Trash” directory is the simplest. The Command Line Interface is a different method for installing Test Disk software.
Methods to Recover Deleted Data on Linux
The two methods for recovering data from Linux are listed below; choose the one that works best for you.
Method 1: Use Trash Directory to Recover Deleted Data
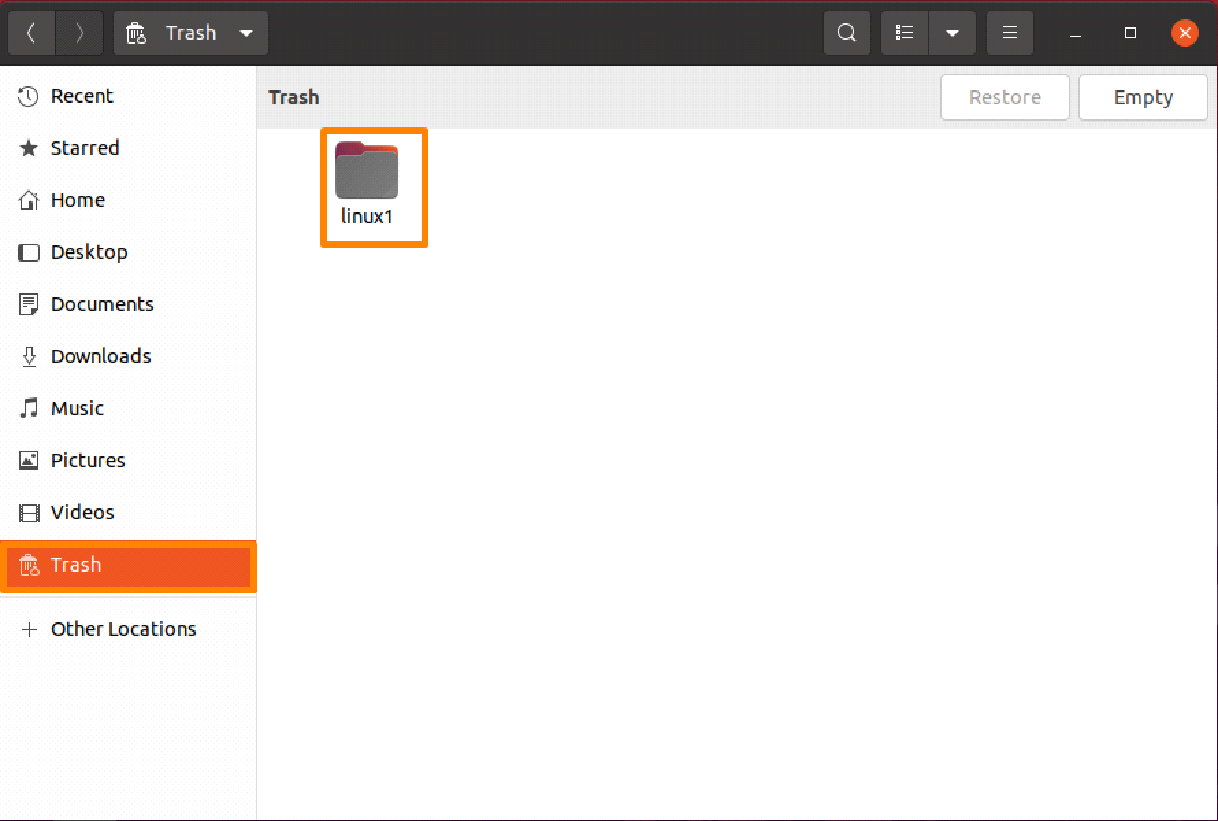
Deleted data will be directly moved to the trash directory so if you are planning to recover any you can do that by accessing the trash directory.
Step 1: Launch Trash directory
Click on your main drive where you need to select the “Trash” directory and launch it.
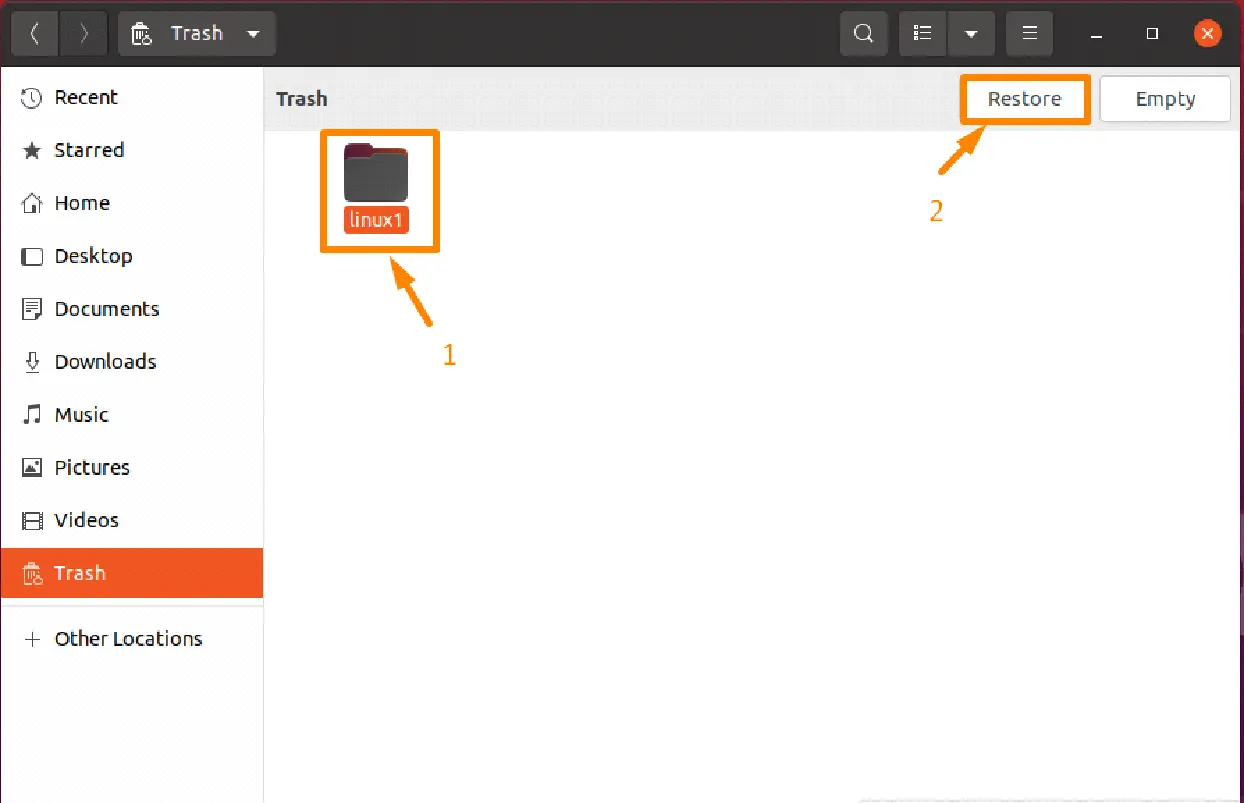
Step 2: Restore Deleted Files
Click the “Restore” option after choosing the file you wish to restore from the trash directory; in the example below, I am restoring the “linux1” folder.
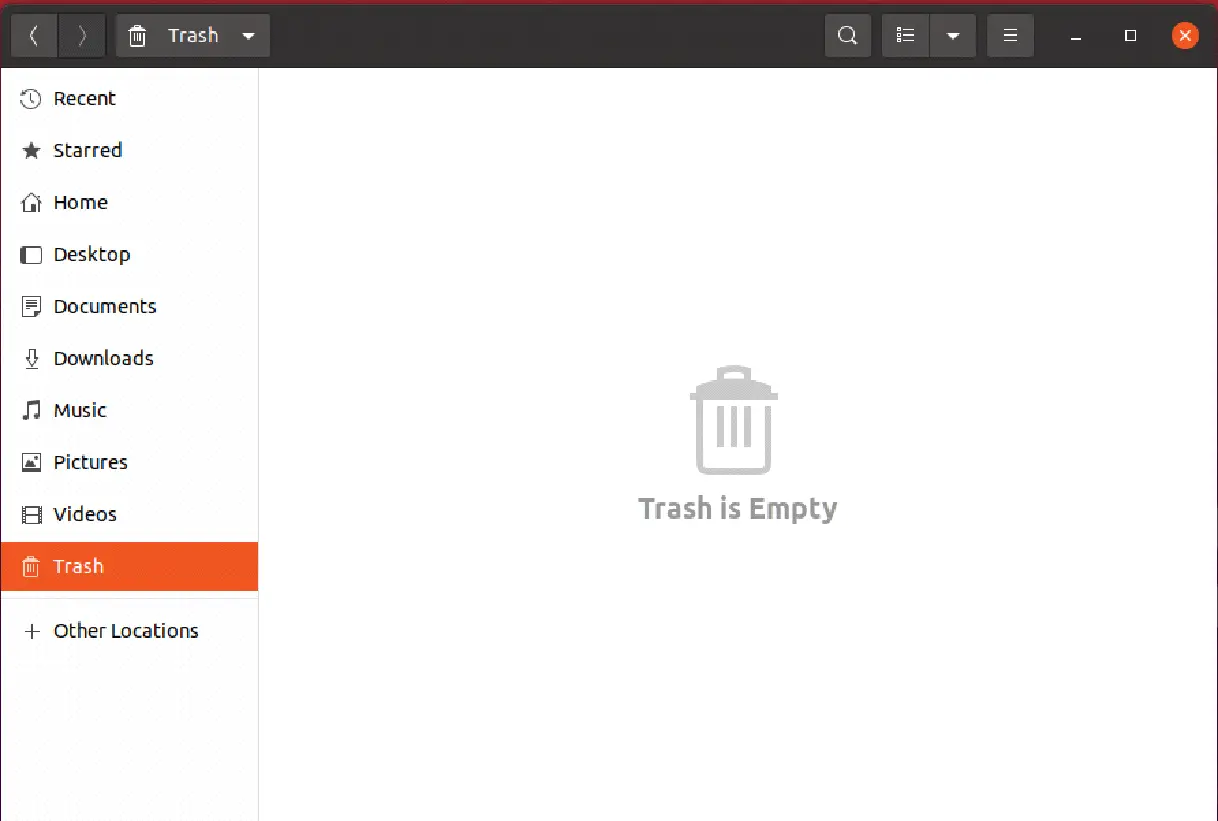
The repaired file will now be taken out of the Trash directory and put back where it came from.
Method 2: Use Test Disk to Recover Deleted Data
One effective solution to the data loss issue is Test Disk. A free and powerful data recovery tool called Test Disk, among other things, rebuilds and recovers boot partitions and updates partition tables. Being a Command Line data retrieval tool is one of the features that set Test Disk apart from other data recovery programs.
Step 1: Update Packages
To ensure everything runs well, it is usually advised to perform the update command before doing anything.
$ sudo apt update
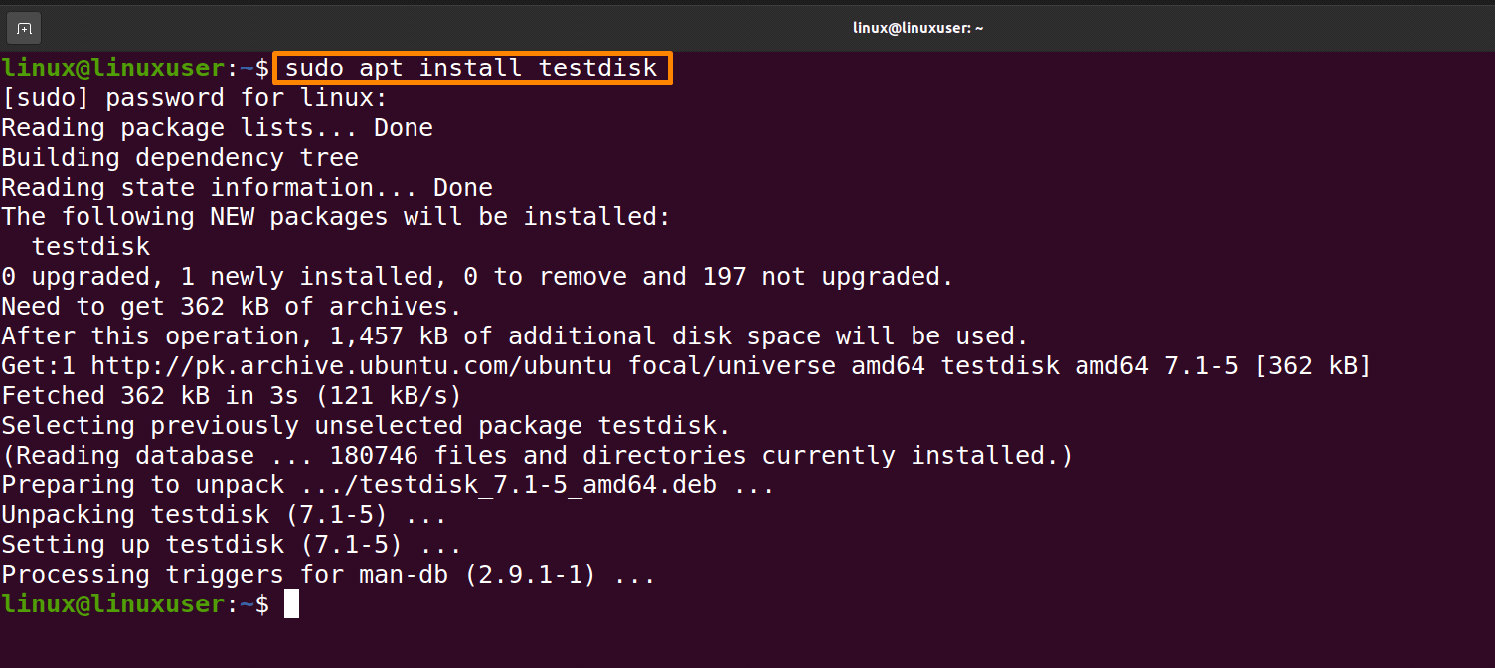
Step 2: Install Test Disk
Install the Test Disk recovery program by running the command that is provided below.
$ sudo apt install testdiskStep 3: Verify Installation Version
To verify that the Test Disk is correctly installed by examining its version, enter the command shown below into the terminal.
$ testdisk --versionStep 4: Use Test Disk to Recover files
You need to launch the test disk application by writing.
$ testdisk --version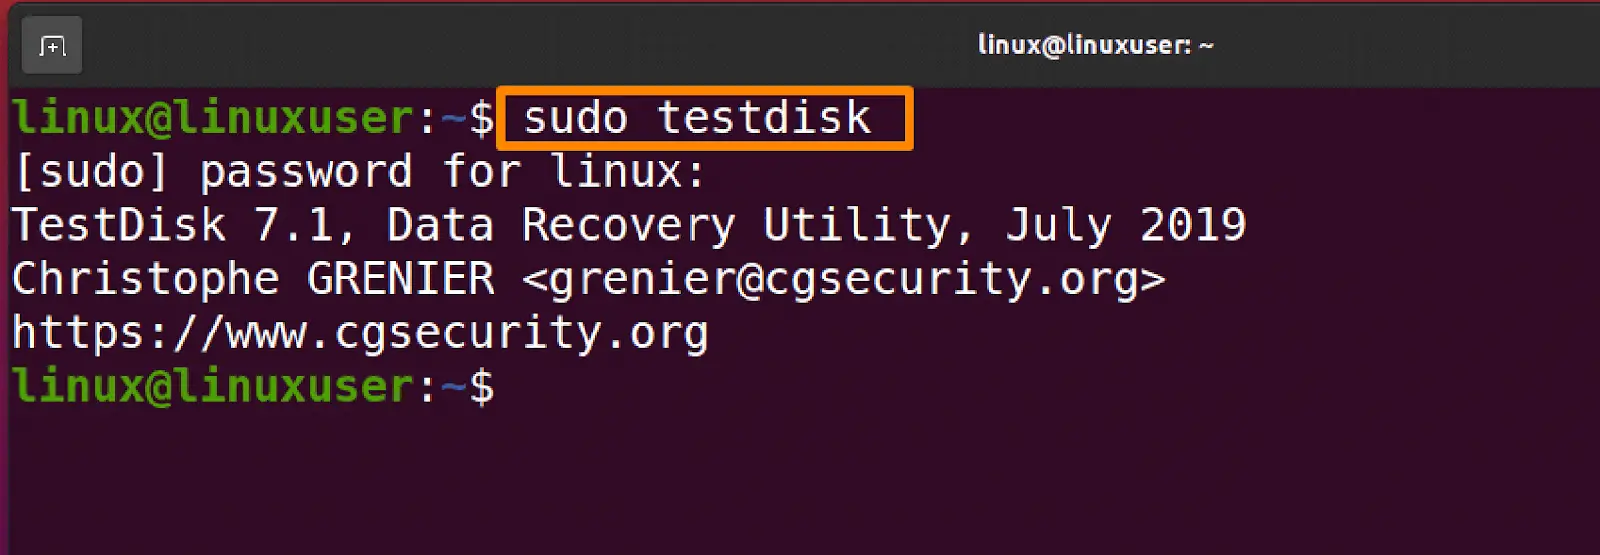
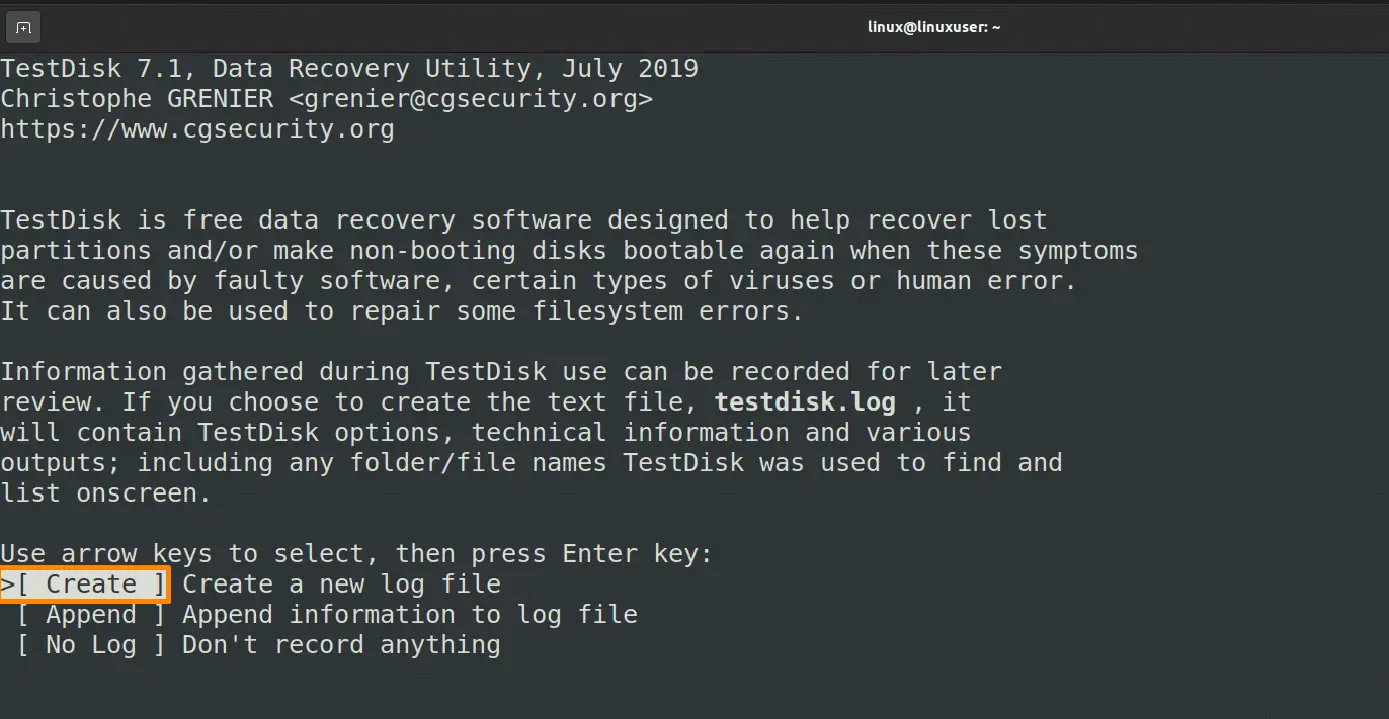
Now select the “Create” option that you can find at the bottom of the terminal and then press Enter.
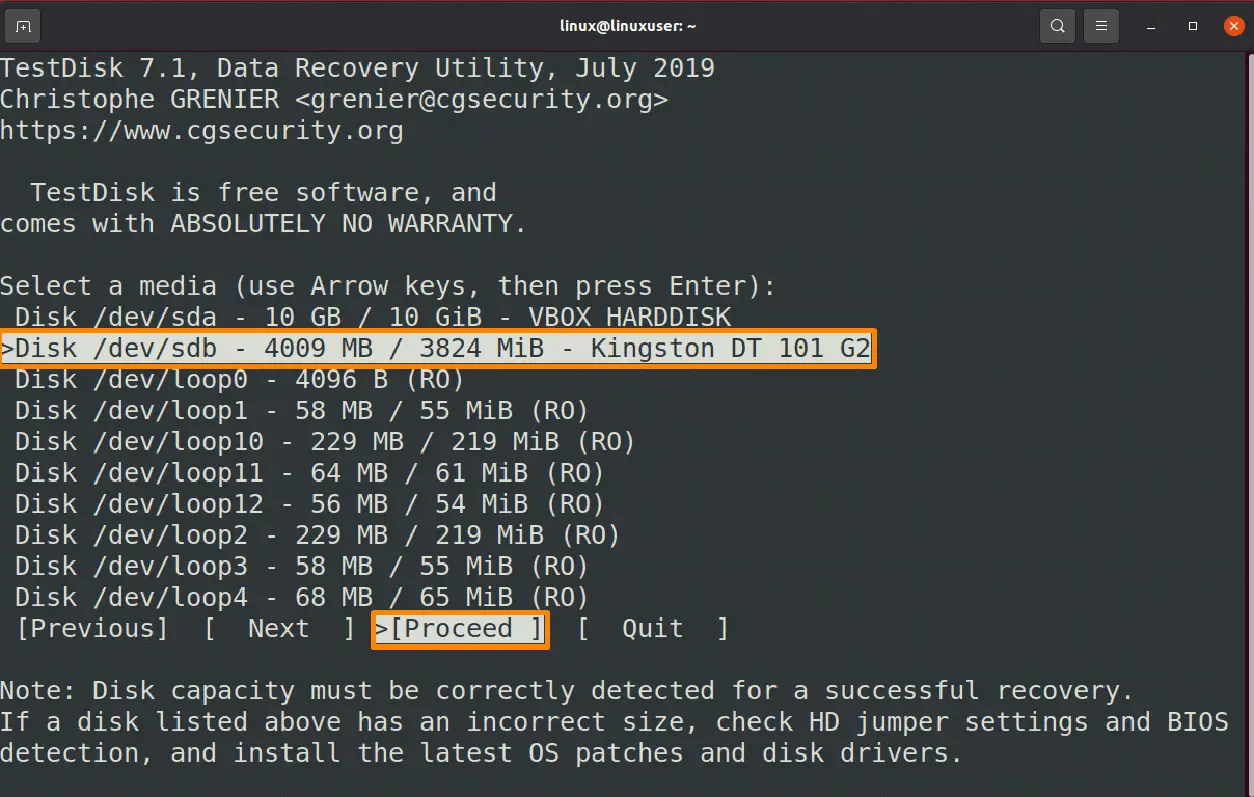
I want to recover a file from a Kingston DT 101 G2 external USB device that is linked to my virtual system, so I’ll use the arrow keys to navigate to it, then select the “continue” option from the list of available options and hit Enter.
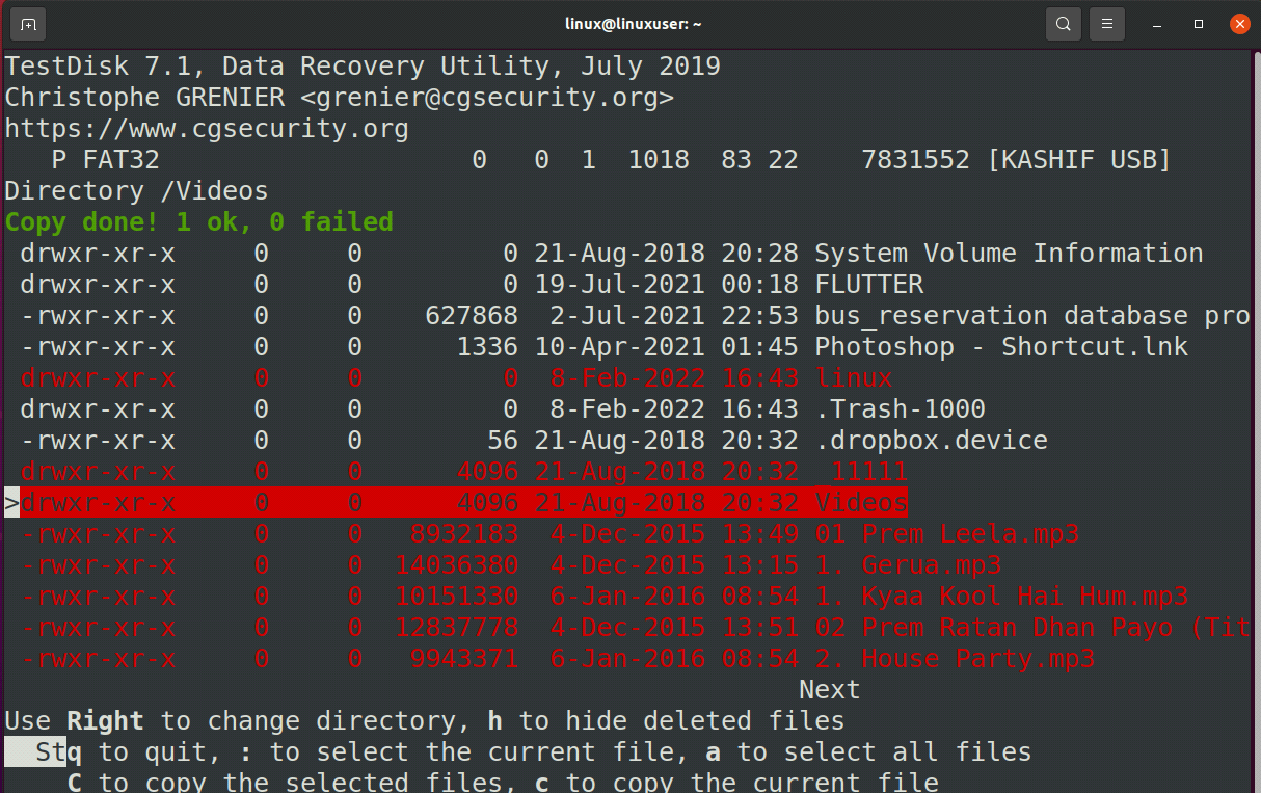
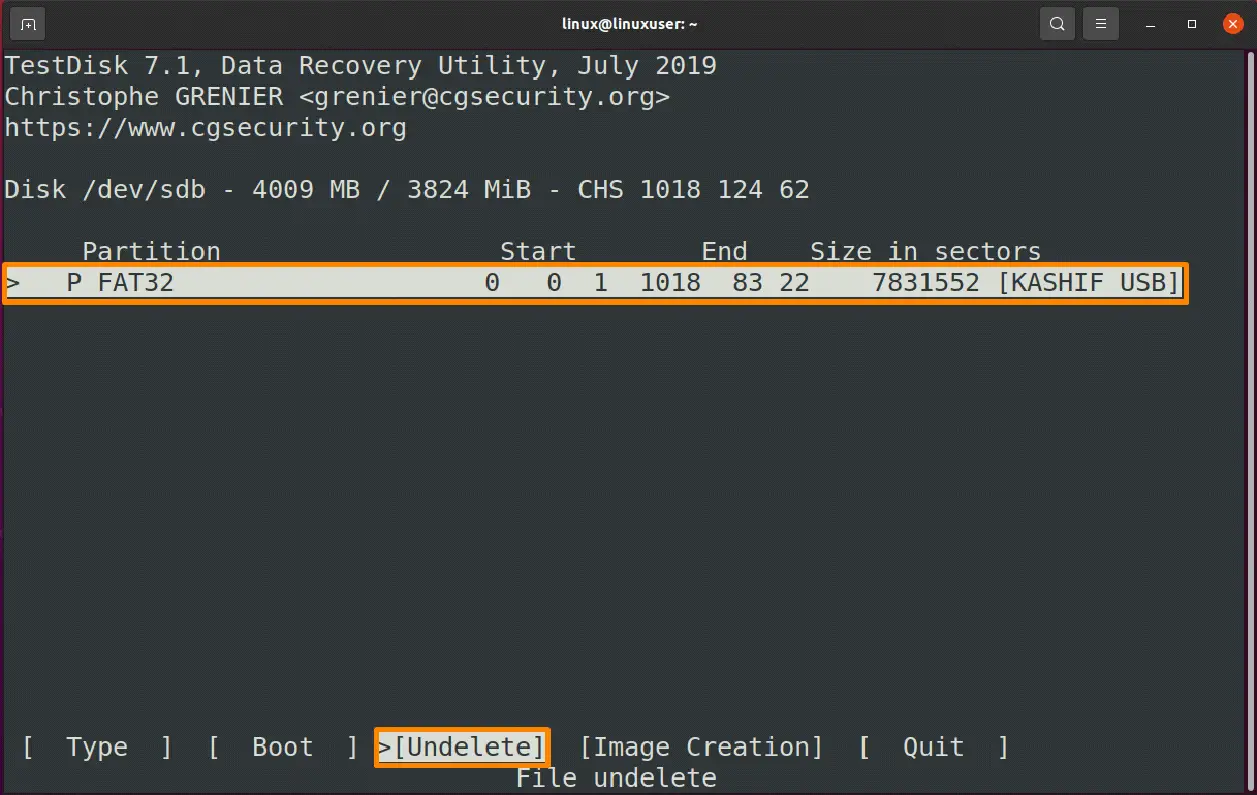
You can see the “FAT32” partition option at the bottom that you need to select and then select the [undelete] option from the bottom.
The files marked with a “red color” have been erased from the system, but you can retrieve them by pressing the ‘c’ key from the keyboard.
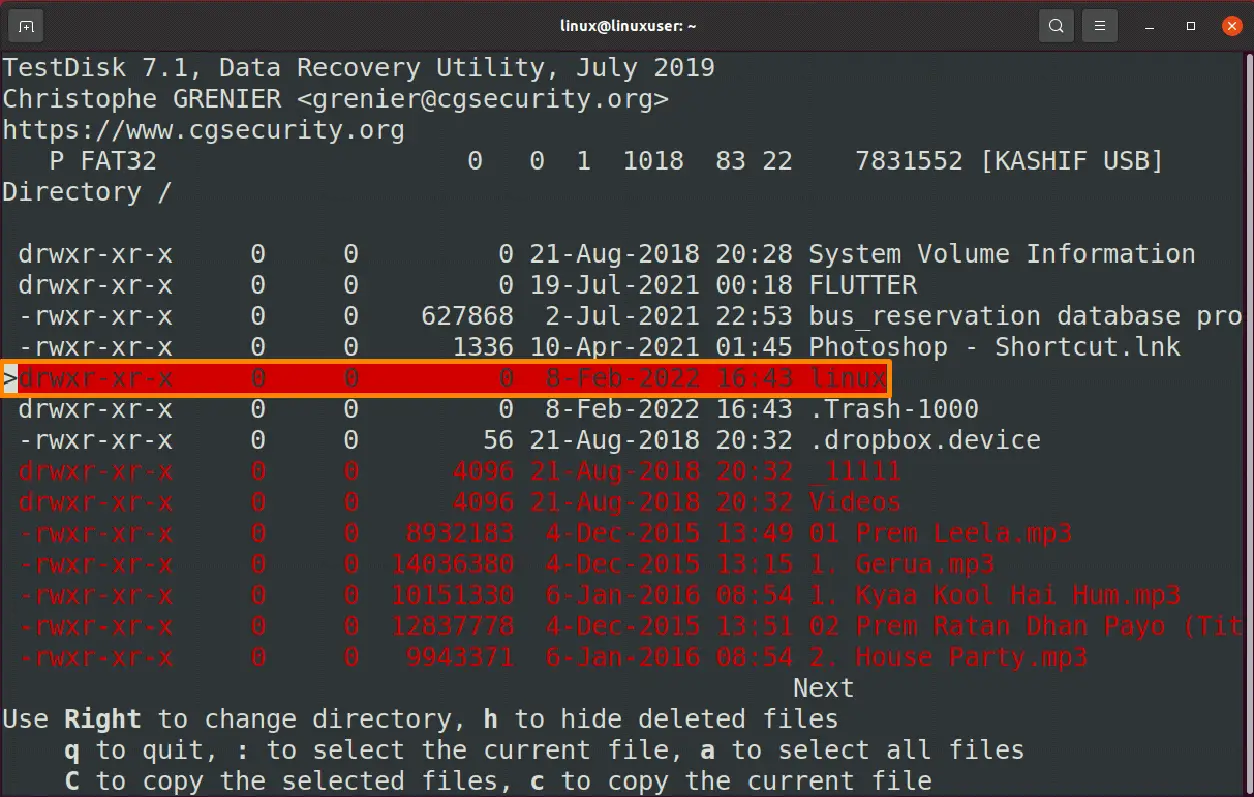
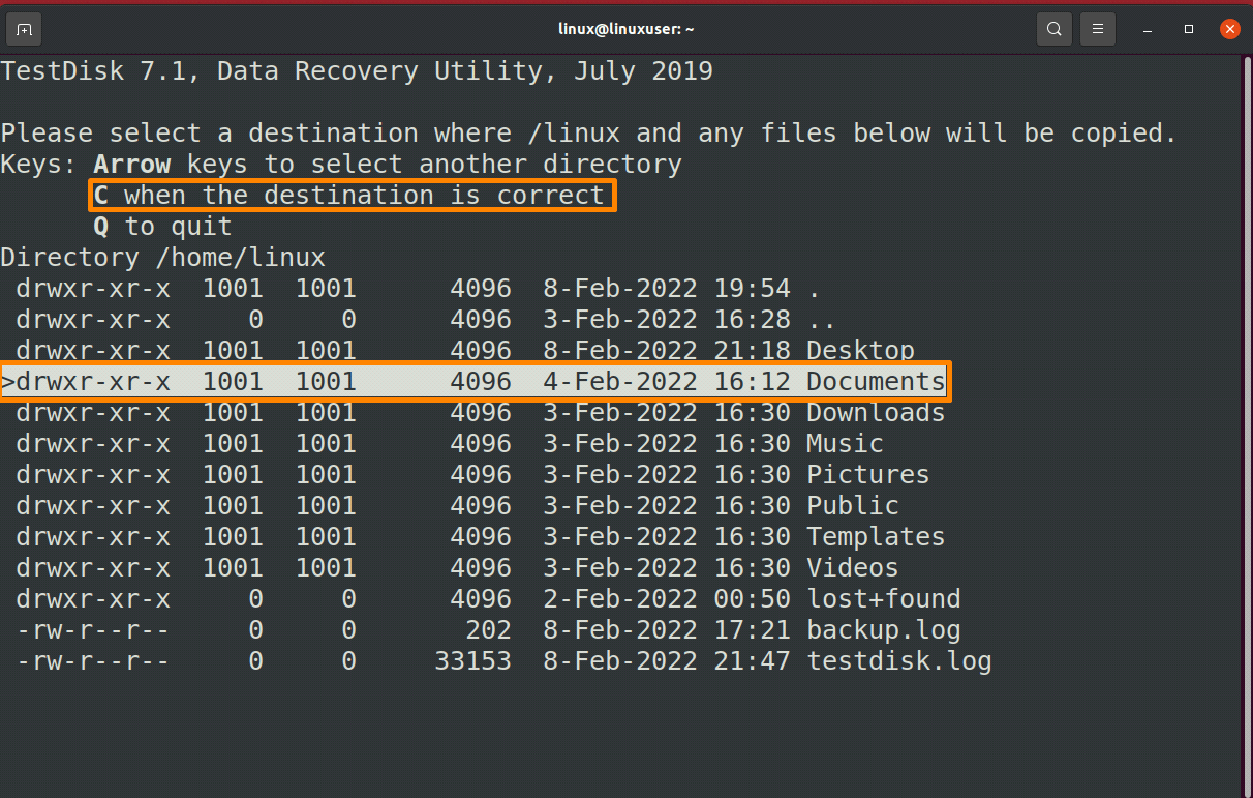
Now you need to select the directory where you want to place the erased files by pressing the ‘c’ again.
After that file will be successfully copied and you can use them.
Conclusion:
Data loss is a significant issue that puts a lot of stress on people, but there are several technologies available to assist recover lost data. In this post, we spoke about how to restore lost data in Linux (OS).
In this article we have discussed two different ways to recover data, the first one is by accessing the trash directory whereas second way is to use the free and open-source Test Disk programs. If you accidentally deleted any crucial data and want to recover it on Linux, don’t worry—this article will explain you how to do so.
If you are interested in more Linux how-tos and tutorials, visit Linux Genie.

