
In this tutorial, you will learn on how to easily install Solaris 11.4 on VirtualBox. Oracle Solaris is the trusted business platform that is known for its scalability, security, and reliability, making it a popular choice for enterprise environments.
Table of Contents
Installing Solaris 11.4 on VirtualBox
Download Solaris 11 Installation ISO file
Navigate to Solaris 11 Downloads and grab x86 Text Installer.
Note that you need to have an account to be able to login and download the ISO file.
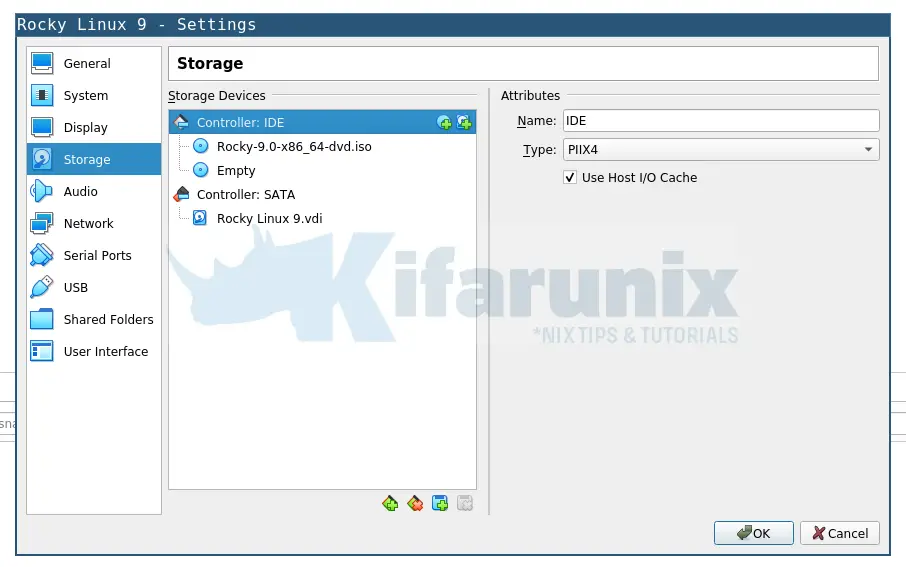
Create New VirtualBox Oracle Linux VM
Launch VirtualBox and create a new VM. Next, step through the new vm wizard to;
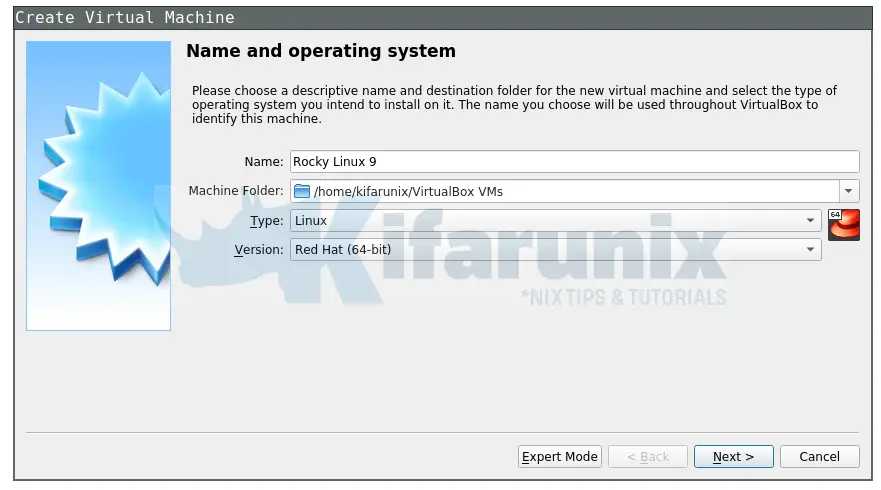
Virtual Machine Name and Operating System
- Set the name of the Solaris 11 vm.
- Select the VirtualBox installation folder
- Attach the installation ISO file you downloaded above.
- Select the type and version of the OS.

Virtual Machine Hardware
Assign the VM enough RAM and vCPUs;

Virtual Hard Disk
Create a virtual hard disk of the size of your choice for the Solaris 11.4 vm;

Next, review the settings of the VM and click finish.
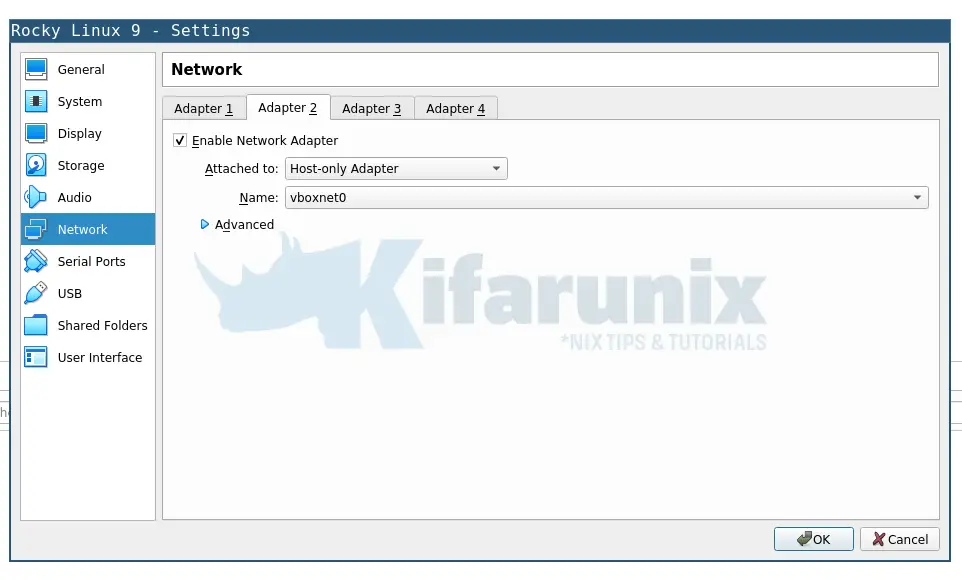
Update Vm Network Settings
From the VirtualBox manager, select the Solaris vm and open the settings.
Under Network, you can also add other network interfaces for example;
- Adapter 1 set it to NAT to allow the VM to access Internet via the host system.
- Adapter 2 you can set it to host only just in case you want it to communicate with other vms on your host machine and even facilitate easy access from the host system.

- Click Ok when done updating the Solaris 11.4 vm settings.
Install Solaris 11.4 Virtual Machine on VirtualBox
Once you have setup your VM and attached the Oracle Linux ISO file, and done updating other settings, start the vm to begin the installation.
Select Keyboard Layout and Installation Language

Next,
Install Oracle Solaris
Select option 1 to install Solaris 11.4.

You will then be given hints on how to navigate the installer.
You can launch the VM soft keyboard and use it.
Press F2 function key to continue.
Disk Discovery Selection
Select local disk discovery to proceed.

Choose your installation disk and proceed.
Select how you want to use the partition. I am using entire disk in this demo.
System Identity
Set the hostname of the virtual machine.
Network Configuration
We will choose our first interface, which was NATted.

Select DHCP for automatic IP assignment. Otherwise, if you want, sent static IP.
Timezone, Regions, Language, Date and Time
Select the region with your timezone.
Similarly, set your locale language and territory (e.g en_US.UTF-8);
Update your date and time accordingly.
Also, choose your Keyboard layout.
Create Users and their Passwords
Create users and their password. Ensure the password has at least 1 special character and 1 digit.

Optionally, register for support.
Installation Summary
Go through the installation summary and proceed with installation of Solaris 11.4 on VirtualBox.
Press F2 to proceed with installation.

If all is good, then it should be successfully installed.

Press F8 reboot the Solaris 11.4 vm.
Be sure to detach installation ISO file.
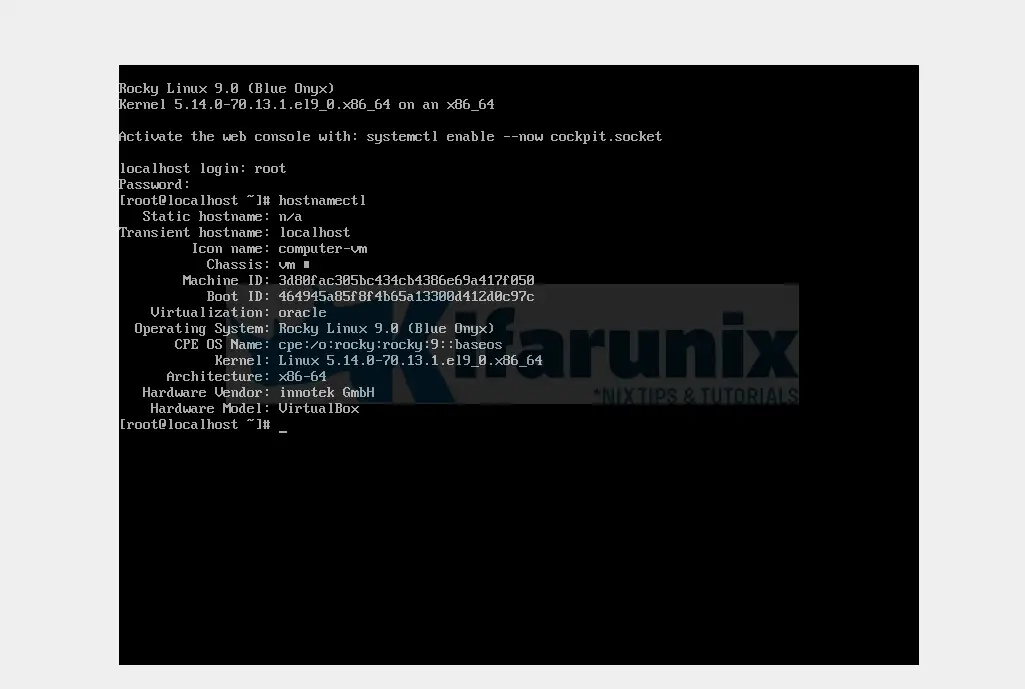
Login to Solaris 11.4 on VirtualBox
You can now login to your Solaris 11.4;


That is all about how to installing Solaris 11.4 on VirtualBox.
Also check;
Install dhclient command on Oracle Linux
Install VirtualBox Guest Additions on Rocky Linux 9
